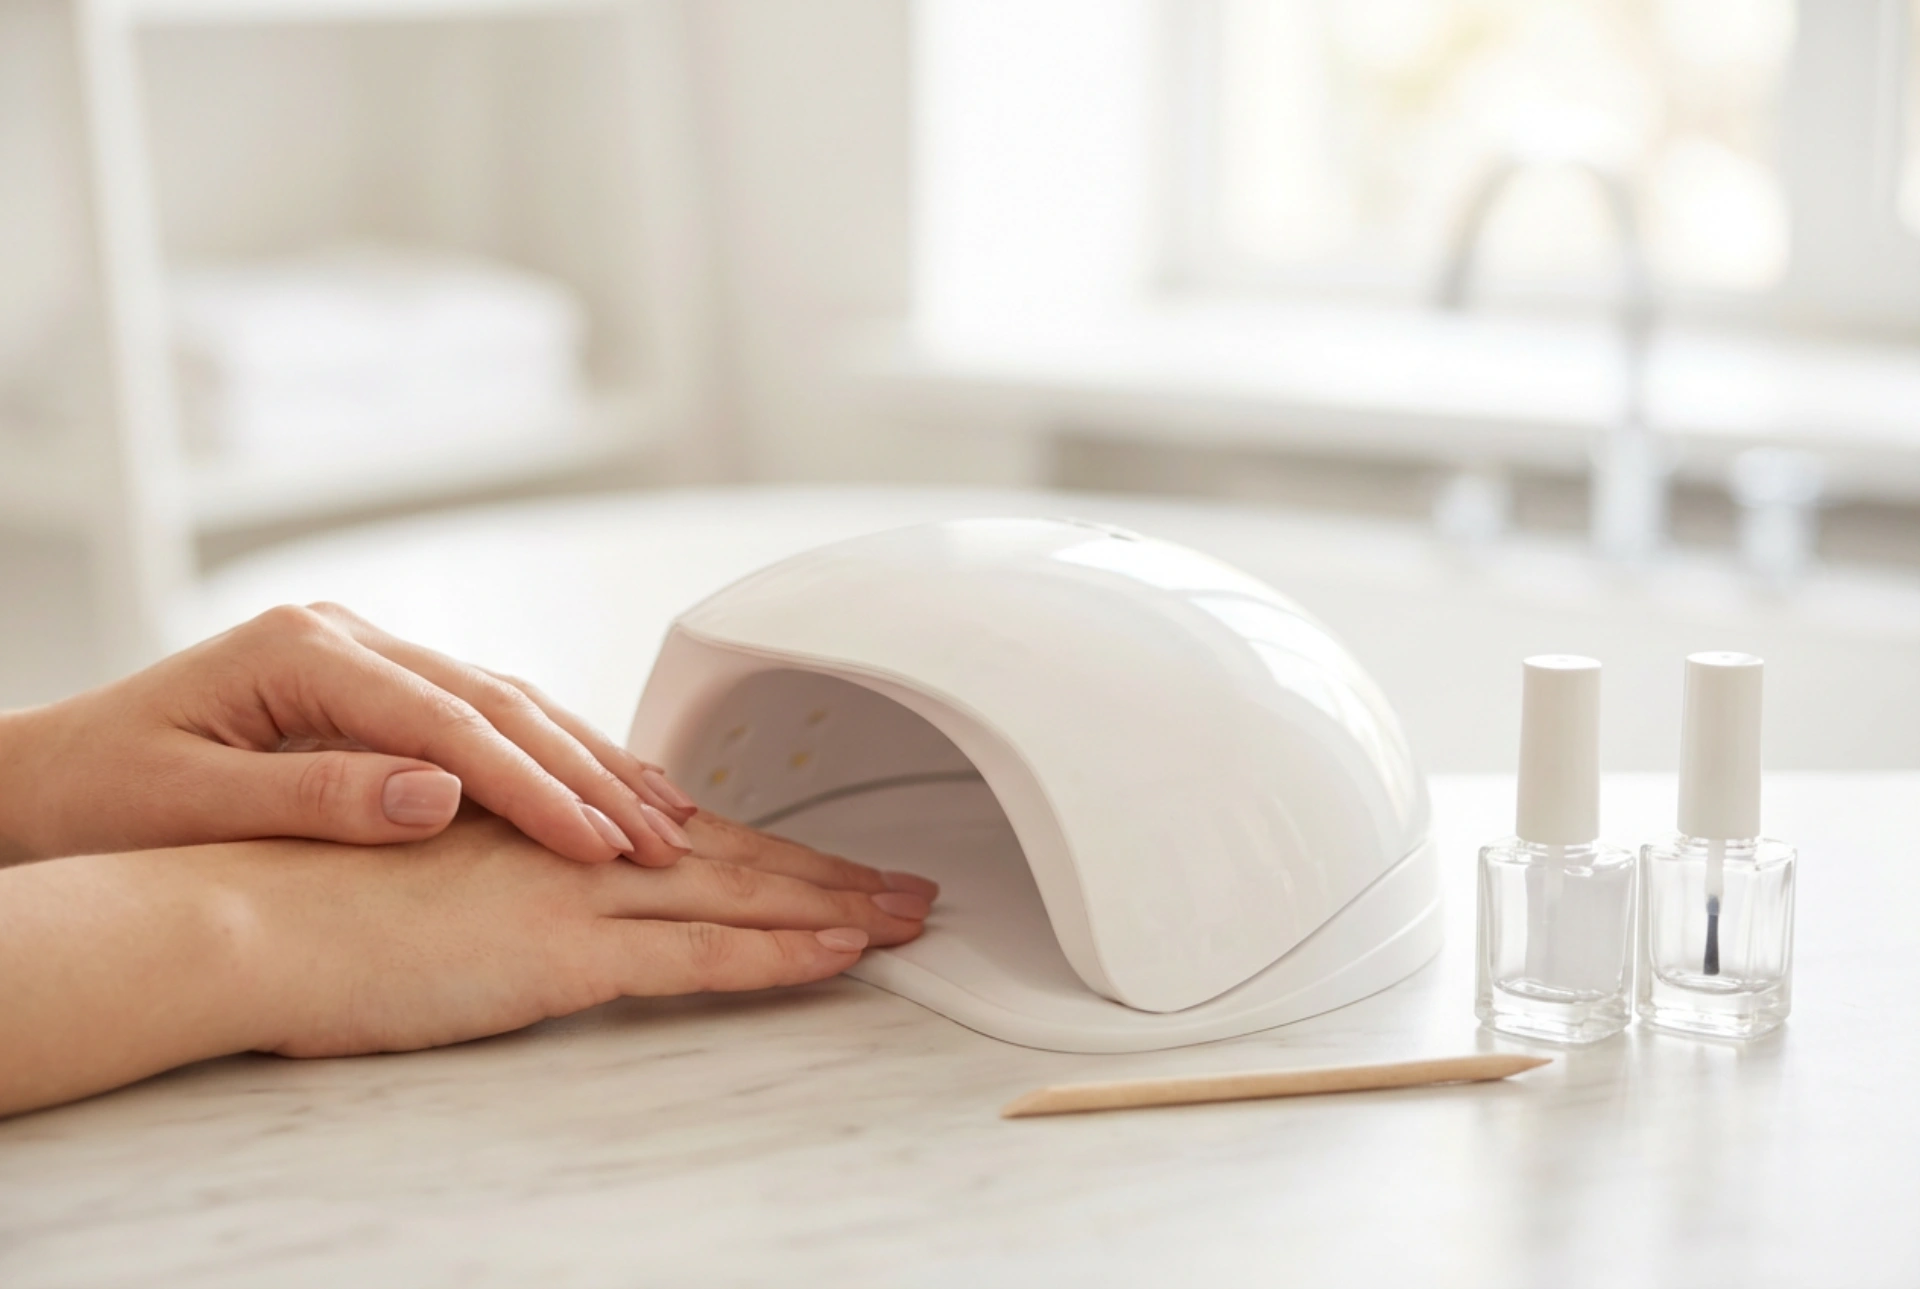


A beautifully styled manicure can instantly boost confidence, reflecting a sense of elegance and self-care. Achieving that flawless, salon-quality finish at home has become increasingly accessible, thanks to modern, minimalist cosmetic nail lamps designed for personal use. Placing a sleek lamp on a clean, uncluttered surface alongside simple styling tools creates a tranquil, professional atmosphere in the comfort of your own space. However, to ensure your manicure remains durable, smooth, and safe for your natural nails, understanding how to properly select the lamp's power and manage curing times is essential.
UV, LED, and Dual LED Technologies Explained
Before diving into wattage and timers, it is important to understand the technology powering these devices. Traditional UV lamps use fluorescent bulbs that emit a broad spectrum of light. While highly versatile, they require longer exposure times and regular bulb replacements to maintain efficiency. On the other hand, LED (Light Emitting Diode) lamps emit a narrower, more targeted wavelength. This allows them to cure compatible products much faster, often in a fraction of the time, while consuming less energy and offering a significantly longer lifespan.
For those seeking the best of both worlds, dual LED/UV lamps have become the standard choice. These devices utilize advanced diodes that emit light at two different wavelengths simultaneously. This makes them compatible with virtually all types of light-cured products, whether they are formulated for UV or LED technology. When setting up your home beauty station, choosing a dual-light device provides maximum flexibility and removes the guesswork from product compatibility.
The Significance of Lamp Power (Wattage)
The power of a nail lamp, measured in watts, directly affects how efficiently and evenly a product cures. A common misconception is that higher wattage always equals a better result, but the relationship is more nuanced. The power level determines the intensity of the light emitted, which directly impacts the speed of the polymerization process. Understanding the different wattage brackets can help you make an informed decision based on your routine:
- Low Power (6W to 24W): These compact, highly portable lamps are ideal for quick touch-ups or travel. However, because of their lower output, they require significantly longer exposure times to ensure the product is fully cured, and they may struggle with highly pigmented or thick formulas.
- Medium Power (36W to 48W): Considered the sweet spot for home enthusiasts and general cosmetic use, these lamps provide a balanced distribution of light. They offer fast curing times without generating excessive heat, making the process comfortable and highly efficient.
- High Power (54W and above): Often used in busy settings, these lamps cure products rapidly. While highly effective, they require careful monitoring, as high-intensity light can sometimes cause a temporary warm sensation during the initial seconds of curing.
How to Match Curing Time to Your Product
Achieving a durable manicure relies on precise timing. Over-curing can lead to brittleness, discolouration, or loss of flexibility, while under-curing leaves the lower layers of the product soft, which can cause lifting or premature wear. Curing times are determined by both the power of your lamp and the specific formulation of the product you are applying. Base coats, colour polishes, and top coats all have different requirements.
Typically, in a standard 48W dual LED lamp, a thin layer of base coat cures in about 30 seconds. Colour coats, especially those with rich pigments, may require 30 to 60 seconds to ensure the light penetrates all the way through the layer. Top coats, which seal the manicure and provide that high-gloss or matte finish, generally benefit from a full 60 seconds of exposure to achieve maximum durability and resistance to scratches. If you are using a lower-wattage device, these times should be doubled to guarantee complete polymerization.
Practical Tips for a Flawless and Safe Curing Process
To achieve the best results while keeping your hands and nails healthy, certain practical steps should be followed during every session. Proper technique is just as important as having the right equipment. Here are some essential guidelines for your home routine:
- Apply thin layers: It is always better to apply two or three extremely thin coats rather than one thick layer. Thin layers allow the light to penetrate evenly, preventing wrinkling or bubbling.
- Position your hand correctly: Ensure your fingers lie flat inside the lamp and are centered directly under the diodes. Thumbs are often missed by the light, so curing them separately can help ensure an even result across all nails.
- Protect your skin: If you have sensitive skin, consider using specialized fingerless gloves or applying a broad-spectrum cosmetic sunscreen to your hands about twenty minutes before starting your manicure.
- Listen to your body: If you experience a heat spike, temporarily remove your hand from the lamp for a few seconds until the sensation passes, then resume curing. Many modern lamps feature a "low heat mode" that gradually increases power to prevent discomfort.
Maintaining Your Device for Consistent Results
To ensure your cosmetic lamp performs optimally over time, basic maintenance is required. Diodes must remain clean and free from product residue, as even a small smudge of cured polish can block the light and lead to uneven curing. Always unplug the device and gently wipe the interior with a soft, slightly damp cloth or a mild sanitizing solution after each use. Avoid harsh chemical solvents that could damage the reflective surfaces inside the lamp, as these surfaces are crucial for distributing the light evenly around your fingertips.




