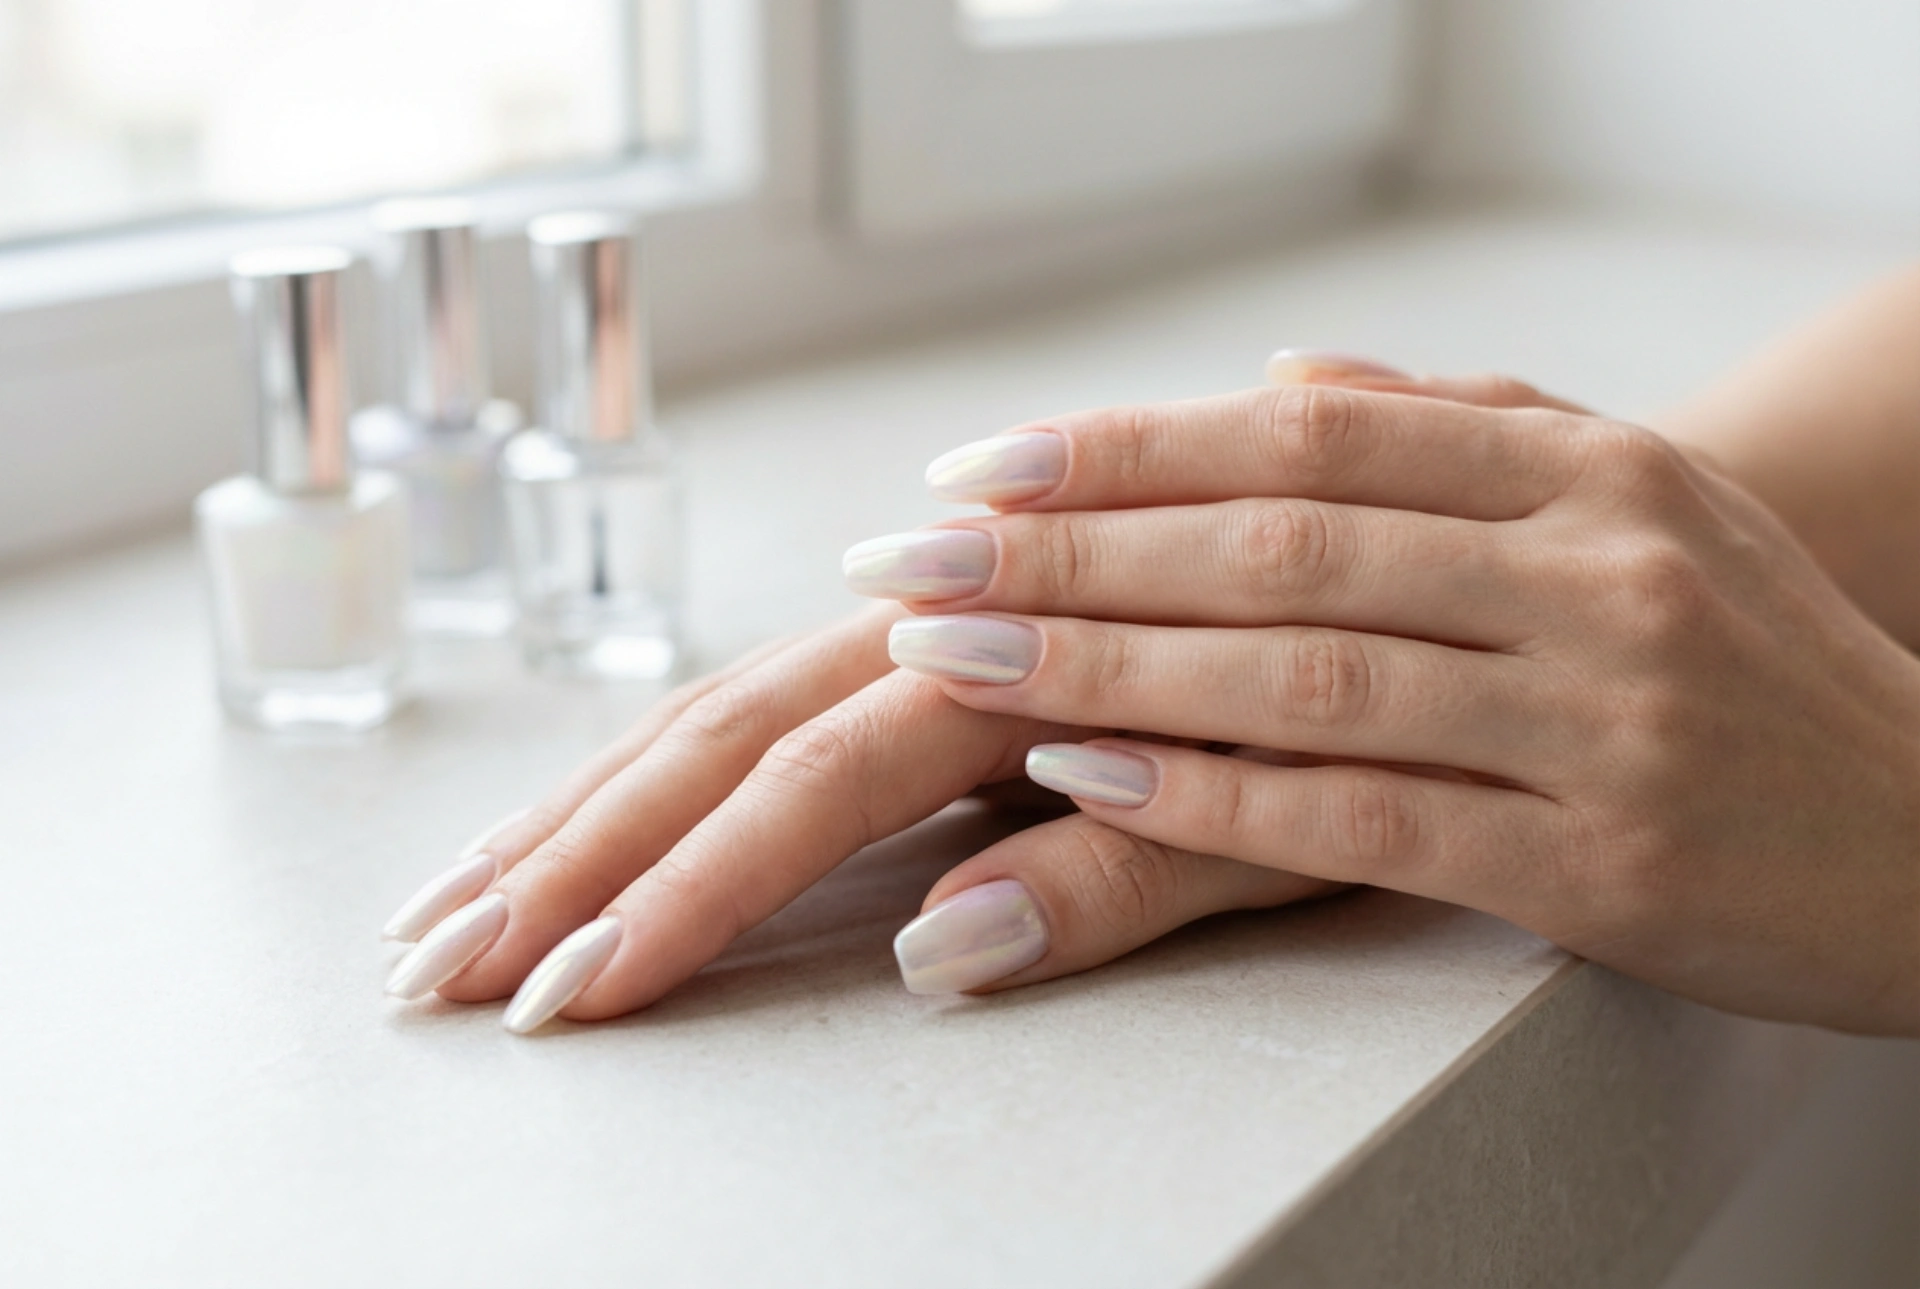


The Magic of Nail Powders and Their Effects
Nail powders have completely transformed the home manicure, allowing anyone to achieve professional-looking, multi-dimensional effects without leaving the house. These finely milled pigments come in various finishes, from a mirror-like chrome to a delicate, iridescent shimmer that catches the light beautifully. Whether you prefer a subtle glow or a striking metallic look, nail powders offer endless possibilities for creative self-expression. Understanding how to use them can instantly elevate your regular nail care routine.
The variety of available effects is one of the main reasons these products are so popular. Mermaid dust provides a delicate, pastel glow with a hint of sparkle, whilst chrome powders create a seamless, liquid-metal surface. Holographic powders break the light into rainbow spectrums, and aurora powders offer a soft, pearlescent finish reminiscent of the Northern Lights. Each of these requires a slightly different approach to application, but all of them promise to turn a simple manicure into a stunning work of art.
How to Apply Nail Powder to Regular Nail Polish
Applying powder to traditional nail polish requires patience and precise timing. Since regular polish air-dries, finding the exact moment when the surface is tacky but not wet is the key to a flawless application. If the polish is too wet, the powder will clump and ruin the smooth surface; if it is completely dry, the pigment will not adhere at all.
- Prepare the base: Start by shaping your nails, gently pushing back the cuticles, and applying a high-quality base coat to protect the natural nail plate.
- Apply the colour: Apply two thin coats of your chosen regular nail polish. Darker shades work best for chrome and holographic effects, whilst lighter shades enhance pearlescent finishes.
- Wait for the perfect tackiness: Let the polish dry until it is nearly set. It should feel slightly tacky to a very gentle touch, but not wet enough to smudge.
- Rub in the powder: Using an eyeshadow applicator or your fingertip, gently pat the powder onto the nail, then rub it in circular motions with light pressure until a smooth, reflective surface is achieved.
- Seal the design: Gently brush off any excess powder with a soft brush. Seal the effect with a water-based top coat first to prevent the powder from melting or losing its shine, followed by a standard top coat for longevity.
Step-by-Step Application on Gel Polish
Working with gel polish is generally easier and more predictable because you control the curing process with a lamp. This allows for a much smoother, long-lasting finish that highlights the iridescent shimmer of the powder. For most rub-in powders, a no-wipe top coat is essential to achieve that perfect mirror effect.
- Nail preparation and base coat: Prepare the nail plate, apply a gel base coat, and cure it under the lamp according to the standard instructions.
- Colour application: Apply your chosen gel polish colour and cure it. A black base is standard for a dramatic chrome look, while a milky or nude base creates a soft, pearlescent glaze.
- Apply the no-wipe top coat: Apply a layer of no-wipe top coat and cure it under the lamp. The curing time must be precise—often slightly shorter than usual (around 20 to 30 seconds) so the surface remains receptive to the powder.
- Buffing the pigment: Immediately after curing, whilst the nail is still warm, apply a small amount of powder using a silicone tool or applicator. Rub it firmly into the surface until it becomes perfectly smooth and reflective.
- Final cure and protection: Remove any loose dust from around the cuticles, apply another layer of top coat (making sure to seal the free edge of the nail), and cure it fully to lock in the shimmer.
Common Mistakes to Avoid During Application
Even with the right tools, achieving a salon-worthy finish with nail powders can be tricky. Knowing the most common pitfalls can save you time and prevent frustration during your manicure sessions.
One of the most frequent errors is incorrect curing times when using gel products. If you cure the no-wipe top coat for too long, it becomes too hard and slick, meaning the powder will simply slide off without adhering. Conversely, under-curing will cause the powder to sink into the gel, creating a muddy, uneven texture instead of a smooth reflection.
Another common mistake is neglecting to clean off excess powder before applying the final top coat. Any loose particles left on the skin or nail surface will be dragged by the brush, contaminating your top coat bottle and leaving speckles across your finished manicure. Always use a very soft, fluffy brush to sweep away loose dust beforehand.
Finally, failing to seal the edges of the nail is a major cause of premature chipping. Because nail powders create a thin barrier between the layers of polish, you must cap the free edge of the nail with your top coat to ensure the manicure remains durable and water-resistant.




