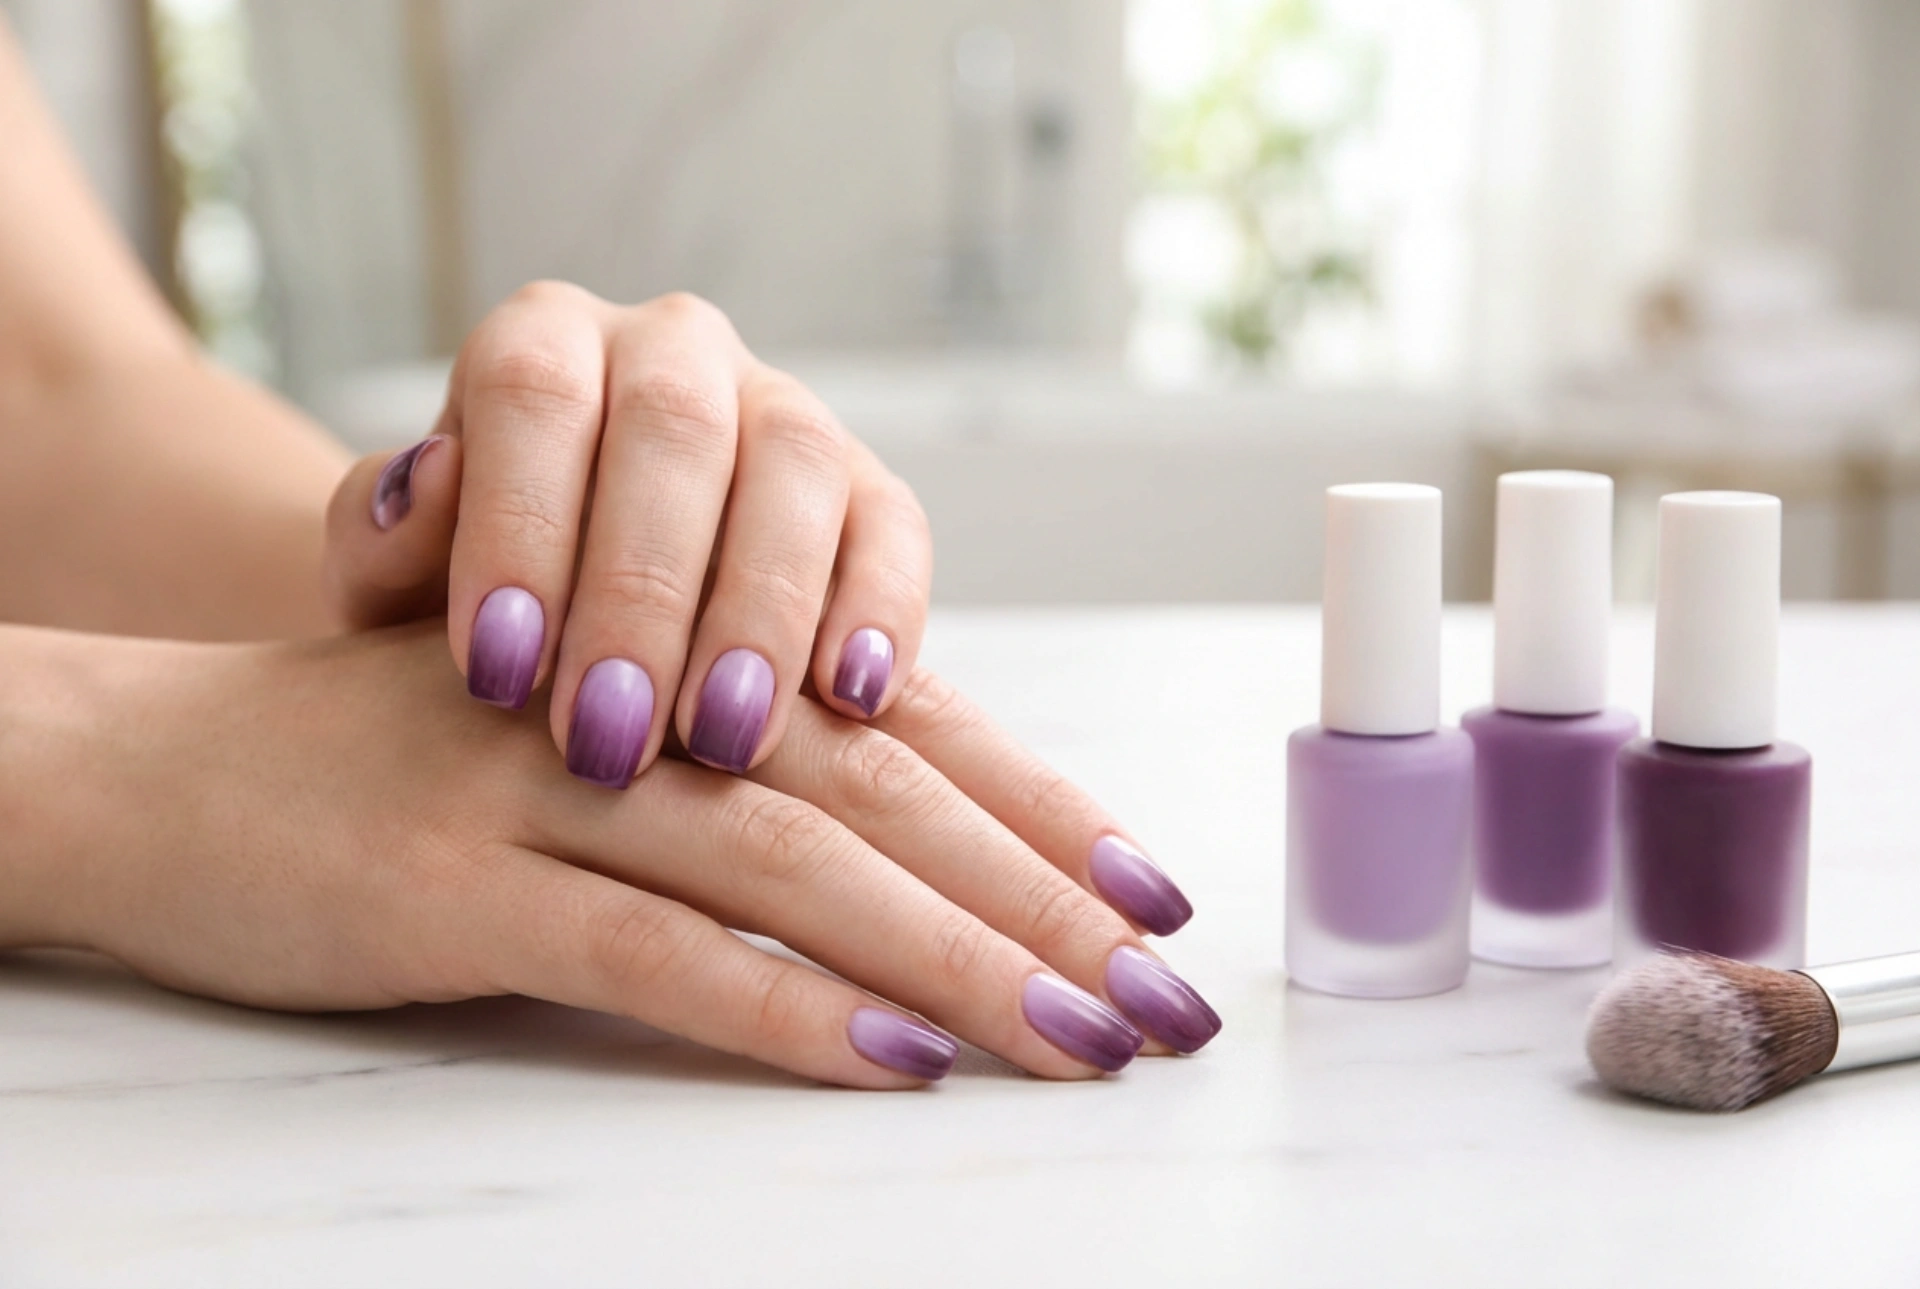


Purple ombre nails represent one of the most elegant and versatile trends in modern manicure. The seamless transition from a delicate pastel lavender to a deep, rich plum shade creates a sophisticated look that complements any style. To achieve this stunning gradient effect at home, you do not need professional salon equipment. With a few basic tools, such as high-quality makeup sponges or blending brushes, and a little patience, you can create a flawless transition that looks clean, polished, and beautifully blended on your natural nails.
Choosing the perfect shades of purple
The secret to a successful ombre manicure lies in selecting the right colour palette. Purple is a wonderfully diverse colour that offers a wide range of undertones, from cool-toned lilacs to warm, berry-infused plums. For a harmonious gradient, it is best to choose two or three shades that belong to the same colour family. If you prefer a subtle and soft appearance, pair a very light lavender with a medium violet. For a more dramatic and striking look, transition from a soft lilac base to a deep eggplant or rich royal purple.
When selecting your polishes, pay attention to their opacity and texture. Cream finishes work best for ombre techniques because they blend together smoothly without leaving gaps. Avoid mixing heavily textured polishes, such as dense glitters or sheer shimmers, with matte or cream bases, as this can disrupt the smooth flow of the gradient and make the blending process more difficult.
Preparing your hands and nails for styling
Before applying any colour, it is essential to prepare your nails and the surrounding skin to ensure a long-lasting and neat finish. Since the sponge technique can occasionally leave excess polish on the skin, proper preparation makes cleanup much easier and protects your cuticles.
- Start by shaping your nails with a fine file, keeping the edges smooth to prevent snagging.
- Gently push back the cuticles using a wooden stick to maximise the nail plate surface.
- De-grease the nail plate using a gentle nail prep solution or a standard dehydrator.
- Apply a thin layer of protective base coat to shield the natural nail and create a smooth canvas for the colour.
- Apply a skin barrier, such as a liquid latex tape or a rich skin oil, around the edges of the nail plate to make removing excess polish simple.
The classic sponge method step by step
The most popular and reliable way to achieve a seamless purple gradient is by using a makeup wedge or a small cosmetic sponge. The porous texture of the sponge helps to diffuse the borders between the different shades, creating a soft, airbrushed finish.
Step 1: The background colour
Apply one or two thin coats of your lightest purple shade over the dried base coat. This serves as an opaque background, ensuring that the gradient shades look vibrant and do not appear translucent near the cuticles. Allow this base layer to dry completely before moving on to the blending stage.
Step 2: Preparing the sponge
Take a clean cosmetic sponge and slightly dampen it with water, squeezing out any excess. A damp sponge prevents the polish from absorbing too quickly into the foam, allowing more product to transfer onto the nail. Paint horizontal stripes of your chosen purple shades directly onto the edge of the sponge, ensuring the colours slightly overlap at the borders to start the blending process.
Step 3: Transferring the gradient
Gently press the sponge onto your nail, using a soft bouncing or dabbing motion. Move the sponge slightly up and down to blur the lines where the light lavender meets the deep plum. Do not press too hard, as this can create air bubbles or remove the polish already on the nail. Repeat this process for each nail, letting the first layer dry for a minute before applying a second layer to build up the intensity.
Perfecting and sealing your purple ombre
Once you are satisfied with the depth of the colour transition, it is time for the final touches. The surface of a sponged manicure can sometimes look slightly textured or matte. This is entirely normal and can be easily corrected with the right finishing technique.
While the gradient is still slightly tacky, apply a generous layer of a glossy top coat. The top coat acts as a magic eraser for any imperfections, blending the purple shades even further and creating a smooth, glass-like surface. Finish by peeling off the protective skin barrier or using a small, flat brush dipped in gentle nail polish remover to clean up any stray polish around the cuticle area, leaving your hands looking pristine and elegant.




