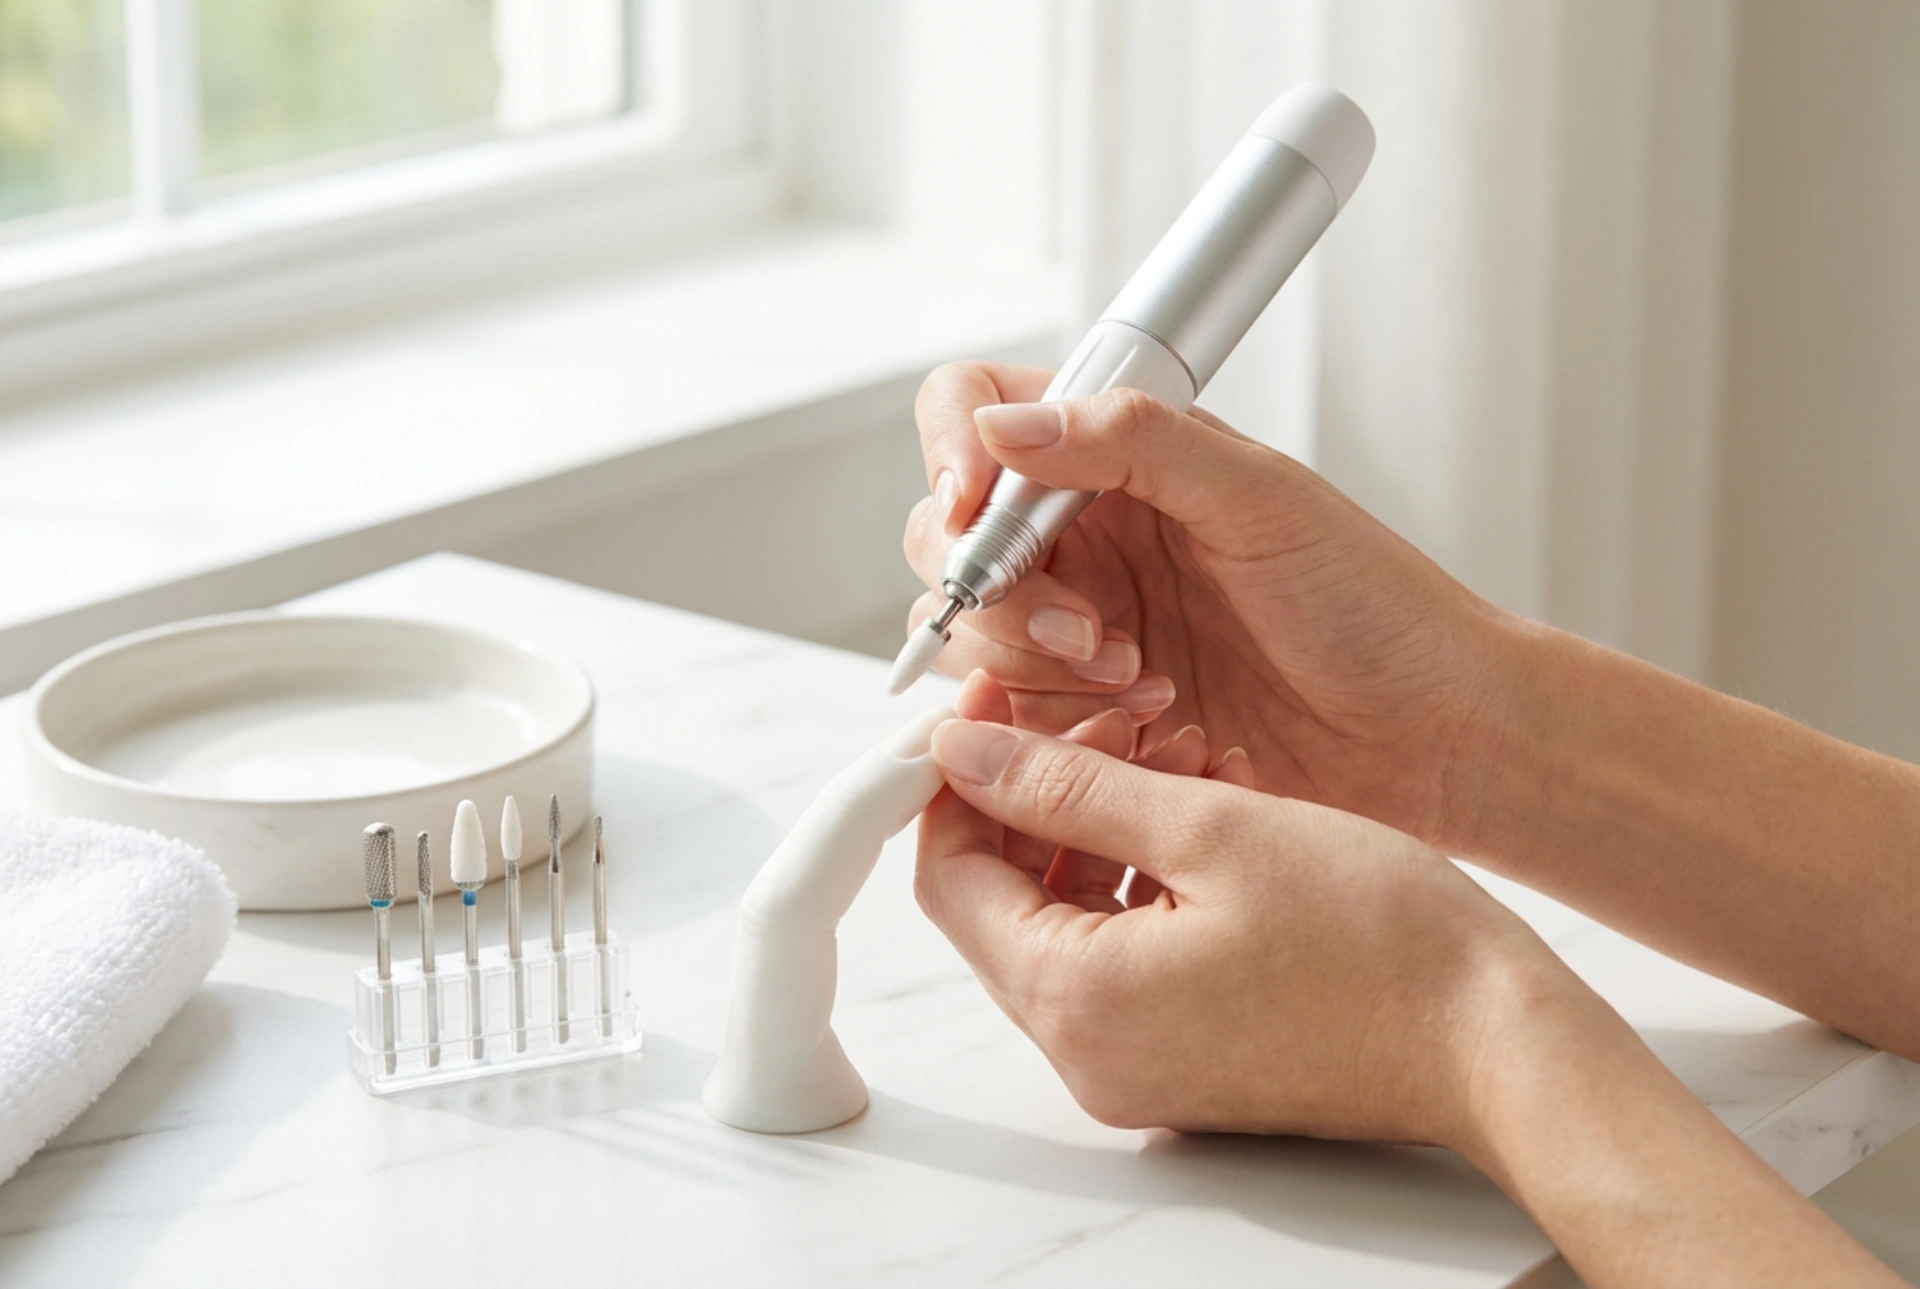


Embarking on the journey of home manicure care often leads to the discovery of advanced tools that simplify the entire process. A sleek, modern nail drill is one of the most efficient devices for preparing the nail plate and finishing a manicure. While it may seem intimidating at first, understanding the basic components and practicing with a steady hand can quickly elevate your home nail care routine to a professional standard. In this guide, we will explore the essential elements of a beginner's nail drill kit, focus on the functions of different bits, and provide safe exercises to build your confidence and precision.
Understanding Your Nail Drill and Starter Kit
Before plugging in your new device, it is crucial to understand its anatomy and how it operates. A standard starter kit typically includes the main power console, a lightweight handpiece, and a selection of basic drill bits. The handpiece is the most important part, as it houses the motor that rotates the bit. When choosing a starter device, look for one with adjustable speed settings and low vibration, as this ensures maximum control during your first attempts.
Most modern devices also feature a bidirectional rotation option (forward and reverse). This is particularly useful because the direction of rotation must always oppose the direction in which you are moving the handpiece across the nail. Understanding this principle prevents the tool from skipping or sliding uncontrollably off the nail surface, protecting both your skin and the natural plate.
An Introduction to Essential Nail Drill Bits
A starter kit usually comes with several bits made from different materials and in various shapes. Understanding what each bit is designed for is key to a safe and successful manicure:
- Ceramic Bits: Excellent for beginners because they do not heat up as quickly as metal bits. They are perfect for gently removing product layers such as hybrid polishes or builder gels.
- Carbide Bits: Highly durable metal bits designed for quick removal of hard materials. They require a steady hand and should be used at medium speeds.
- Diamond Bits: These feature a fine abrasive coating and are primarily used for preparing the natural nail plate, smoothing rough skin around the nails, and gently lifting the cuticle area.
- Felt and Silicone Buffers: Soft bits used at the very end of the process to polish the nail plate or apply nourishing oils to the surrounding skin.
Step-by-Step Guide to Your First Practice Exercises
Safety and control are the most important aspects of learning how to use a nail drill. Before working on your own hands, it is highly recommended to practice on artificial training fingers, tips, or even smooth surfaces like a plastic spoon to get a feel for the pressure and speed.
Exercise 1: Finding the Right Grip and Pressure
The first exercise focuses entirely on control. Hold the handpiece exactly like a pen, keeping your fingers close to the tip but not covering the ventilation holes. Rest your pinky or ring finger on a stable surface (this is called a anchor point) to stabilize your hand. Turn the device on the lowest speed setting and practice moving the tip lightly across an artificial nail plate. The key is to apply almost zero pressure; the rotation of the bit should do all the work. If you feel you need to press down, increase the speed slightly instead of applying physical force.
Exercise 2: Mastering the Direction of Movement
Practice moving the handpiece in smooth, continuous motions from one side of the nail to the other. If the bit is rotating clockwise (forward), you should guide the handpiece from left to right. This creates resistance, allowing you to guide the tool smoothly. If you move in the same direction as the rotation, the tool will slide too quickly and may cause an accident. Practice this movement until you can draw even, parallel lines on a practice tip without the bit jumping.
Exercise 3: Working Near the Cuticle Area
Once you feel comfortable with flat surfaces, practice navigating curved areas using a teardrop or flame-shaped diamond bit. On a training model, gently guide the side of the bit along the cuticle line, keeping the tool at a 45-degree angle. Never point the tip of the bit directly down into the nail plate, as this can create painful grooves. Instead, use the belly of the bit to gently buff away dry skin and lift cuticle tissue with light, sweeping motions.
Essential Safety Rules for Beginners
When working with a nail drill at home, adhering to safety guidelines ensures a pleasant and injury-free experience. Always start with the lowest speed, typically between 3,000 and 5,000 RPM, and only increase it as you gain confidence. Never stay in one spot for more than a second, as the friction will quickly generate heat and cause a burning sensation. Keep the tool constantly moving in gentle, sweeping strokes. Lastly, always ensure that your hands and the tool are clean, and regularly wipe away the fine dust generated during the process to maintain clear visibility of your working area.




