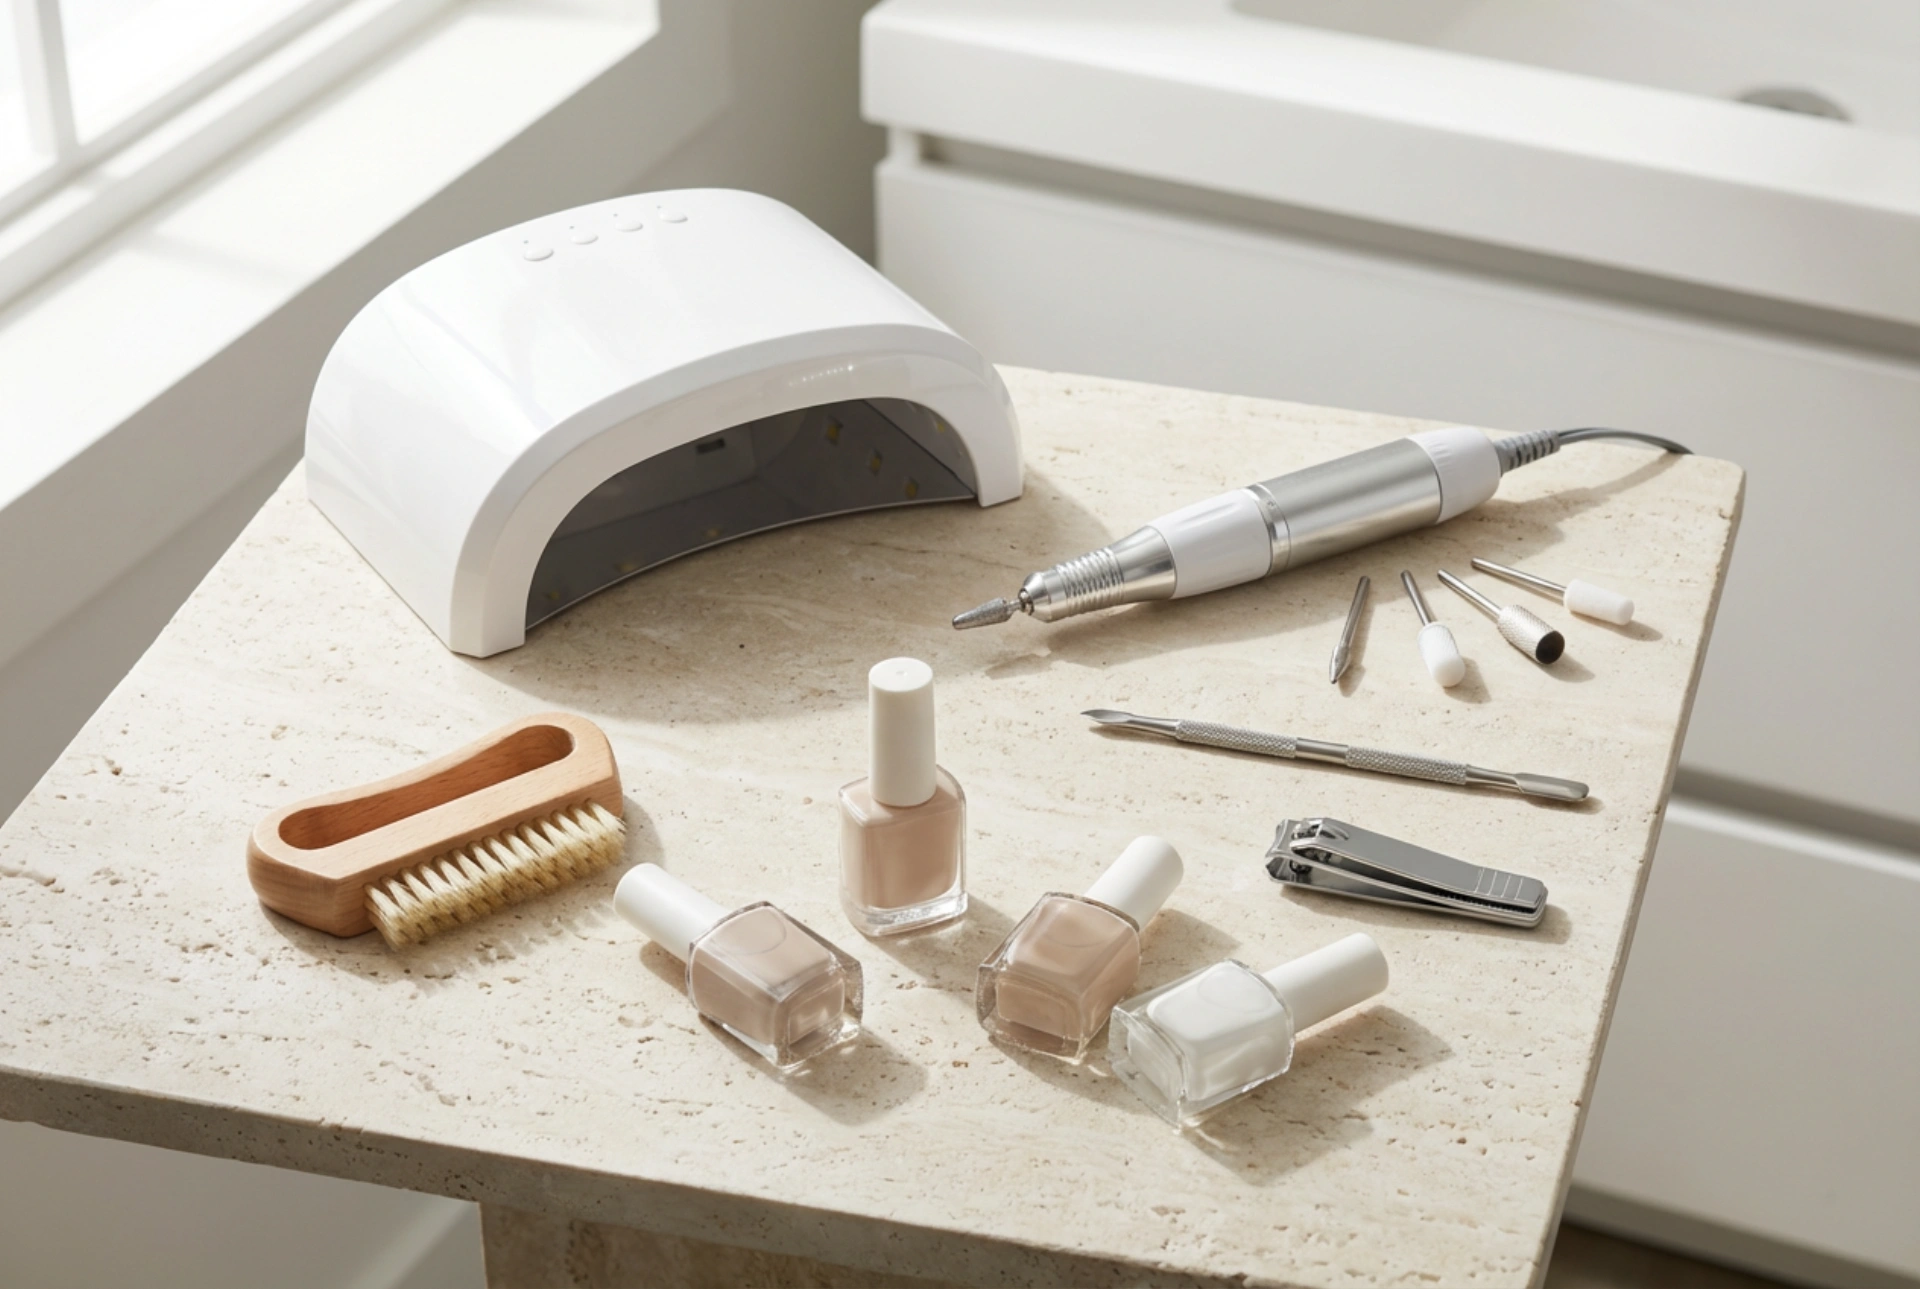


An elegant and well-groomed manicure is a key element of personal styling. Taking care of your nails at home has become increasingly popular, especially with access to professional-quality tools. A classic flat lay of nail care essentials—featuring a neutral UV/LED lamp, a sleek electric nail drill, styling brushes, and minimalist accessories on a clean surface—perfectly illustrates how easy it is to create a dedicated beauty space in the comfort of your own home. With the right equipment and a structured approach, you can achieve long-lasting, beautiful results safely and efficiently.
Understanding your home manicure tools
Before beginning any styling session, it is essential to understand the functions of your primary devices. The electric nail drill is a versatile tool used to prepare the natural nail plate, clean the cuticle area, and gently remove previous gel or hybrid layers. When used with the correct attachments, it minimises the need for manual filing and speeds up the preparation process significantly. The UV/LED lamp is responsible for curing the styling products, ensuring they harden correctly for a durable finish. Using a dual-wavelength lamp allows for even curing of various types of base coats, colours, and top coats.
Choosing the correct drill bits
Selecting the right attachments, or bits, for your electric drill is crucial for both safety and precision. For home use, a few basic shapes are highly recommended:
- Flame-shaped diamond bit: Ideal for gently lifting and cleaning the cuticle area.
- Cylinder or cone bit: Perfect for smoothing out the surface and removing old product layers.
- Ball bit: Used for smoothing the delicate skin around the nail fold.
Step 1: Preparing the nail plate with the electric drill
Proper preparation is the foundation of a long-lasting manicure. Start by thoroughly washing and drying your hands. Adjust your electric drill to a low speed, especially if you are a beginner, to maintain complete control over the device. Gently guide the flame-shaped bit along the cuticle line to remove any invisible dead skin cells from the nail plate. This prevents lifting of the subsequent layers. Next, use a fine-grit buffer or a very gentle drill bit to take away the natural shine from the nail surface, ensuring better adhesion for the base coat. Always work in one direction and avoid staying in one spot for too long to prevent overheating.
Step 2: Shaping and cleaning
Once the cuticle area is clean and the plate is prepped, use a manual file to shape the free edge of your nails to your preferred style, whether square, oval, or almond. After filing, use a soft brush to remove all dust from the fingers. Wipe the nail plates with a lint-free wipe soaked in a gentle dehydrating solution to remove any remaining oils and residue. This step is vital to ensure that the gel or hybrid polish adheres perfectly to the keratin layer of the nail.
Step 3: Application and curing under the lamp
The application process requires patience and precision. Apply a thin, even layer of base coat, making sure not to touch the surrounding skin or cuticles. Place your hand inside the UV/LED lamp for the recommended curing time, which is usually between thirty and sixty seconds depending on the device. Next, apply your chosen colour in thin coats, curing each layer individually. Thin layers prevent the product from shrinking or wrinkling under the light. Finish with a protective top coat to seal in the colour and add a beautiful gloss or modern matte finish, curing it one last time in the lamp.
Post-manicure care for hands and cuticles
Once the styling process is complete, it is important to restore hydration to the surrounding skin. Apply a drop of nourishing cosmetic oil to the cuticles and massage it gently. Follow with a rich, hydrating hand cream to keep the skin soft and supple, perfectly complementing your fresh, clean manicure.




