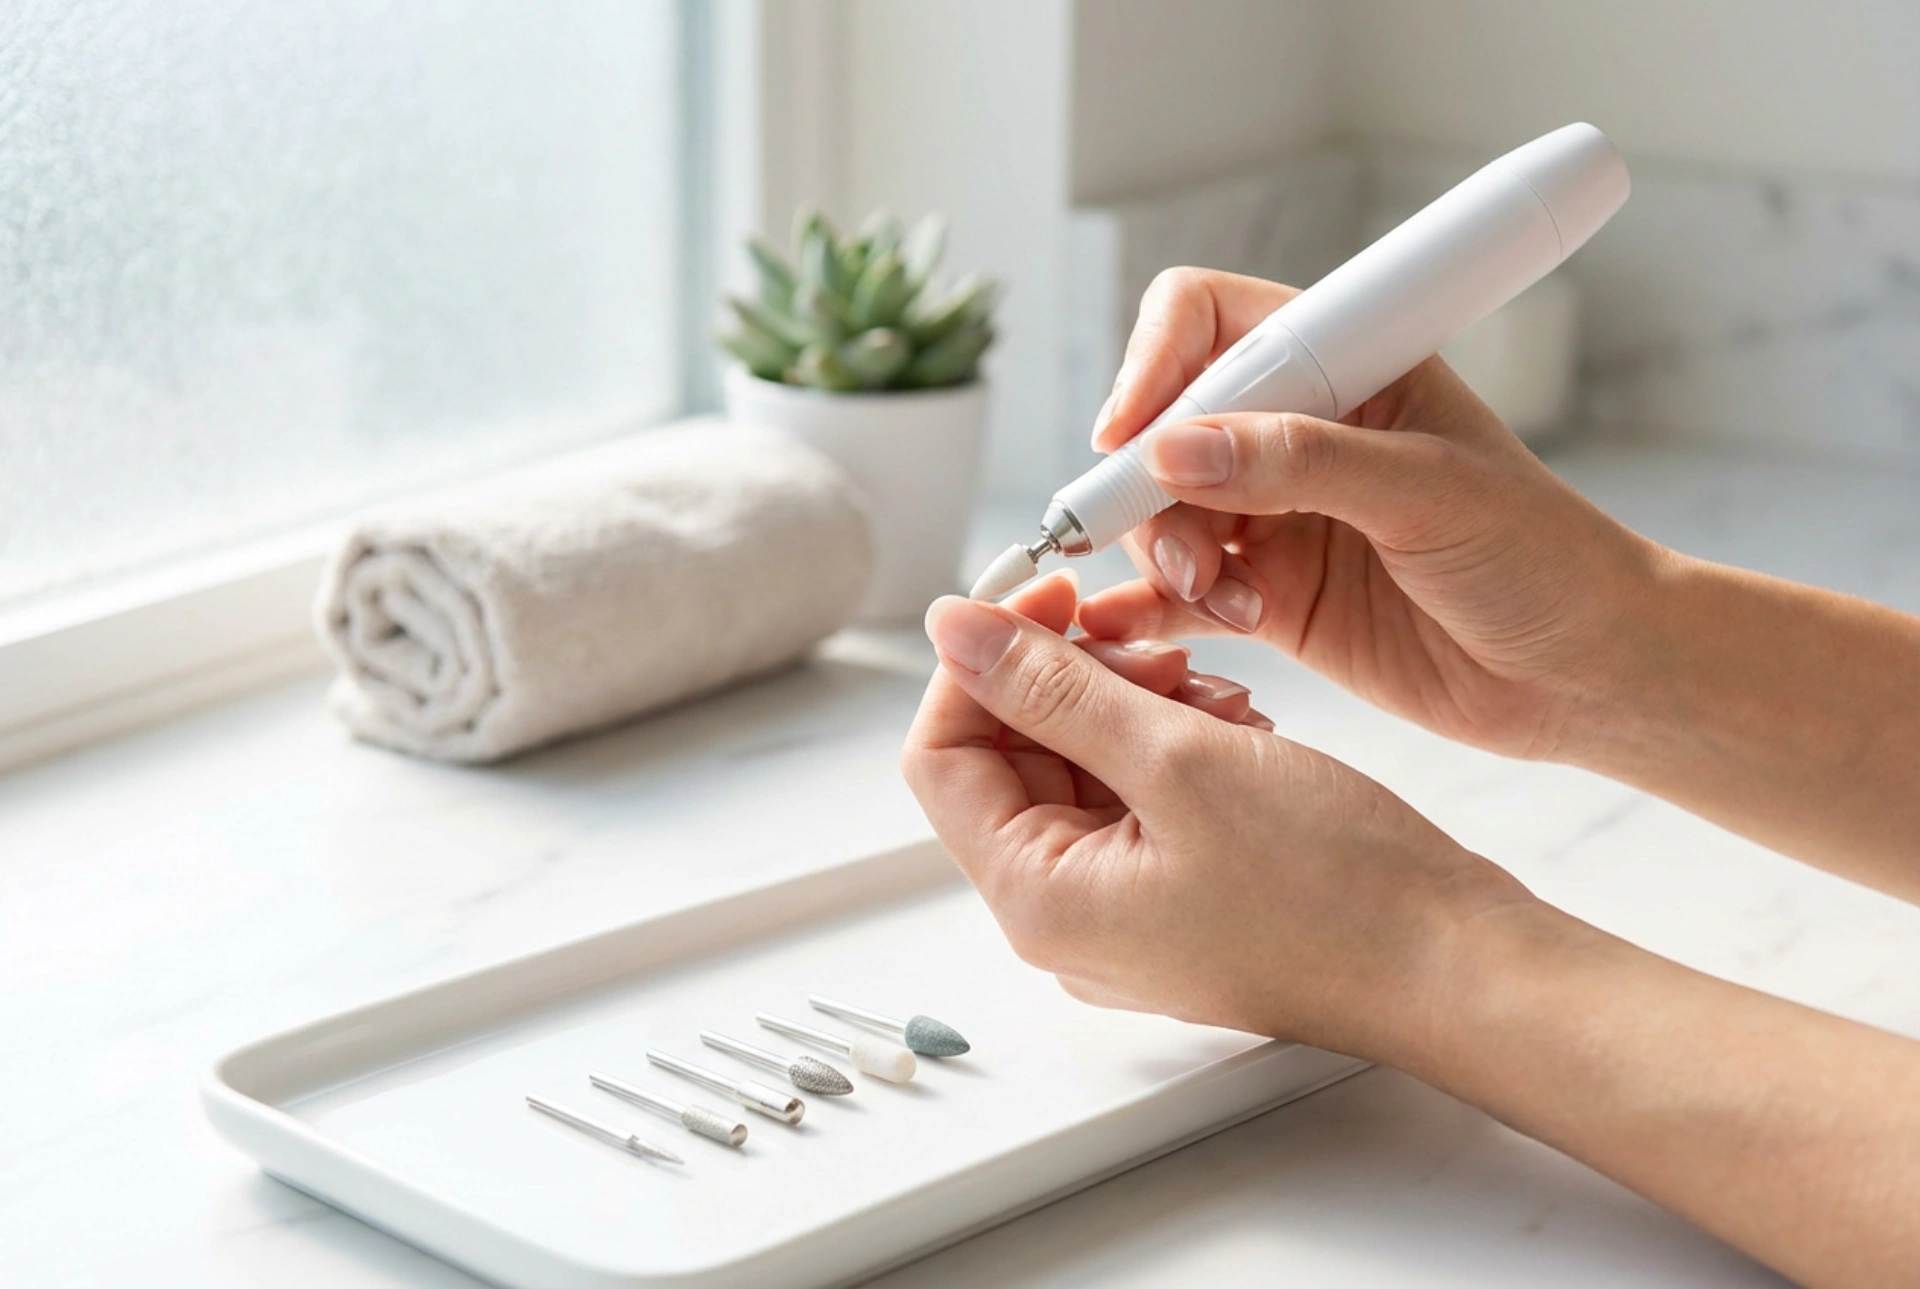


An electric nail drill is a versatile tool that has revolutionised home manicure routines, allowing for precise preparation of the nail plate and gentle cuticle care. Correct preparation of the skin surrounding the nail is essential for achieving a clean, professional-looking finish that lasts. Working with an electric file on such a delicate area requires patience, the correct technique, and a solid understanding of the tools involved. Using the right attachments not only ensures aesthetic results but also keeps the natural nail plate intact and healthy.
Understanding Your Nail Drill and Selecting the Right Speed
Before beginning any work on the cuticle area, it is vital to understand how your nail drill operates. Control over the rotation speed and direction is the foundation of safe cuticle care. For delicate skin, the machine should always be set to a low speed, typically between 5,000 and 10,000 RPM. High speeds can quickly lead to friction burns or damage to the nail matrix.
Most modern electric files feature bi-directional rotation (Forward and Reverse). As a general rule, when working on the left side of the nail, the drill should spin in the Forward direction, while the Reverse setting should be used on the right side. This ensures that the bit always rotates away from the skin, preventing it from slipping and causing injury.
Choosing the Correct Bits for Cuticle Work
The key to a successful manicure lies in choosing the correct shape and grit of the drill bits. For cuticle work, diamond-coated bits are the standard choice due to their gentle abrasive properties. Here are the most common shapes used for this purpose:
- Flame Bit: This is a versatile, pointed attachment used to lift the cuticles from the nail plate and clean the lateral nail folds. Its sharp tip requires careful handling to avoid digging into the nail.
- Ball Bit: Ideal for gently removing the lifted, dead skin around the nail frame. It smoothens the skin without touching the nail plate.
- Cylinder or Cone Bit: Useful for smoothing rough lateral ridges and preparing the skin surface around the nail.
When selecting bits, pay attention to the colour-coded bands which indicate the grit level. For cuticle care, a red band (fine grit) or a yellow band (extra fine grit) is highly recommended. Blue bands (medium grit) should only be used on very thick, calloused skin and with extreme caution.
Step-by-Step Guide to Safe Cuticle Preparation
Achieving a clean nail frame requires a methodical approach. Follow these steps to ensure a safe and effective process:
First, gently push back the cuticles using a wooden stick or a metal pusher. This creates a clear boundary and lifts the skin slightly off the nail plate, making it easier for the drill bit to access the area. Next, select a flame-shaped diamond bit with a red band. Holding the handpiece like a pen, gently slide the bit under the cuticle fold, keeping it parallel to the nail plate. Never point the tip of the bit directly down into the nail.
Work in short, sweeping motions, moving from the centre of the nail towards the outer edges. Once the cuticle is lifted and the nail plate is clear of dead tissue, switch to a small ball-shaped bit to gently buff away the dry, raised skin. Finish the process by applying a nourishing oil to hydrate the treated area.
Common Mistakes to Avoid
Working with an electric nail file requires precision, and even minor errors can affect the health of your nails. One of the most common mistakes is holding the bit at an incorrect angle. Tilted bits can drill grooves into the natural nail plate, leading to weak spots that grow out over several months.
Another frequent error is applying too much pressure. The abrasive surface of the bit should do the work; the handpiece should merely glide over the skin. Applying pressure causes friction, heat, and discomfort. Lastly, working on a single spot for too long must be avoided. Keep the handpiece moving constantly to prevent heat build-up and ensure an even, smooth finish across the entire cuticle area.




