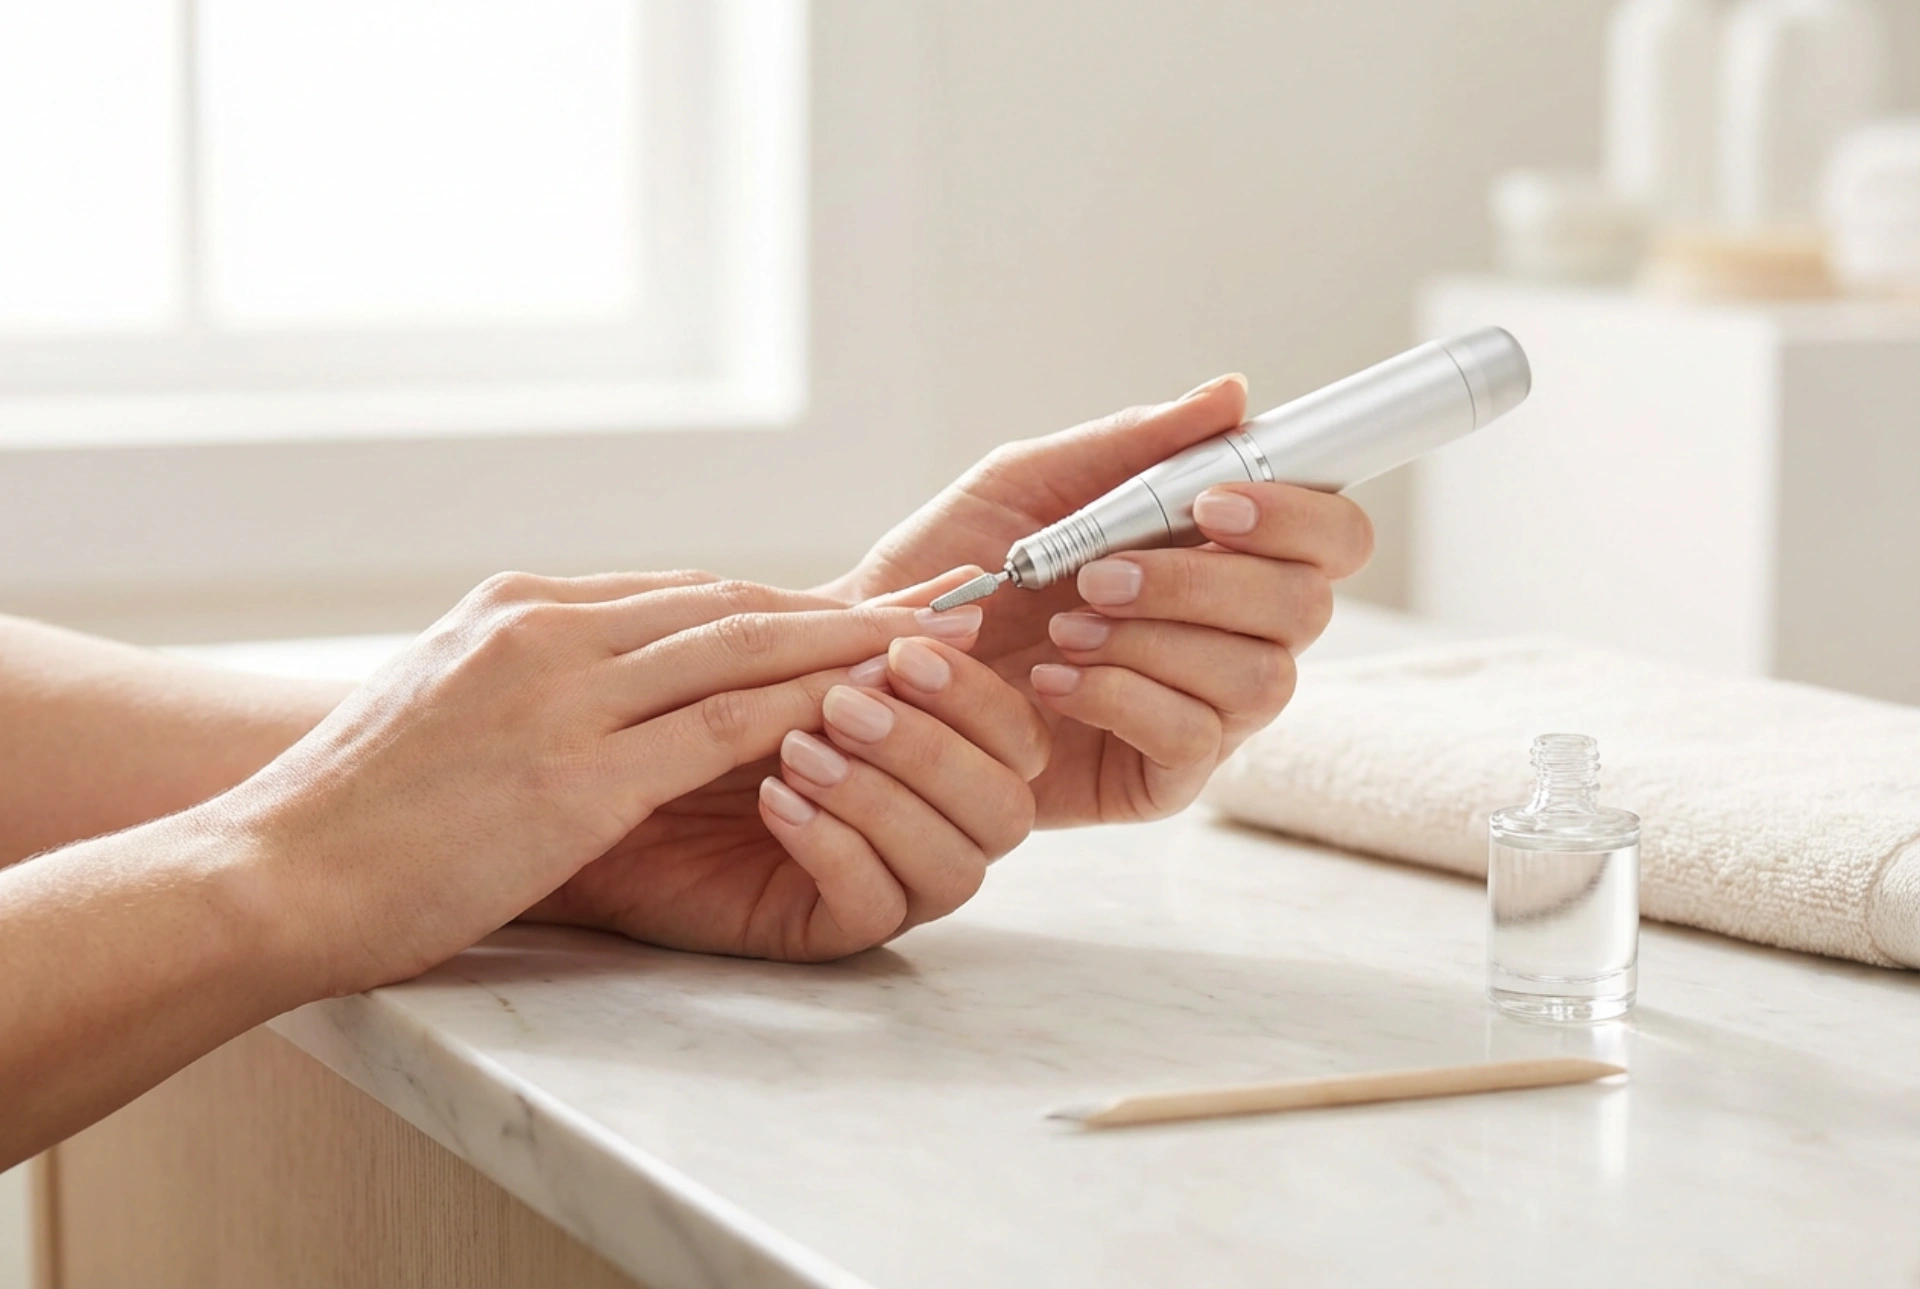


Achieving a flawless, long-lasting manicure begins long before the first coat of colour is applied. In modern nail care, the electric nail file has transitioned from a professional salon tool into a staple of advanced home routines. When used correctly, it streamlines the process of removing old gel polish and prepares the natural nail plate with unmatched precision. Understanding the techniques, proper attachments, and safety principles is key to maintaining strong, healthy nails while enjoying the efficiency of this versatile device.
Understanding the Benefits of an Electric Nail File
Using an electric nail file, often referred to as a nail drill, offers several advantages over traditional manual filing. Standard hand files require significant manual effort and can easily lead to uneven friction, which may thin out specific areas of the nail plate. An electric file provides a consistent, controlled rotation speed, allowing for highly uniform smoothing and product removal.
Moreover, it significantly reduces the time required to dissolve or file down stubborn gel layers. Instead of wrapping fingers in acetone for extended periods—which can dry out the surrounding skin and nail matrix—an electric file allows for targeted removal, leaving the natural protective layers of the nail intact when guided with a gentle hand.
Selecting the Right Attachments and Speeds
The secret to safe and effective electric filing lies in choosing the correct attachment, often called a bit, and setting the appropriate rotation speed. Bits are categorised by their material and grit size, usually indicated by a coloured ring on the shaft.
- Carbide and Ceramic Bits: These are ideal for removing gel polish, hard gel, or acrylic overlays. Ceramic bits are particularly popular for home use as they generate less heat during friction, enhancing comfort.
- Diamond Bits: These feature fine, abrasive particles and are designed for working on the natural nail plate, smoothing out dry cuticles, and cleaning the lateral nail folds.
- Sanding Bands: Single-use paper bands are excellent for gently removing the natural shine from the nail plate before application, ensuring optimal adhesion without thinning the keratin layers.
When operating the device, speed control is vital. For removing gel polish, a medium speed (approximately 15,000 to 20,000 RPM) is recommended to allow the bit to shave off the product smoothly without stalling. For delicate work on the natural nail plate and around the cuticle area, the speed should be kept low, ideally between 5,000 and 10,000 RPM, to prevent accidental damage.
Step-by-Step Guide to Removing Gel Polish Safely
Removing a gel polish style requires patience and a structured approach to ensure the natural nail underneath remains undamaged. Follow these steps for a safe removal process:
Step 1: Position and Grip
Rest your elbows on a flat, stable surface to steady your hands. Hold the handpiece of the electric file like a pen, keeping your grip firm but relaxed. Always use your pinky finger of the working hand as a support anchor on the hand you are working on to maintain absolute control.
Step 2: Gentle Product Shaving
Using a medium-grit ceramic or carbide bit, begin moving the file across the nail in smooth, continuous motions. Work in one direction, parallel to the nail surface, and never hold the bit in one spot to avoid heat build-up. Focus on removing the top coat and the bulk of the colour layer, leaving a very thin base coat layer untouched to protect the natural nail.
Step 3: Removing Residual Base Coat
Switch to a finer bit or a gentle sanding band at a lower speed to carefully blend the remaining base coat. If you plan to apply a new set of gel polish immediately, it is often safer to leave a microscopic layer of the old, well-adhered base coat rather than filing down to the bare natural nail.
Preparing the Nail Plate for a New Application
Once the old product is removed, preparing the natural nail plate is the next crucial phase. Proper preparation ensures that the new manicure adheres perfectly and does not lift prematurely at the edges.
Begin by shaping the free edge of the nail using a manual glass or fine emery file, working in one direction to prevent splitting. Next, insert a fine diamond teardrop or flame-shaped bit into your electric file. Set the rotation to a low speed. Gently run the tip of the bit around the cuticle area to lift and clear away any dead skin adhering to the nail plate. Keep the bit flat against the nail surface, never tilting the point downwards, which could gouge the plate.
After cleaning the cuticle area, use a soft buffer or a very fine, worn sanding band to gently remove the natural oils and shine from the nail surface. The goal is not to thin the nail, but simply to create a microscopically textured surface that allows the base coat to bond securely. Finish by wiping the nails thoroughly with a lint-free wipe soaked in a professional prep solution to remove all traces of dust and oils.
Key Safety and Maintenance Rules
To ensure your electric nail file remains a safe and hygienic tool, establish a routine of proper maintenance and personal safety. Dust management is highly important; always work in a well-ventilated space and consider using a dedicated dust collector to prevent inhaling fine particles. Clean your metal and ceramic bits after every use using a small brush, wash them with soap and water, and disinfect them according to the manufacturer's instructions. Finally, never apply downward pressure when filing—let the rotation of the machine do the work for you, ensuring a gentle, pain-free, and professional-standard manicure experience at home.




