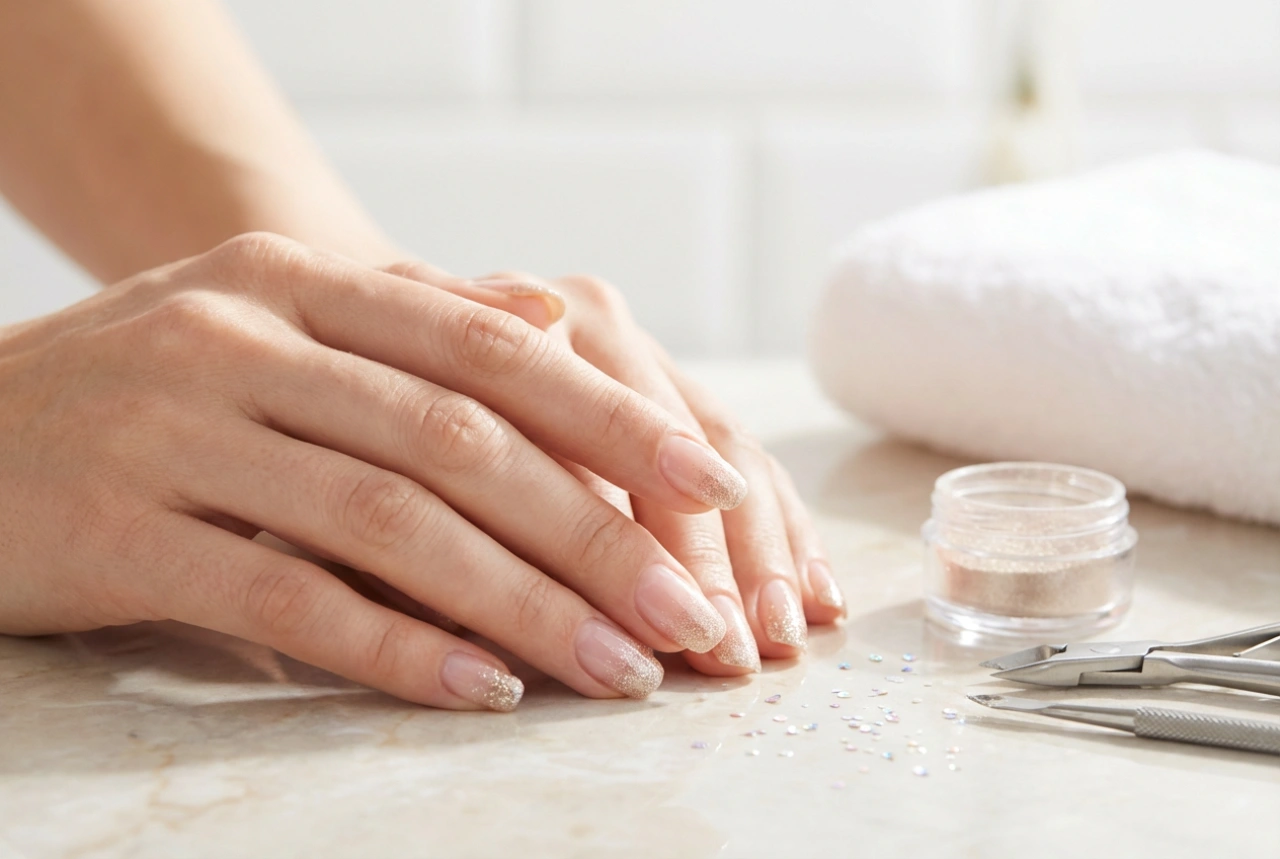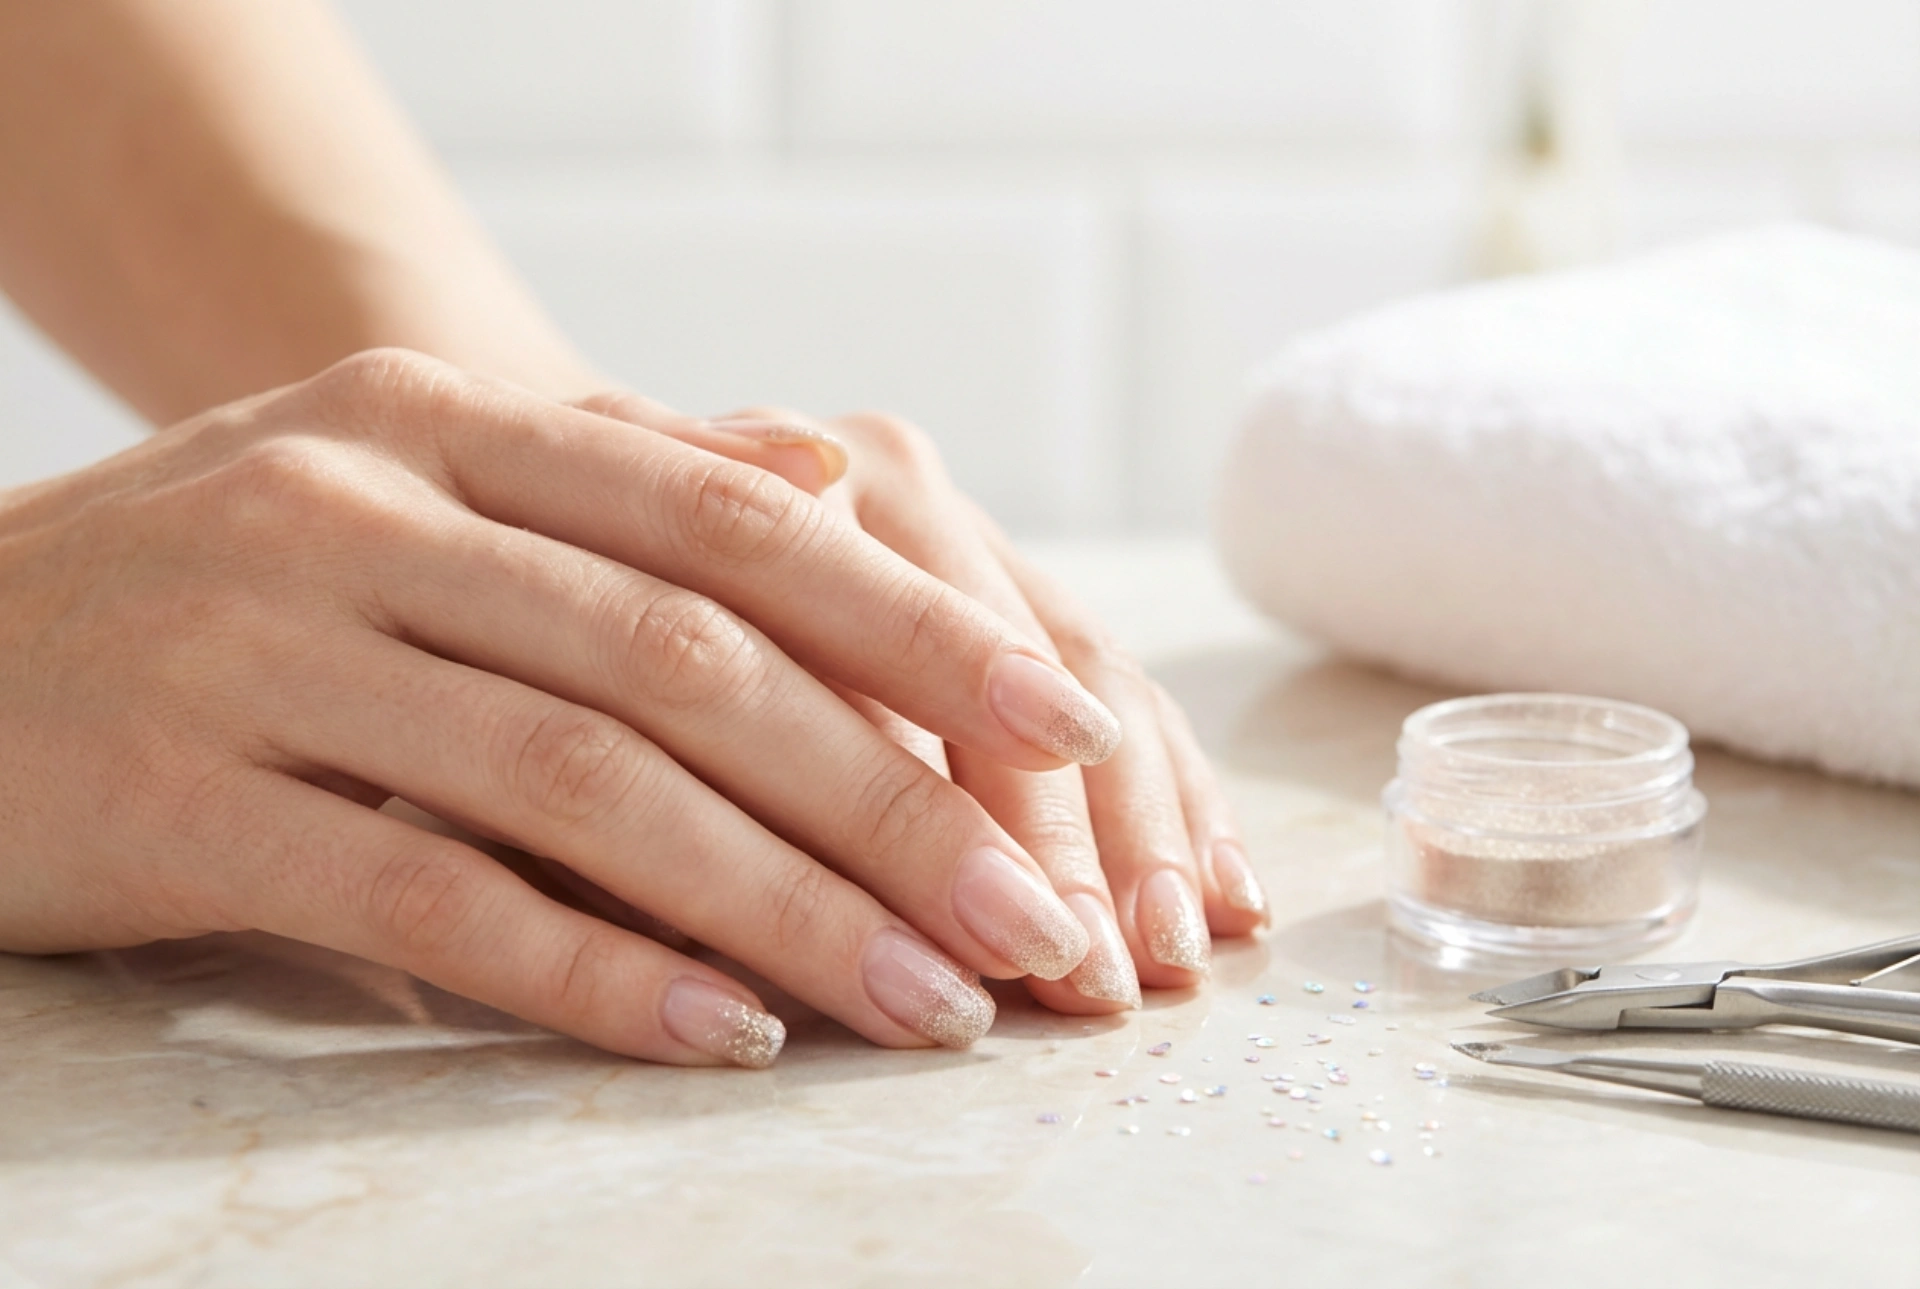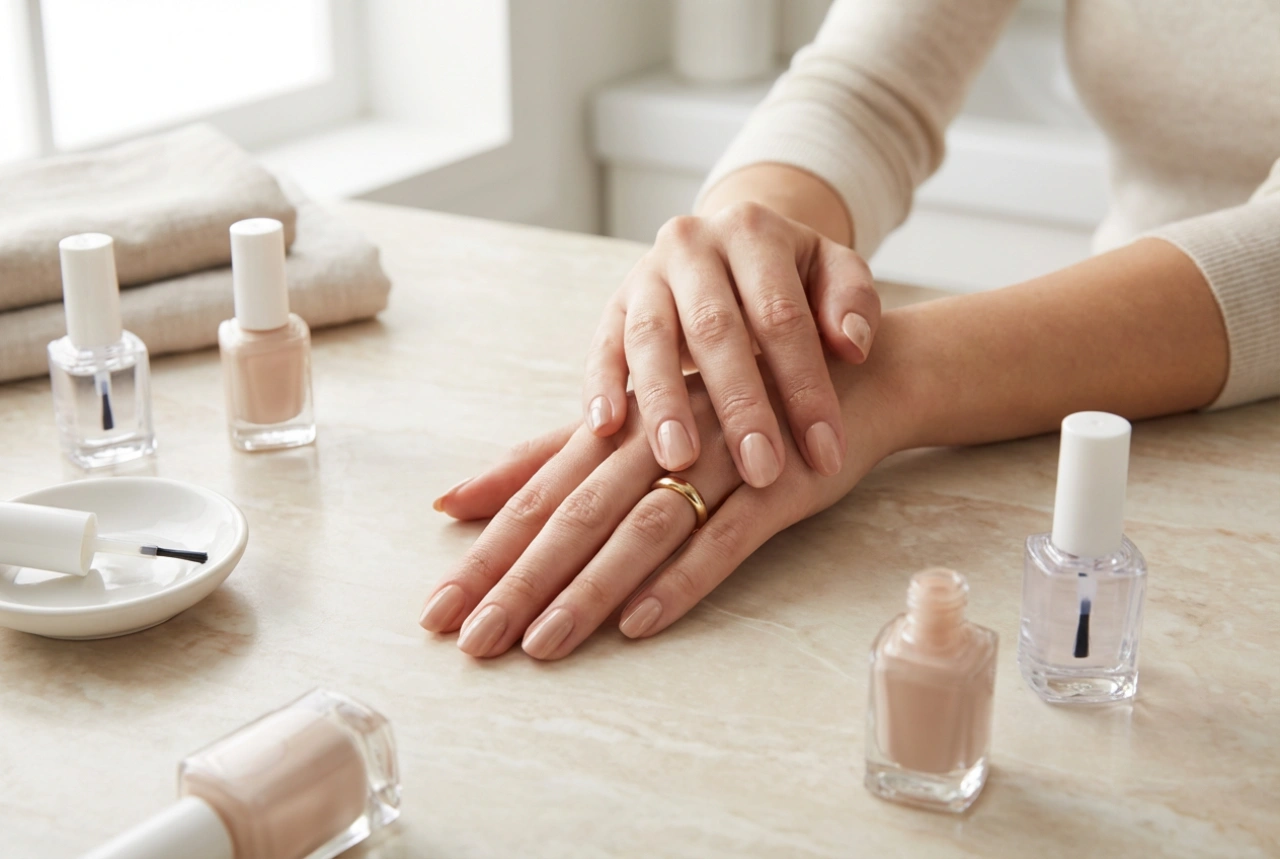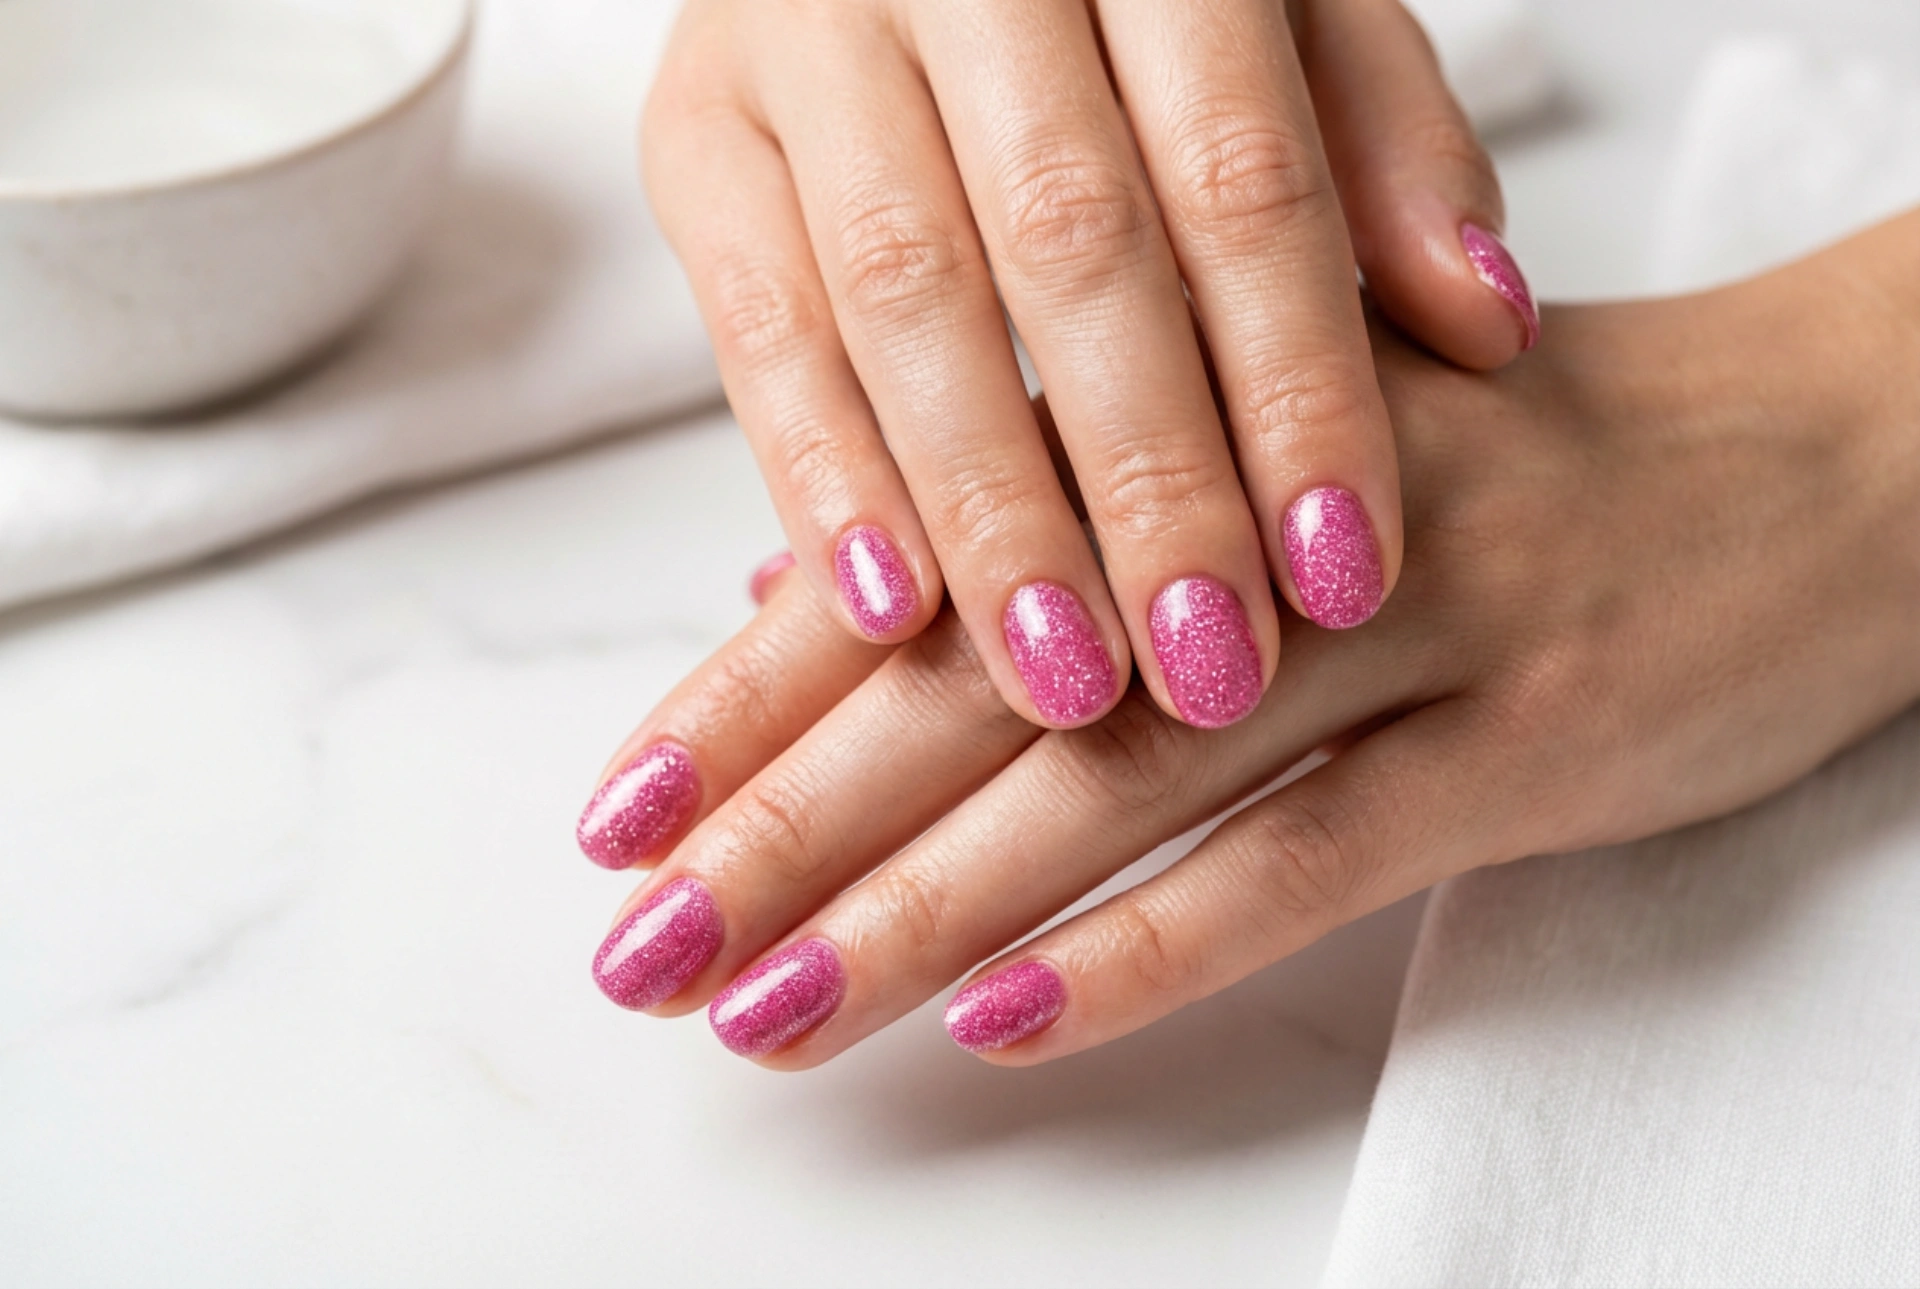


Beautifully manicured hands adorned with a vibrant pink glitter polish can instantly elevate any look. The mesmerising shimmer of fine glitter catching the natural light brings a sense of elegance and sophistication to your daily beauty routine. Achieving that perfect, professional finish at home—characterised by flawless, even coverage and a glass-like shine—requires a little patience and the right application techniques. Glitter polish can sometimes be tricky to apply, but with the correct approach, you can easily avoid patchiness and texture issues.
Prepping the Canvas for Shimmering Polish
Before applying any colour, preparing your nails is essential for a long-lasting and smooth finish. Any unevenness on the nail plate will be magnified once the glitter and top coat are applied. Start by gently shaping your nails with a fine-grit file, ensuring the edges are smooth and free of snags. A classic rounded or soft square shape works beautifully with vibrant pink tones.
Next, gently push back your cuticles to create a clean, elongated nail bed. Lightly buff the surface of the nail plate with a soft buffer to remove natural oils and create a slightly textured surface that helps the polish adhere better. Finally, wipe the nails with a lint-free pad soaked in a gentle dehydrating solution to remove any remaining dust or residue. Always apply a high-quality base coat first; this not only protects the natural nail from staining but also creates a smooth, flat foundation for the glitter layers to cling to.
Mastering the Art of Even Glitter Coverage
One of the most common challenges with glitter nail polish is achieving a dense, even layer without creating a thick, clumpy build-up. There are two primary methods to get the perfect coverage:
- The Layering Method: Apply the pink glitter polish in thin, consistent strokes. It is always better to apply three very thin layers, allowing each to dry completely, rather than one thick layer. This ensures the polish cures properly and prevents premature chipping.
- The Sponge Method: If you are looking for maximum glitter density, use a small makeup sponge. Apply a small amount of the pink glitter polish directly onto the corner of the sponge. Gently pat the sponge onto your nail. The sponge absorbs the excess liquid polish, leaving a highly concentrated, even layer of glitter particles on the nail.
Whichever method you choose, remember to seal the free edge of the nail by running the brush lightly along the very tip. This simple step prevents the glitter from lifting and helps your manicure last significantly longer.
Sealing the Sparkle with a High-Gloss Top Coat
Glitter particles naturally create a textured, slightly rough surface when dry. To achieve that coveted high-gloss finish that catches the light beautifully, a generous application of top coat is indispensable. A thick, volumising top coat works best for this purpose, as it fills in the microscopic gaps between the glitter flecks, creating a perfectly smooth, glass-like surface.
When applying the top coat, use a light hand to float the polish over the glitter rather than pressing down hard, which can drag the glitter particles. For an extra-durable and ultra-shiny finish, you can apply a second layer of top coat once the first is completely dry. This double-layering technique not only enhances the depth of the shimmer but also protects your manicure from daily wear and tear.
Simple Aftercare for Radiant Hands
Maintaining the beauty of your pink glitter manicure goes beyond the initial application. Daily hydration is key to keeping your hands and cuticles looking pristine. Apply a nourishing cuticle oil every evening, gently massaging it into the skin surrounding the nails. This simple habit prevents dry skin and keeps the entire manicure looking fresh and clean.
When it is finally time to change your polish, avoid scraping or peeling the glitter off, as this can damage the top layers of your natural nail. Instead, soak a cotton pad in a gentle remover, place it over the nail, and wrap it in a small piece of aluminium foil for a few minutes. This softens the glitter and allows it to slide off effortlessly without any harsh scrubbing.