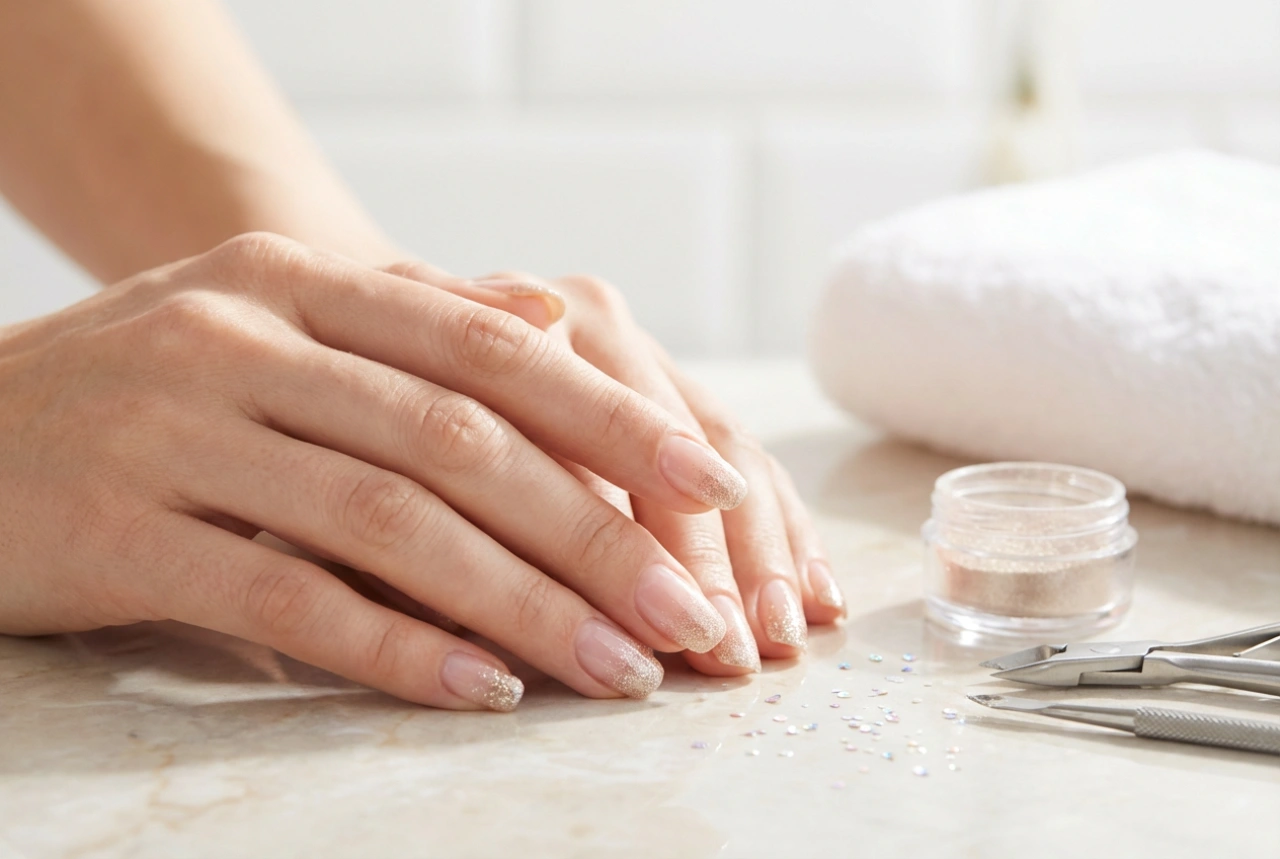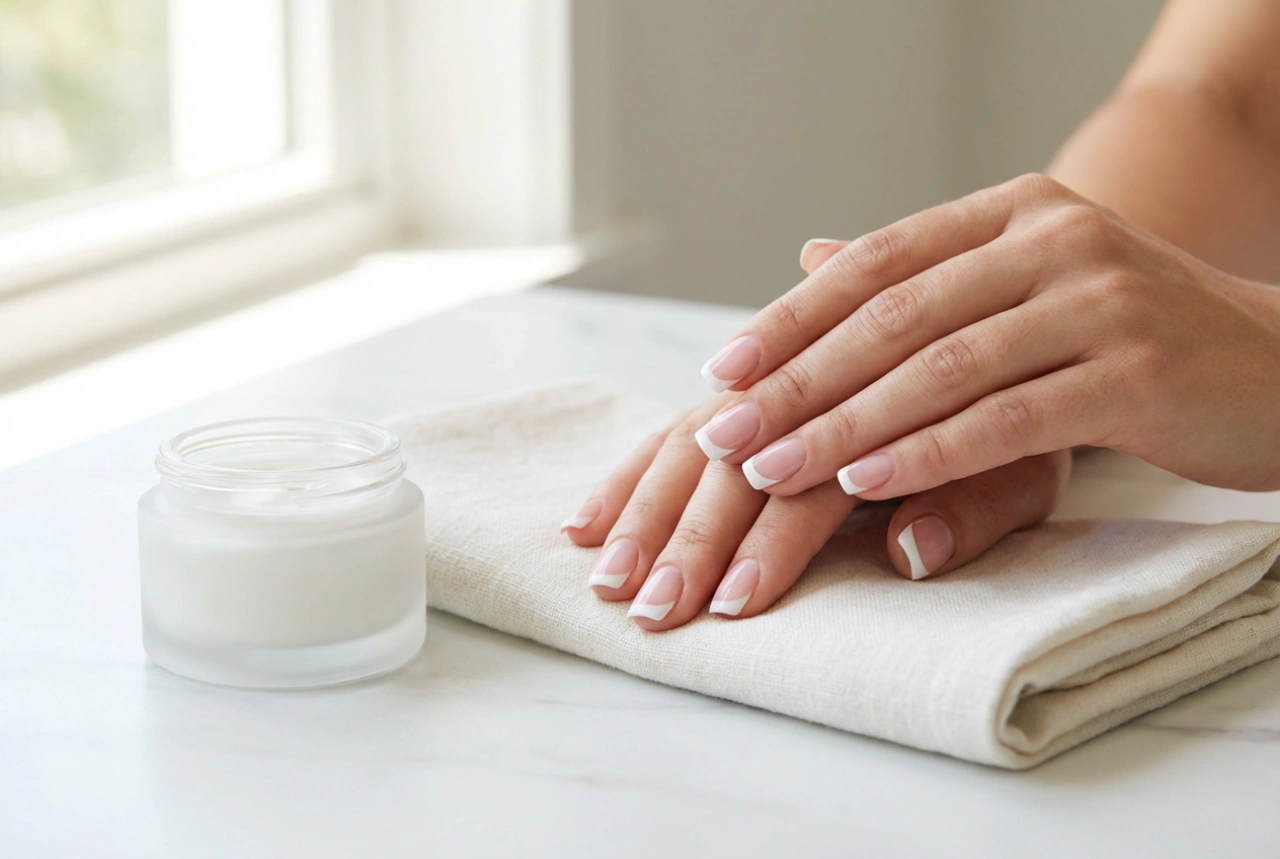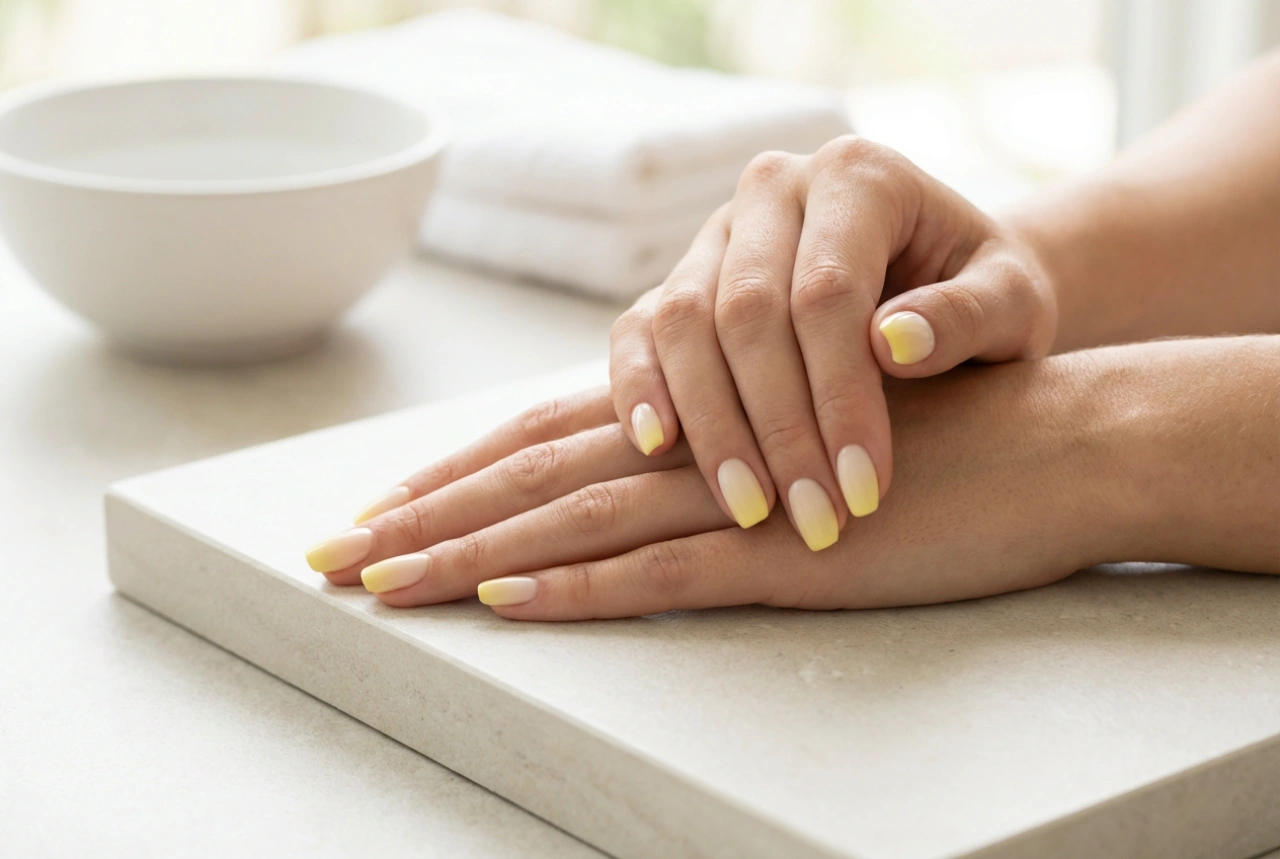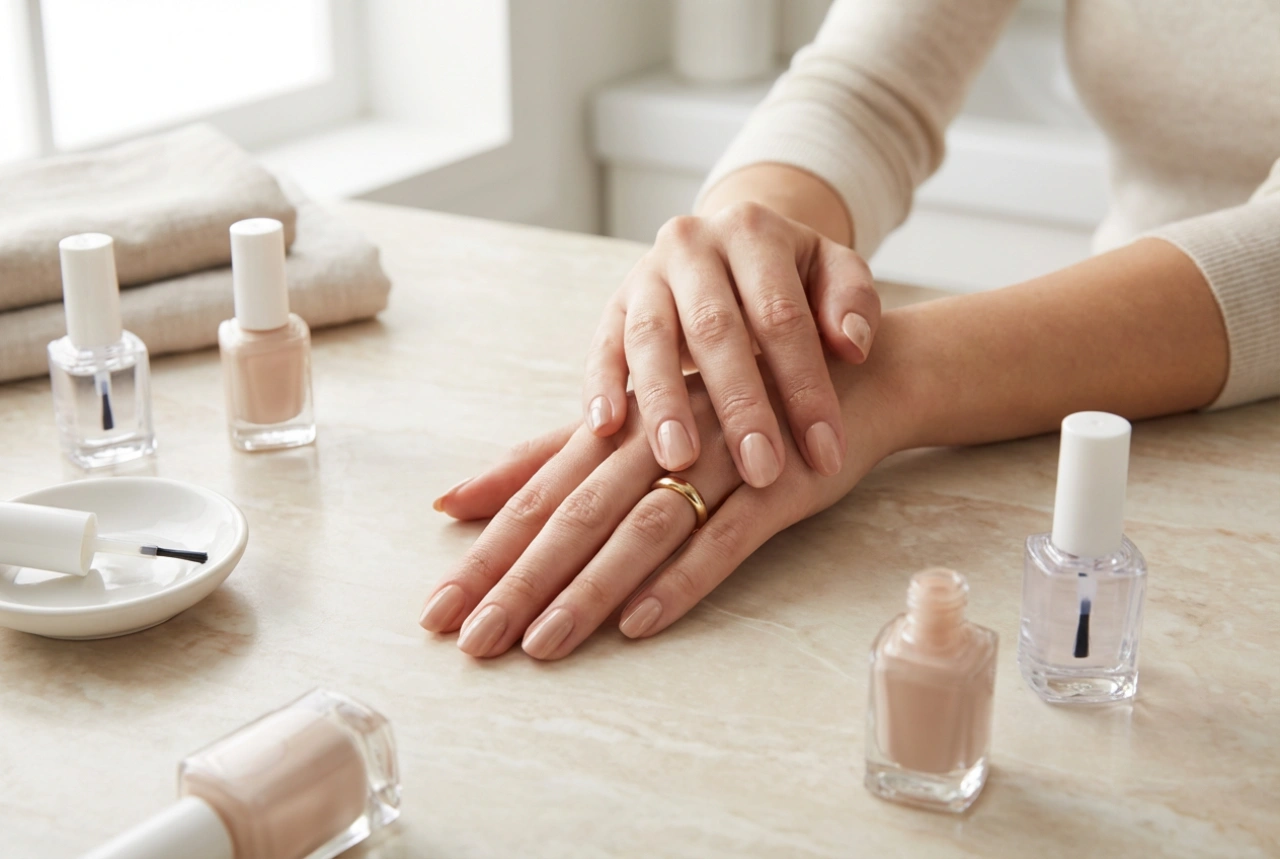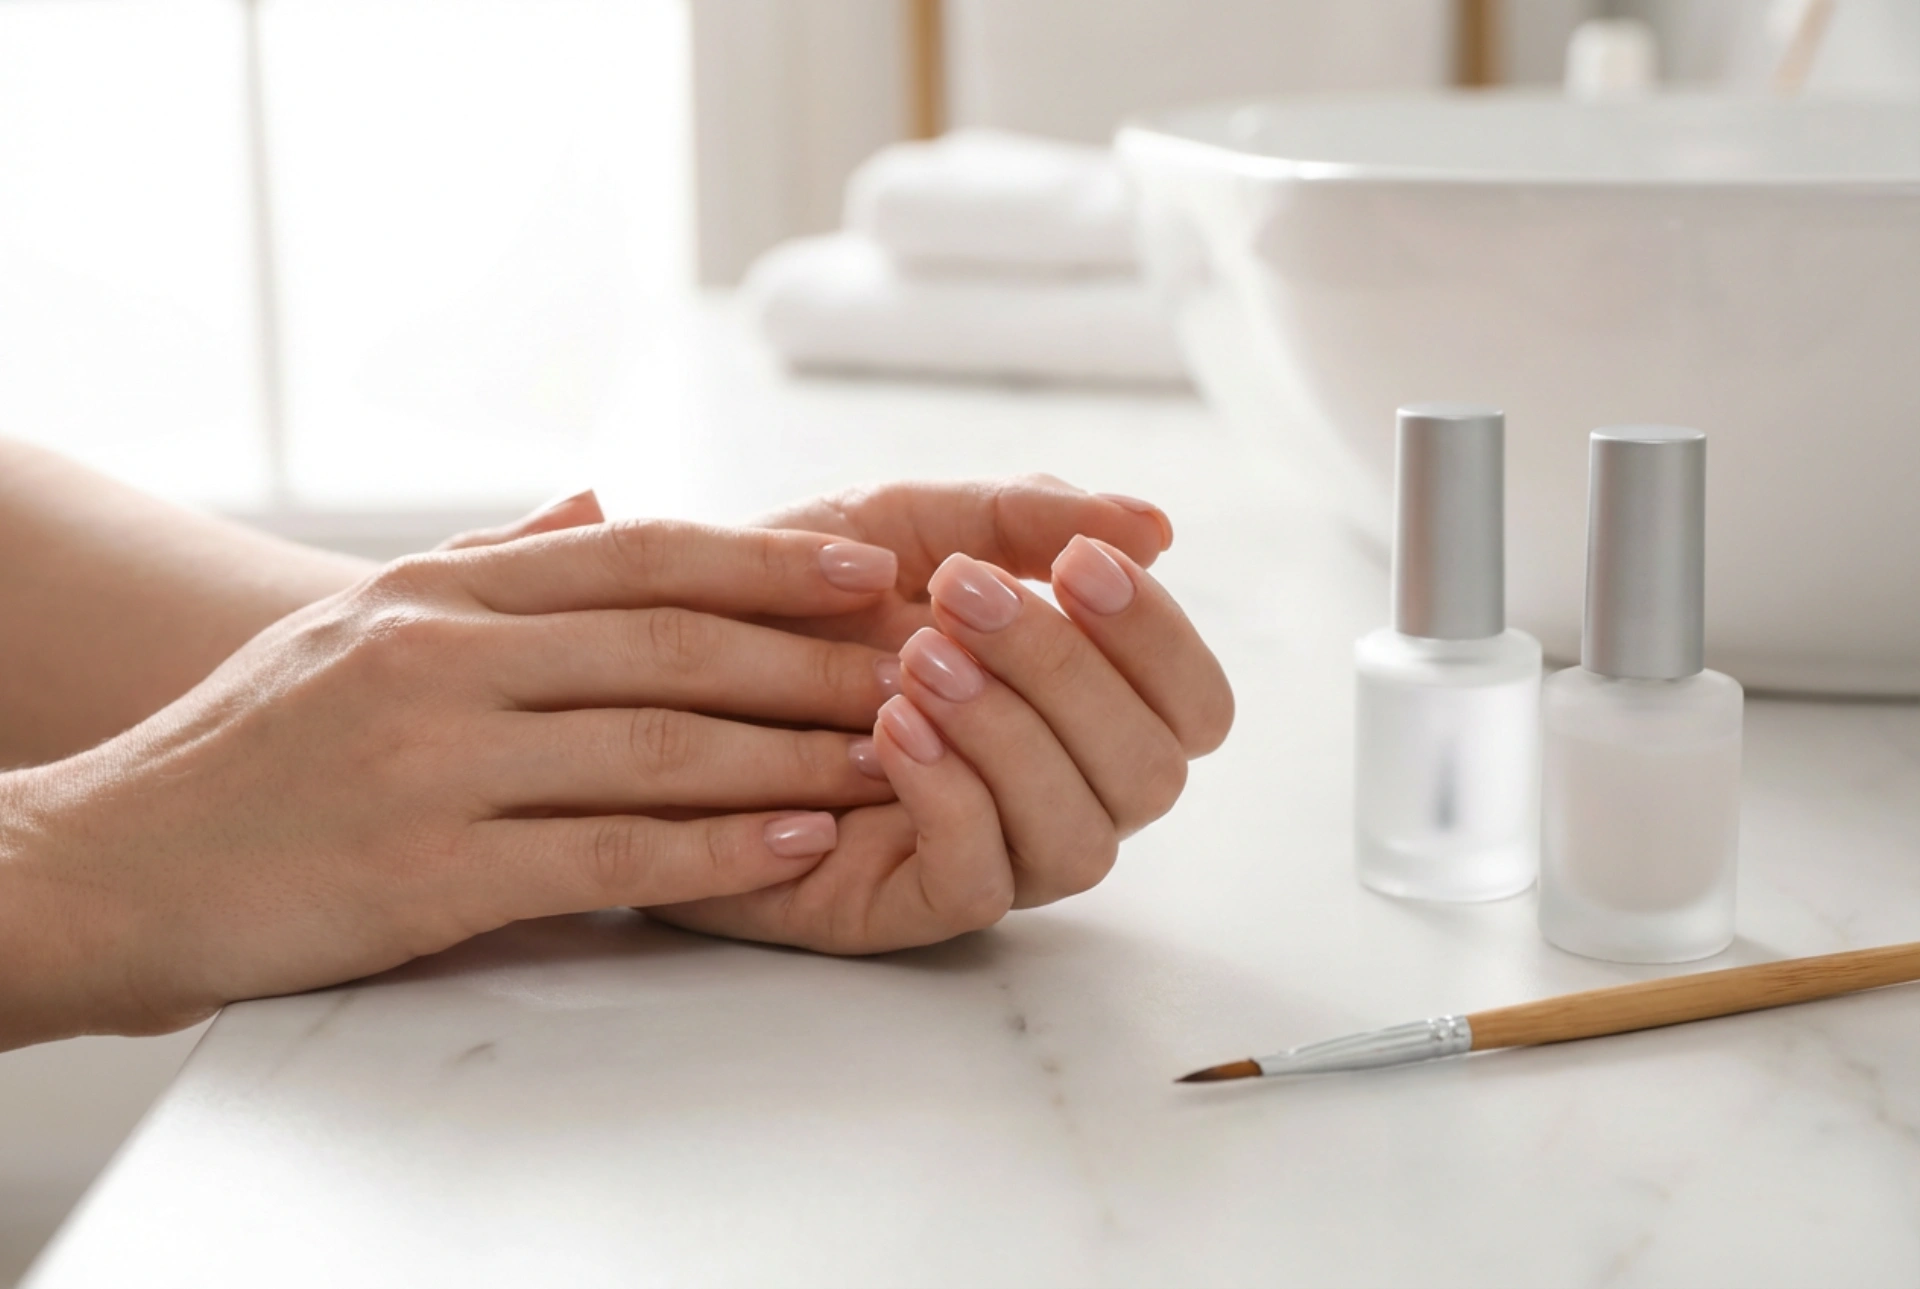


A beautiful, high-shine manicure achieved in the comfort of your own home is the ultimate expression of effortless self-care. Well-groomed hands with an impeccably smooth finish look exceptionally elegant, and achieving a professional, gel-like look no longer requires specialized salon equipment or UV lamps. With the evolution of home-care beauty products, you can now enjoy the depth of colour, remarkable lustre, and impressive durability of a gel manicure using air-drying alternatives. This approach not only saves time but also allows you to easily switch up your look whenever you desire, all while maintaining the natural health of your nails.
The Innovation of Lamp-Free Gel Nail Polish
For many years, achieving a thick, glossy finish that resists chipping for days was only possible through professional salon treatments utilizing ultraviolet lamps. However, modern cosmetic formulations have bridged this gap, introducing air-drying gel-look polishes that mimic the plumpness and shine of traditional salon gels. These products contain advanced polymers and resins that cure gradually when exposed to ordinary ambient light.
The beauty of this system lies in its simplicity. Unlike standard nail polishes, which can sometimes appear thin or streak easily, gel-effect formulas possess a slightly richer viscosity. This allows them to self-level on the nail plate, filling in minor ridges and creating a perfectly flat, light-reflecting surface. Furthermore, removing these polishes is incredibly straightforward, requiring only standard, gentle nail polish remover without the need for harsh soaking or scraping.
Essential Preparation: Laying the Groundwork for Shine
The secret to any long-lasting manicure is meticulous preparation. To ensure that your gel-look polish adheres perfectly and remains chip-free, follow these foundational steps:
- Cleanse and degrease: Wash your hands thoroughly and use a lint-free pad soaked in a gentle nail cleanser or rubbing alcohol to remove any natural oils, hand creams, or residue from the nail plate.
- Shape and smooth: File your nails to your preferred shape, moving the file in one direction to prevent splitting. Gently buff the surface of the nail with a soft buffer to remove shine and create a smooth canvas, but avoid over-buffing.
- Care for the cuticles: Soften your cuticles with a drop of nourishing oil or warm water, then gently push them back using a wooden manicure stick. This creates a neat frame for your polish and prevents the product from lifting at the base.
The Application Process: Step-by-Step to Perfection
Achieving a flawless, salon-grade finish at home requires a structured application technique. Precision and patience are key to preventing bubbles and ensuring even drying.
1. Applying the Base Coat
Always start with a high-quality, protective base coat designed to smooth the nail surface. This acts as an anchor for the colour, prevents staining from highly pigmented shades, and helps the polish glide on effortlessly. Allow this layer to dry completely before moving to the next step.
2. Layering the Colour
When applying your gel-effect polish, less is always more. It is far better to apply two or three very thin coats rather than one thick layer. Thick layers trap moisture underneath, leading to bubbling, uneven drying, and premature chipping. Apply the polish using three precise strokes: one down the middle of the nail, and one on each side. Ensure you seal the free edge of the nail by running the brush lightly along the very tip. This simple trick creates a barrier against daily wear and tear. Wait at least three to five minutes between each coat to allow the solvents to evaporate.
The Ultimate Step: The Light-Reactive Top Coat
The true magic of the lamp-free gel system lies in the specialized top coat. Unlike traditional top coats that simply add a layer of shine, gel-effect top coats are formulated with photo-initiators. These compounds react with natural daylight to progressively harden the polish layer over time, creating a tough, protective shield.
Apply a generous layer of this top coat once your colour layers are touch-dry. Be sure to seal the free edge once again. This top coat not only locks in the vibrant colour and provides that iconic, plump, glass-like finish, but it also continuously strengthens the manicure as you go about your day in natural light.
Practical Tips to Prolong Your Manicure
Maintaining the beauty of your glossy, gel-look nails requires some simple daily care habits. To keep your hands looking fresh and immaculate, consider the following practical tips:
- Protect your hands: Household chores, especially washing dishes or using cleaning agents, can weaken the polish. Always wear protective gloves to shield your nails from water and chemicals.
- Hydrate regularly: Apply a drop of cuticle oil to the base of your nails daily and massage it in. This keeps the surrounding skin soft and prevents the nail plate from becoming dry and brittle, which can cause the polish to flake.
- Refresh the shine: If your manicure starts to lose its mirror-like lustre after a few days, you can apply an extra thin layer of the gel-effect top coat to instantly revive the gloss and extend the wear for several more days.