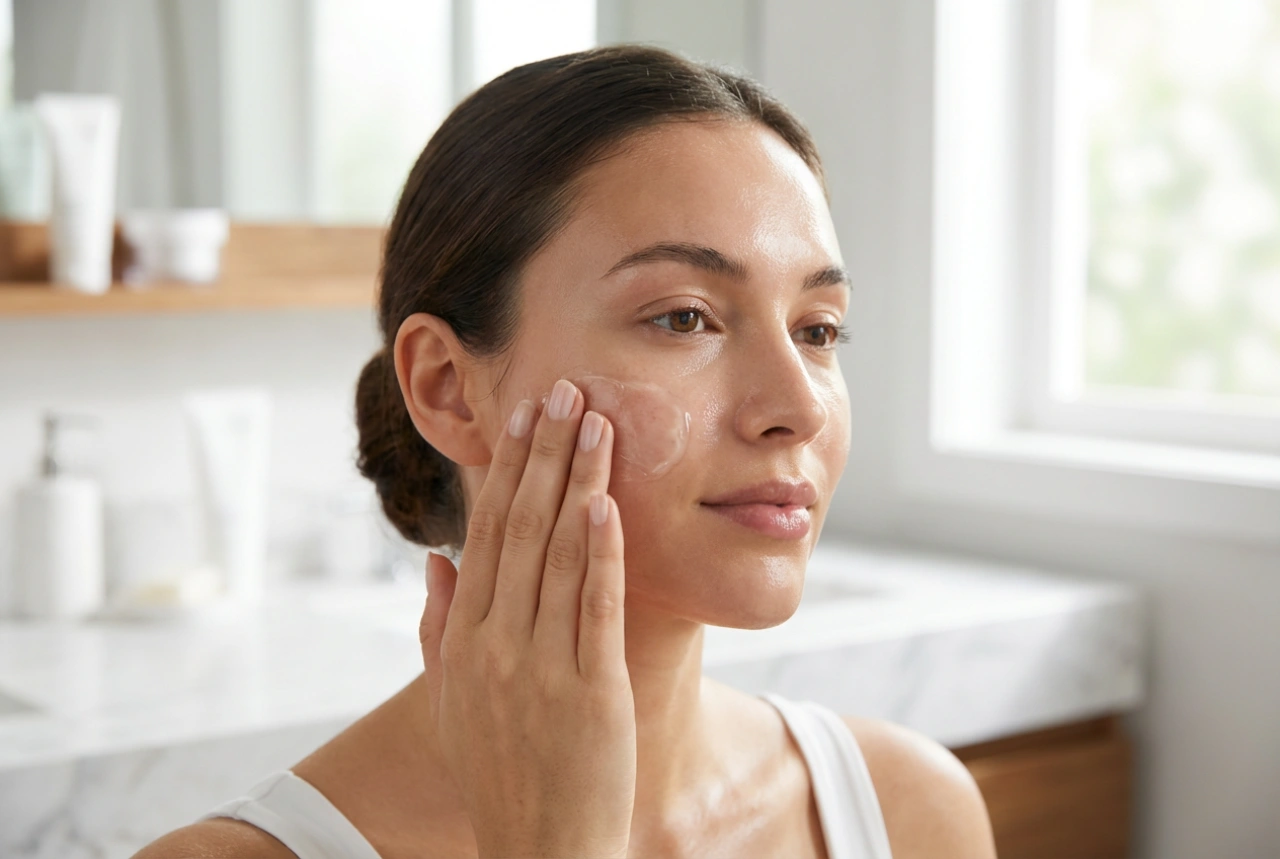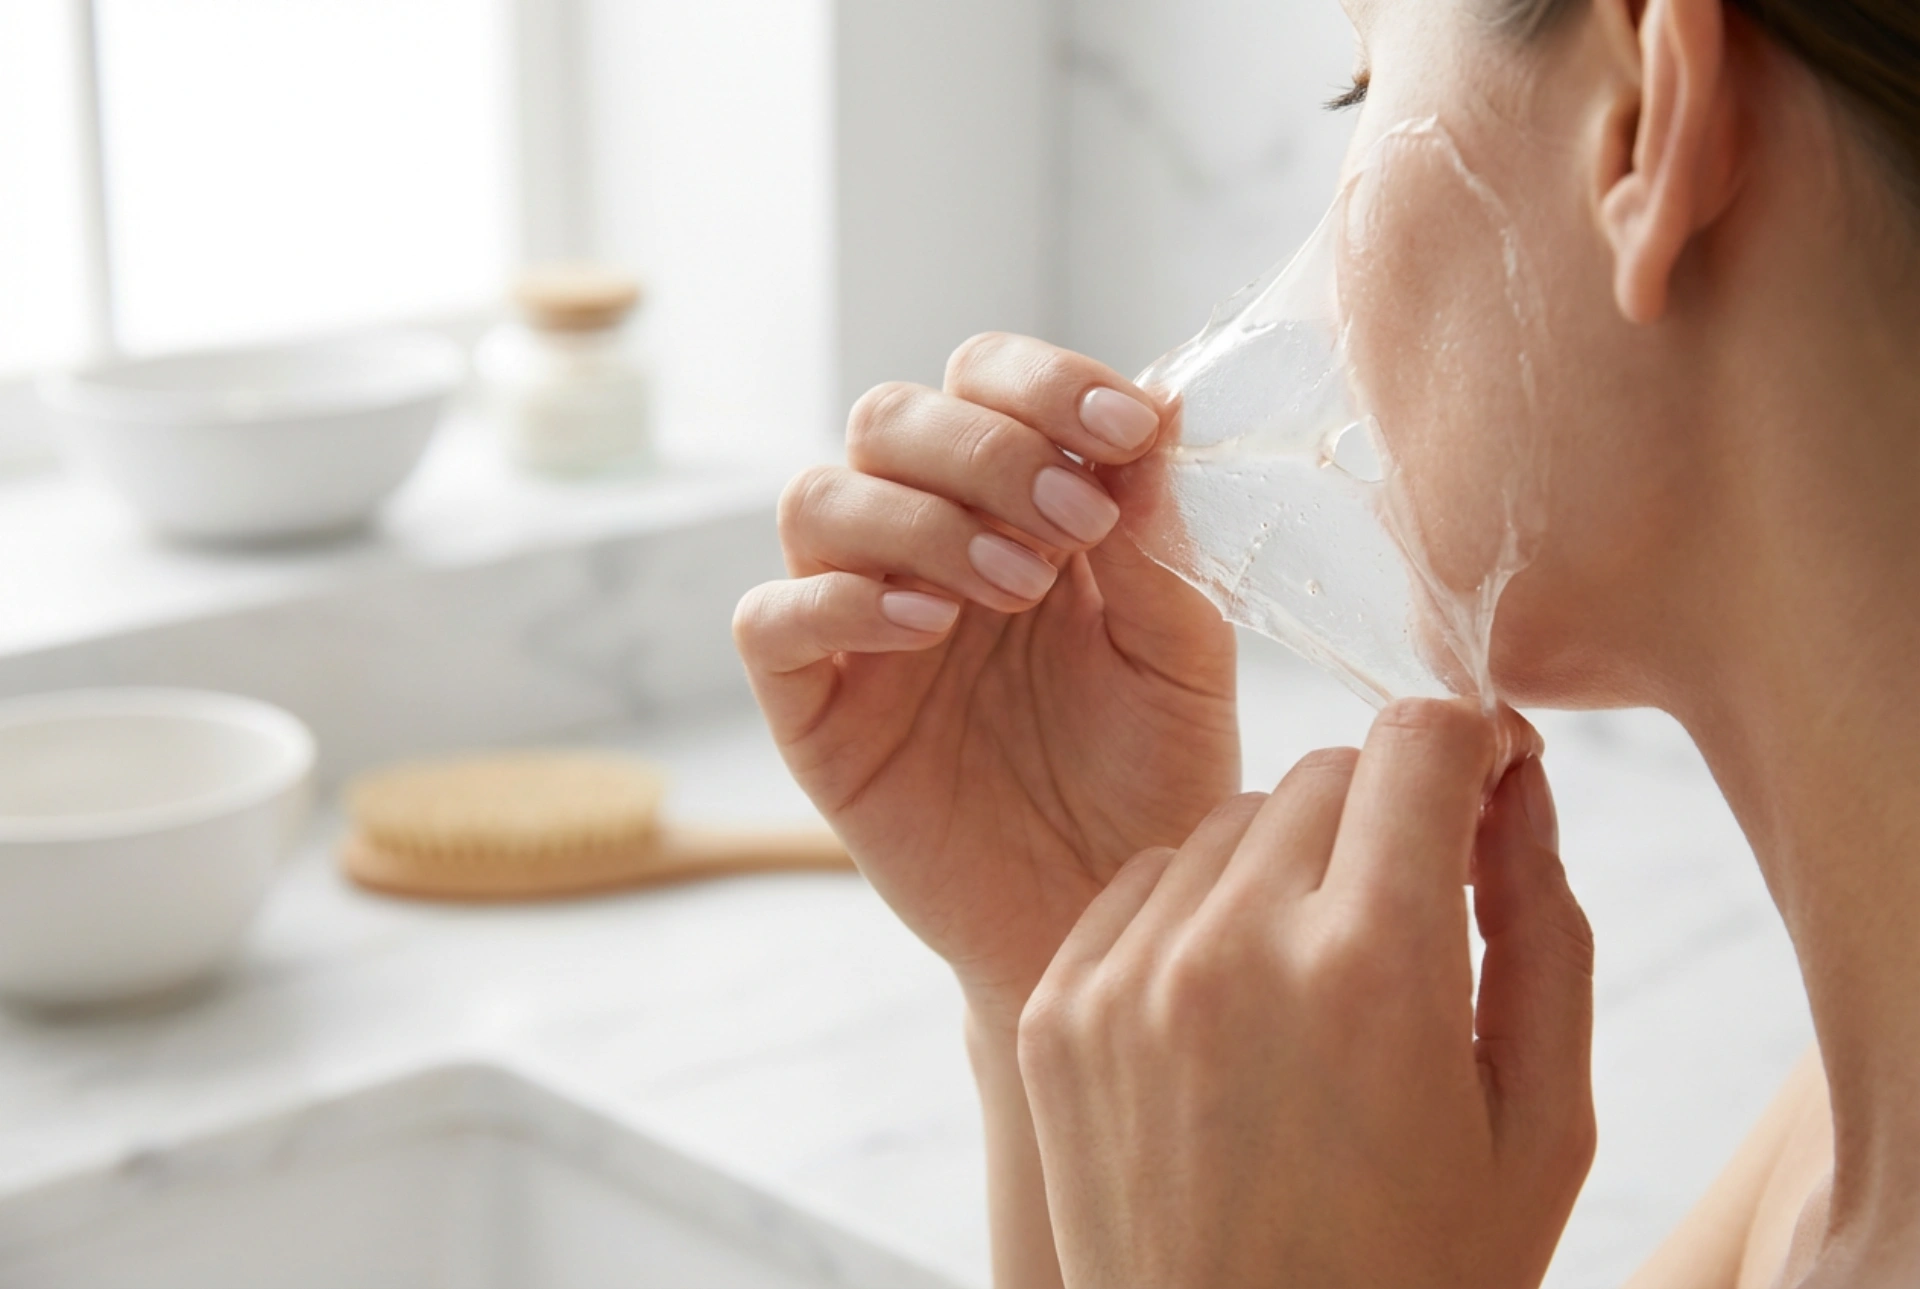


Pampering your skin at home often feels like a mini-spa ritual, especially when using a satisfying peel-off mask. Capturing that serene moment—slowly peeling away a translucent, gel-like layer from a clean, smooth cheek—requires more than just applying the product. To achieve the best results without causing unnecessary redness or discomfort, understanding how to prepare your skin and safely remove the mask is essential. Doing so ensures your skin remains calm, refreshed, and glowing.
Why Proper Skin Preparation Matters
Peel-off masks are designed to adhere to the outermost layer of the skin, bonding with dead skin cells, excess sebum, and daily impurities. When peeled away, they lift these particles, leaving the complexion feeling instantly smoother. However, if the skin is not adequately prepared, the mask can adhere too strongly to dry patches or fine facial hairs, leading to irritation during removal. Proper preparation creates a balanced canvas, allowing the mask to work efficiently and lift away easily.
Step-by-Step Preparation Routine
To get the most out of your home treatment, follow these simple steps before applying the product:
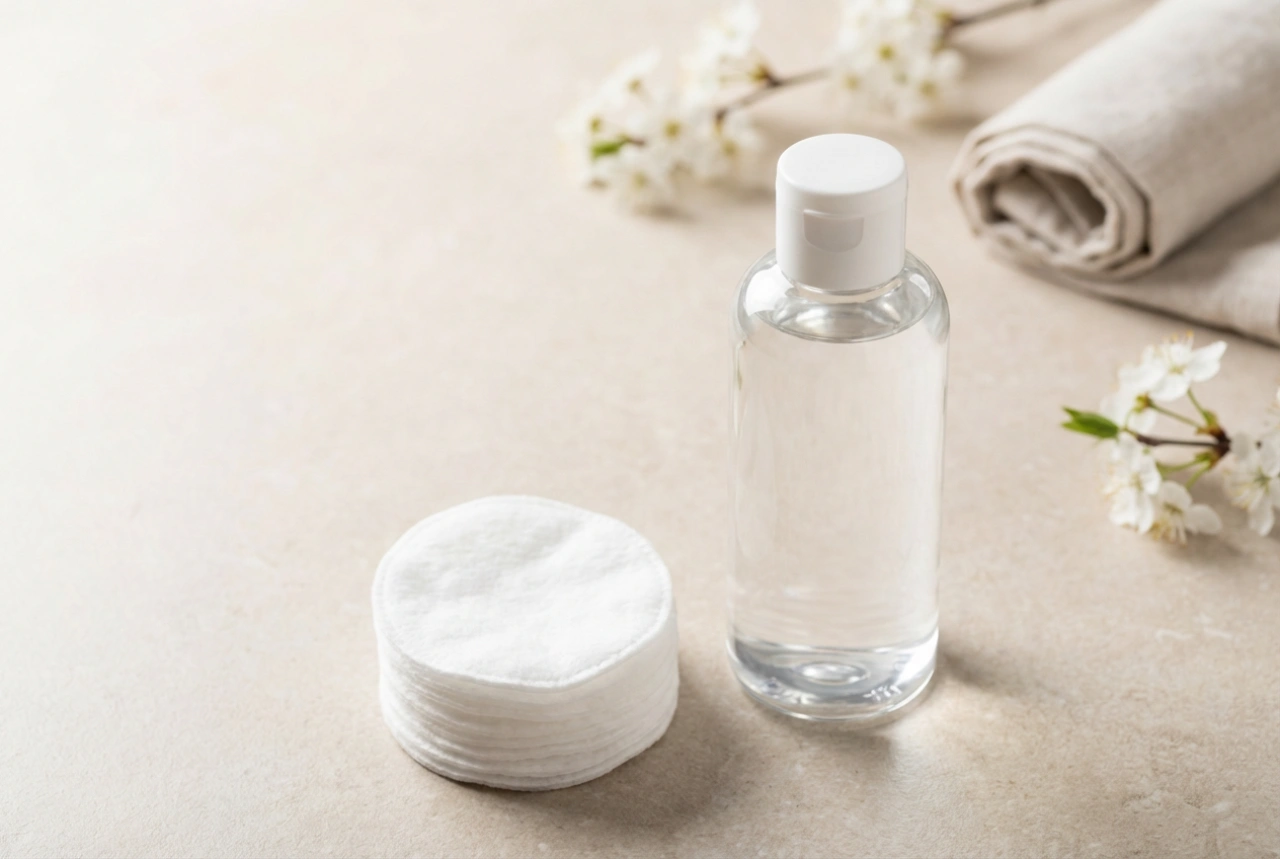
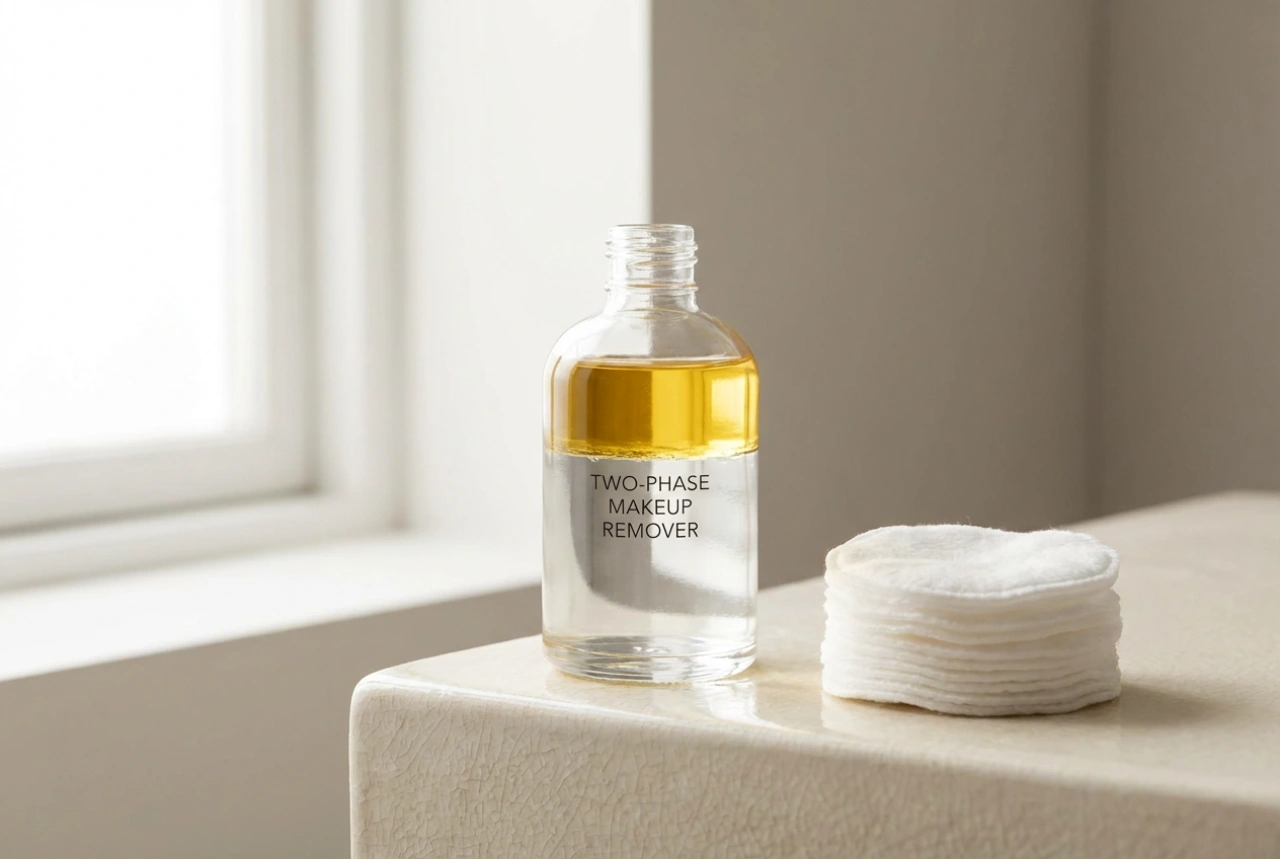
- Thorough Cleansing: Start by washing your face with a mild, hydrating cleanser. Removing make-up, sunscreen, and surface oils is crucial, as any barrier will prevent the mask from adhering evenly.
- Warm Compress: Gently press a warm, damp washcloth against your face for a minute. The gentle warmth helps to soften the skin surface and loosen impurities, making the mask more effective.
- Complete Drying: Ensure your skin is completely dry before application. Any lingering moisture will dilute the formula, leading to uneven drying times and a messy removal process.
Application Tips for an Easy Peel
An even application is the secret to a painless peel. Use clean fingers or a dedicated cosmetic brush to apply a smooth, medium layer. If the layer is too thin, it will tear into small pieces during removal; if it is too thick, it will take a very long time to dry. Always avoid the sensitive skin around the eyes, the lips, the eyebrows, and the hairline, as the mask can pull on delicate hairs and cause discomfort.
Safe Removal Techniques
Once the mask is completely dry—usually after fifteen to twenty minutes—it is time for removal. You can check if it is ready by gently touching the surface; it should feel dry and non-sticky. To remove it safely, follow these guidelines:
- Start from the Edges: Gently loosen the outer edges of the mask near the jawline or chin.
- Peel Upwards: Slowly peel the mask in an upward direction, rather than pulling it outwards or downwards. This works in harmony with the natural structure of the skin.
- Do Not Force It: If a specific area feels too tight or painful to peel, do not pull. Instead, dampen a cotton pad with warm water and gently wash the remaining mask away. Safety and skin comfort should always come first.
Calming Post-Mask Care
After removing the mask, some residue may remain on the face. Simply rinse your skin with lukewarm water to wash away any leftover gel. Follow up immediately with a soothing toner to balance the skin's moisture levels, and apply a generous layer of your favourite gentle moisturiser to lock in hydration. This final step restores the skin barrier and leaves your face feeling soft, supple, and beautifully refreshed.