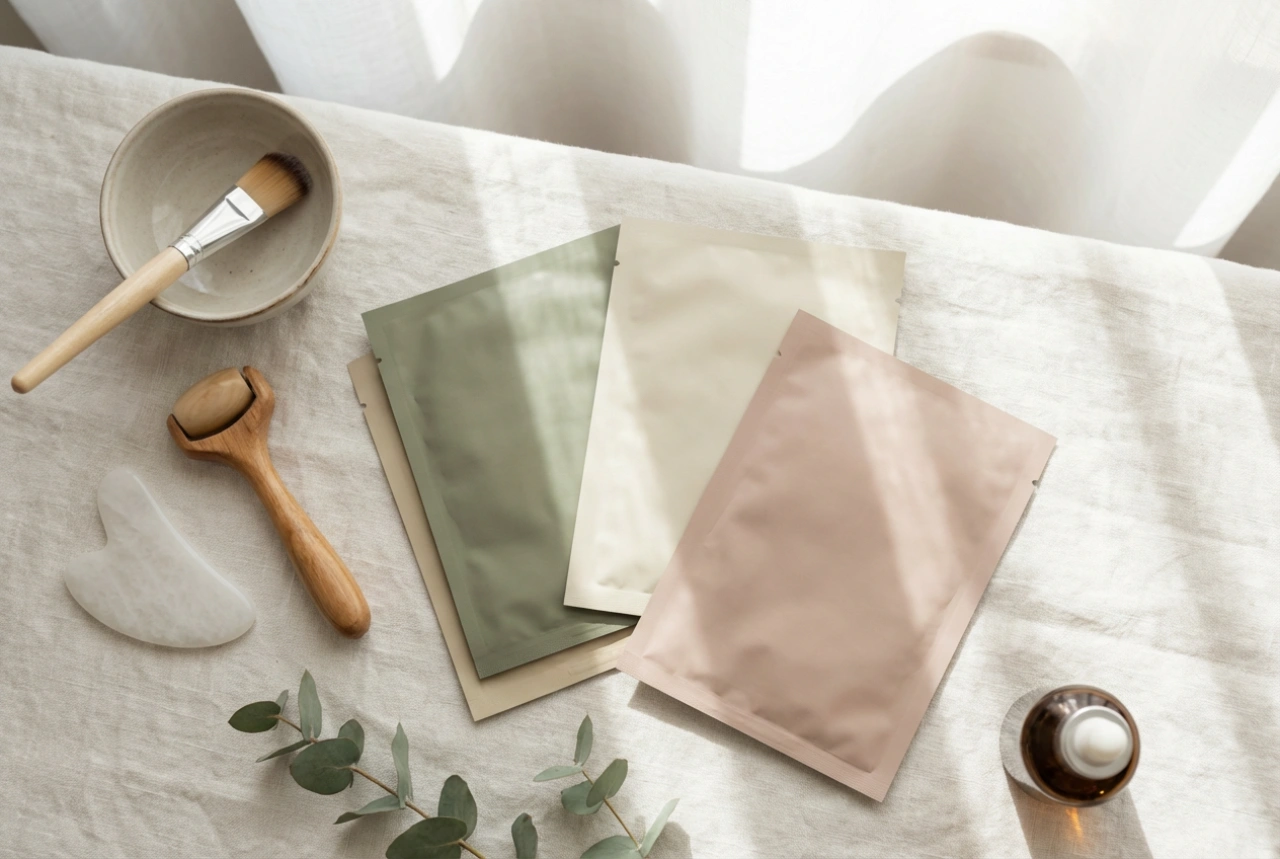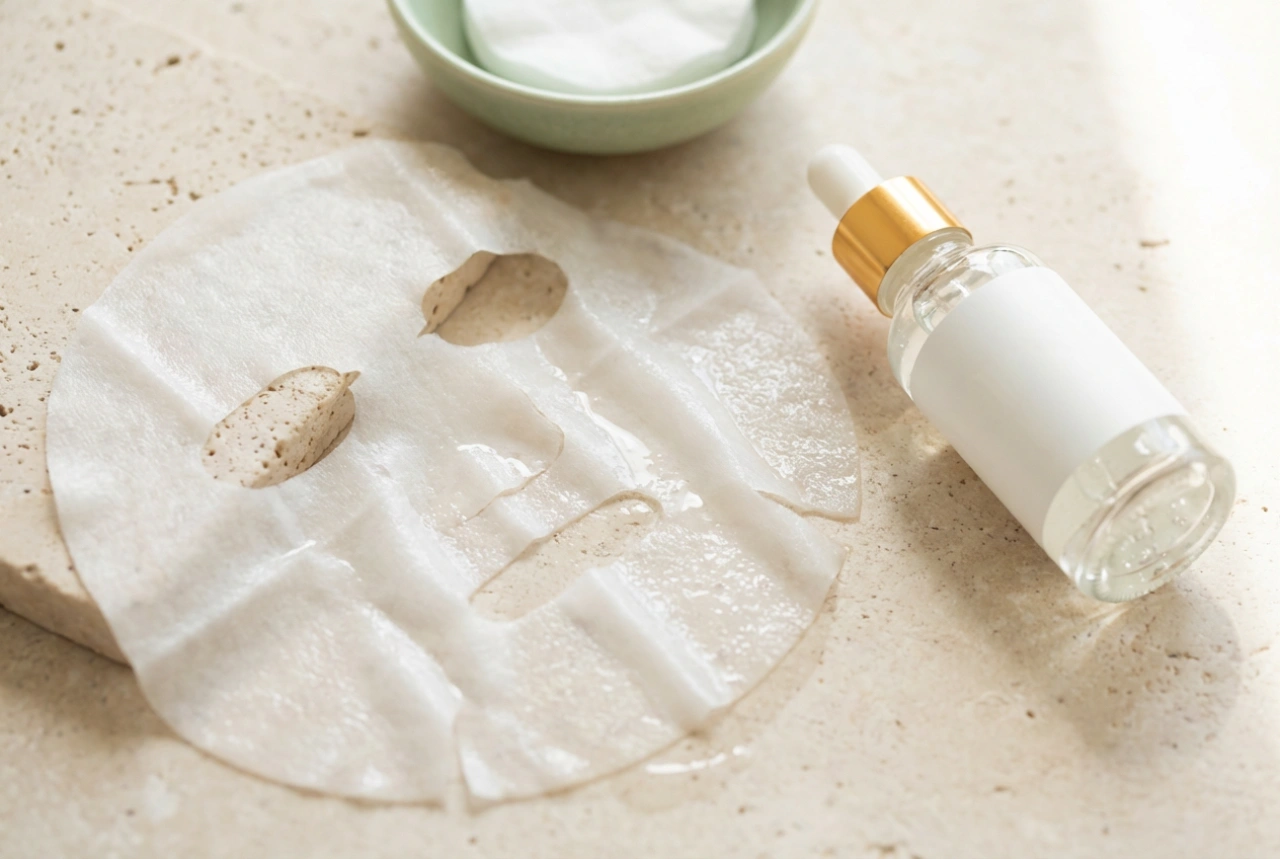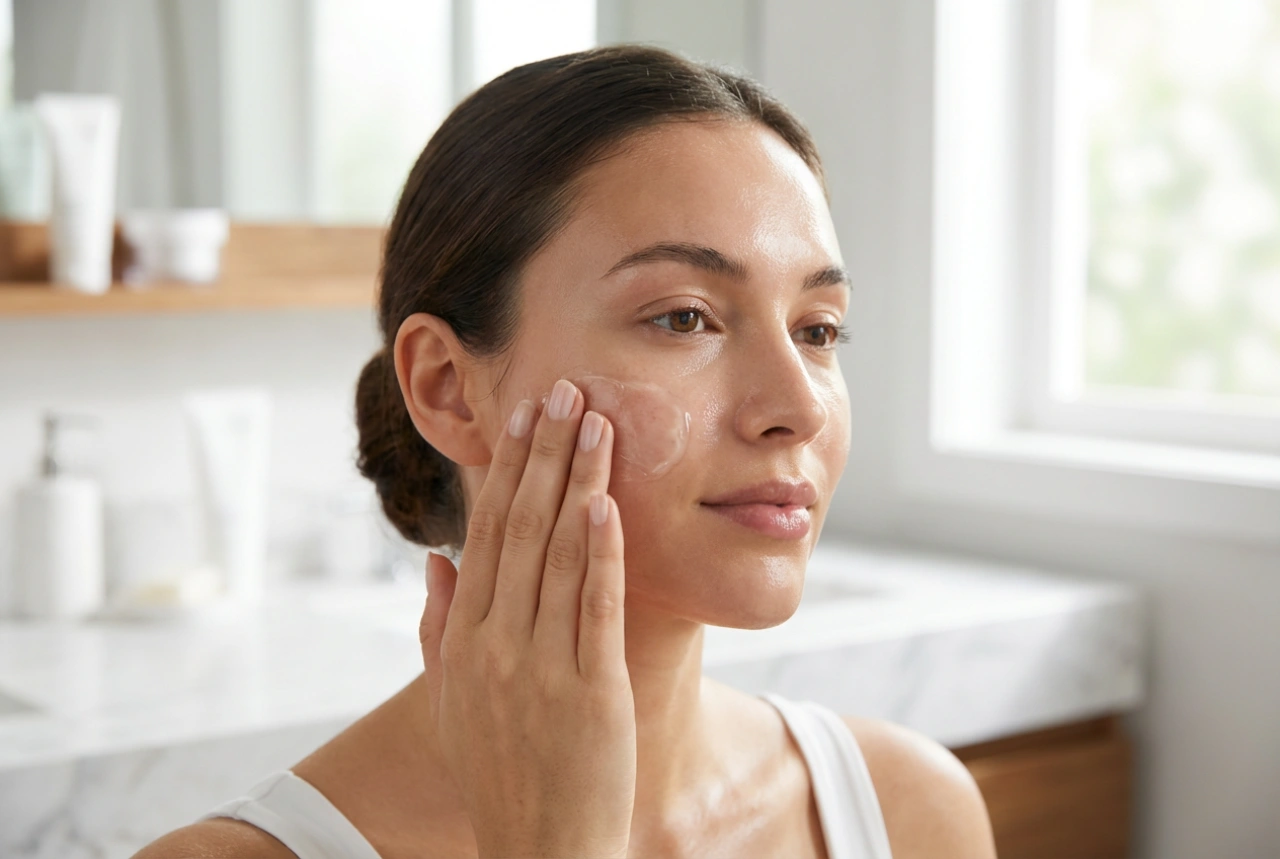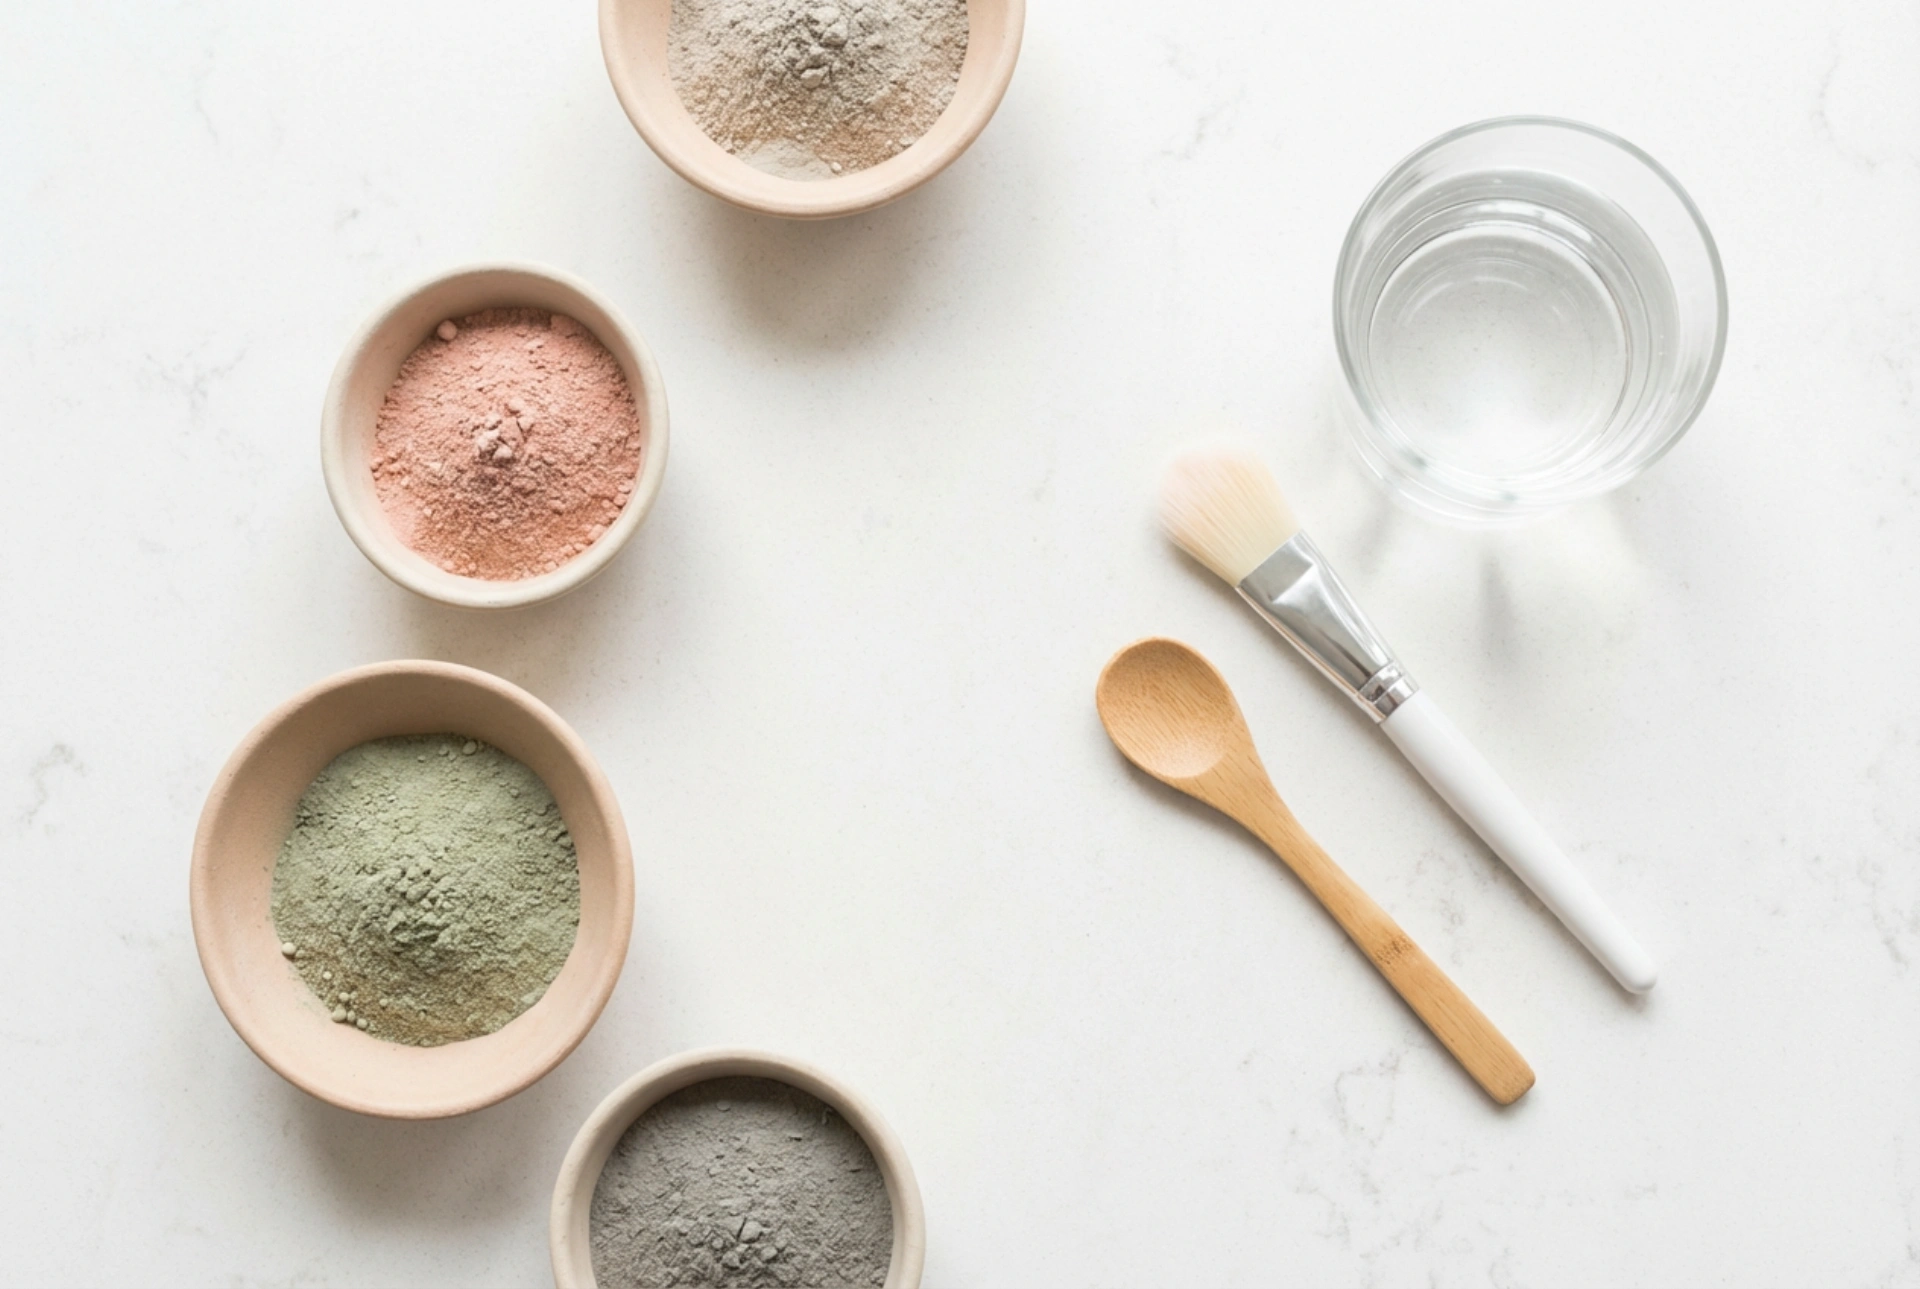


Natural beauty rituals at home often begin with simple, raw ingredients that allow us to customise our skincare to our exact needs. A serene vanity setup with small ceramic bowls filled with earthy clay powders, a delicate mixing spoon, and a soft brush represents the ultimate bespoke grooming experience. Preparing your own clay mask from scratch is not only a calming, therapeutic process, but it also allows you to control every single ingredient that touches your face. However, to get the absolute best results from these mineral-rich powders, it is essential to understand how different clays behave, how to mix them in the correct proportions, and how to remove them without causing unnecessary dryness or irritation.
Choosing the Right Clay for Your Skin Type
Natural cosmetic clays are sourced from the earth and are rich in various minerals that give them their distinct colours and properties. Choosing the right clay is the foundation of a successful home treatment, as different colours indicate different strengths and mineral compositions.
White Kaolin Clay for Sensitive and Dry Skin
White clay, often known as kaolin, is the gentlest of all cosmetic clays. It has a mild pH and fine particles that gently cleanse the surface of the skin without stripping away its natural oils. It is highly recommended for dry, delicate, or sensitive skin types that require a soft touch to restore natural radiance.
Pink Clay for Combination and Dull Skin
Pink clay is a harmonious blend of red and white clays, offering a balanced combination of purification and gentleness. It works beautifully for normal, tired, or combination skin. It helps to smooth the skin's texture, promote a healthy glow, and refine pores without causing any tightness.
Green Clay for Oily and Normal-to-Oily Skin
Green clay is renowned for its strong absorption qualities. It is highly effective at drawing out excess sebum and impurities from deep within the pores. While it is incredibly beneficial for oily and congested skin areas, it should be used with care on drier zones of the face to avoid dehydration.
The Art of Mixing: Perfect Proportions and Tools
Creating the perfect paste requires a balance between the dry clay powder and your chosen liquid. Getting the texture right ensures that the mask is easy to apply, stays moist on the skin for the appropriate time, and does not run down your neck during your ritual.
- The Basic Ratio: As a general rule of thumb, start with a 1:1 ratio. For a single facial application, one tablespoon of clay powder mixed with one tablespoon of liquid is usually sufficient.
- The Choice of Liquid: While clean, filtered water is a perfectly fine base, you can elevate your mask by using botanical hydrosols. Rosewater is excellent for soothing and hydrating, while lavender water offers calming properties.
- Avoid Metal Utensils: Cosmetic clays have electromagnetic properties that can be altered or neutralised if they come into contact with metal. Always use wooden, ceramic, or glass bowls and spoons to mix your ingredients, and apply the mixture with a soft, clean synthetic brush.
Stir the mixture gently until it forms a smooth, creamy paste with a consistency similar to Greek yoghurt. If the paste is too thick, add a few drops of liquid; if it is too runny, sprinkle in a tiny amount of clay powder.
Customising Your Mask with Nourishing Additives
One of the greatest benefits of DIY clay masks is the ability to customise the recipe according to your skin's immediate needs. By introducing natural, skin-loving additives, you can prevent the clay from drying out too quickly and add an extra layer of nourishment.
Nourishing Oils for Dryness
If you have dry or mature skin, adding half a teaspoon of a cold-pressed plant oil can completely transform your experience. Jojoba oil, sweet almond oil, or apricot kernel oil blend seamlessly into the clay paste, keeping the skin supple and hydrated during the treatment.
Soothing Agents for Delicate Skin
For skin that is prone to temporary redness or sensitivity, incorporating a teaspoon of pure aloe vera gel or a few drops of vegetable glycerine can provide a cooling, soothing effect. These ingredients act as humectants, binding moisture to the skin and softening the purifying action of the clay.
The Correct Way to Apply and Wash Off Clay Masks
Many people make the mistake of leaving a clay mask on until it is completely dry, flaky, and cracking. This is actually counterproductive. The clay mask goes through three phases on your skin: the wet phase, where your skin drinks in the minerals; the start of the dry phase, which stimulates blood flow as the mask cools and contracts; and the completely dry phase, which draws moisture from the surface of your skin, leading to dehydration and irritation.
The Golden Rule of Timing
You should always wash off a clay mask while it is still slightly damp to the touch, usually around 8 to 12 minutes after application. If you notice certain areas drying out too quickly, you can gently mist your face with a hydrosol or water to keep the clay active and moist.
Safe and Gentle Removal Techniques
Never scrub dry clay off your face, as this can cause physical micro-tears and redness. Instead, follow these steps for a gentle, spa-like removal:
- Soften the Mask: Soak a clean, soft washcloth in lukewarm water and press it gently against your face for a few seconds. The warmth and moisture will rehydrate the clay, turning it back into a soft paste.
- Gently Wipe Away: Use the damp cloth to gently wipe the clay away in outward, upward motions. Rinse the cloth frequently in clean, warm water.
- Final Rinse: Splash your face with cool water to rinse away any remaining residue, then gently pat dry with a clean towel.
Immediately follow your fresh clay mask treatment with your favourite hydrating toner, serum, and moisturiser to lock in the benefits and keep your skin feeling exceptionally soft and balanced.