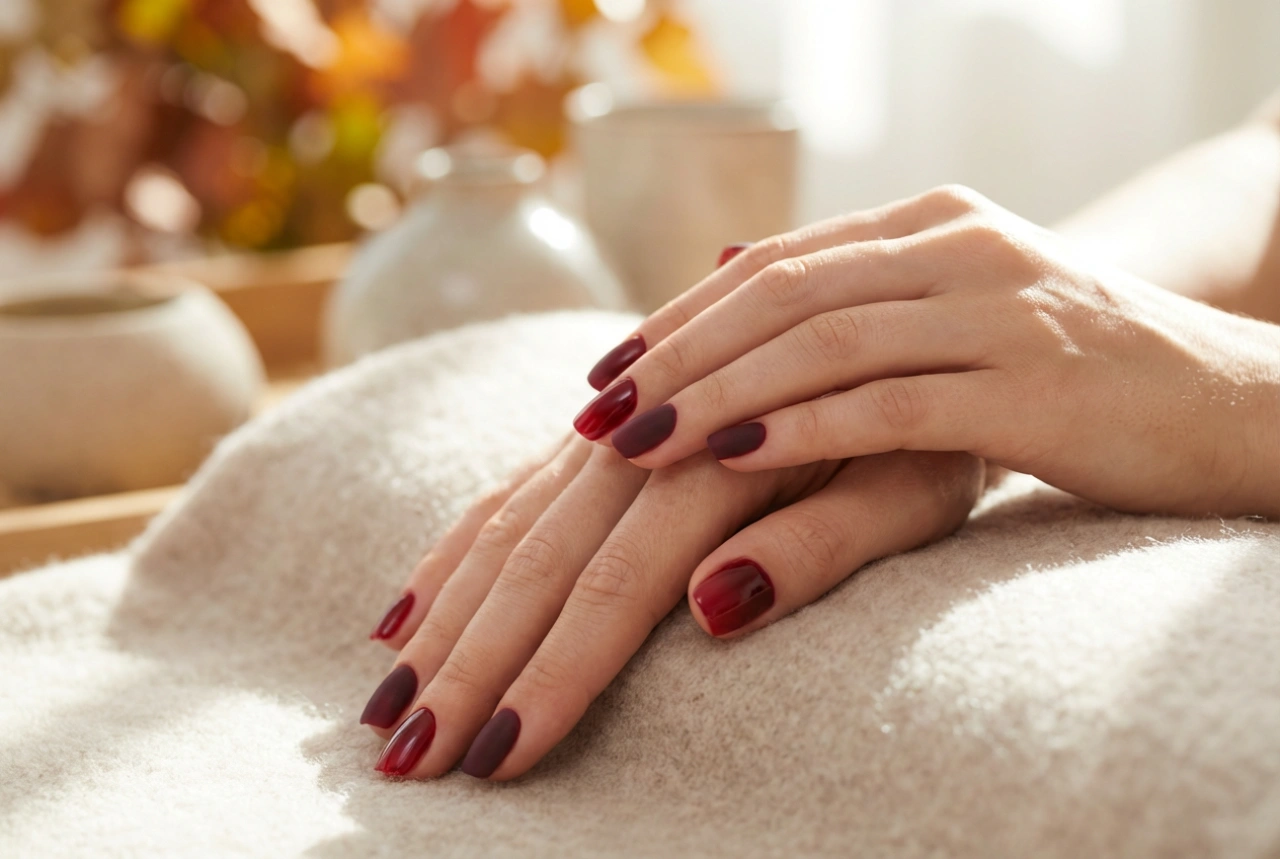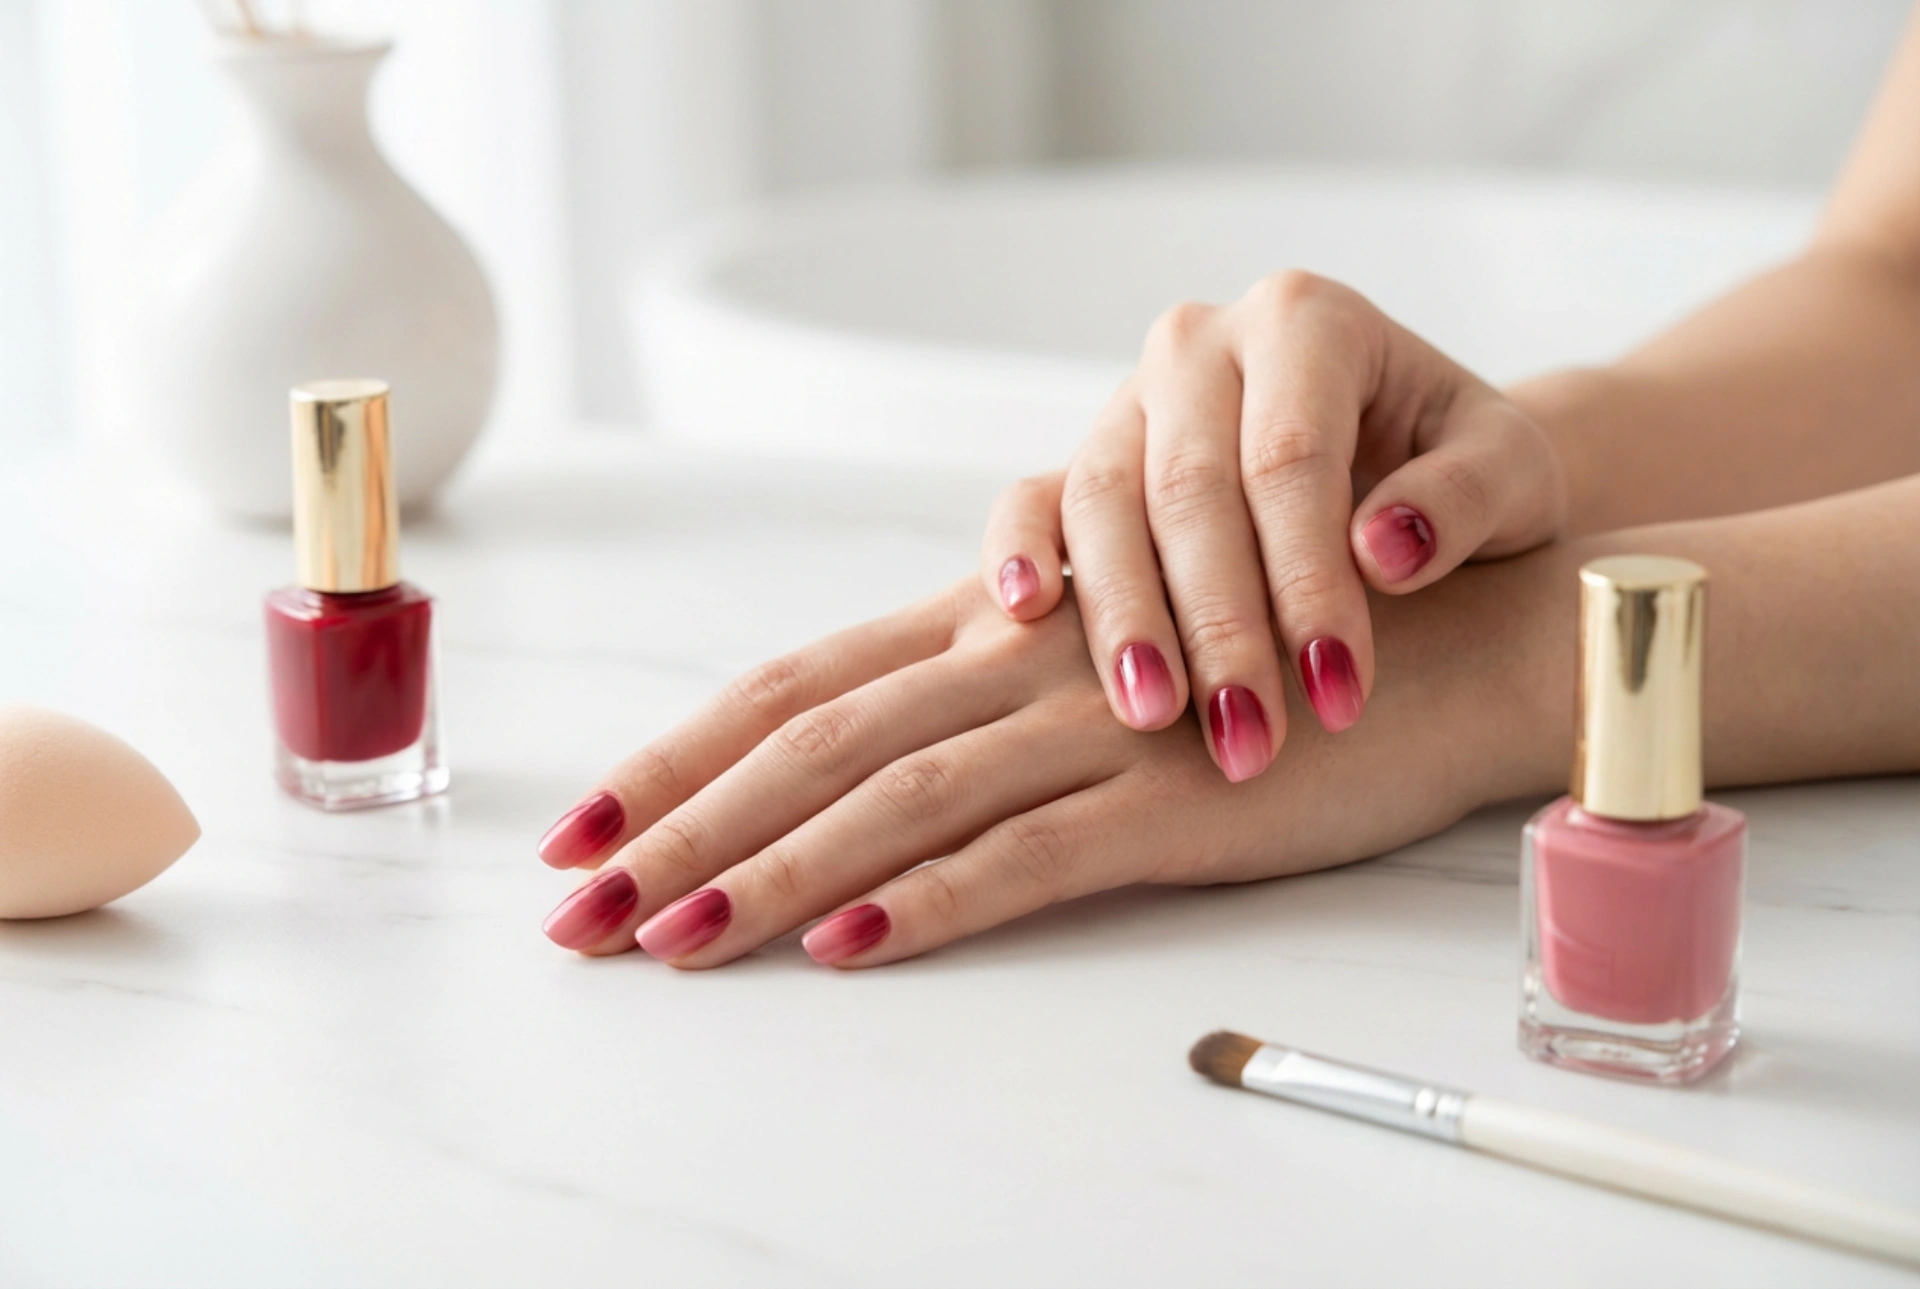


Red has always been the ultimate symbol of classic elegance when it comes to manicures. However, modern nail styling allows us to take this timeless colour to a completely new level of sophistication. A perfect example of this is the red ombre manicure, where deep crimson seamlessly transitions into a soft rose hue. This elegant gradient, beautifully displayed on well-groomed hands, creates a striking yet sophisticated look that suits both daily wear and special occasions. Achieving this seamless transition of colours might seem challenging, but with the right techniques, patience, and simple tools, you can easily master the art of ombre at home. Whether you prefer the classic sponge method or the precise brush technique, creating a flawless gradient is within your reach.
Understanding the Red Ombre Aesthetic
Ombre nails, also known as gradient nails, involve blending two or more shades to create a smooth, gradual transition from light to dark or vice versa. In the case of red ombre, the combination of a rich, deep crimson with a delicate soft rose offers a beautiful contrast that is both bold and feminine. The key to a successful ombre lies in the transition zone where the two colours meet; it must be completely seamless, without any harsh lines. Understanding how different shades of red interact is essential. A warm crimson pairs beautifully with coral-toned pinks, while a cool-toned cherry red matches perfectly with dusty rose shades. By selecting colours with similar undertones, you ensure that the blended middle section looks clean and harmonious rather than muddy.
Choosing Your Blending Tool: Sponge vs. Brush
Before starting your manicure, it is helpful to understand the two main techniques used to achieve the ombre effect: the sponge method and the brush method. Both approaches have their unique advantages and are suitable for different skill levels. The sponge technique is highly popular because of its simplicity and accessibility. It utilises a fine-pored cosmetic sponge to transfer the polish onto the nail, creating a naturally diffused effect. This method is exceptionally forgiving for beginners, as the stippling action of the sponge automatically blends the boundaries between the colours. On the other hand, the brush technique offers greater precision and creates less mess around the cuticles. It involves using a special ombre brush—often featuring uneven, feathered bristles—or a flat brush to manually blend the wet polish directly on the nail surface. This method requires a steadier hand and a bit of practice but allows for a highly controlled gradient.
Step-by-Step Sponge Blending Method
The sponge method is highly effective for achieving a soft, airbrushed look. To get started, you will need a clean cosmetic sponge, your chosen red and rose polishes, a base coat, a top coat, and some skin barrier to protect your cuticles.
Preparing the Nails and Base
Always begin with clean, shaped nails. Apply a high-quality base coat to protect your natural nails and ensure longevity. Once the base coat is dry, apply one or two thin layers of your lightest shade—in this case, the soft rose. This serves as a solid background colour and makes the gradient pop. Allow this base layer to dry completely before proceeding.
Preparing the Sponge
Take a small, clean piece of a wedge-shaped makeup sponge. It is a good tip to slightly dampen the sponge with water and squeeze out any excess. A damp sponge will not absorb too much nail polish, allowing more product to transfer onto your nails.
Applying Polish to the Sponge
Paint parallel stripes of the deep crimson and soft rose polishes directly onto the flat edge of the sponge. Make sure the stripes slightly overlap in the middle. The overlap area on the sponge is where the initial blending begins.
Dabbing and Layering
Gently tap the sponge onto your nail. Move the sponge slightly up and down as you dab to help diffuse the boundary line between the two shades. Do not press too hard, as this can create air bubbles or strip away the polish. Apply a thin layer, let it dry for a minute, and then repeat the process. Usually, two to three thin layers are required to build up the desired colour intensity and a perfectly smooth transition.
Step-by-Step Brush Blending Method
For those who prefer a cleaner process with less skin cleanup, the brush method is an excellent alternative. This technique works best with moderately thick polishes that do not dry too rapidly, allowing you time to work the colours together.
The Wet-on-Wet Application
Start by applying your base coat and letting it dry. Next, apply the soft rose polish to one half of the nail and the deep crimson to the other half. The two colours should meet in the middle of the nail. It is important to work quickly so that both polishes remain wet during the blending process.
Feathering and Blending
Take a clean, dry ombre brush or a flat brush. Lightly dampen the bristles if necessary, then hold the brush at a flat angle to the nail. Gently stroke the brush back and forth across the boundary where the two colours meet. Use light, feathering strokes in a horizontal motion, gradually moving slightly up and down to pull the crimson into the rose and vice versa. Wipe your brush on a lint-free wipe frequently to remove excess polish and keep the blend clean. Repeat this process for a second layer if needed to achieve complete opacity.
Essential Tips for a Professional Finish
Regardless of the method you choose, a few simple tips can help you achieve a professional, salon-quality finish at home:
- Use a protective barrier: Ombre styling can be messy, especially with the sponge technique. Apply a liquid peel-off barrier or standard tape around your cuticles before you start to make cleanup effortless.
- The magic of the top coat: A glossy top coat is the ultimate secret weapon for ombre nails. Apply a generous layer of top coat while the ombre pattern is still slightly damp. The top coat acts as a blending agent, smoothing out any unevenness, bumps, or texture left by the sponge or brush.
- Work in thin layers: Thick layers of polish take a long time to dry and are highly prone to smudging and bubbling. Patience is key; multiple thin layers will always yield a superior, long-lasting result.
- Clean your tools: If using a brush, clean it thoroughly with a mild cleanser or polish remover between strokes and after finishing each nail to prevent the colours from becoming muddy.
With these practical techniques and a little bit of practice, you can effortlessly create stunning red ombre nails that showcase your personal style and attention to detail.