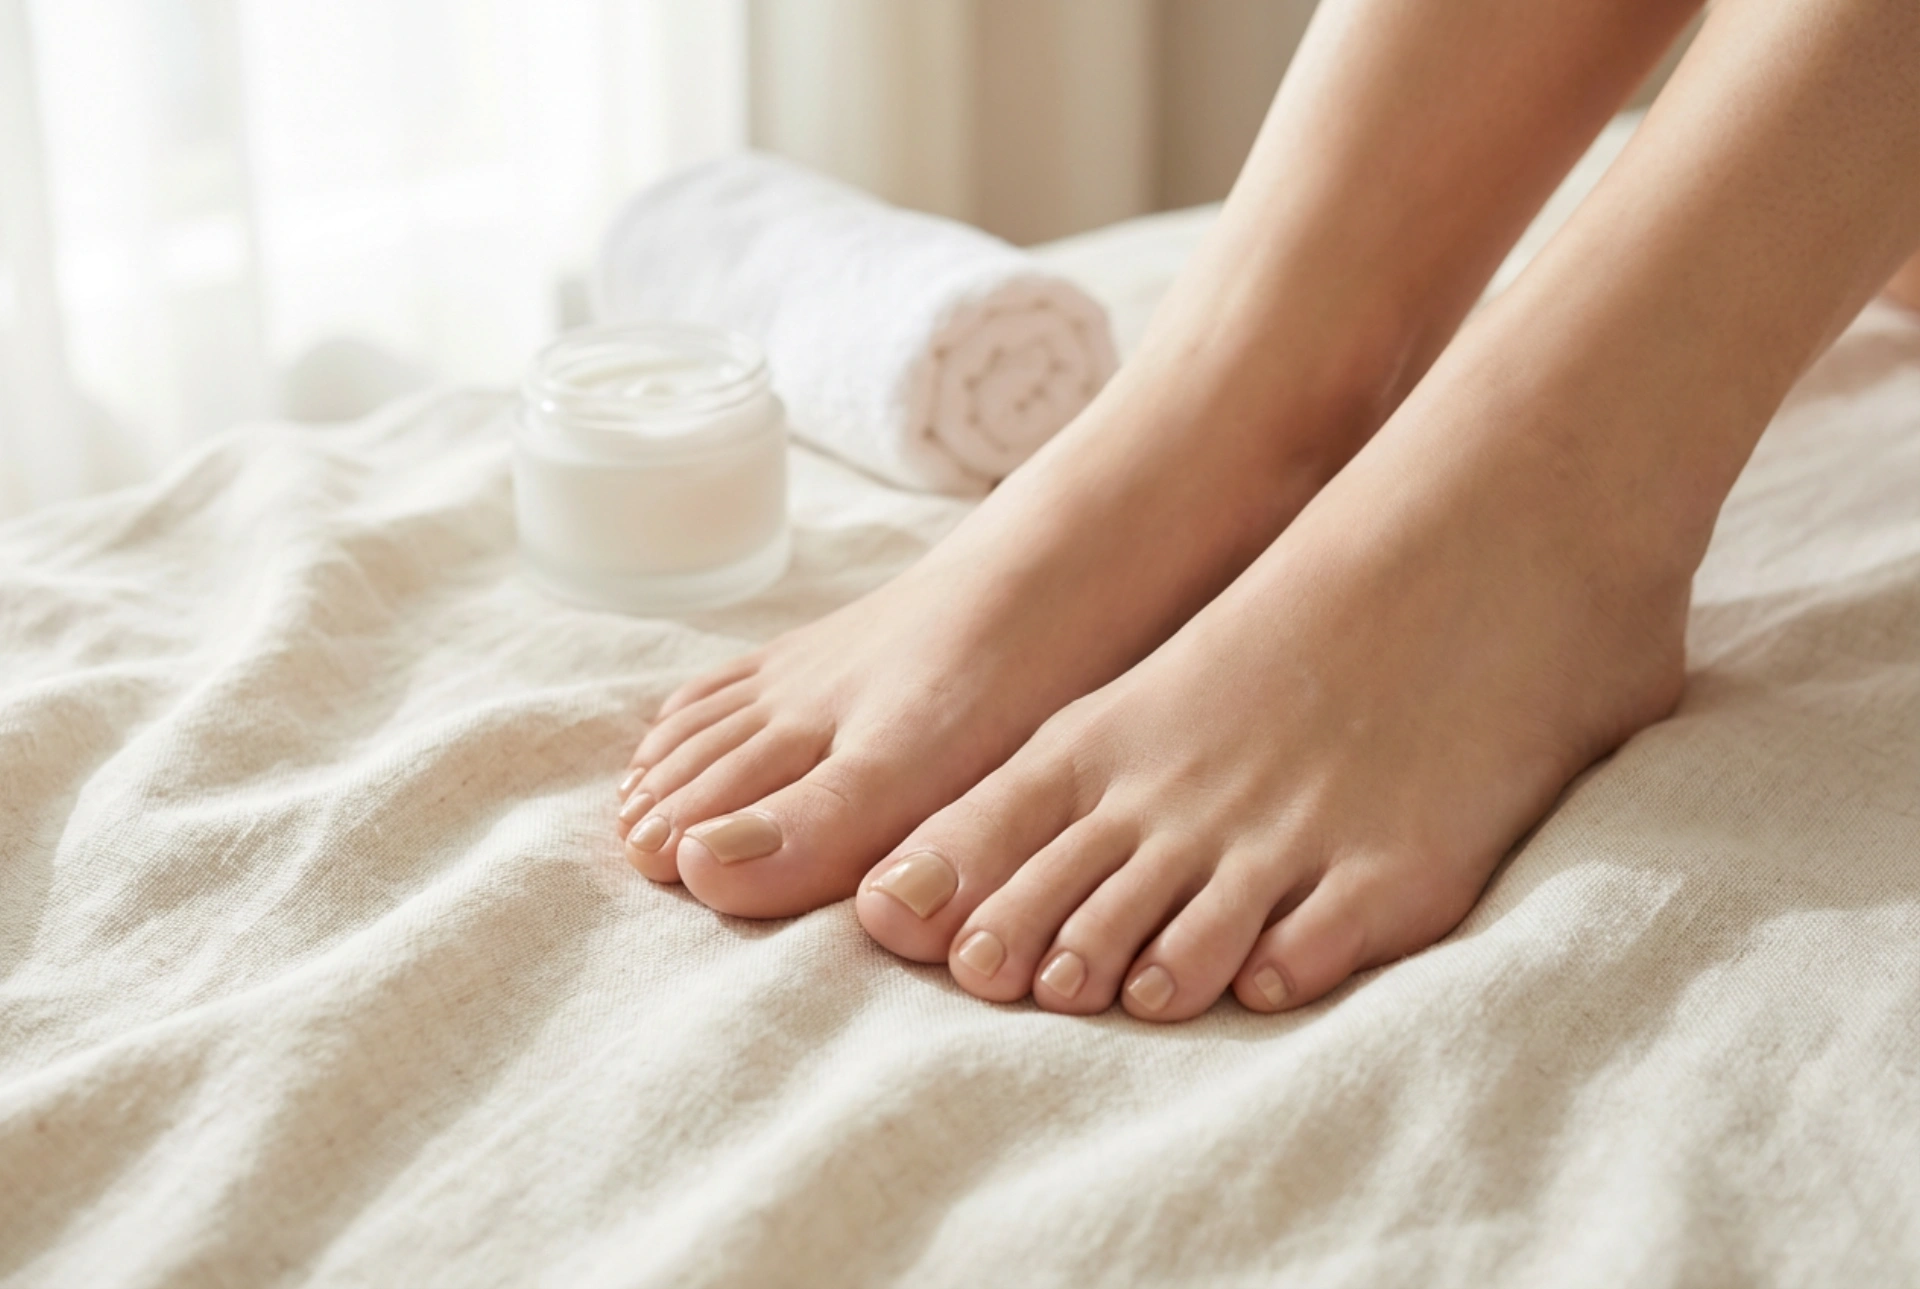


A pristine, elegant pedicure is the ultimate symbol of self-care and refined grooming. There is a distinct sense of calm in seeing beautifully manicured toes painted in a subtle, glossy neutral gel polish, resting softly against natural linen fabric. Gel polish for toenails has become an incredibly popular choice for those seeking a long-lasting, chip-resistant finish that maintains its high-shine appearance for weeks. Achieving professional-looking results at home requires attention to detail, proper technique, and patience. By understanding the essential steps of preparation, application, and curing, you can enjoy a flawless, salon-quality pedicure from the comfort of your own home.
The Essential Foundation: Preparing the Toenails
The success of any gel pedicure lies almost entirely in the preparation phase. Unlike standard nail polish, gel polish requires a completely dry, clean, and oil-free surface to adhere correctly. Skipping even a minor step in preparation can lead to lifting, peeling, or premature chipping of the gel layer.
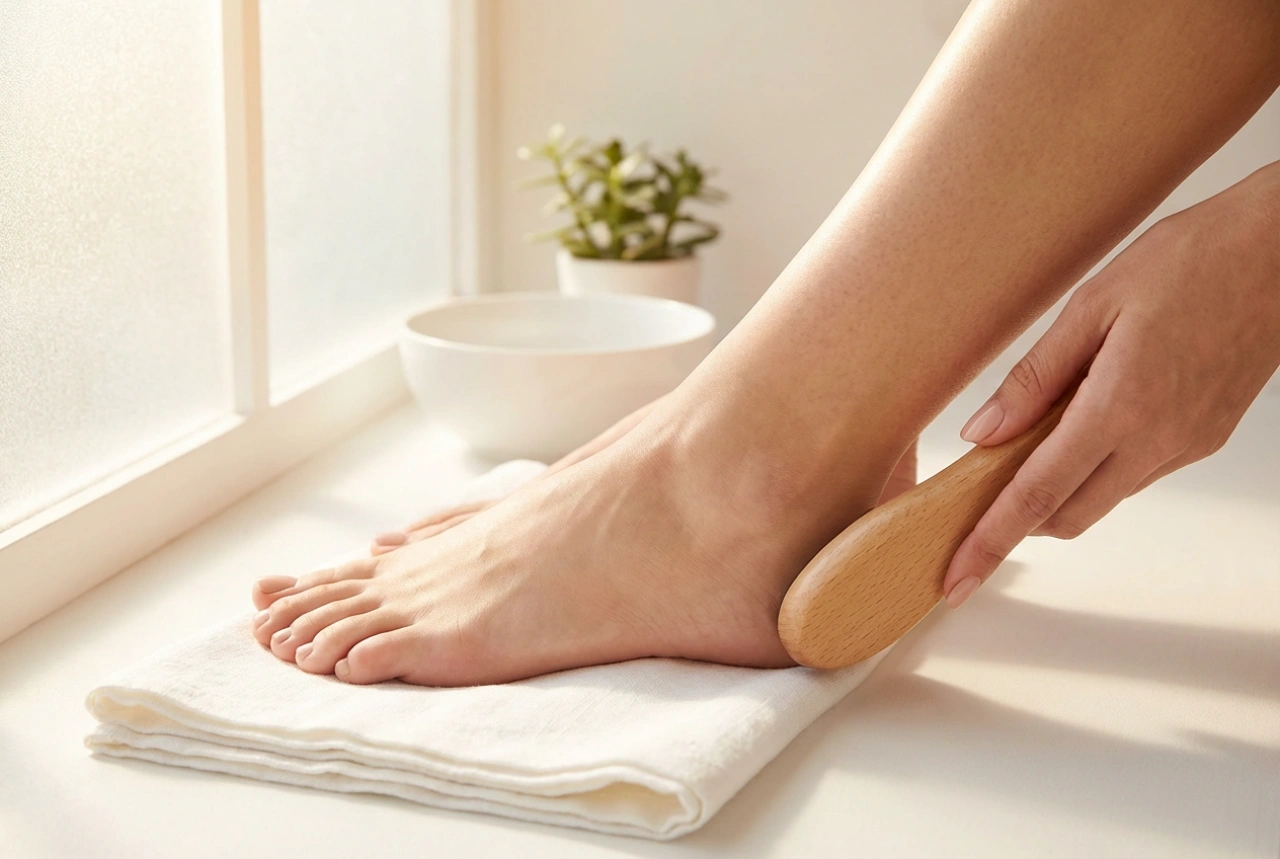
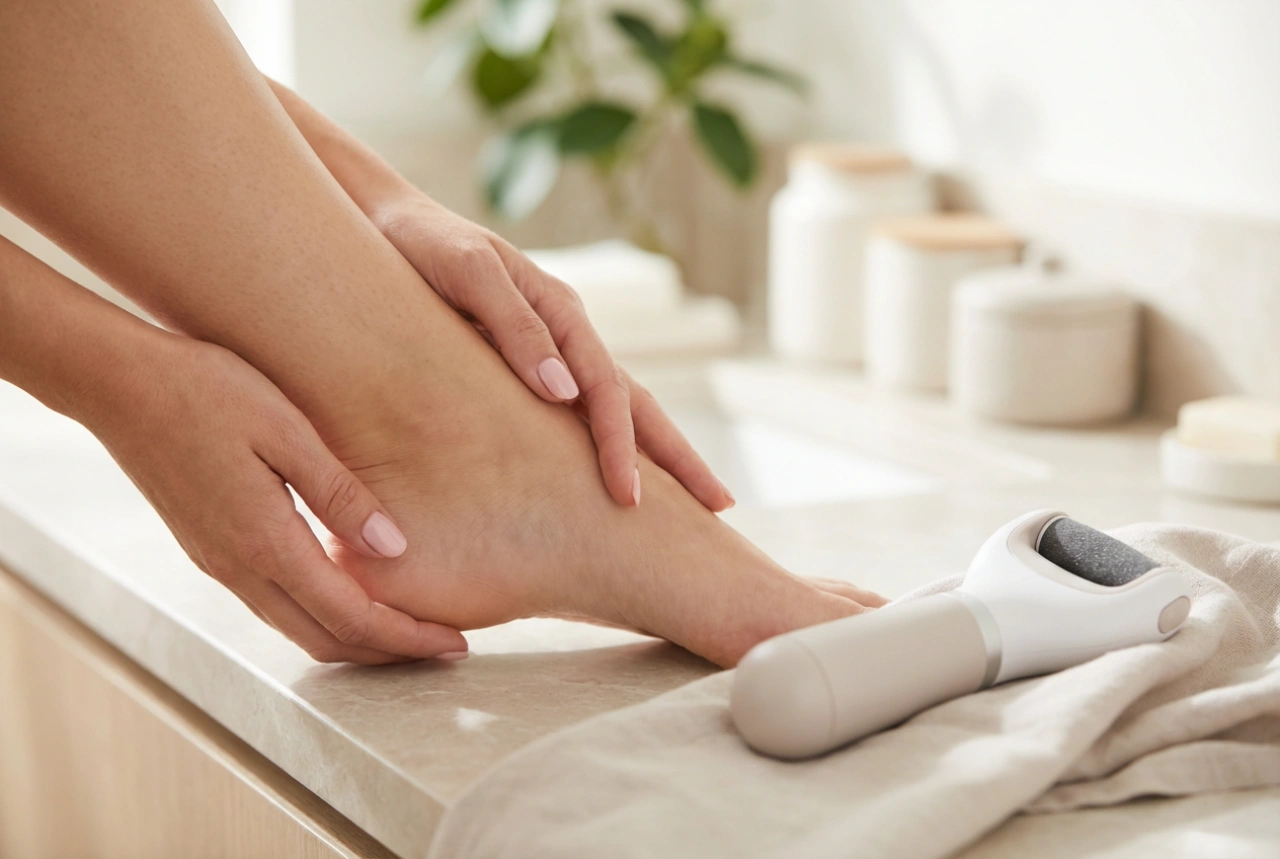
To begin, thoroughly wash and dry your feet. It is best to avoid prolonged soaking immediately before applying gel polish, as the nail plate can absorb water, expand, and then shrink after the gel has been cured, causing the polish to lift. Instead, use a gentle foot file to smooth any rough skin and focus directly on the nails. Trim your toenails straight across using high-quality clippers, and then round the corners slightly with a fine-grit nail file. This specific shape helps prevent the nails from growing into the surrounding skin while keeping them aesthetically pleasing.
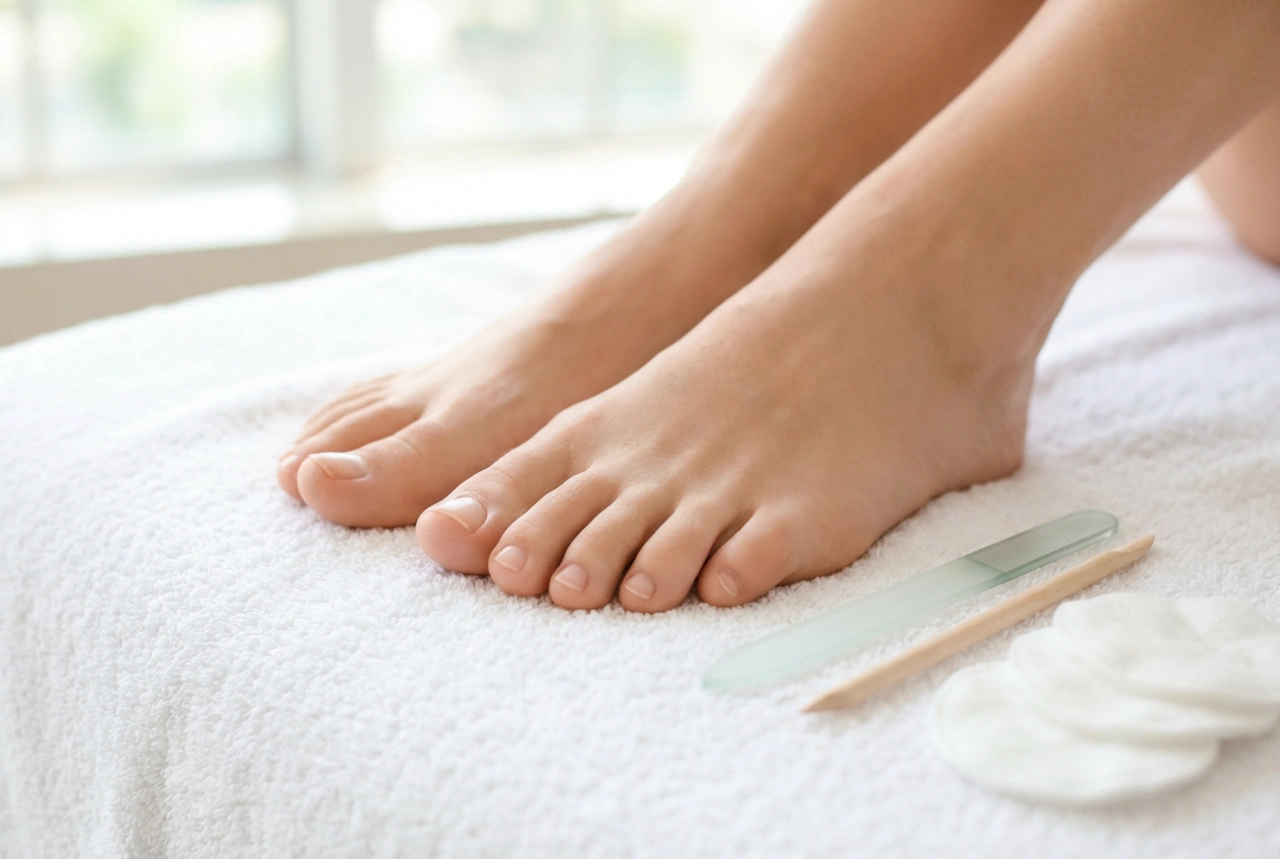
Next, gently push back the cuticles using a wooden manicure stick or a metal pusher. Do not cut the cuticles excessively, as they serve as a natural barrier against environmental impurities. Use a buffer block with a very fine grit to gently remove the natural shine from the surface of each nail. This creates a microscopic texture that helps the base coat bond securely. Finally, wipe the nails thoroughly with a lint-free wipe soaked in a professional dehydrator or isopropyl alcohol to remove all dust, oils, and moisture.
Step-by-Step Application of Gel Polish
Once the nails are fully prepared and dehydrated, you can proceed to the application stage. The key to a beautiful and durable finish is applying very thin, even layers. Thick layers of gel polish do not cure properly in the lamp and can become wrinkled or peel off easily.
- The Base Coat: Apply a very thin layer of gel base coat to all toenails. Be extremely careful not to touch the cuticle or the side walls of the skin. If any base coat touches the skin, wipe it off with a clean manicure stick before curing. Seal the free edge of each nail by running the brush lightly along the tip.
- The Colour Coat: Choose a classic, elegant shade—such as a soft nude, subtle pink, or a glossy neutral—to achieve a clean, timeless look. Apply the colour in ultra-thin strokes. It is always better to apply two or three thin layers than one thick layer. Again, ensure you cap the free edge to prevent water from getting under the polish.
- The Top Coat: To lock in the colour and achieve that signature glossy, high-shine finish, apply a thin layer of gel top coat. This layer protects the polish from scratches and preserves the vibrancy of the colour.
The Science of Curing Gel Polish
Unlike traditional air-dried nail polish, gel products contain photo-initiators that require specific wavelengths of light to cure, or polymerise. This process transforms the liquid gel into a hard, durable plastic-like coating. For this reason, a reliable LED or UV lamp is an indispensable tool for a gel pedicure.
Always follow the curing times recommended by the manufacturer of your specific gel system, as formulas vary. Generally, an LED lamp requires about 30 to 60 seconds per layer, while a traditional UV lamp may require up to two minutes. During the curing process, ensure your toes are positioned flat inside the lamp so that the light reaches all nails evenly, especially the smaller outer toes. If you experience a slight warming sensation, briefly remove your foot from the lamp for a few seconds before continuing.
Finishing Touches and Post-Pedicure Care
After the final top coat has been cured under the lamp, you may notice a sticky residue on the surface of your nails. This is the inhibition layer, a normal byproduct of the curing process. To reveal the glossy, smooth finish, saturate a lint-free wipe with a gentle nail cleanser or isopropyl alcohol and wipe each nail firmly. If you are using a "no-wipe" top coat, this step is not necessary, as the surface will already be completely dry and smooth.
Once the nails are fully cured and cleansed, it is time to restore moisture to your skin. Apply a nourishing cuticle oil around each toe and gently massage it in. Follow with a rich, hydrating foot cream to keep the skin on your heels and soles soft and supple. Consistent moisturising not only keeps your feet looking beautiful but also prevents the cuticles from drying out, which helps maintain the pristine appearance of your pedicure.
Tips for Maintaining a Flawless Pedicure
A well-executed gel pedicure on your toes can easily last for up to four weeks. To ensure your nails remain immaculate and healthy throughout this period, keep the following practical tips in mind:
- Avoid wearing tight, narrow-toed shoes immediately after your pedicure, as constant pressure can put stress on the cured gel and cause discomfort.
- Never pick or peel off the gel polish if it begins to lift. Peeling the gel off manually can strip away the delicate top layers of your natural nail plate, leading to thinning and weakening.
- When it is time to remove the polish, use the correct soaking method with a gentle cosmetic solvent designed for gel removal, or seek professional assistance to preserve the health of your nails.