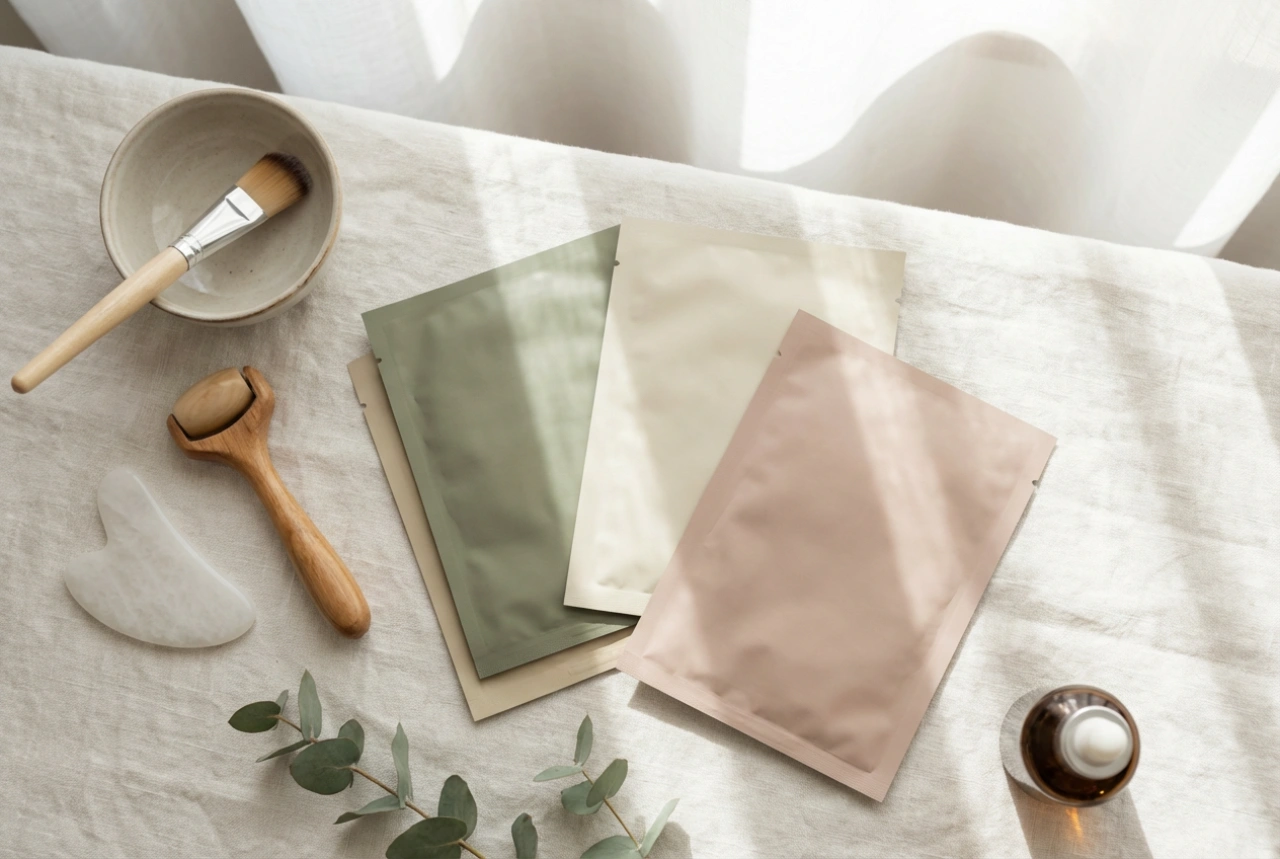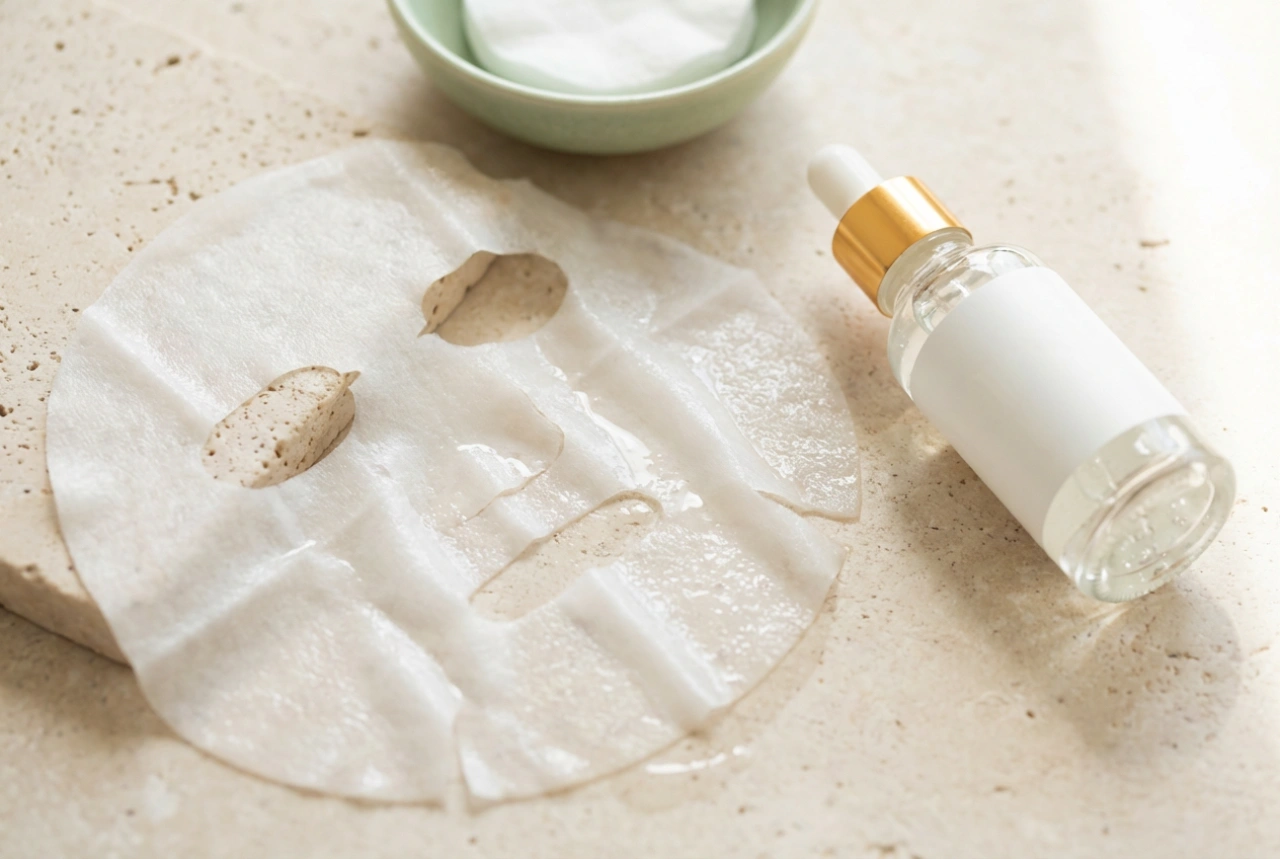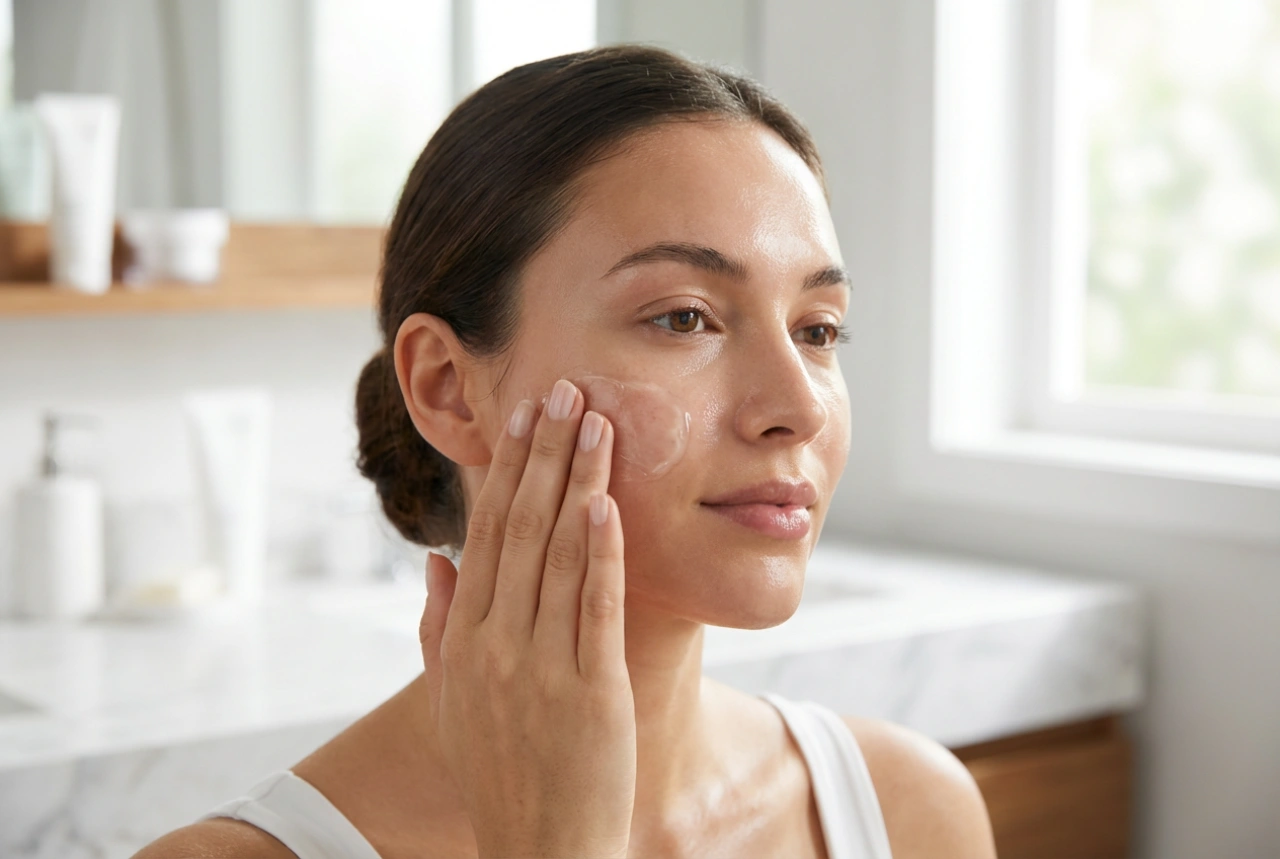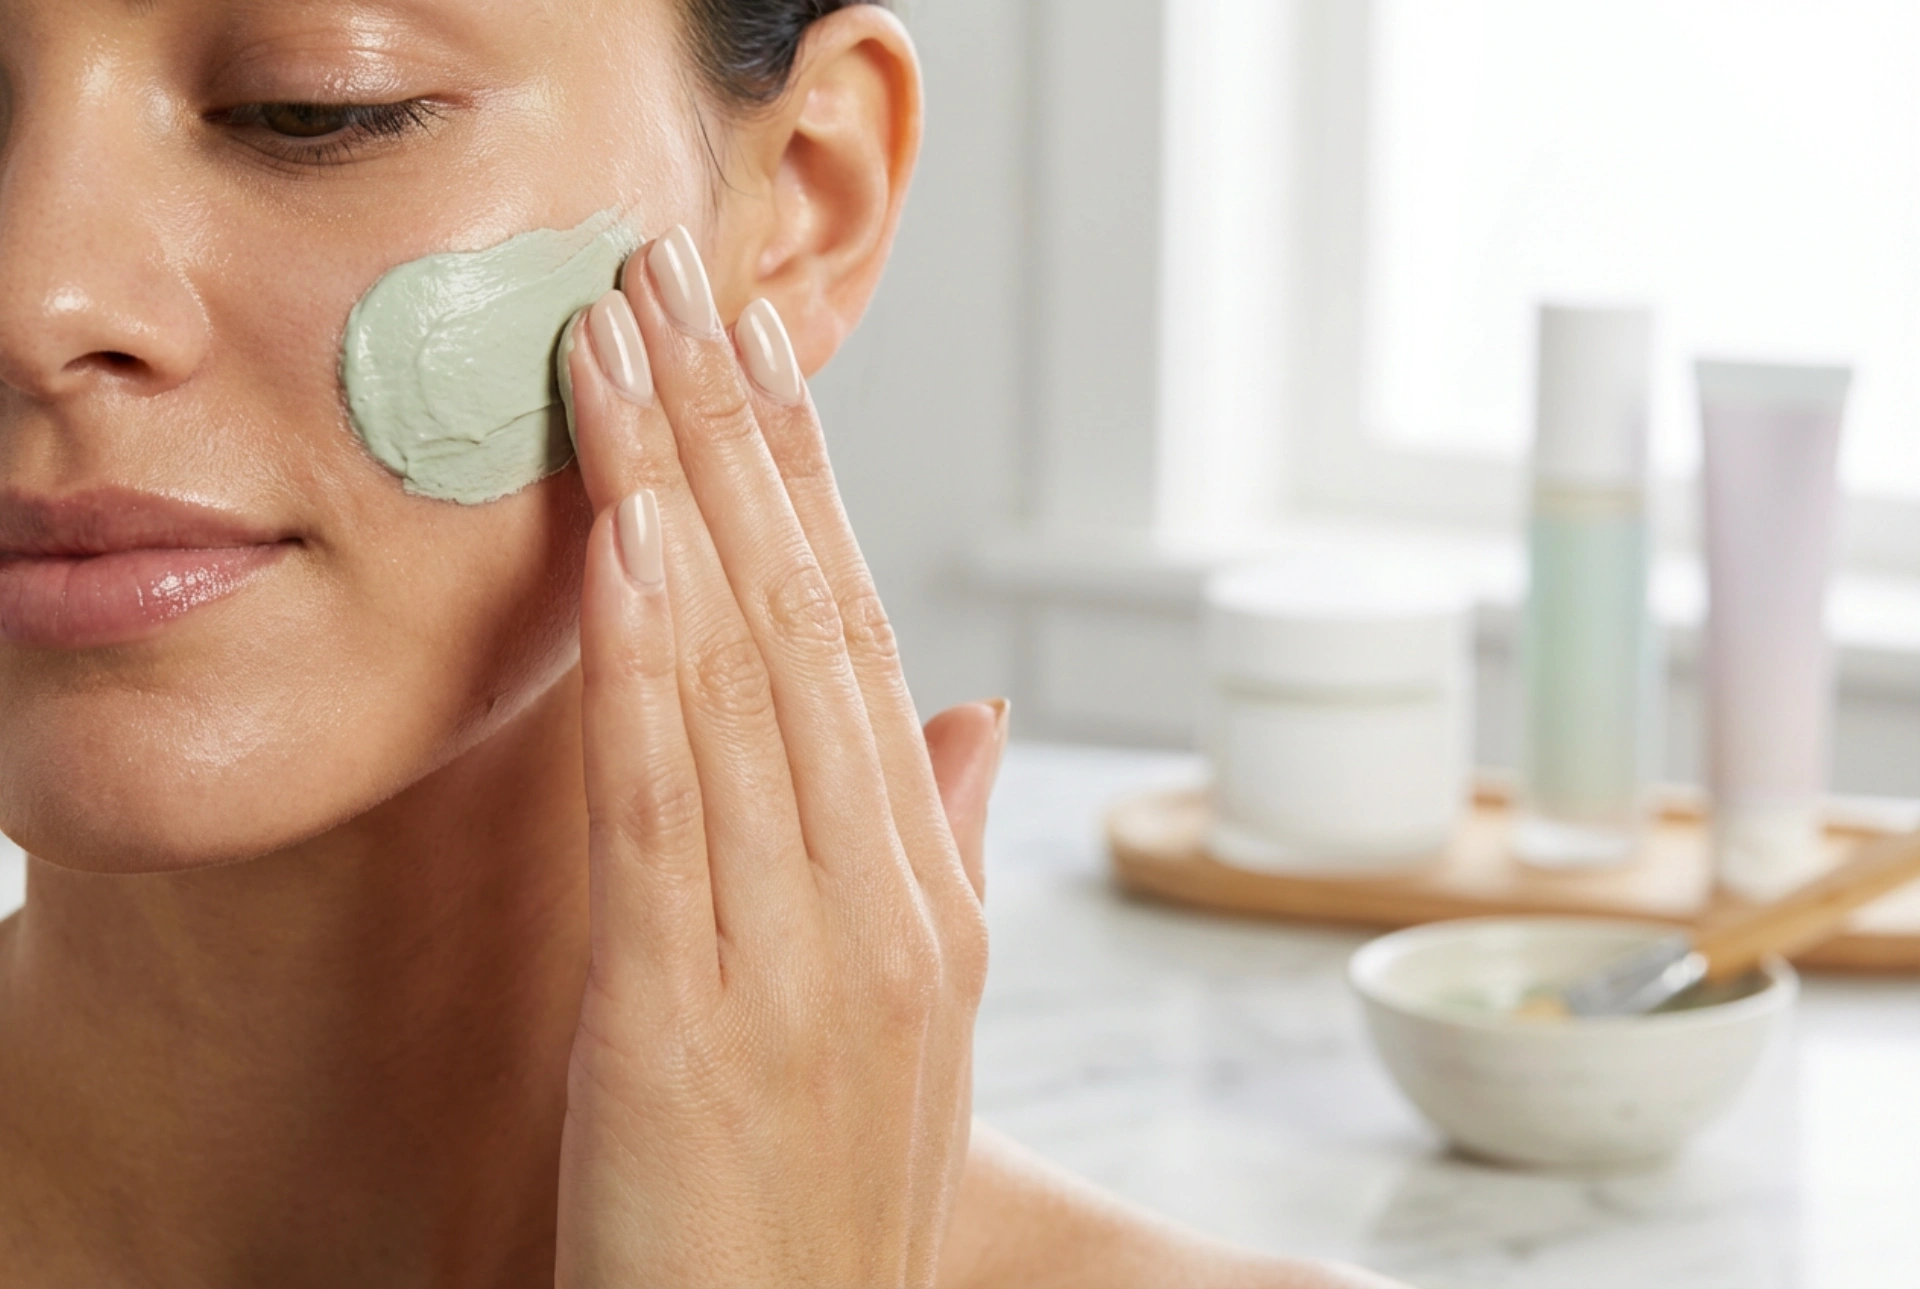


Gently applying a smooth, pale green cleansing mask to the cheek is a classic image of self-care and skin refreshment. In a quiet, minimalist bathroom setting, taking a moment to focus on skin texture and careful application can transform a basic beauty routine into a soothing ritual. Cleansing masks are beloved for their ability to refresh the skin, absorb excess oils, and reveal a radiant, healthy-looking complexion. However, achieving the best results requires more than just applying any product; it demands an understanding of proper application techniques, timing, and avoiding common pitfalls that could lead to dryness or irritation.
The Benefits of a Cleansing Mask Routine
Incorporating a cleansing mask into your weekly skincare routine offers numerous advantages that daily cleansers might not fully achieve. These formulations are designed to work deeply within the skin surface, drawing out impurities, environmental dust, and accumulated sebum that can make the complexion look dull or congested. By regularly purifying the skin, you help maintain its natural balance and support a smoother texture.
Furthermore, a well-formulated cleansing mask helps prepare the skin to absorb other beneficial products, such as hydrating serums, nourishing oils, and moisturisers. When dead skin cells and surface build-up are gently removed, your subsequent skincare steps can perform much more effectively. The process also encourages a moment of relaxation, which has its own subtle benefits for your overall well-being and appearance.
How to Prepare Your Skin for Application
Before you reach for your favourite cleansing mask, proper skin preparation is essential. Applying a purifying product directly onto makeup or daily grime will prevent the active ingredients from contacting the skin effectively, rendering the treatment far less useful. Follow these simple steps for optimal preparation:
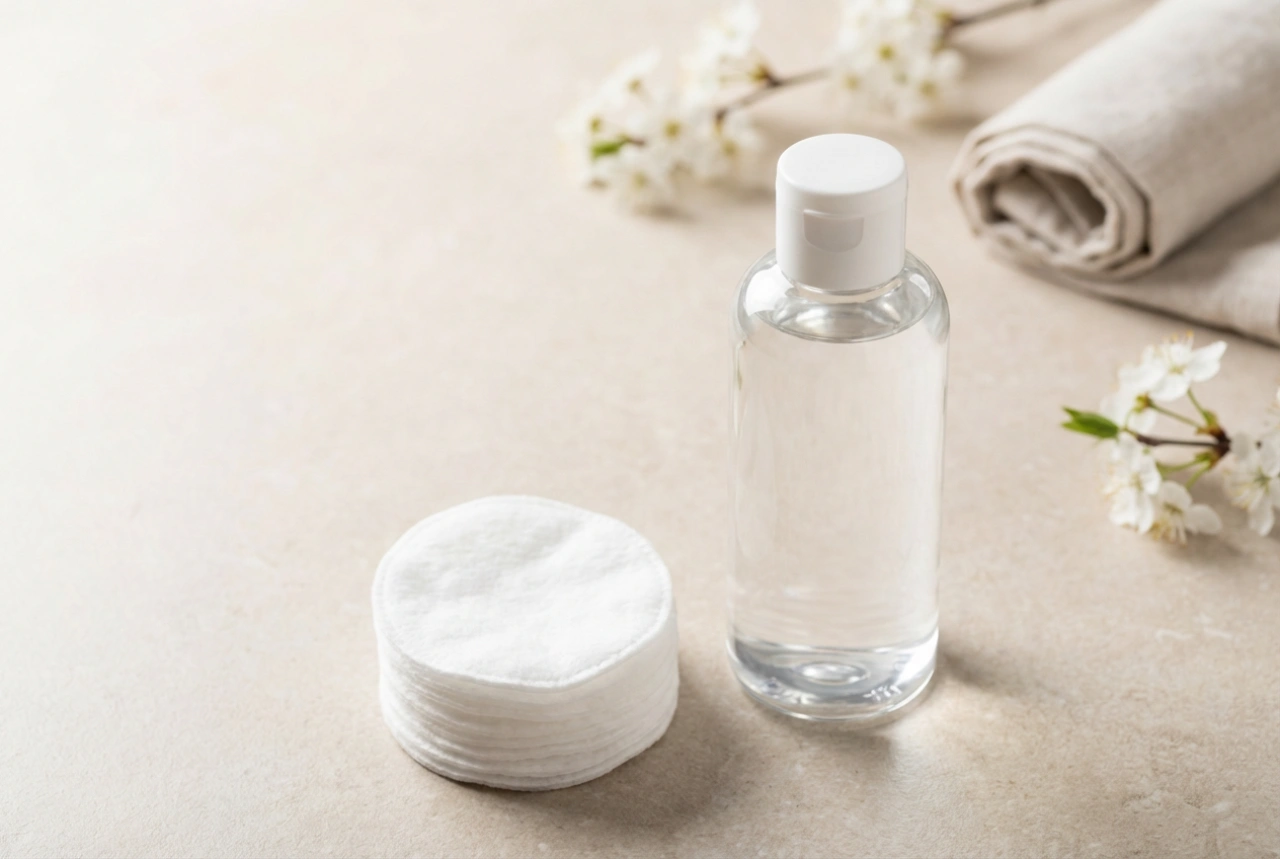
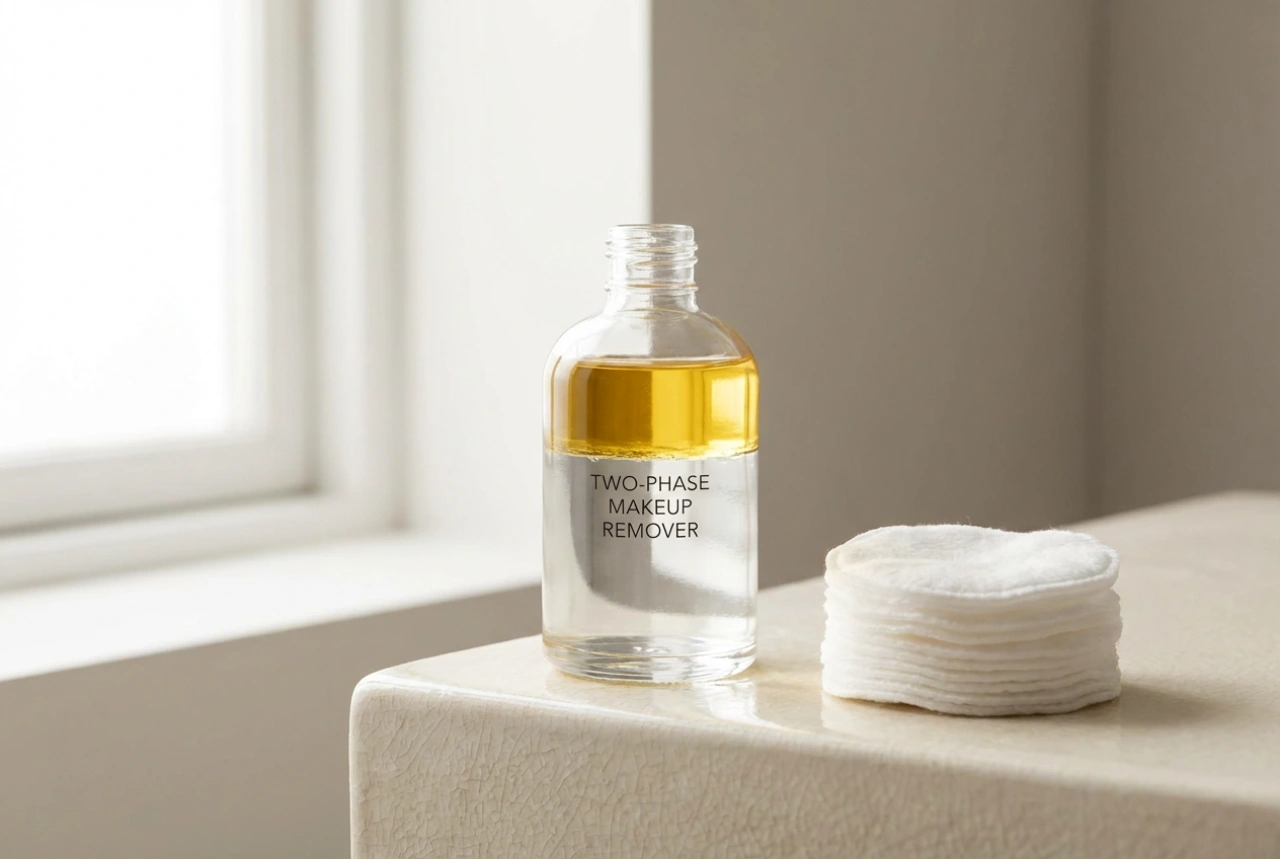
- Thorough Cleansing: Always start by washing your face with a gentle, non-stripping cleanser. Remove all traces of cosmetics, sunscreens, and surface dirt.
- Gentle Warmth: Splashing your face with lukewarm water helps to gently soften the skin and relax the pores, making it easier for the mask to clarify the skin surface. Avoid hot water, which can deplete natural lipids and cause unnecessary redness.
- Patting Dry: Softly pat your face dry with a clean, dedicated face towel. The skin should be slightly damp but not dripping wet, unless the product instructions state otherwise.
Safe and Precise Application Techniques
The way you apply the mask can influence its efficacy and how your skin reacts to the treatment. While using your fingers is a convenient and tactile method, using a clean, flat beauty brush can elevate the experience, ensuring an even layer while keeping the process hygienic. When applying the mask, always start from the centre of the face and work outwards in smooth, upward motions.
Pay close attention to delicate areas. The skin around the eyes and lips is significantly thinner and more sensitive than the rest of the face. Always leave a generous margin around these features to prevent tightness and irritation. Focus the product on areas prone to congestion, such as the T-zone (forehead, nose, and chin), while keeping a lighter layer on the cheeks if they tend to be drier.
The Crucial Element of Timing
One of the most common misconceptions about cleansing masks, particularly those based on clay or charcoal, is that they must dry completely until they crack before they can be washed off. In reality, letting a mask reach this stage can draw essential moisture out of your skin, leaving it dehydrated, tight, and uncomfortable. Understanding the three phases of a clay-based cleansing mask is key to protecting your skin barrier:
The first phase is the wet phase, where your skin drinks in the beneficial minerals and active ingredients. The second phase is the cool, contracting phase, which begins when the mask starts to dry slightly. This is when the mask absorbs excess oils and debris from the surface. The third phase is the dry phase, which is when the mask pulls moisture from the deeper layers of the skin, causing that tight, itchy sensation. You should always aim to rinse the mask off during the transition between the first and second phases—when it is dry to the touch but still feels slightly sticky or pliable under pressure.
Common Mistakes to Avoid in Your Ritual
To keep your skin looking radiant and feeling comfortable, it is helpful to recognise and avoid several frequent skincare missteps:
- Overusing the Mask: While cleansing masks are highly effective, using them too frequently can strip the skin of its protective oils. For most skin types, once or twice a week is perfectly sufficient.
- Leaving the Product on Too Long: Keeping a mask on past the recommended time limit (usually 10 to 15 minutes) does not make it work better; instead, it increases the risk of superficial dehydration.
- Aggressive Removal: Scrubbing your face with a rough cloth to remove dried product can cause physical micro-tears and redness. Instead, loosen the mask by pressing a warm, wet washcloth against your face, then gently wipe or rinse it away with plenty of water.
- Skipping Subsequent Hydration: After rinsing off a purifying mask, always follow up immediately with a hydrating toner, serum, and a nourishing moisturiser to lock in moisture and support the skin barrier.