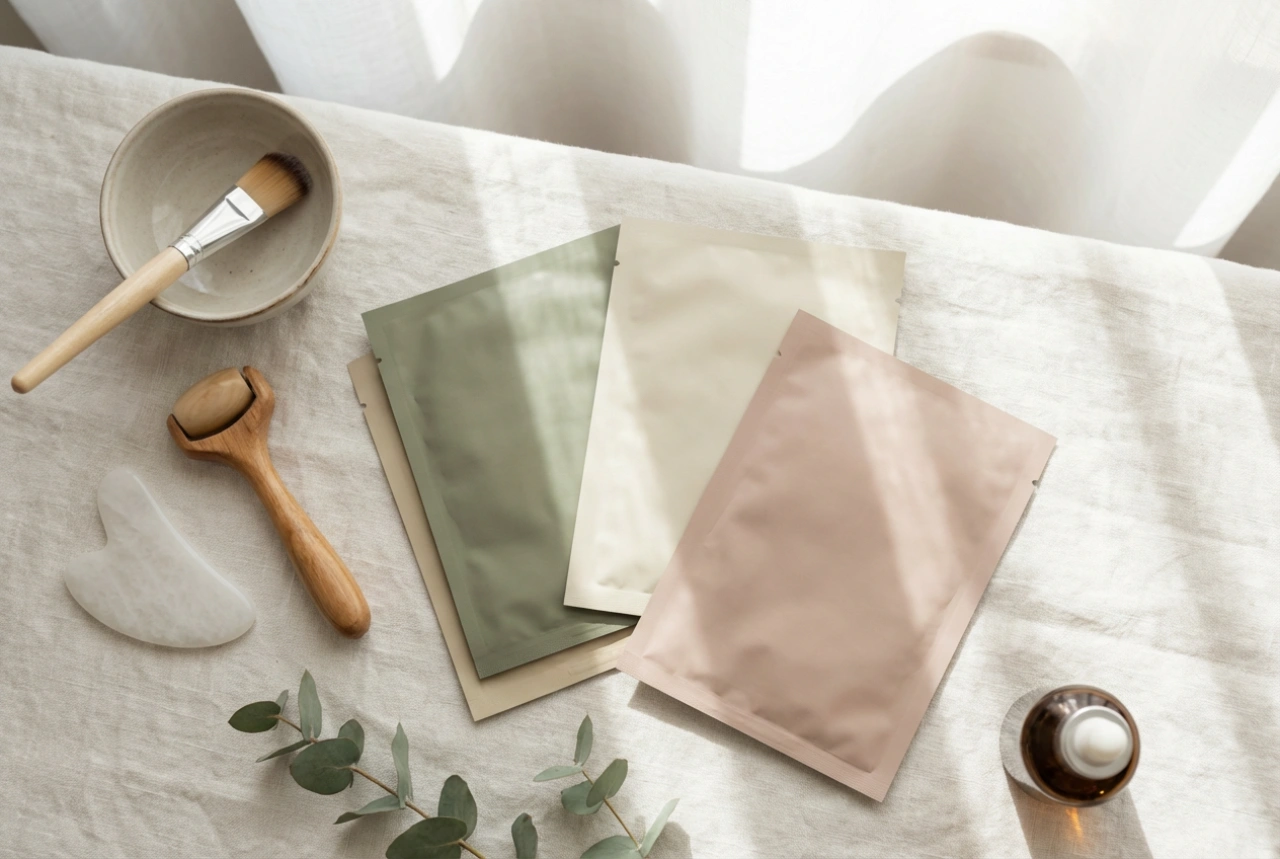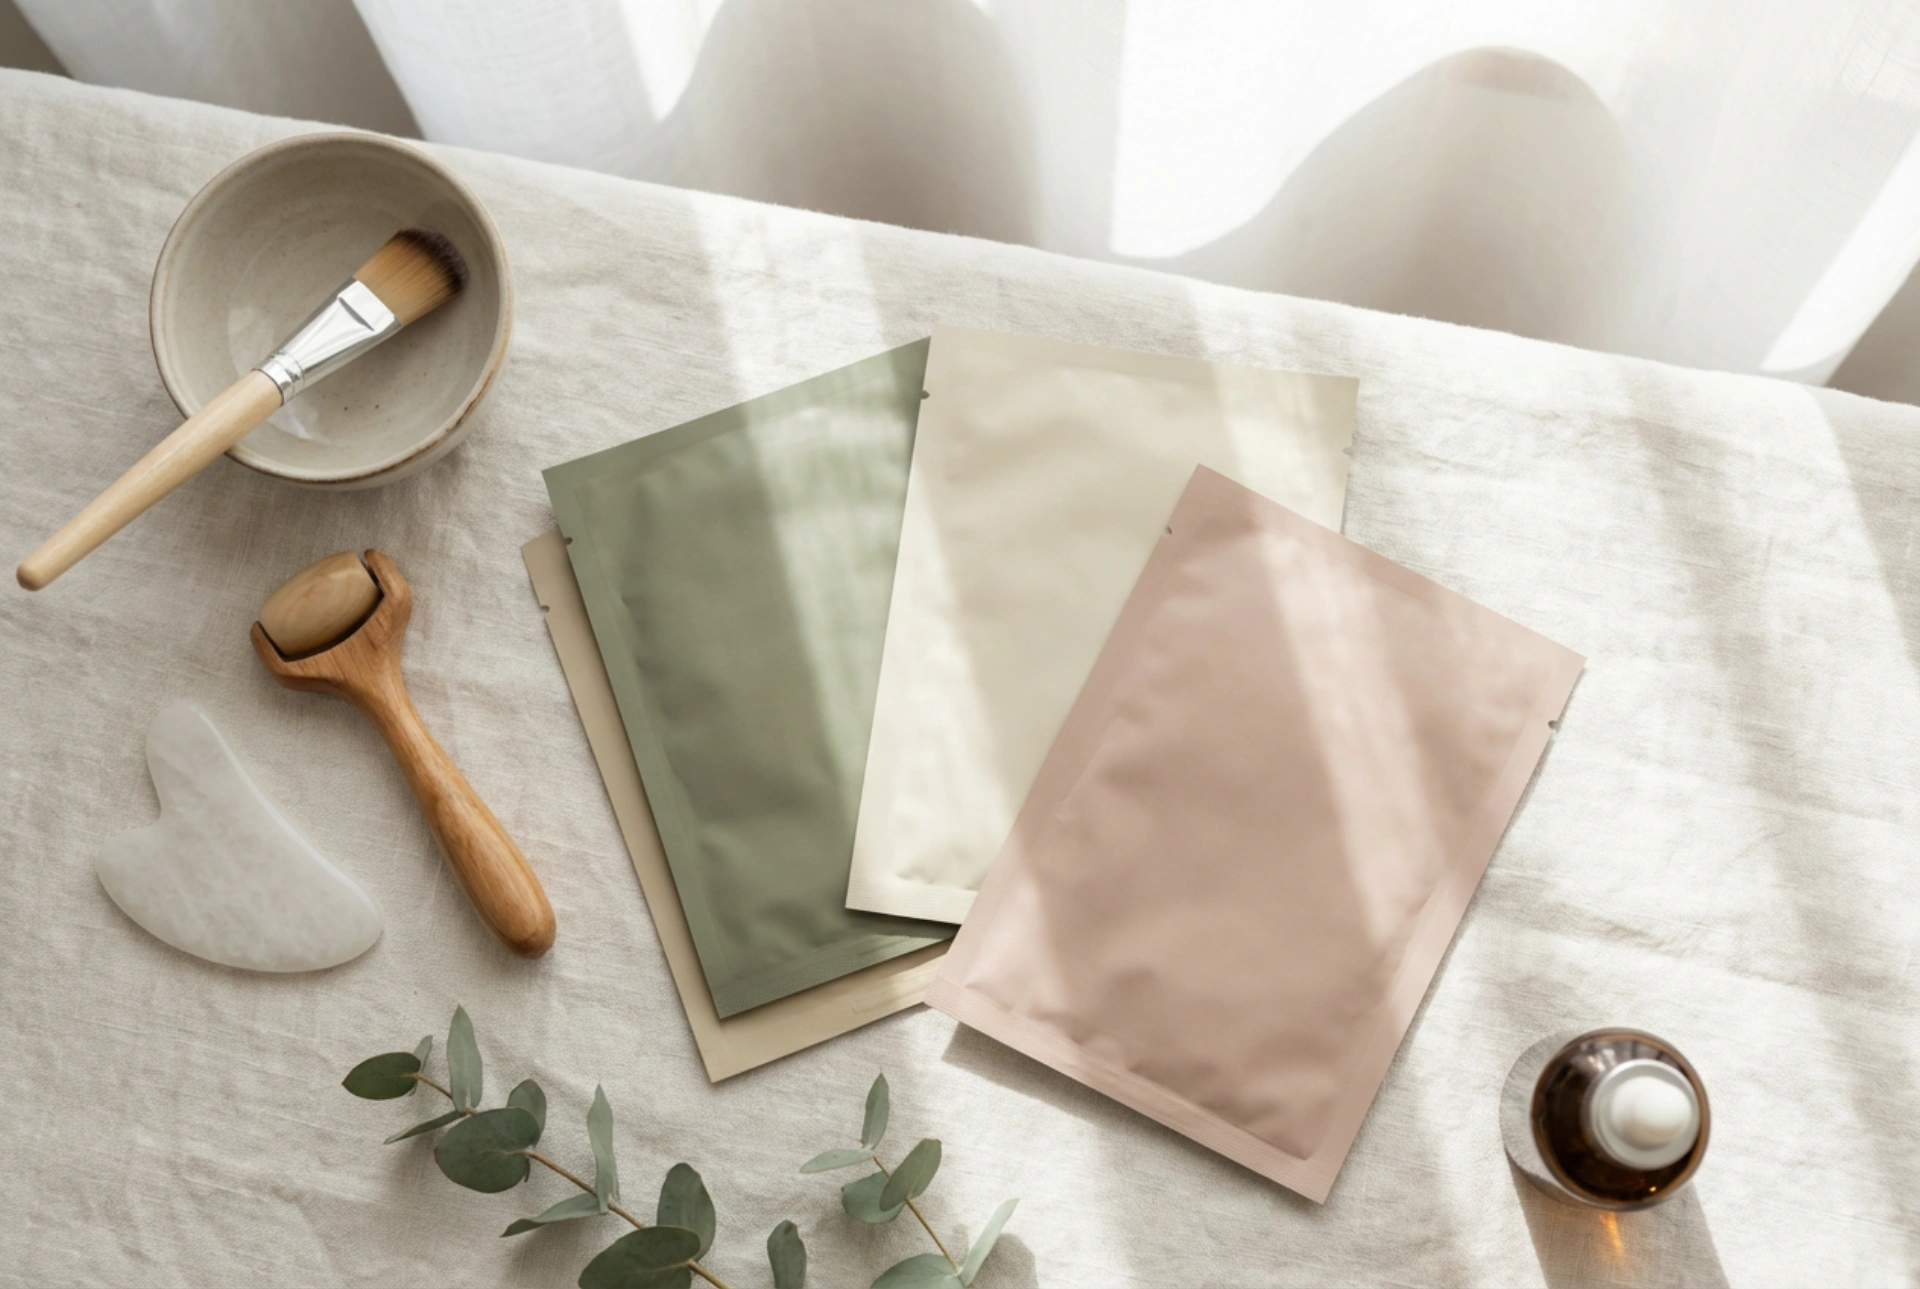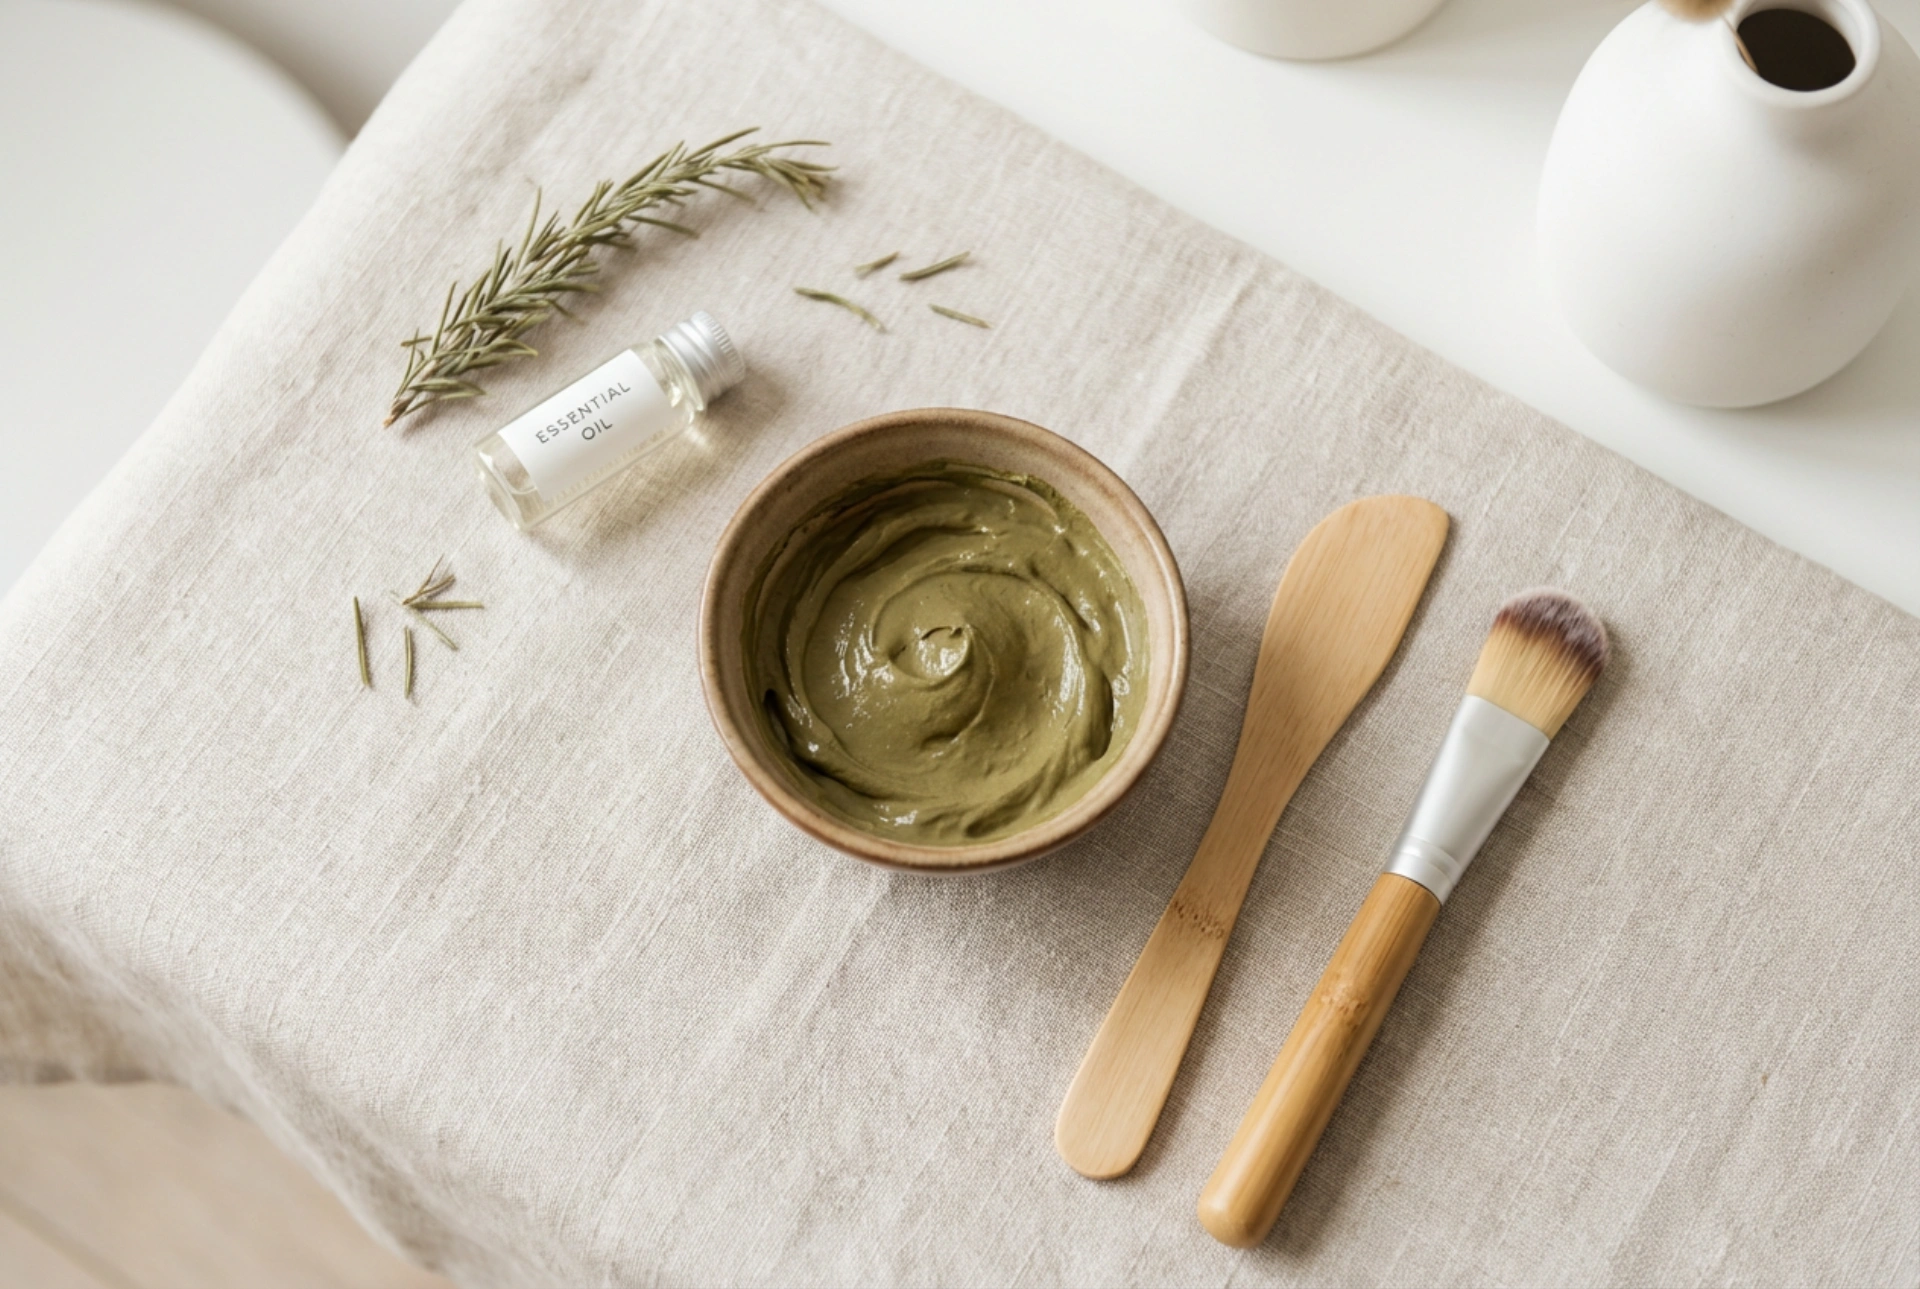


Picture a quiet, sunlit corner of your home, where a small ceramic bowl holds a freshly mixed, velvety green clay mask. Beside it, a wooden spatula and a soft application brush lie ready, promising a dedicated moment of self-care. This serene scene captures the essence of classic beauty rituals that rely on the pure simplicity of earth-derived ingredients. Green clay has long been celebrated in cosmetic history for its remarkable ability to refresh the complexion, absorb excess oil, and restore a sense of balance to the skin. However, to truly harness its natural benefits, one must understand the delicate art of preparation, application, and timing.
The Nature of Green Clay: Why It Belongs in Your Routine
Green clay, often sourced as montmorillonite or illite, owes its distinct colour to decomposed plant matter and rich iron oxides. It is highly valued in home skincare for its strong absorbing properties, making it particularly suited for those with oily, combination, or congested skin. When applied to the skin, it acts like a gentle magnet, lifting away impurities, surface debris, and excess sebum that can dull the complexion.
Beyond its purifying qualities, green clay offers a mild exfoliating effect. As you rinse the mask away, the fine particles gently sweep away dead skin cells, promoting a smoother texture and a natural, healthy glow. It is a completely natural, single-ingredient option that allows you to avoid synthetic additives, fragrances, and preservatives, making it a reliable staple for clean beauty enthusiasts.
How to Correctly Mix Your Clay Mask
Creating the perfect clay mask is a sensory experience that requires a little precision. The way you mix your clay directly influences its texture, application, and how comfortably it sits on your skin.
Choose the Right Tools
Before you begin, it is essential to select the correct utensils. Always avoid using metal bowls, spoons, or spatulas when working with green clay. Clay contains minerals that can react with metal, potentially altering its properties and reducing its effectiveness. Instead, opt for ceramic, glass, or wooden bowls and mixing tools. A soft, synthetic cosmetic brush is ideal for applying the mixture smoothly and hygienically.
Selecting Your Mixing Liquid
While plain, lukewarm water is the simplest and most accessible choice, you can elevate your ritual by using alternative liquids tailored to your skin’s needs:
- Flower Waters (Hydrosols): Rose water adds a soothing touch, while lavender or chamomile hydrosol can help calm the senses and the skin.
- Nourishing Oils: Adding a few drops of a light, non-comedogenic cosmetic oil, such as jojoba or squalane, helps prevent the mask from drying out too quickly and provides extra nourishment for drier skin types.
- Herbal Infusions: Cooled green tea or chamomile tea can offer mild soothing benefits.
The Golden Ratio
To achieve a smooth, paste-like consistency, start with equal parts clay powder and liquid (for example, one tablespoon of clay to one tablespoon of liquid). Slowly pour the liquid over the clay in your ceramic bowl. Let it sit for a moment to absorb naturally before stirring. Use your wooden spatula to mix the ingredients into a creamy, lump-free paste that mimics the texture of Greek yoghurt. If the mixture is too thick, add a few drops of liquid; if it is too runny, sprinkle in a tiny amount of clay.
Application Techniques for Maximum Comfort
Once your green clay mask is perfectly mixed, the application process should be smooth, deliberate, and relaxing. Start with a thoroughly cleansed and slightly damp face, as this allows the mask to spread more evenly and stick comfortably to the skin.
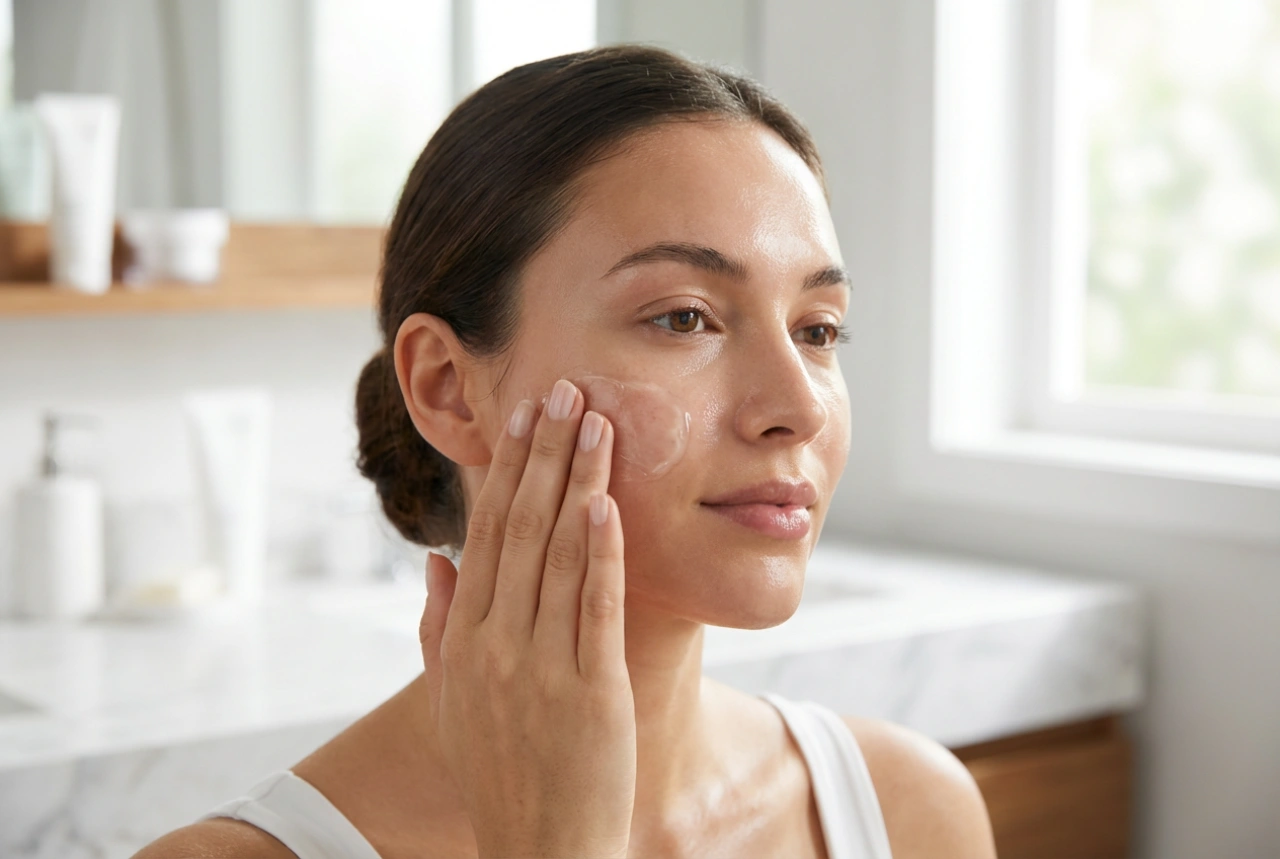
Using your soft beauty brush, apply an even, medium layer of the clay paste across your face. Avoid the delicate skin directly around your eyes and lips, where the skin is much thinner and more prone to dryness. Be sure to apply a thick enough layer so that the mask does not dry out instantly upon contact with the air. A layer that is too thin will dry too quickly, robbing your skin of the mask’s balancing benefits and causing unnecessary tightness.
The Crucial Timing: Mastering the Three Phases of Clay
One of the most common mistakes in home skincare is letting a clay mask dry until it cracks, flakes, and feels incredibly tight. To get the most out of your green clay, it is vital to understand the three distinct phases of the masking process:
1. The Wet Phase
This is the initial stage where the mask is freshly applied and feels cool on your skin. During this phase, your skin drinks in the beneficial minerals present in the clay, and the moisture from the mask helps to soften the outermost layer of the skin.
2. The Start of the Drying Phase
As the moisture begins to evaporate, the mask starts to tighten slightly and change colour, becoming a lighter shade of green. This is the active phase where the clay begins to contract, gently stimulating surface blood flow and drawing out excess sebum and impurities from the pores.
3. The Dry Phase
This is the stage you want to avoid. When the mask becomes completely dry, chalky, and starts to crack, it begins to draw vital moisture directly from your skin. This can lead to dehydration, redness, and irritation, completely reversing the beneficial effects of the ritual.
To prevent reaching the third phase, keep the mask on for approximately 8 to 12 minutes. If you feel any areas drying out too quickly, you can gently mist your face with water or a floral hydrosol to keep the clay active and damp. Remove the mask as soon as it begins to feel tacky and lightens in colour, but before it feels dry to the touch.
Gentle Removal and Post-Mask Care
Removing a clay mask should never involve vigorous scrubbing or pulling at the skin. To wash it away gently, splash your face with lukewarm water to rehydrate the clay. You can also press a warm, damp face cloth against your skin for a few seconds to soften the paste.
Once the clay has softened, gently wipe it away using circular motions. Rinse thoroughly with clear water until no green residue remains. Pat your skin dry with a clean, soft towel. Immediately follow up with your favourite hydrating toner, a lightweight serum, and a nourishing moisturiser to lock in hydration and keep your freshly purified skin feeling soft, supple, and beautifully balanced.