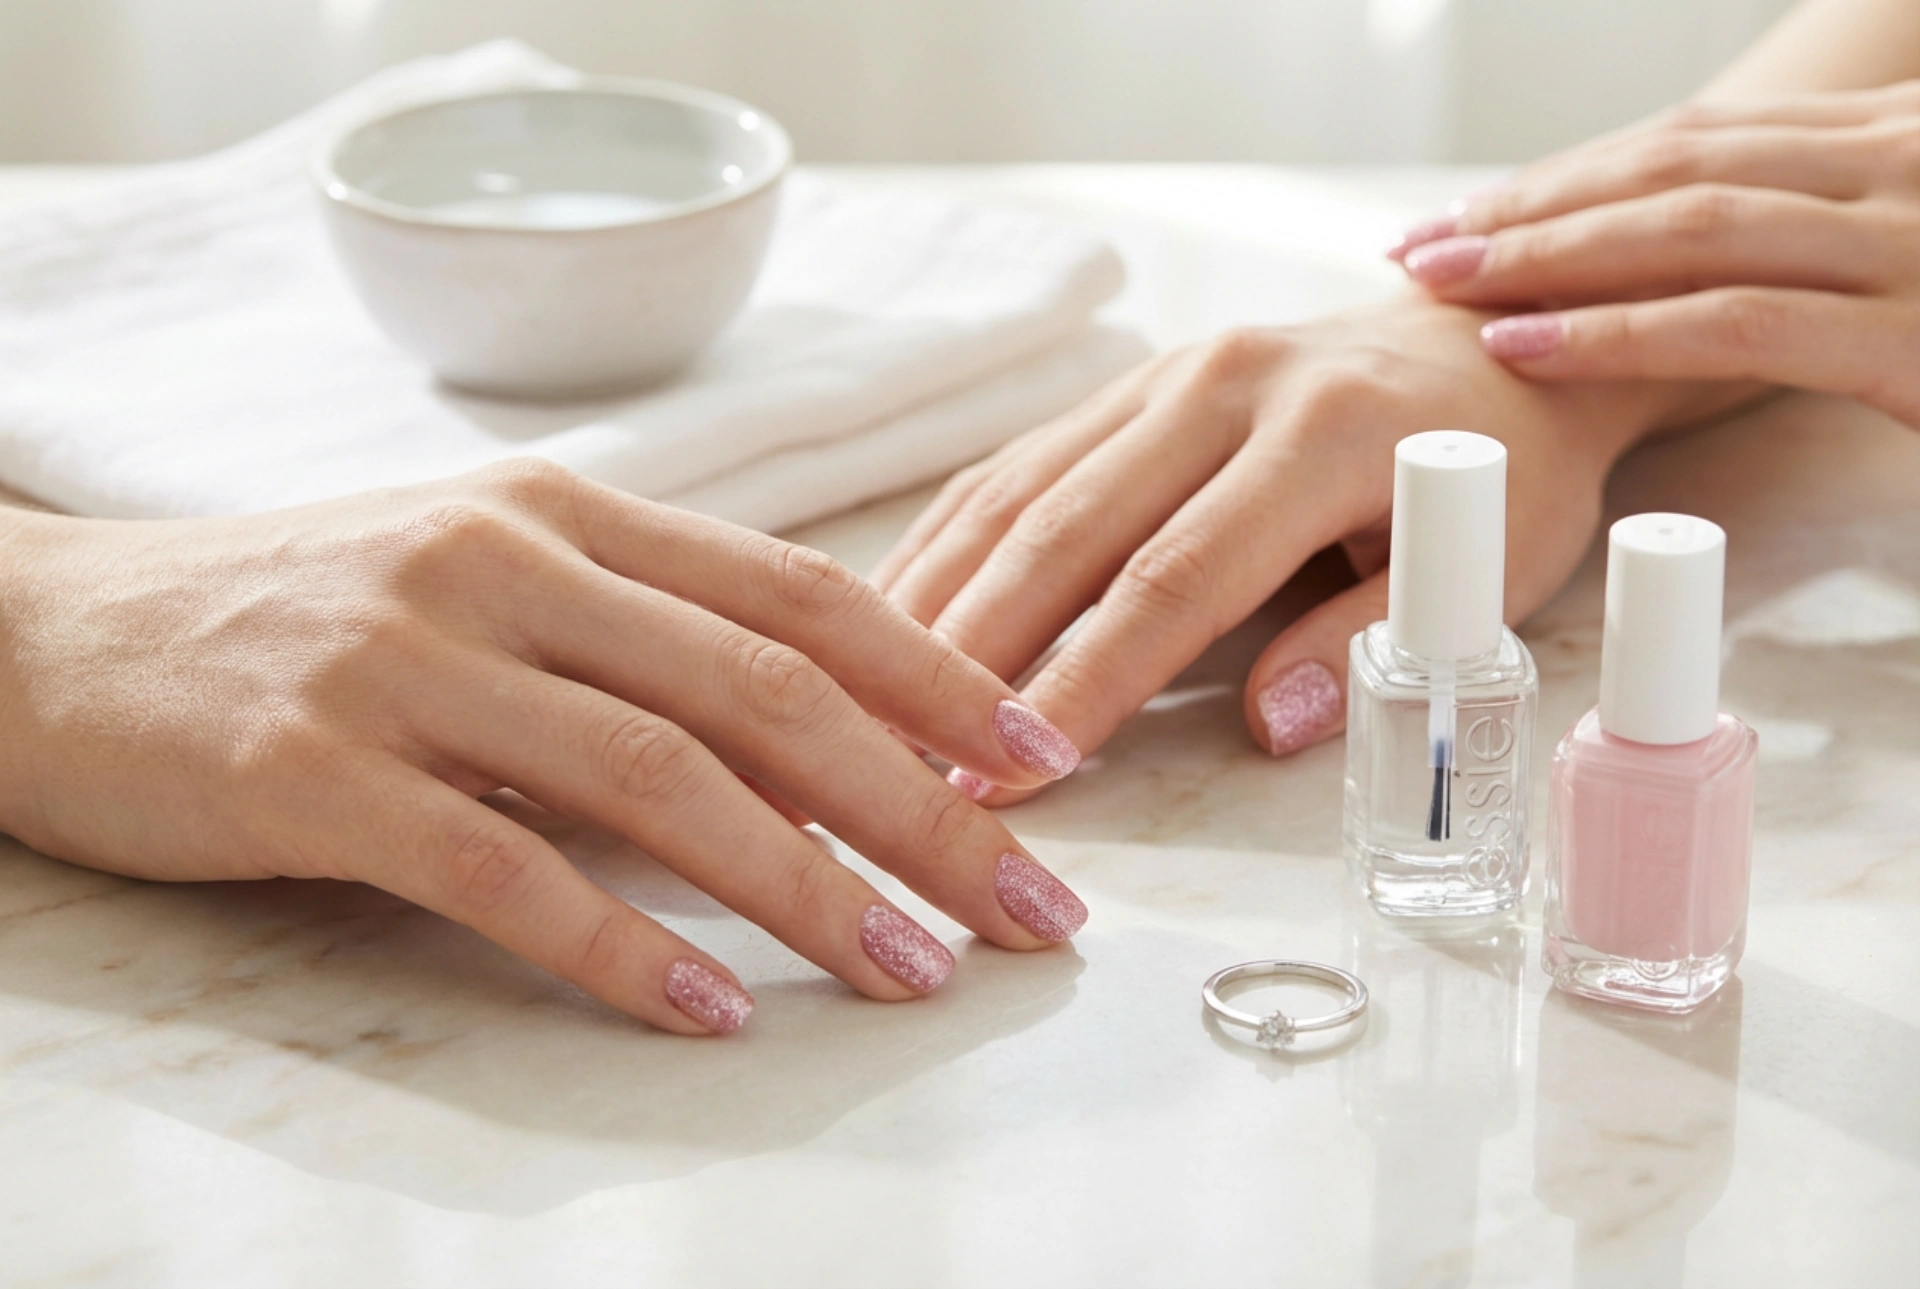


Pink glitter nails are a timeless choice that can be adapted for any occasion, from a subtle daytime shimmer to a full-on glamorous statement. The key to a stunning and sophisticated look lies not just in the colour, but in the application technique and placement of the sparkle. Whether you prefer a delicate hint of glitter or an eye-catching design, mastering a few basic principles will ensure your home manicure looks polished, professional, and impressively durable. Forget gritty textures and premature chipping; a flawless, long-lasting glitter manicure is entirely achievable at home.
Choosing Your Style: Ways to Wear Pink Glitter
Before you start polishing, consider the effect you want to create. Pink glitter is incredibly versatile, and the placement can completely change the character of your manicure. Here are a few popular and elegant ideas for incorporating sparkle:
- The Accent Nail: This is a classic for a reason. Painting one nail on each hand (traditionally the ring finger) with glitter polish while keeping the others a solid pink or neutral colour creates a chic, balanced look. It’s an easy way to add interest without overwhelming the manicure.
- The Glitter Gradient (Ombré): A gradient effect, where the glitter is concentrated at one point and fades out, is modern and dynamic. You can have the glitter fade from the tip of the nail down towards the cuticle, or vice versa. This look appears intricate but is surprisingly simple to achieve with a makeup sponge.
- The Modern French Tip: Swap the traditional white tip of a French manicure for a line of sparkling pink glitter. This adds a playful and contemporary twist to a timeless style. For an even more subtle take, you can try a 'micro' French tip with just a very thin line of glitter.
- The Cuticle Accent (Reverse French): For a more understated and trendy look, apply a thin curve of glitter along the cuticle line. This draws attention to the base of the nail and looks especially elegant on shorter, well-groomed nails.
- Full-On Sparkle: Sometimes, more is more. A full set of pink glitter nails can be perfect for celebrations or simply when you’re in the mood for maximum glamour. The key to keeping it looking refined is a flawless application and an ultra-glossy top coat.
The Secrets to a Smooth, Long-Lasting Application
The main challenges with glitter polish are achieving an even distribution of particles and avoiding a rough, bumpy finish. The right preparation and technique are essential for a manicure that not only looks great but also lasts.
Step 1: Preparation is Everything
Never apply polish to bare or unprepared nails. Start by ensuring your nails are clean, dry, and free of any oils. Gently file them into your desired shape and lightly buff the surface. This creates a smooth canvas and helps the polish adhere better. Always apply a quality base coat. This serves two important functions: it prevents the nail plate from being stained by the pigments and provides a tacky surface for the polish to grip onto, extending the life of your manicure.
Step 2: Applying the Glitter Polish
Glitter polishes can be trickier to apply than standard cremes. Instead of long, smooth strokes, a dabbing or stippling motion often works best. This allows you to place the glitter particles exactly where you want them and build up density for a more opaque look. Apply thin layers and allow each one to dry before adding the next. This prevents the polish from becoming thick and goopy, which can lead to bubbles and a long drying time.
For a gradient effect, paint a stripe of your glitter polish onto a disposable makeup sponge and dab it onto the tip of your nail, moving it slightly up and down to blend the edge. Repeat until you have the desired opacity.
Step 3: The Crucial Top Coat Technique
This is the most important step for achieving that smooth, glossy, professional finish. Glitter creates a naturally uneven surface, which can feel rough and be prone to snagging. To solve this, use a two-part top coat method.
- The 'Filler' Coat: After your glitter is completely dry, apply one generous layer of a thick, gel-like top coat. Don't worry about being too precise. The goal of this coat is to fill in all the gaps between the glitter particles and create a level surface. Let this layer dry thoroughly.
- The 'Gloss' Coat: Once the first top coat is dry to the touch, apply a second, regular top coat. This final layer will provide the high-gloss shine and seal everything in, giving you a smooth, durable finish that feels just like a regular manicure.
Common Mistakes to Avoid
A few common missteps can ruin an otherwise beautiful glitter manicure. By being aware of them, you can ensure a flawless result every time.
- Skipping the Base Coat: This can lead to your nails getting stained and your polish chipping much faster.
- Applying One Thick Coat: A single, thick layer of glitter polish will take forever to dry, is likely to bubble, and will peel off in sheets. Thin layers are always better.
- Using Only One Top Coat: A single top coat is rarely enough to smooth out the texture of glitter. This results in a gritty feel and a manicure that snags on clothes and hair.
- Aggressive Removal: Glitter polish is notoriously difficult to remove. Avoid scrubbing and peeling it off, as this can damage your natural nails. The best method is to soak a small piece of cotton in nail polish remover, place it on your nail, and wrap your fingertip in a small piece of aluminium foil. Let it sit for 5-10 minutes, and the polish should slide off easily with gentle pressure.


