


Smooth, well-cared-for feet are a goal for many, not just during sandal season but all year round. A foot file is a common tool in home pedicure kits, designed to tackle rough, hard skin on the heels and soles. However, using it incorrectly can lead to irritation, sensitivity, or even make the problem worse. The key to achieving beautifully soft feet lies in choosing the right tool and adopting a gentle, consistent technique. This guide will walk you through how to select and use a foot file safely and effectively for optimal results.
Choosing the Right Foot File
The market offers a wide variety of foot files, and the best one for you depends on your skin's needs and personal preference. Understanding the differences will help you make an informed choice.
Types and Materials
Foot files for home use come in several forms, each with its own characteristics:
- Metal Files: Often made from stainless steel, these files feature a surface with tiny raised edges or a grater-like pattern. They are very durable and easy to clean and disinfect. Look for high-quality, 'etched' versions, which are generally gentler and less likely to tear the skin than cheaper, stamped metal files.
- Ceramic Files: These are known for being long-lasting and effective yet gentle. The porous nature of ceramic helps to buff away dry skin smoothly. They are an excellent middle-ground option for regular maintenance.
- Glass or Crystal Files: Similar to their nail file counterparts, glass foot files have a fine, uniform abrasive surface created by etching. They are exceptionally gentle, making them ideal for sensitive skin or for finishing and smoothing the skin after using a coarser file. They are also very hygienic as they can be easily washed and sanitised.
- Emery Files: These are similar to large emery boards for nails, with abrasive paper adhered to a handle. They are often double-sided with a coarse grit on one side and a finer grit on the other. While effective, they can wear out over time and may be harder to clean thoroughly.
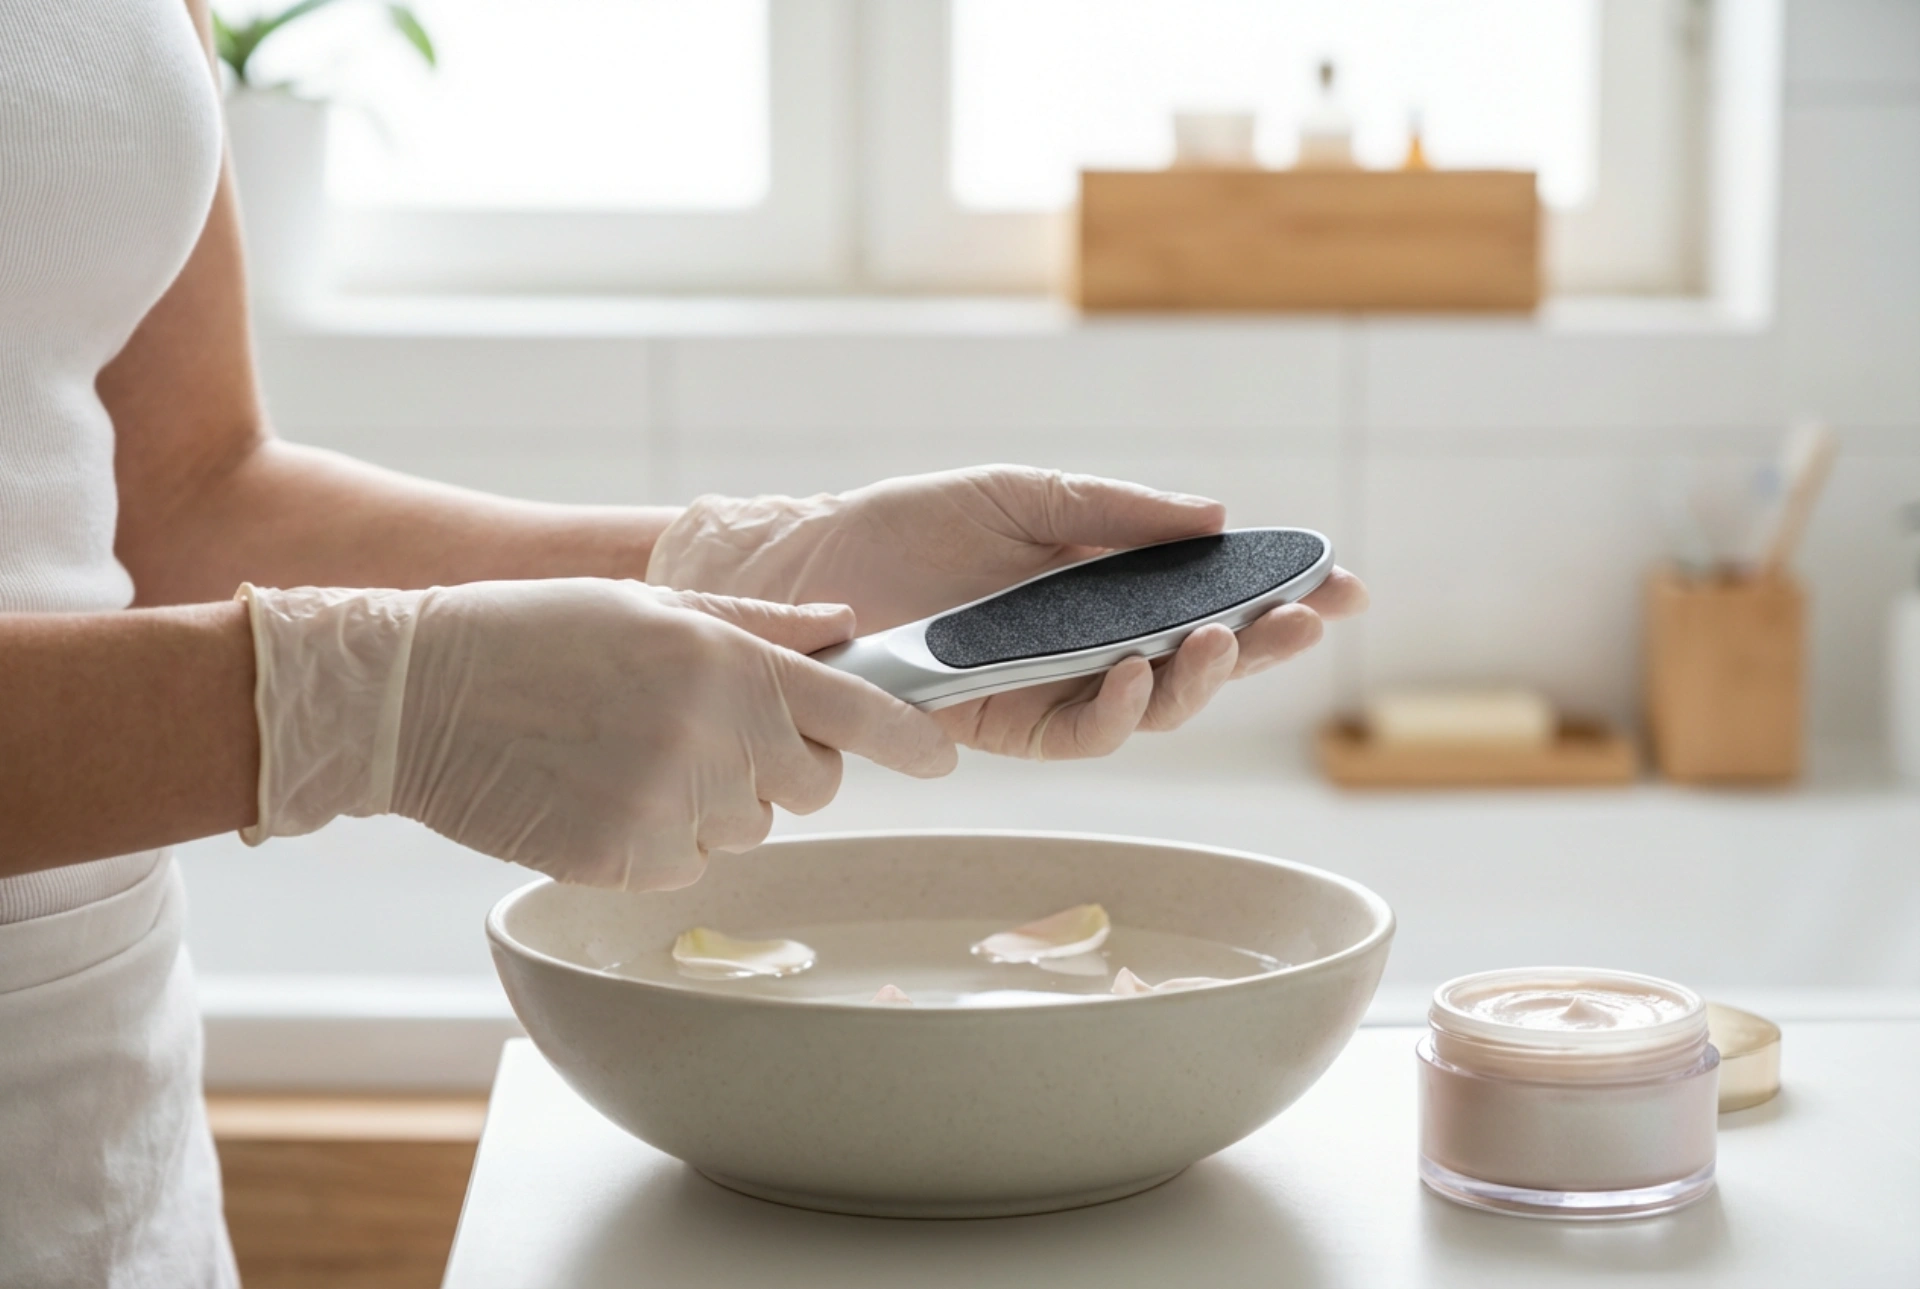
- Electric Files: These battery-operated or rechargeable devices have a rotating roller head coated with an abrasive material. They do the hard work for you, but require a very light touch to avoid removing too much skin too quickly. They are best for those who are confident in their technique and want a fast solution.
Considering Abrasiveness (Grit)
Just like sandpaper, foot files have different levels of abrasiveness or 'grit'. A coarse grit is designed for thicker, tougher areas of hard skin, while a fine grit is for smoothing, finishing, and more sensitive areas. If you are new to using a foot file, it is always best to start with a medium or fine grit to avoid irritation. Many manual files are double-sided, offering the convenience of two grits in one tool.
How to Use a Foot File Correctly: A Step-by-Step Guide
Proper technique is more important than the tool itself. Rushing the process or being too aggressive can damage the skin. Follow these steps for a safe and effective home treatment.
Step 1: Prepare Your Feet
Contrary to popular belief, it is often safer to file feet when they are completely dry. When skin is waterlogged from soaking, it's more fragile and it becomes difficult to distinguish between dead and healthy skin, increasing the risk of over-filing. Work on clean, dry feet before you shower or bathe.
Step 2: The Filing Process
Hold the file against the area of hard skin, such as your heel or the ball of your foot. Use gentle but firm pressure to move the file in a single direction or a soft back-and-forth motion. Avoid vigorous 'sawing' motions. Let the tool's surface do the work. After a few strokes, feel the area with your hand. The goal is to remove the rough, lifeless top layer, not to get down to the soft, sensitive skin beneath. Stop as soon as the skin feels smoother and less rough.
Step 3: Rinse and Dry
Once you have finished filing, rinse your feet with lukewarm water to wash away the exfoliated skin particles. Pat them completely dry with a soft, clean towel, paying attention to the areas between your toes.
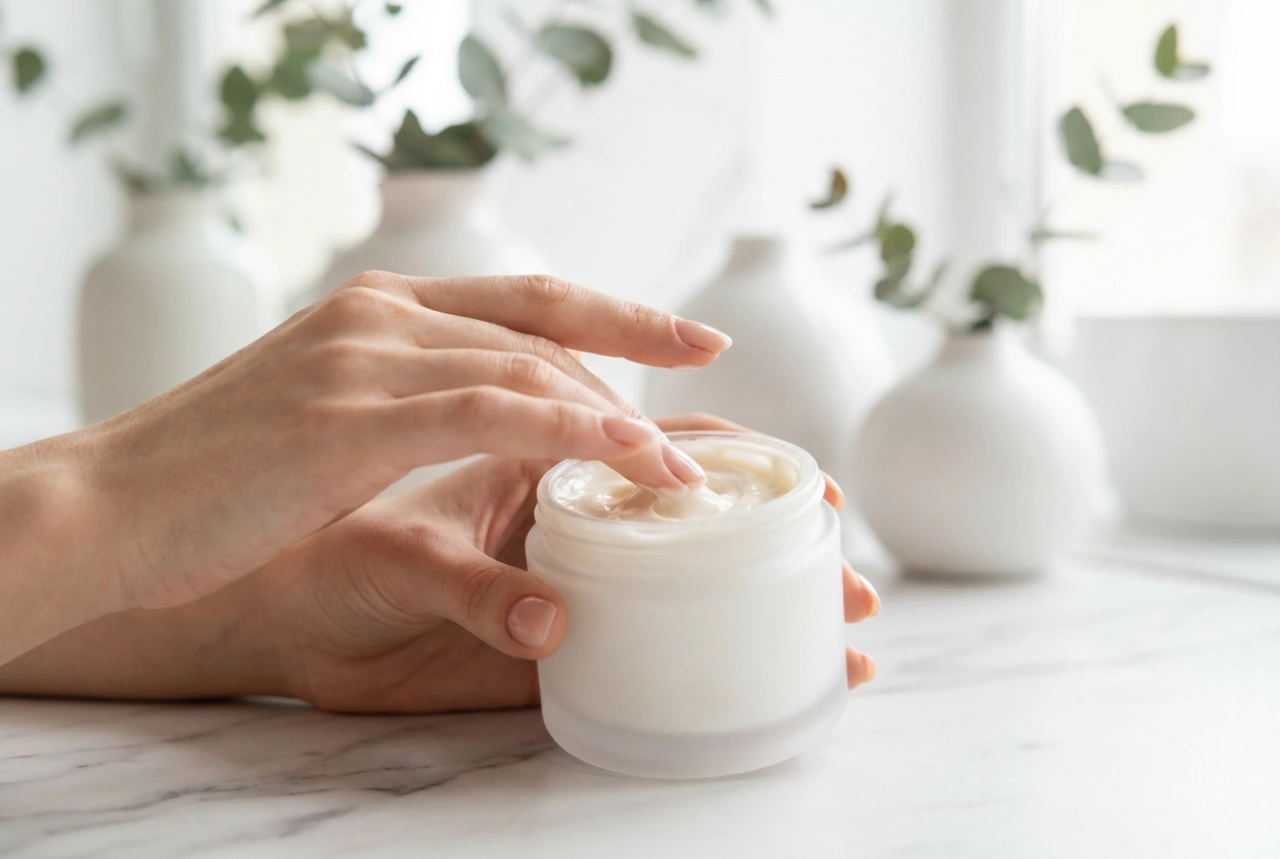
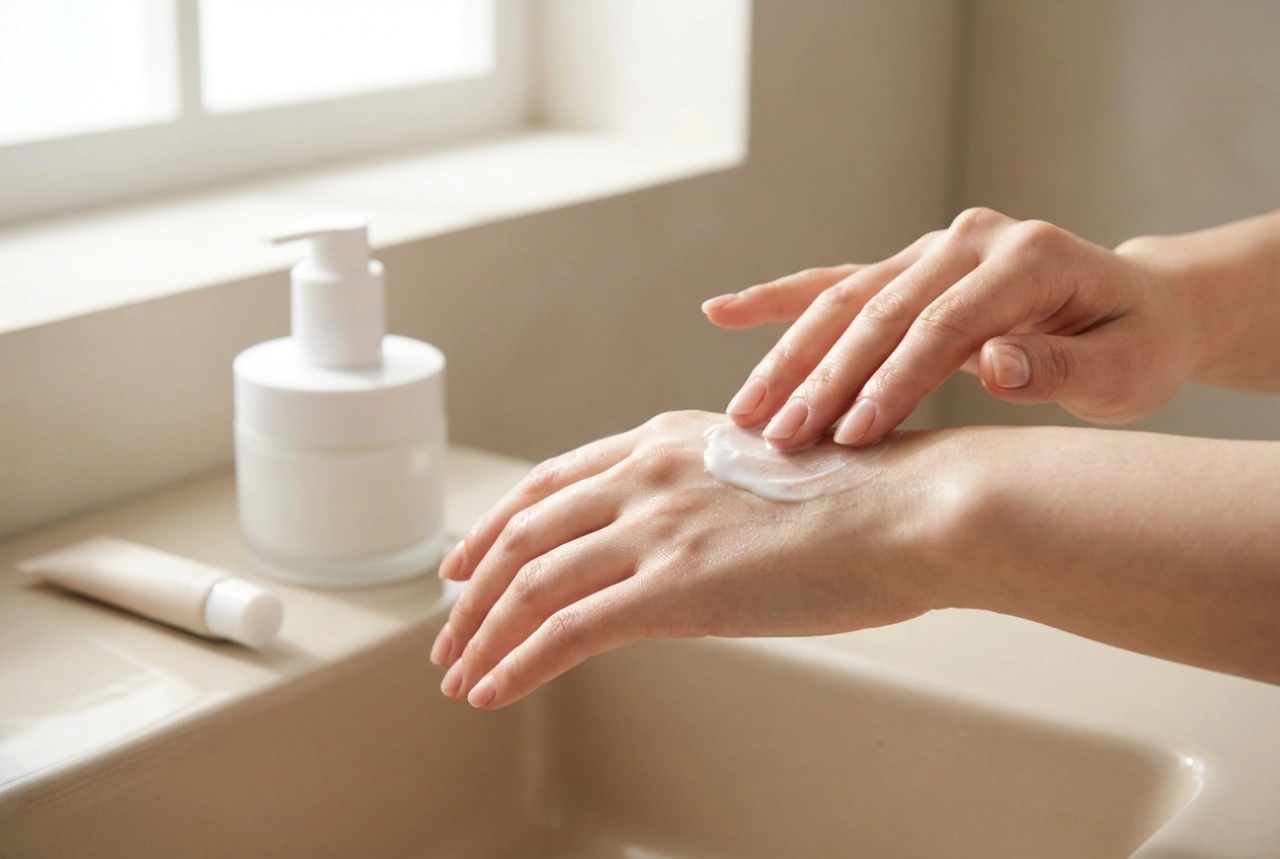
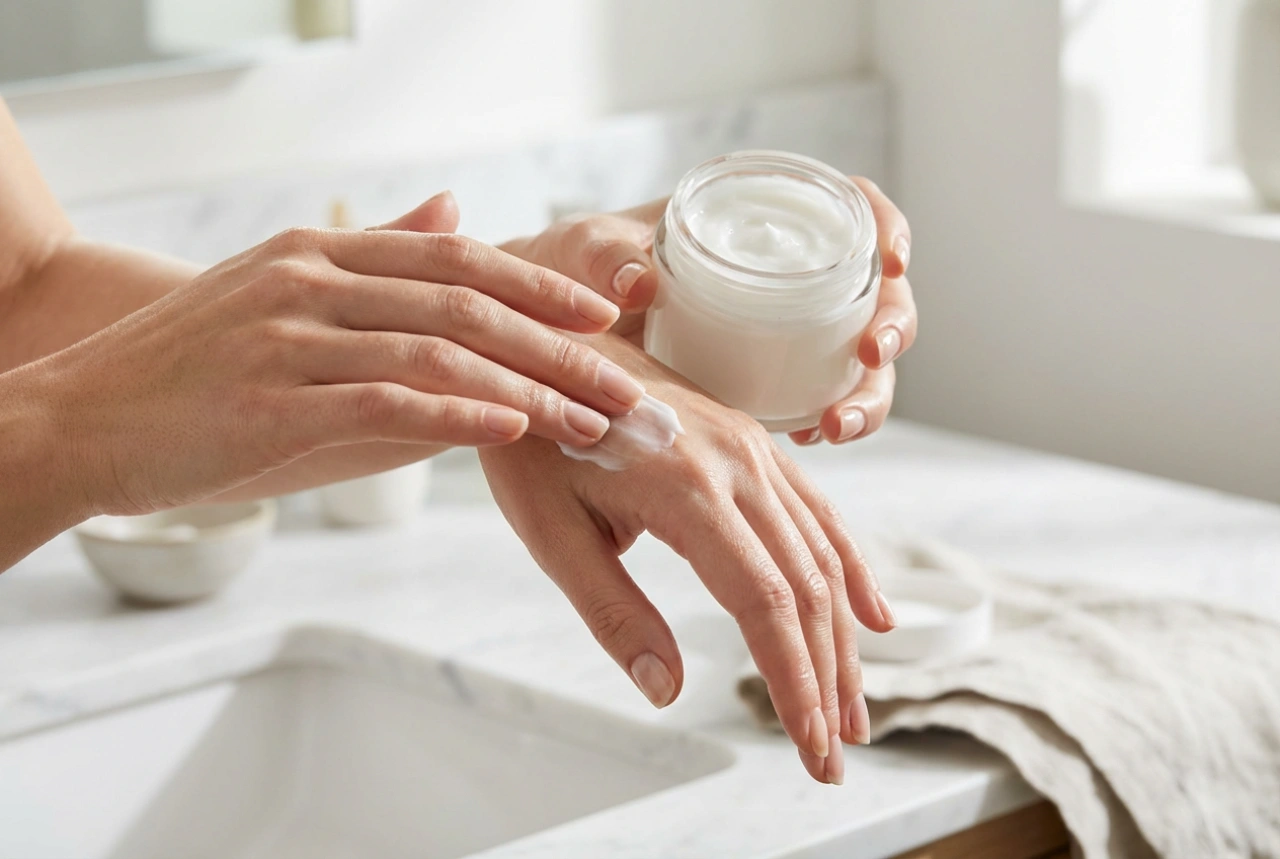
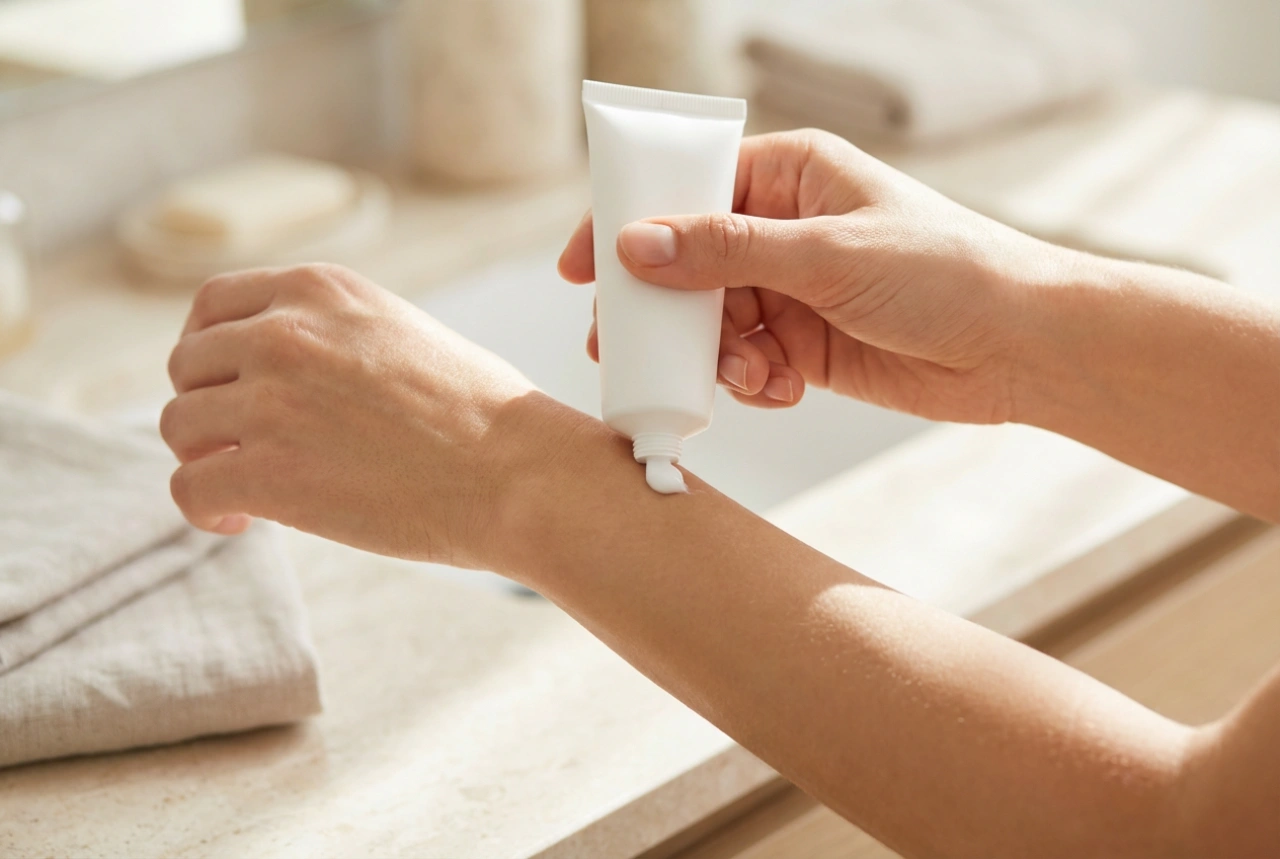
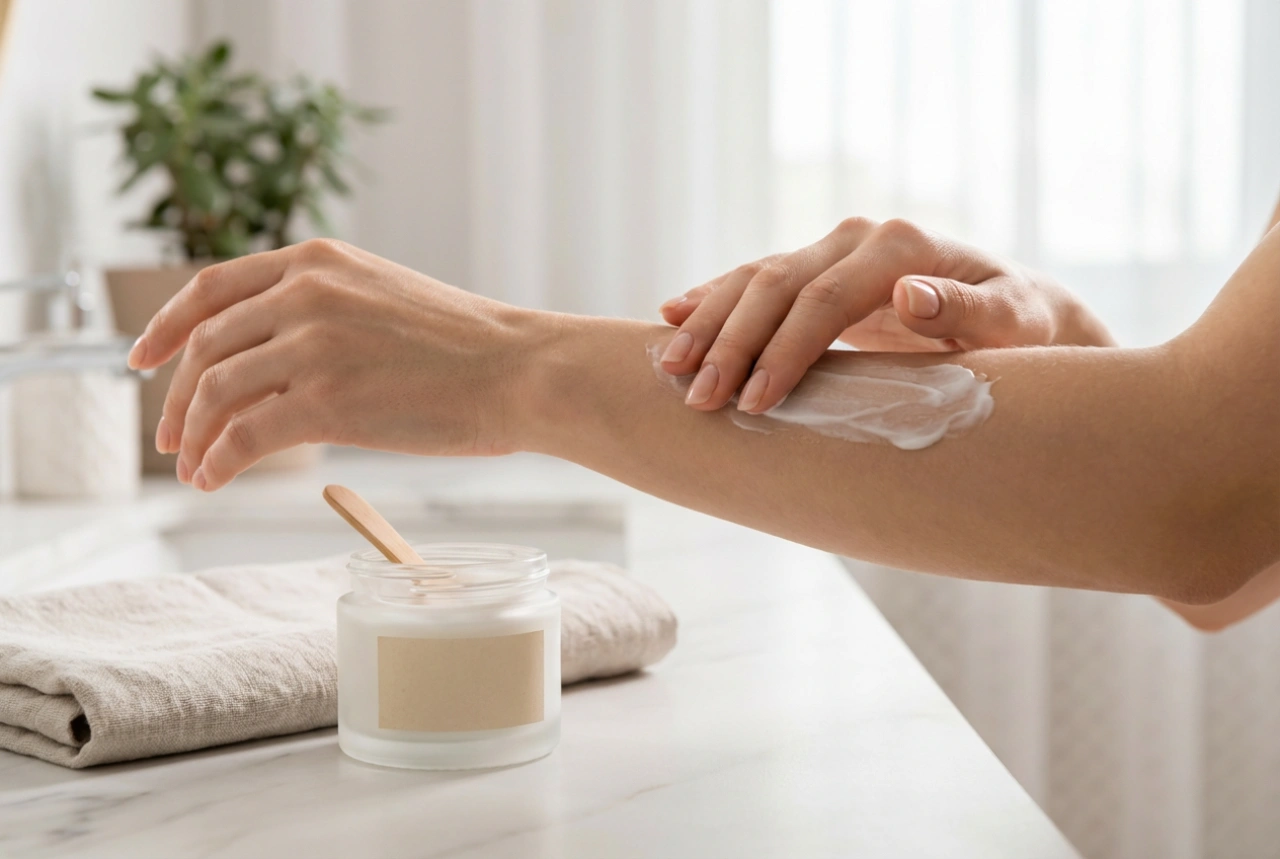
Step 4: Moisturise Generously
This is a non-negotiable step. Exfoliation removes the skin's protective outer layer, so it's crucial to replenish moisture immediately. Apply a rich, nourishing foot cream or balm. Look for ingredients like shea butter, cocoa butter, or urea (in low concentrations for hydration). Massage the cream in thoroughly to help it absorb and to boost circulation.
Common Mistakes to Avoid
To keep your feet healthy and prevent problems, be mindful of these common errors.
- Over-Filing: This is the most significant mistake. Removing too much skin can cause soreness, redness, and sensitivity. It can also trigger the body's defence mechanism, causing the skin to grow back even thicker and harder. Remember: less is more.
- Filing Too Frequently: Exfoliating with a foot file should not be a daily routine. For most people, once or twice a week is sufficient for maintenance. Daily moisturising is far more important for long-term softness.
- Ignoring Aftercare: Skipping moisturiser after filing leaves the newly exposed skin vulnerable to dryness and cracking. Hydration is key to locking in the smooth results.
- Using a Dirty Tool: A foot file can harbour bacteria if not cleaned properly. After each use, scrub your file with warm water and a little soap, using a small brush to get into the grooves. Rinse it well and allow it to air dry completely before storing it.
- Trying to Remove All Hard Skin at Once: If you have a significant build-up of hard skin, do not try to remove it all in one session. A gradual approach over several weeks is much safer and more effective. Consistency is the path to permanently smoother feet.