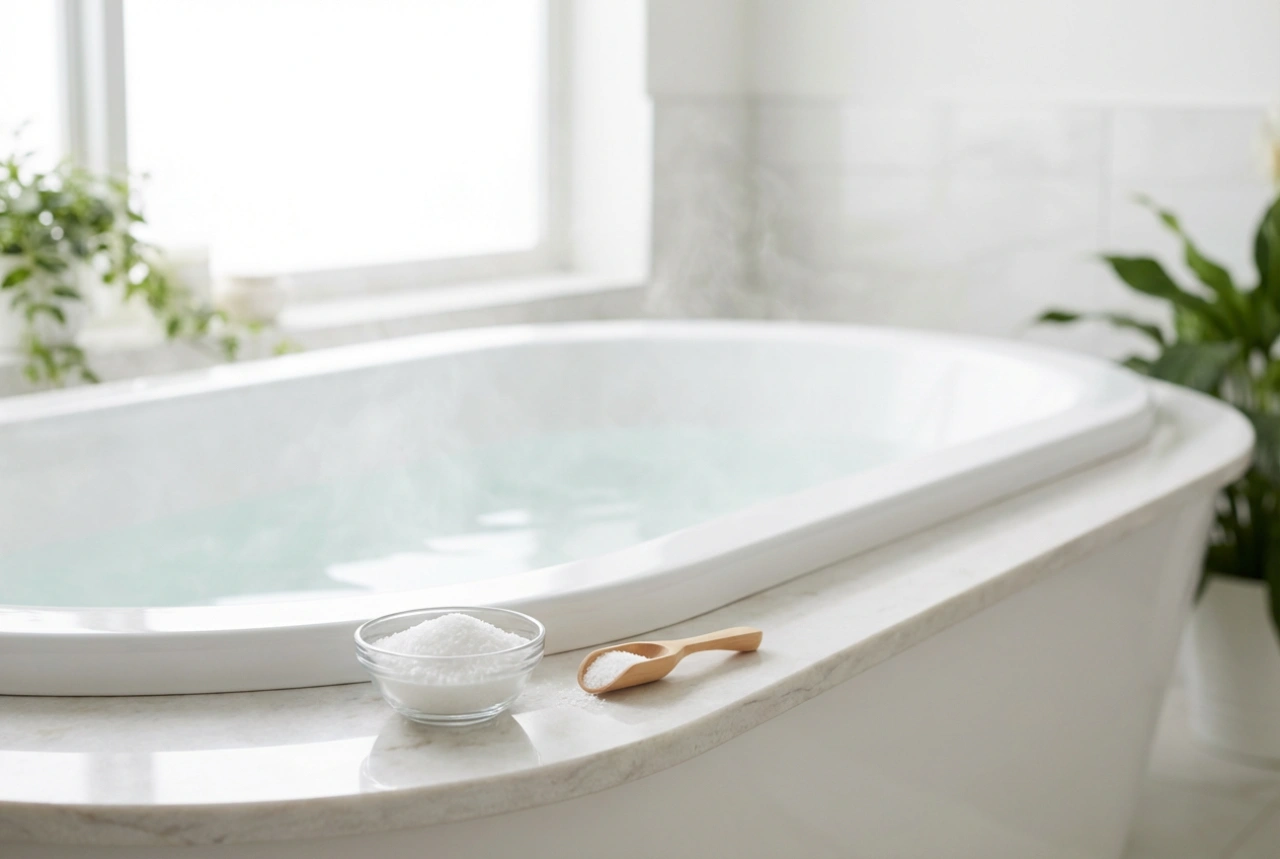
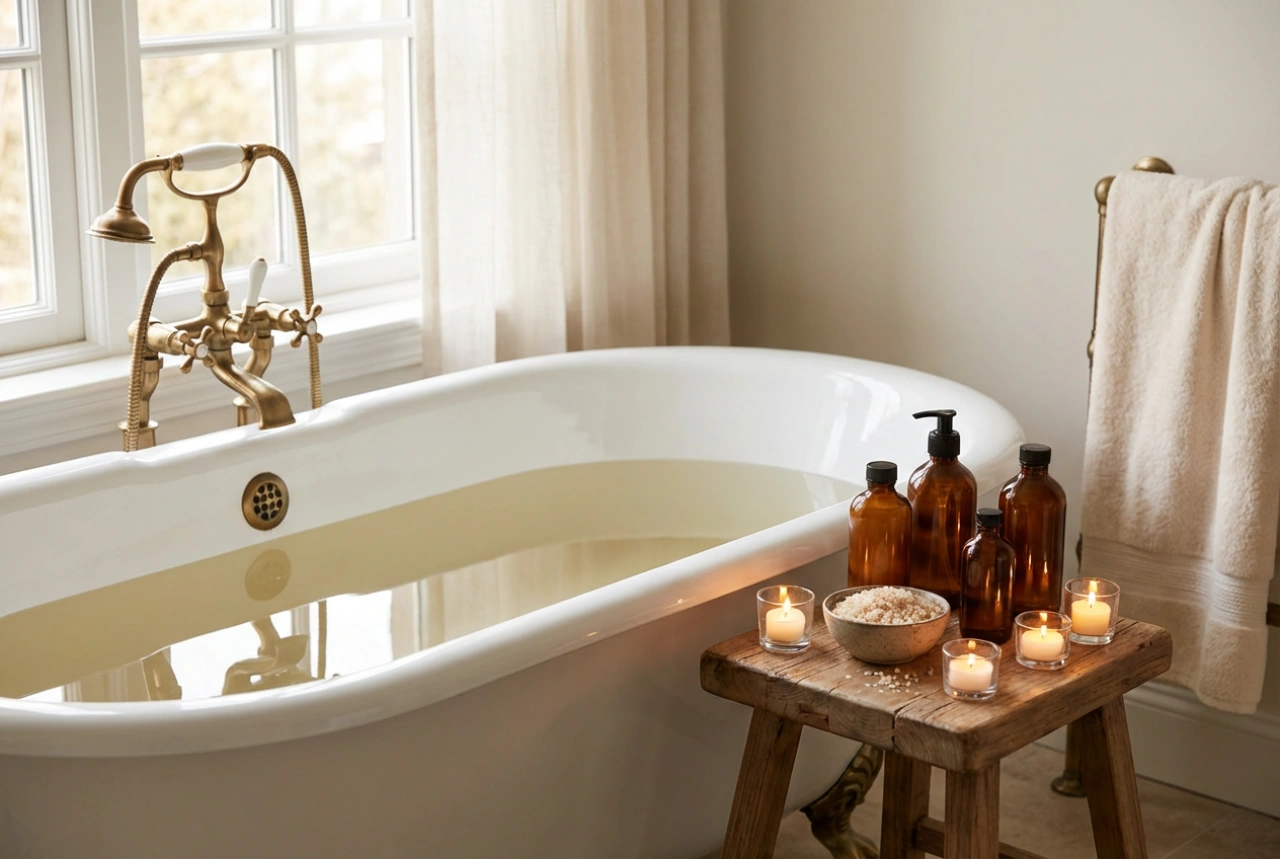
There are few things as deeply relaxing as a long, warm bath. It's a simple ritual that can wash away the stresses of the day. This experience can be made even more special with the addition of a fragrant, fizzing bath bomb. While shop-bought options are plentiful, there is a unique satisfaction in creating your own. Crafting homemade bath bombs allows you to control the ingredients, customise the scents and colours to your preference, and turn a simple bath into a truly bespoke self-care moment.
The Core Components: Understanding the Fizz
The magic of a bath bomb lies in a simple chemical reaction. The two essential ingredients that create the signature fizz are sodium bicarbonate (commonly known as baking soda) and citric acid. When these two dry powders come into contact with water, they react to produce carbon dioxide gas, resulting in delightful bubbles. Achieving the perfect, solid bath bomb that holds its shape requires getting the ratio just right.
- Sodium Bicarbonate: This is the alkaline base of your bath bomb. It helps to create a soft, silky feel in the bath water.
- Citric Acid: This is the acid that reacts with the bicarbonate. The standard ratio is typically two parts sodium bicarbonate to one part citric acid. This provides a balanced and energetic fizz without being overly aggressive.
- A Binding Agent: To get the dry powders to stick together, you need a small amount of liquid. A lightweight, skin-friendly carrier oil like sweet almond, grapeseed, or fractionated coconut oil works well. It not only binds the mixture but also adds moisturising properties to your bath.
- A Liquid Spritz: A tiny amount of water or witch hazel, applied with a spray bottle, helps to make the mixture just damp enough to be moulded. Be very cautious here; too much liquid will start the fizzing reaction prematurely.
The Art of Moulding: A Step-by-Step Guide
Achieving a perfectly smooth, solid bath bomb is all about texture and technique. The ideal consistency of your mixture should be similar to damp sand—it should hold its shape when squeezed in your hand but still be slightly crumbly.
Follow these steps for successful moulding:
- Combine Dry Ingredients: In a large bowl, thoroughly mix your sodium bicarbonate and citric acid. You can also add other dry ingredients like cornflour for a silky feel or Epsom salts for their relaxing properties at this stage. Sift them together to remove any lumps and ensure an even distribution.
- Slowly Introduce Wet Ingredients: In a separate small container, mix your chosen carrier oil with any essential oils or fragrance oils. Drizzle this liquid into the dry mixture very slowly, whisking continuously. You want to incorporate the oil without creating wet spots that could trigger the fizzing.
- Achieve the Right Texture: Once the oil is mixed in, it's time for the spritz of water or witch hazel. Spray the surface of the mixture once or twice, then mix thoroughly. Continue this process, a tiny bit at a time, until you reach the 'damp sand' consistency. Test it by grabbing a handful and squeezing; if it holds its shape, you're ready.
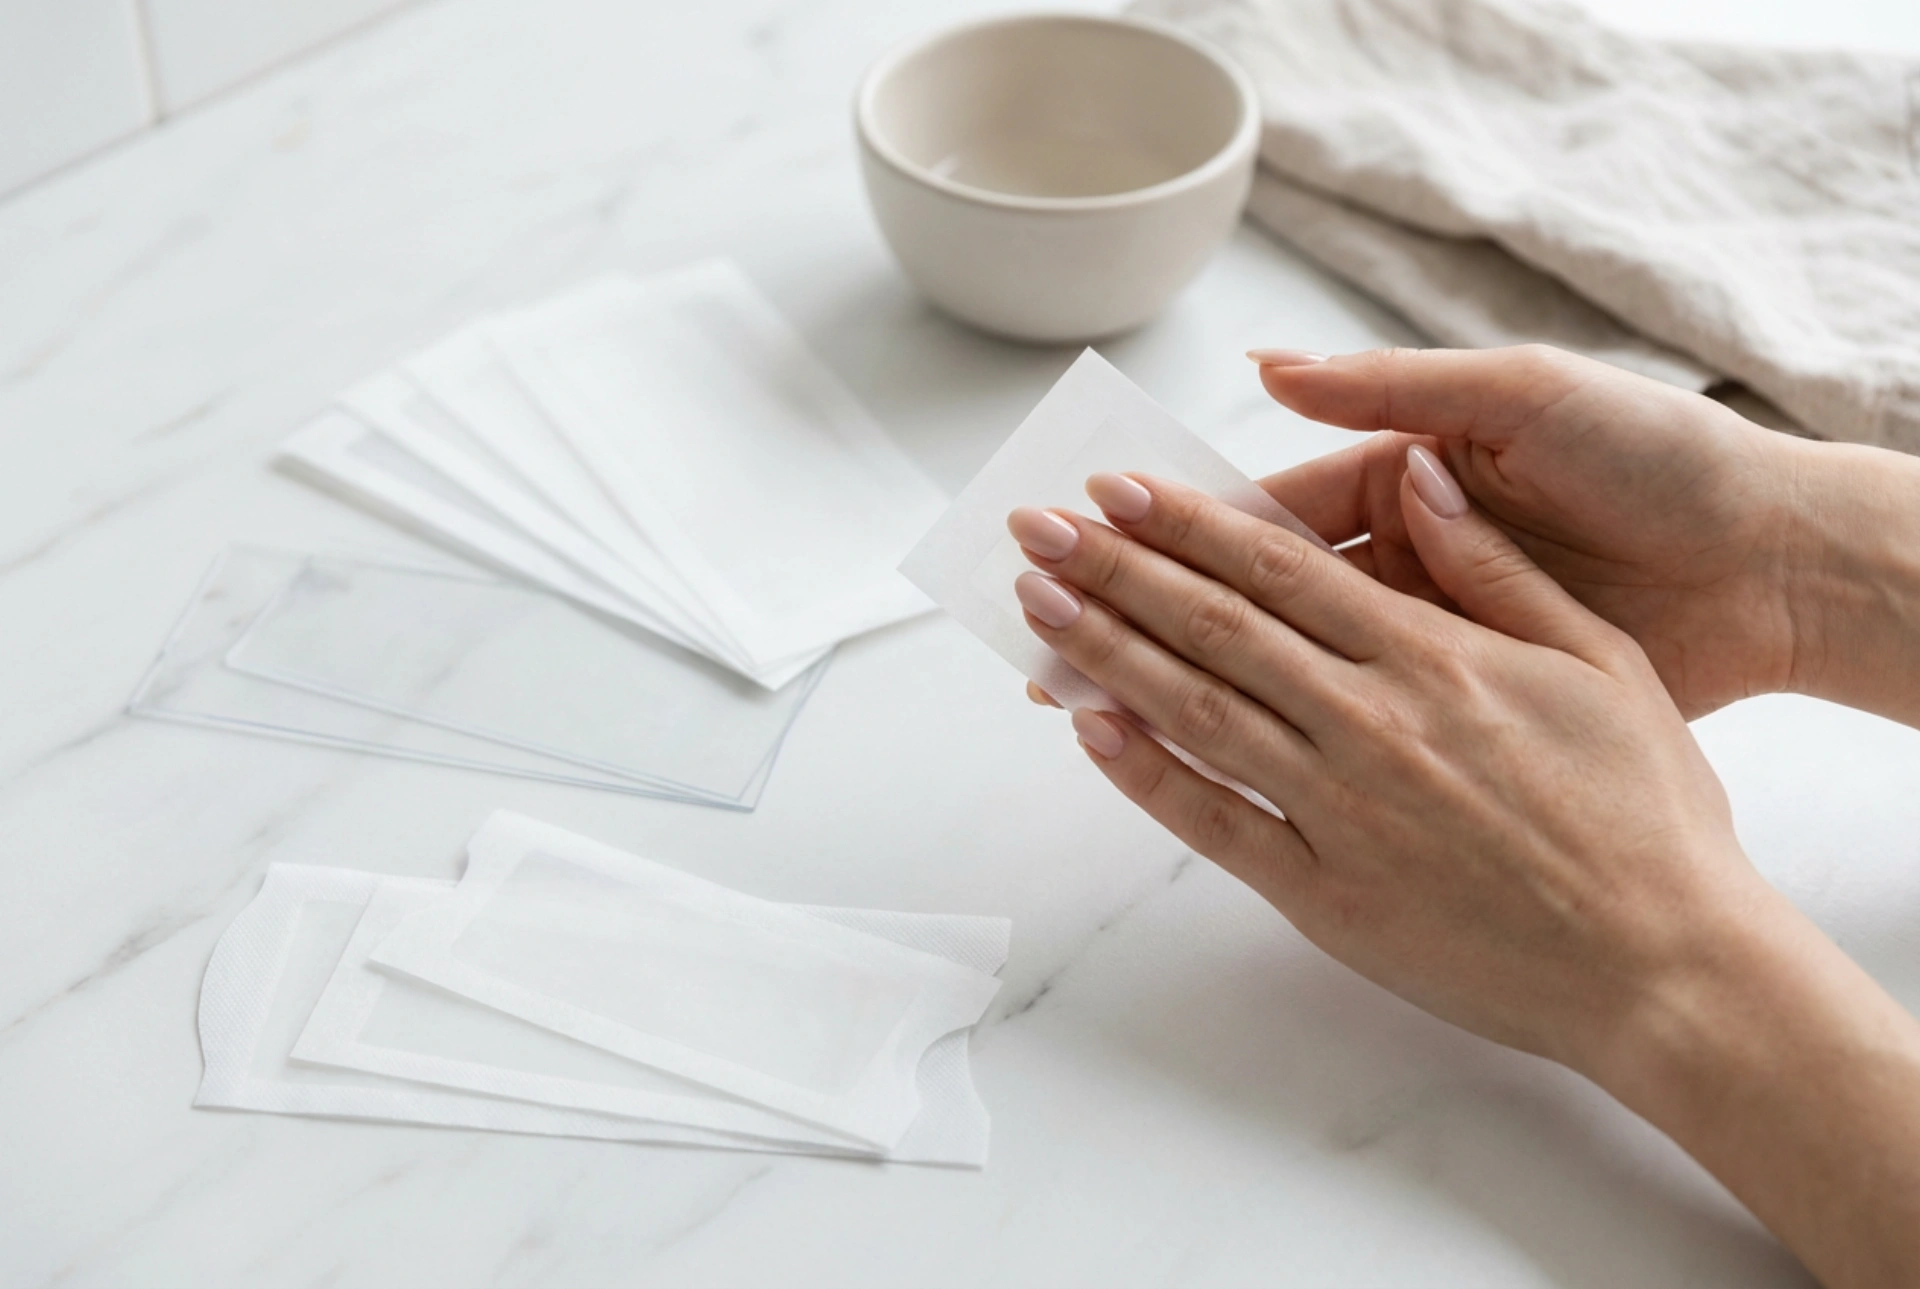
- Pack the Moulds: You can use specialised spherical bath bomb moulds, silicone moulds in various shapes, or even items from your kitchen like muffin tins. Overfill each half of your mould slightly, packing the mixture in firmly but not too densely.
- Join and Unmould: If using a two-part spherical mould, press the two halves together firmly, twisting slightly to seal them. Brush away any excess mixture from the seam. Let the packed mould sit for a few minutes before very gently tapping one side and carefully removing the mould. Place the freshly moulded bath bomb on a soft, dry surface.
Customising Your Creations with Safe Additives
This is where you can truly get creative. Adding colours, scents, and textures transforms a basic bath bomb into a luxurious treat. However, it's important to use ingredients that are skin-safe and won't stain your bathtub.
- Colourants: For vibrant or subtle hues, use cosmetic-grade micas or natural clays (like kaolin or rose clay). These are designed for skin contact and rinse away cleanly. Avoid using liquid food colouring, as it can stain both skin and porcelain. Mix powdered colourants with your dry ingredients for an even tone.
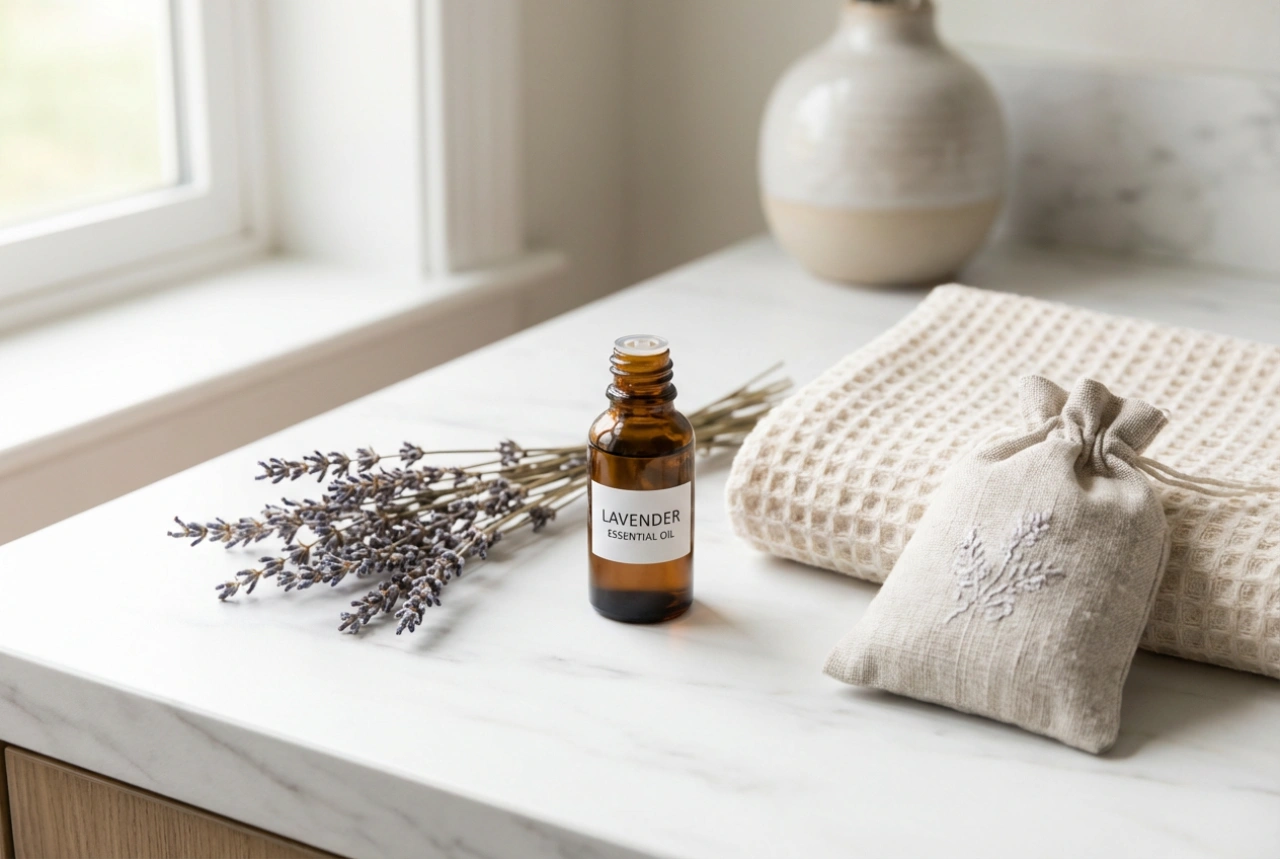
- Scents: Add a few drops of skin-safe essential oils or cosmetic fragrance oils to your carrier oil before mixing it in. Lavender is excellent for a relaxing evening bath, while peppermint or citrus oils can be wonderfully uplifting. Always use them in moderation to avoid skin sensitivity.
- Botanicals and Extras: Dried flower petals like rose, calendula, or lavender look beautiful and add a touch of elegance. Finely ground oats can be soothing for the skin. If you want some sparkle, ensure you use cosmetic-grade, biodegradable glitter. Be mindful that larger botanicals may need to be cleaned out of the tub afterwards.
Patience is Key: Drying and Storing Your Bath Bombs
Proper drying is a non-negotiable step. A wet bath bomb is a crumbly bath bomb. Drying, or 'curing', allows the bath bomb to harden completely, ensuring it holds its shape and delivers a spectacular fizz when used.
Place your freshly unmoulded bath bombs in a warm, dry place with good air circulation, but out of direct sunlight. A dehumidifier in the room can speed up the process significantly. Let them dry for at least 24 to 48 hours. In humid climates, this may take several days. You'll know they're ready when they are lightweight and rock-hard to the touch.
Once fully cured, storage is crucial to protect them from moisture, which is their ultimate enemy. Wrap each bath bomb tightly in plastic wrap or place them in an airtight container or jar. Stored correctly, your homemade bath bombs can last for several months, ready for your next relaxing soak.