


Achieving beautifully smooth skin from the comfort of your own home is an empowering self-care practice. At-home waxing stands out as a popular and effective method for long-lasting results, but mastering the technique requires knowledge and preparation. Understanding the different types of wax and following the correct process is key to a comfortable, safe, and successful experience, transforming a routine task into a moment of mindful beauty care.
Choosing the Right Wax for You
The first step in your at-home waxing journey is selecting the right type of wax. The two main categories you will encounter are soft wax and hard wax, each suited for different needs and areas of the body.
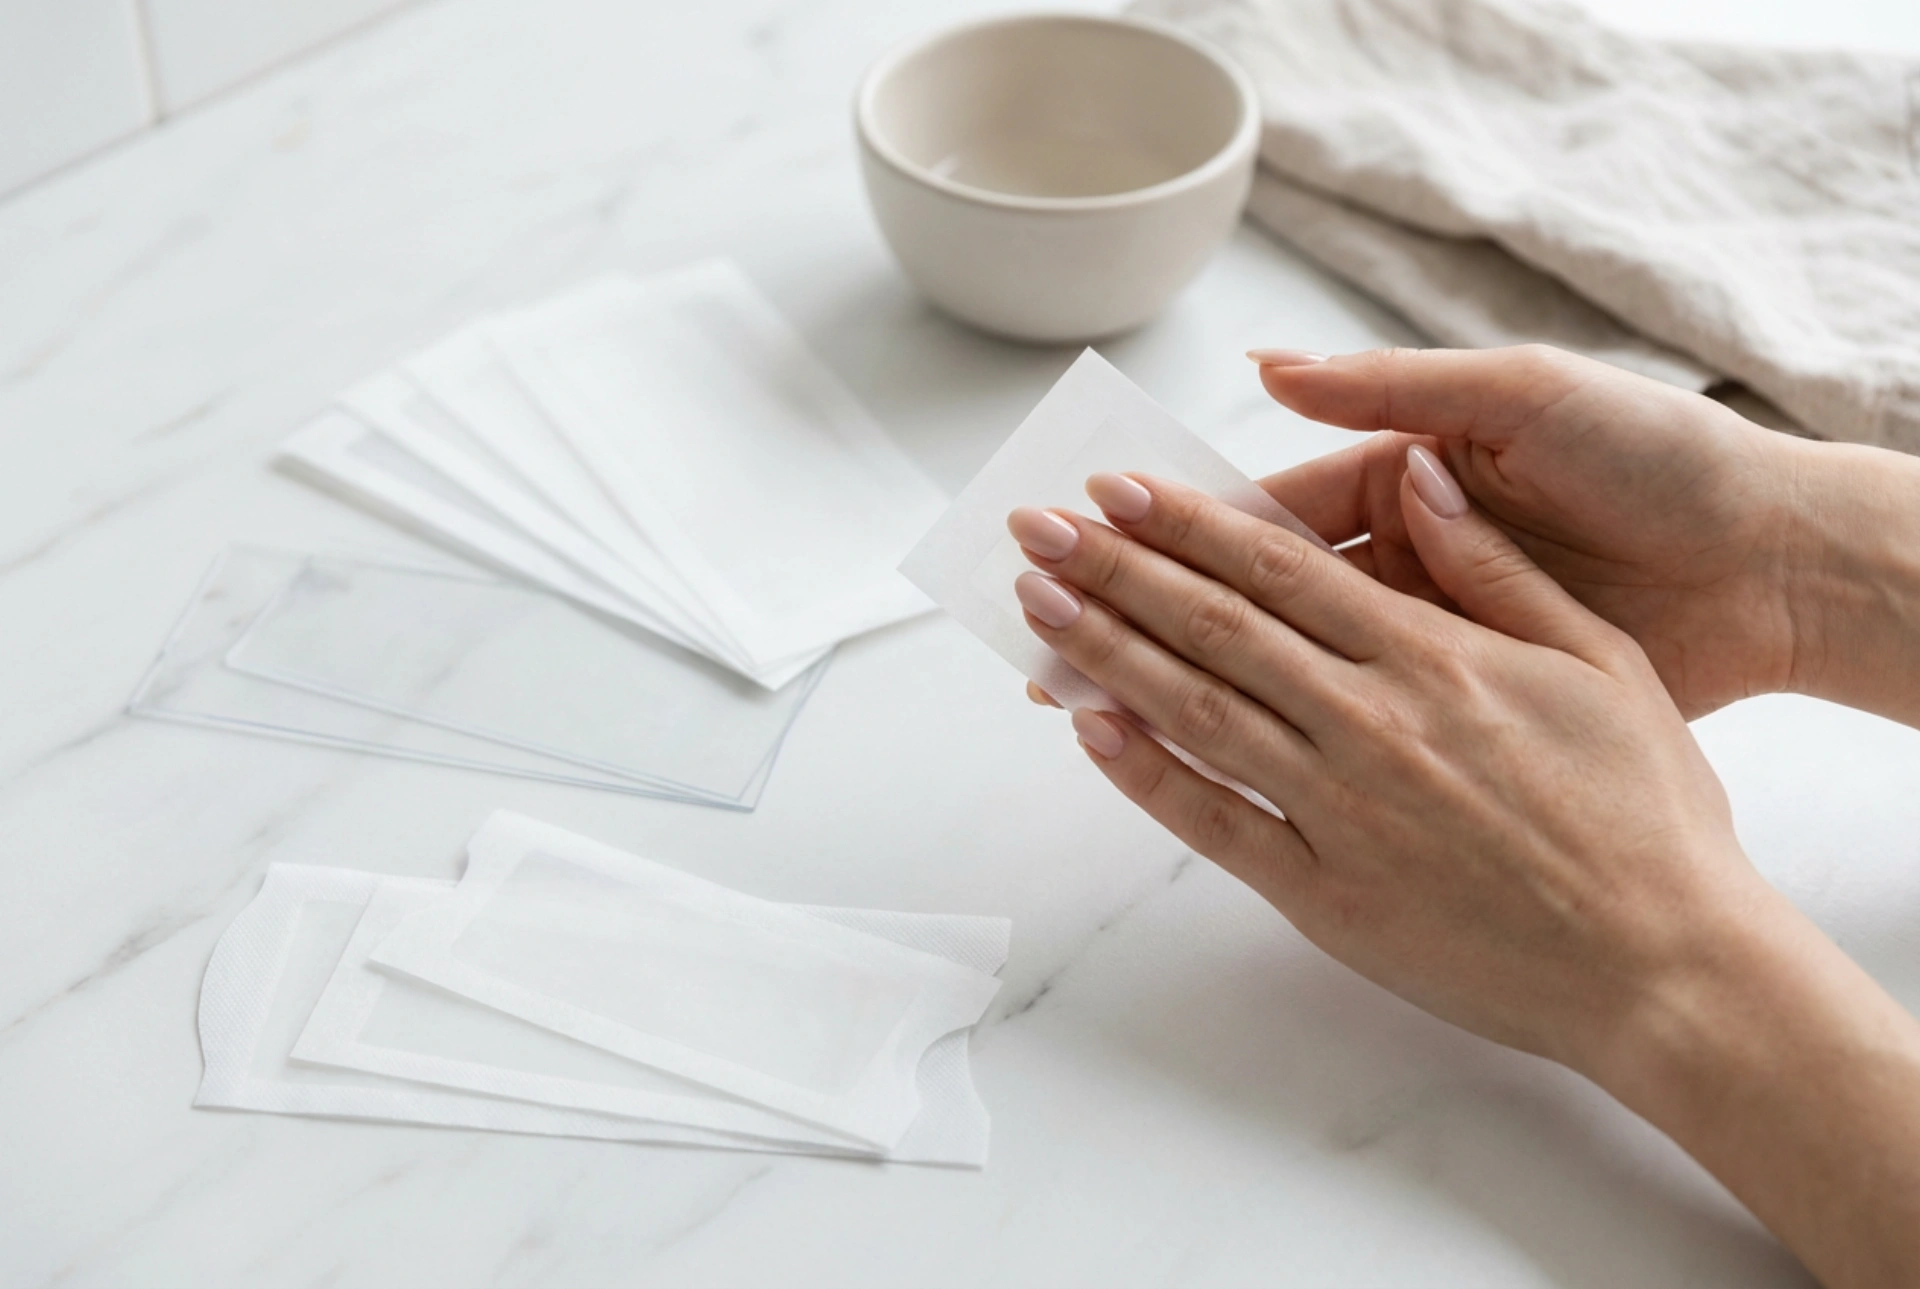
Soft Wax (Strip Wax)
Soft wax is what many people picture when they think of waxing. It has a sticky, honey-like consistency and requires a fabric or paper strip for removal. It is applied in a very thin layer and is excellent at removing fine to medium hair over large areas of the body, such as the legs, arms, and back. Because it adheres to both the hair and the top layer of skin, it provides a light exfoliation but can be more intense on sensitive skin. It is generally more economical for larger body parts.
Hard Wax (Stripless Wax)
Hard wax is a game-changer for sensitive areas. It is applied thicker than soft wax and is left to cool and harden on the skin. Once it sets, it becomes its own strip. You simply flick up an edge and pull. The magic of hard wax is that it 'shrink-wraps' and adheres primarily to the hair, not the skin. This makes it significantly more gentle and a preferred choice for the face (like the upper lip), underarms, and bikini area. It can grab shorter hairs and is often less uncomfortable than its soft counterpart for delicate zones.
Preparing for a Successful Waxing Session
Proper preparation is not just a preliminary step; it is fundamental to achieving clean results and minimising discomfort and irritation. Rushing this stage is a common cause of poor outcomes.
- Check Hair Length: For wax to grip effectively, hair should be about 6mm long (around the length of a grain of rice). If it’s too short, the wax won’t have anything to hold onto. If it’s much longer, the process can be more painful and messy; consider trimming it carefully first.
- Exfoliate in Advance: Gently exfoliate the area you plan to wax a day or two before your session. This helps to remove dead skin cells and allows the wax to grip the hair more easily, which can also help prevent ingrown hairs later on.
- Ensure Skin is Clean and Dry: On the day of waxing, the skin must be completely clean, dry, and free from any oils, lotions, or deodorants. Wash the area with a gentle cleanser and pat it thoroughly dry. A light dusting of talc-free powder can help absorb any residual moisture or oil.
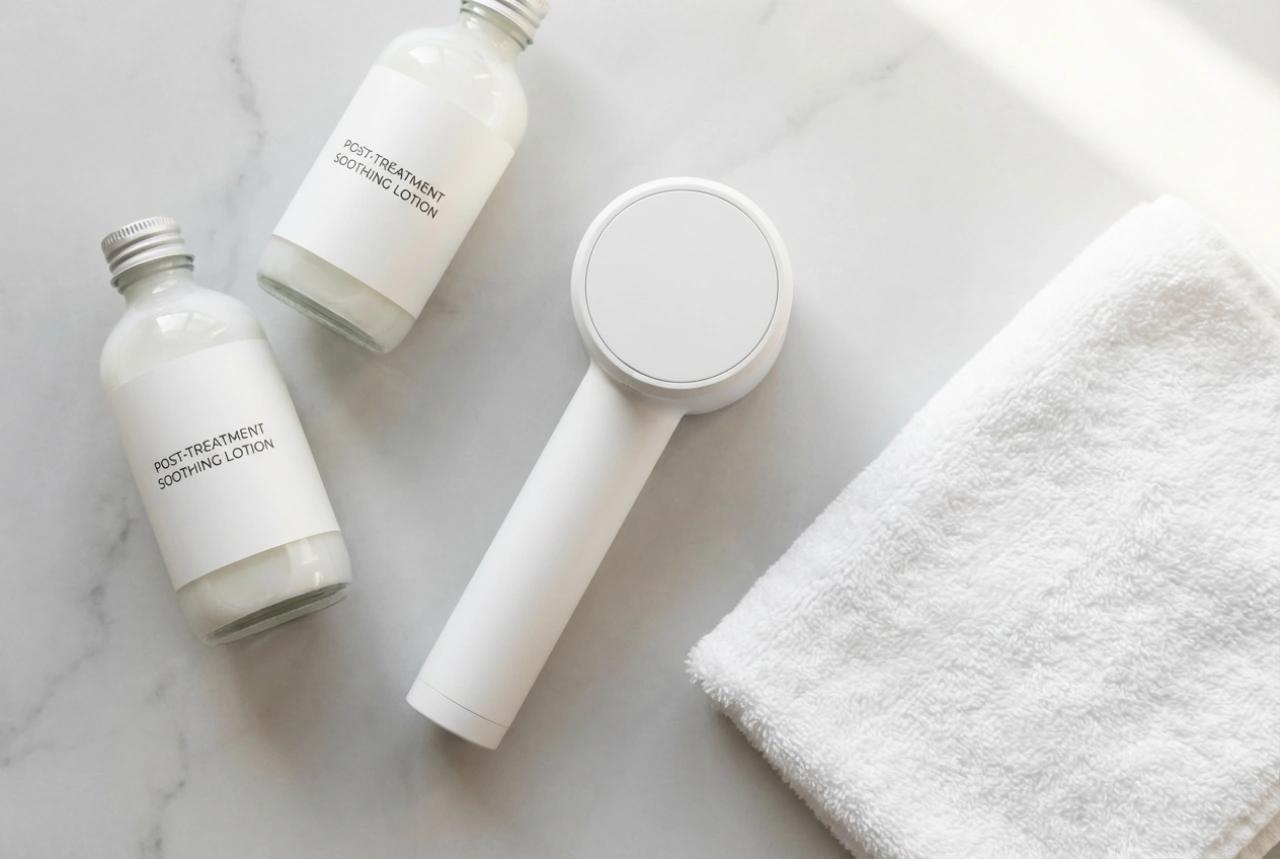
- Set Up Your Station: Have everything you need within arm's reach before you begin: your wax warmer and wax, applicators (spatulas), strips (if using soft wax), a post-wax oil to remove residue, and a clean towel.
The Waxing Technique: A Step-by-Step Guide
With your preparation complete, it's time to begin. Patience and correct technique are your best friends here. Always perform a small patch test 24 hours beforehand, especially if using a new product.
- Heat the Wax: Follow the manufacturer's instructions to heat the wax to the correct temperature and consistency. For most waxes, this is similar to thick, warm honey. It should be warm, not painfully hot. Always test the temperature on the inside of your wrist before applying it to the target area.
- Apply the Wax: Using a clean applicator, apply the wax in the direction of hair growth. For soft wax, this should be a very thin, even layer. For hard wax, the layer should be thicker and more substantial, with a slightly thicker edge to create a 'lip' for pulling.
- The Removal: This is the most critical step. For soft wax, place a strip over the applied wax, leaving a small, wax-free 'handle' at the end. Rub your hand firmly over the strip a few times in the direction of hair growth. For hard wax, wait for it to set but remain pliable. It should not be brittle. Hold the skin taut with one hand. With the other, grip the handle or the lip you created. In one swift, confident motion, pull the strip or the hardened wax off in the opposite direction of hair growth, keeping your hand close and parallel to the skin. Do not pull upwards, as this can bruise the skin and break the hair instead of removing it from the root.
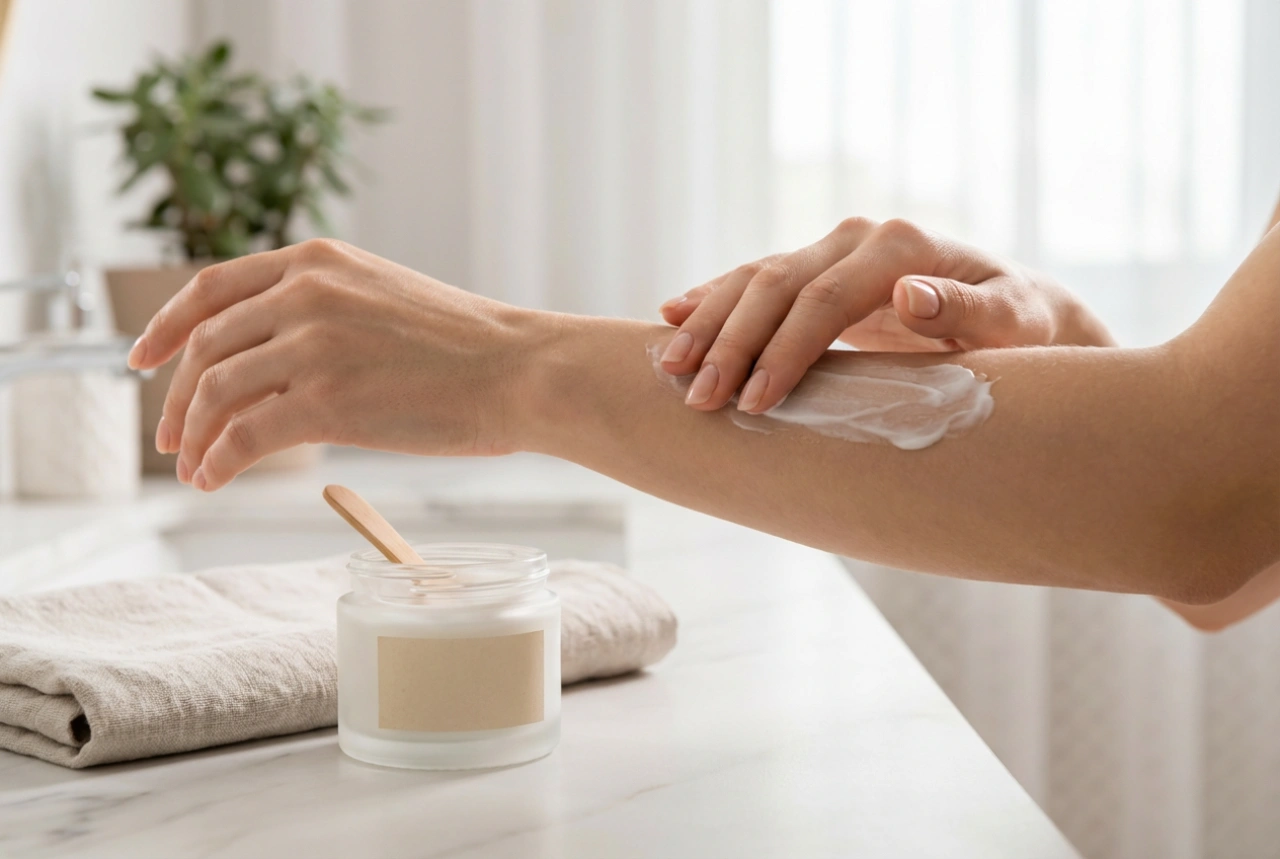
Post-Wax Aftercare: Soothing Your Skin
What you do after waxing is just as important as the process itself. Proper aftercare helps to soothe the skin, prevent irritation, and maintain your smooth results for longer.
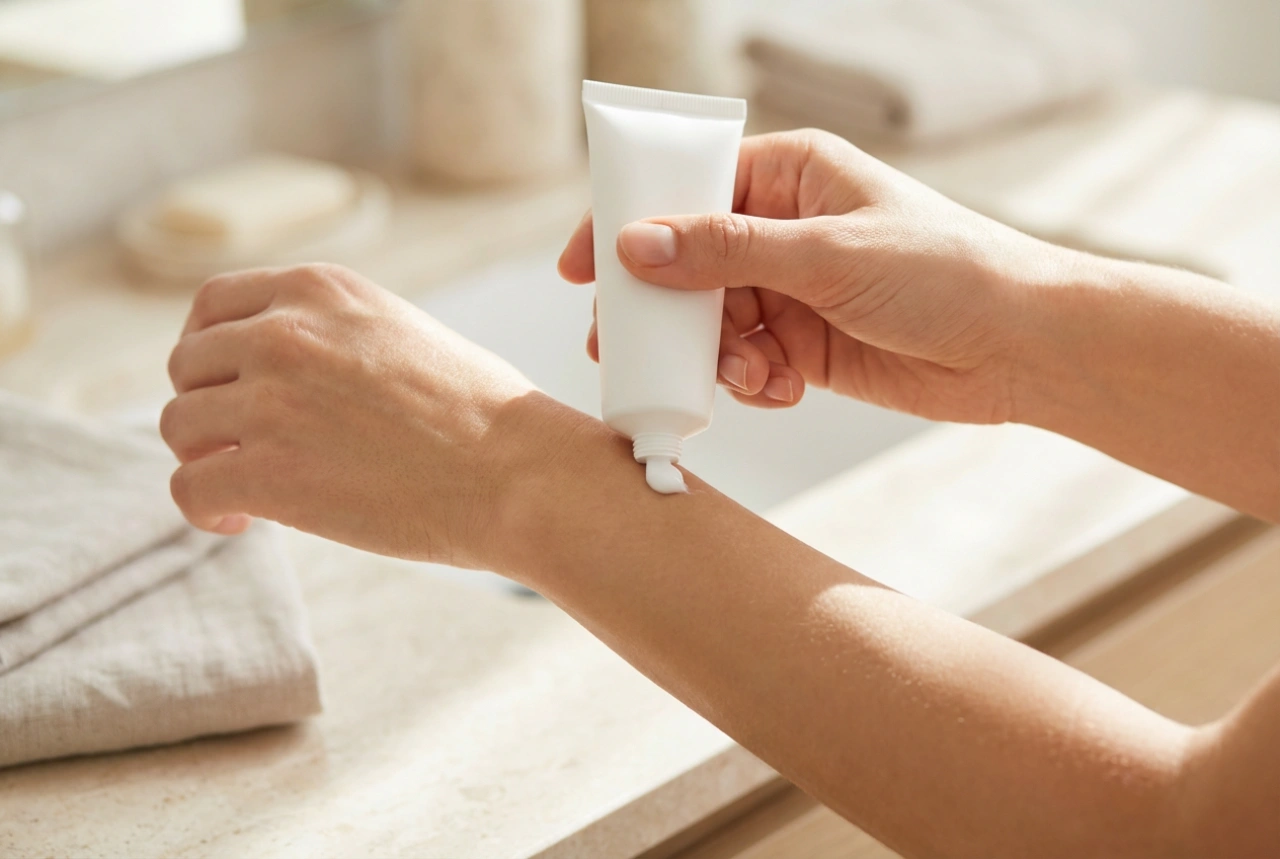
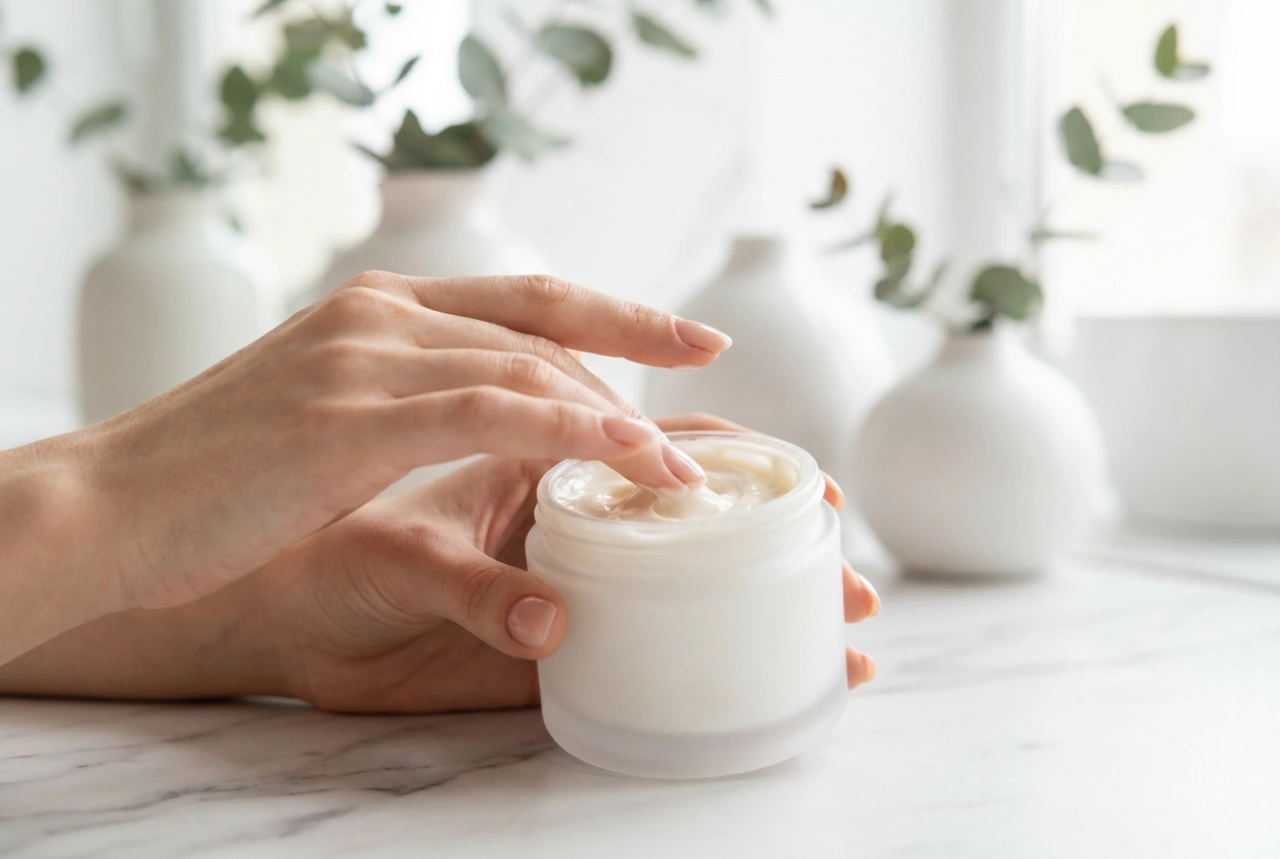
- Remove Residue: Wax is not water-soluble. Use a specially formulated post-wax oil or a simple, pure body oil (like jojoba or almond oil) on a cotton pad to gently dissolve and wipe away any sticky residue.
- Soothe and Moisturise: After the area is clean, apply a soothing, fragrance-free lotion, a calming gel containing ingredients like aloe vera, or more of your post-wax oil to calm the skin and reduce redness.
- Avoid Irritants for 24-48 Hours: To allow your skin to recover, avoid hot baths or showers, saunas, swimming pools, and intense exercise for the next day or two. Also, steer clear of tight clothing and any perfumed or exfoliating products on the freshly waxed area.
Common Mistakes to Avoid
To ensure a smooth experience every time, be mindful of these common pitfalls:
- Using wax that is too hot or too cold.
- Applying wax against the direction of hair growth.
- Pulling the strip or wax upwards instead of parallel to the skin.
- Not holding the skin taut during removal, which increases pain and the risk of bruising.
- Re-waxing the same spot multiple times in one session, which can lead to significant irritation or skin lifting. Tweeze any stray hairs instead.
- Skipping the crucial preparation or aftercare steps.