


Waxing at home can be an effective and budget-friendly way to achieve long-lasting smoothness. While the underarms are a sensitive area, with the right technique and careful preparation, you can achieve excellent results. This guide will walk you through the process step-by-step, helping you to wax safely and minimise discomfort, leaving you with beautifully smooth skin for weeks.
Preparation is Key: What to Do Before You Wax
Proper preparation is not just a preliminary step; it's the foundation of a successful and less painful waxing session. Rushing this stage can lead to poor results and unnecessary skin irritation. Before you even think about applying wax, ensure you follow these essential guidelines.
Check Your Hair Length
For wax to grip the hair effectively, it needs to be the right length. Aim for hair that is approximately 6mm long, or about the length of a grain of rice. If your hair is too short, the wax won't have anything to hold onto, and the process will be ineffective. If it's too long, the pull can be more painful and may cause hair to break rather than be removed from the root. If necessary, carefully trim the hair with safety scissors before you begin.
Prepare Your Skin
Clean skin is crucial. A few hours before you plan to wax, take a warm shower and gently exfoliate the underarm area with a soft washcloth or a mild scrub. This helps to remove dead skin cells and allows the wax to adhere better to the hair. After your shower, ensure your skin is completely dry. Any moisture will prevent the wax from sticking. Do not apply any deodorant, antiperspirant, body lotion, or oil to the area, as these create a barrier between the wax and the hair. For those with oilier skin, a light dusting of talc-free powder can help absorb excess moisture and oil right before application.
Gather Your Supplies
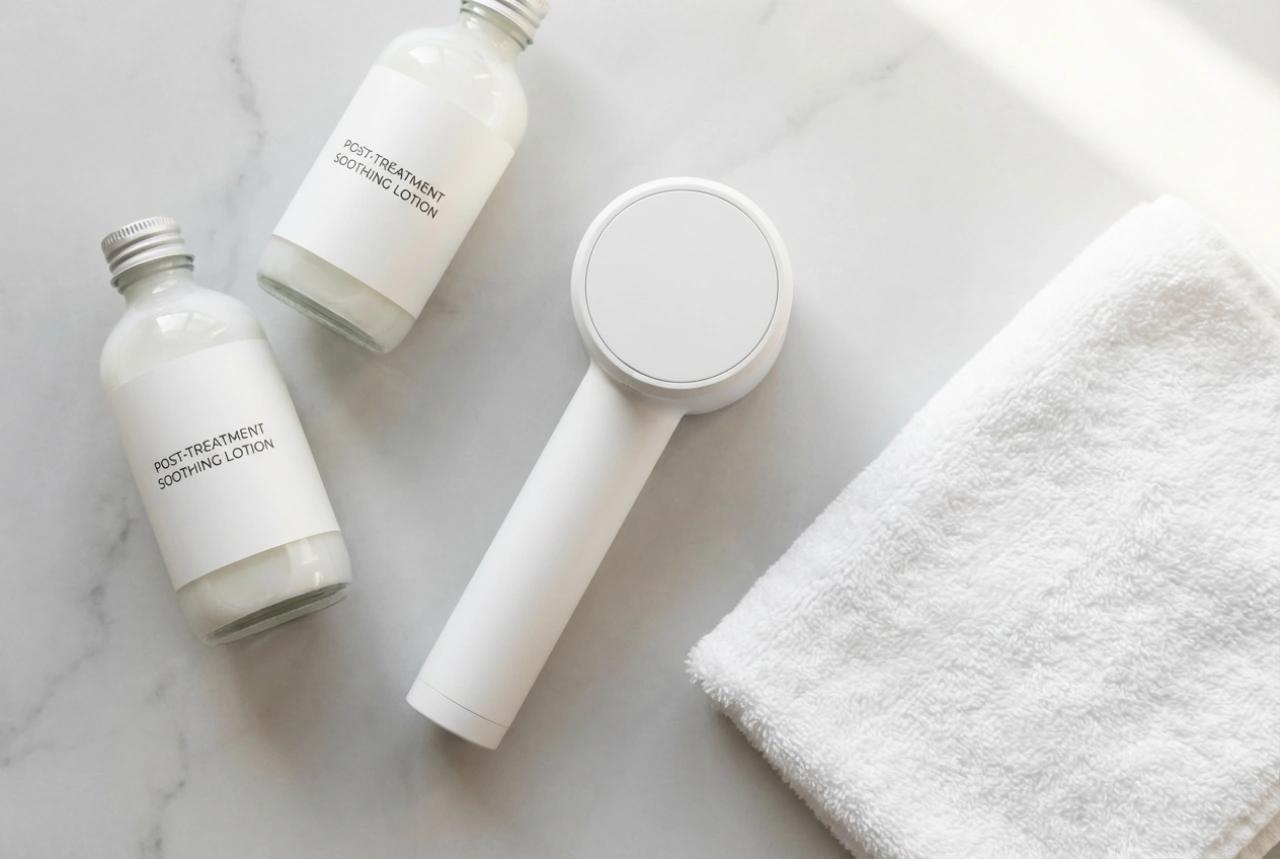
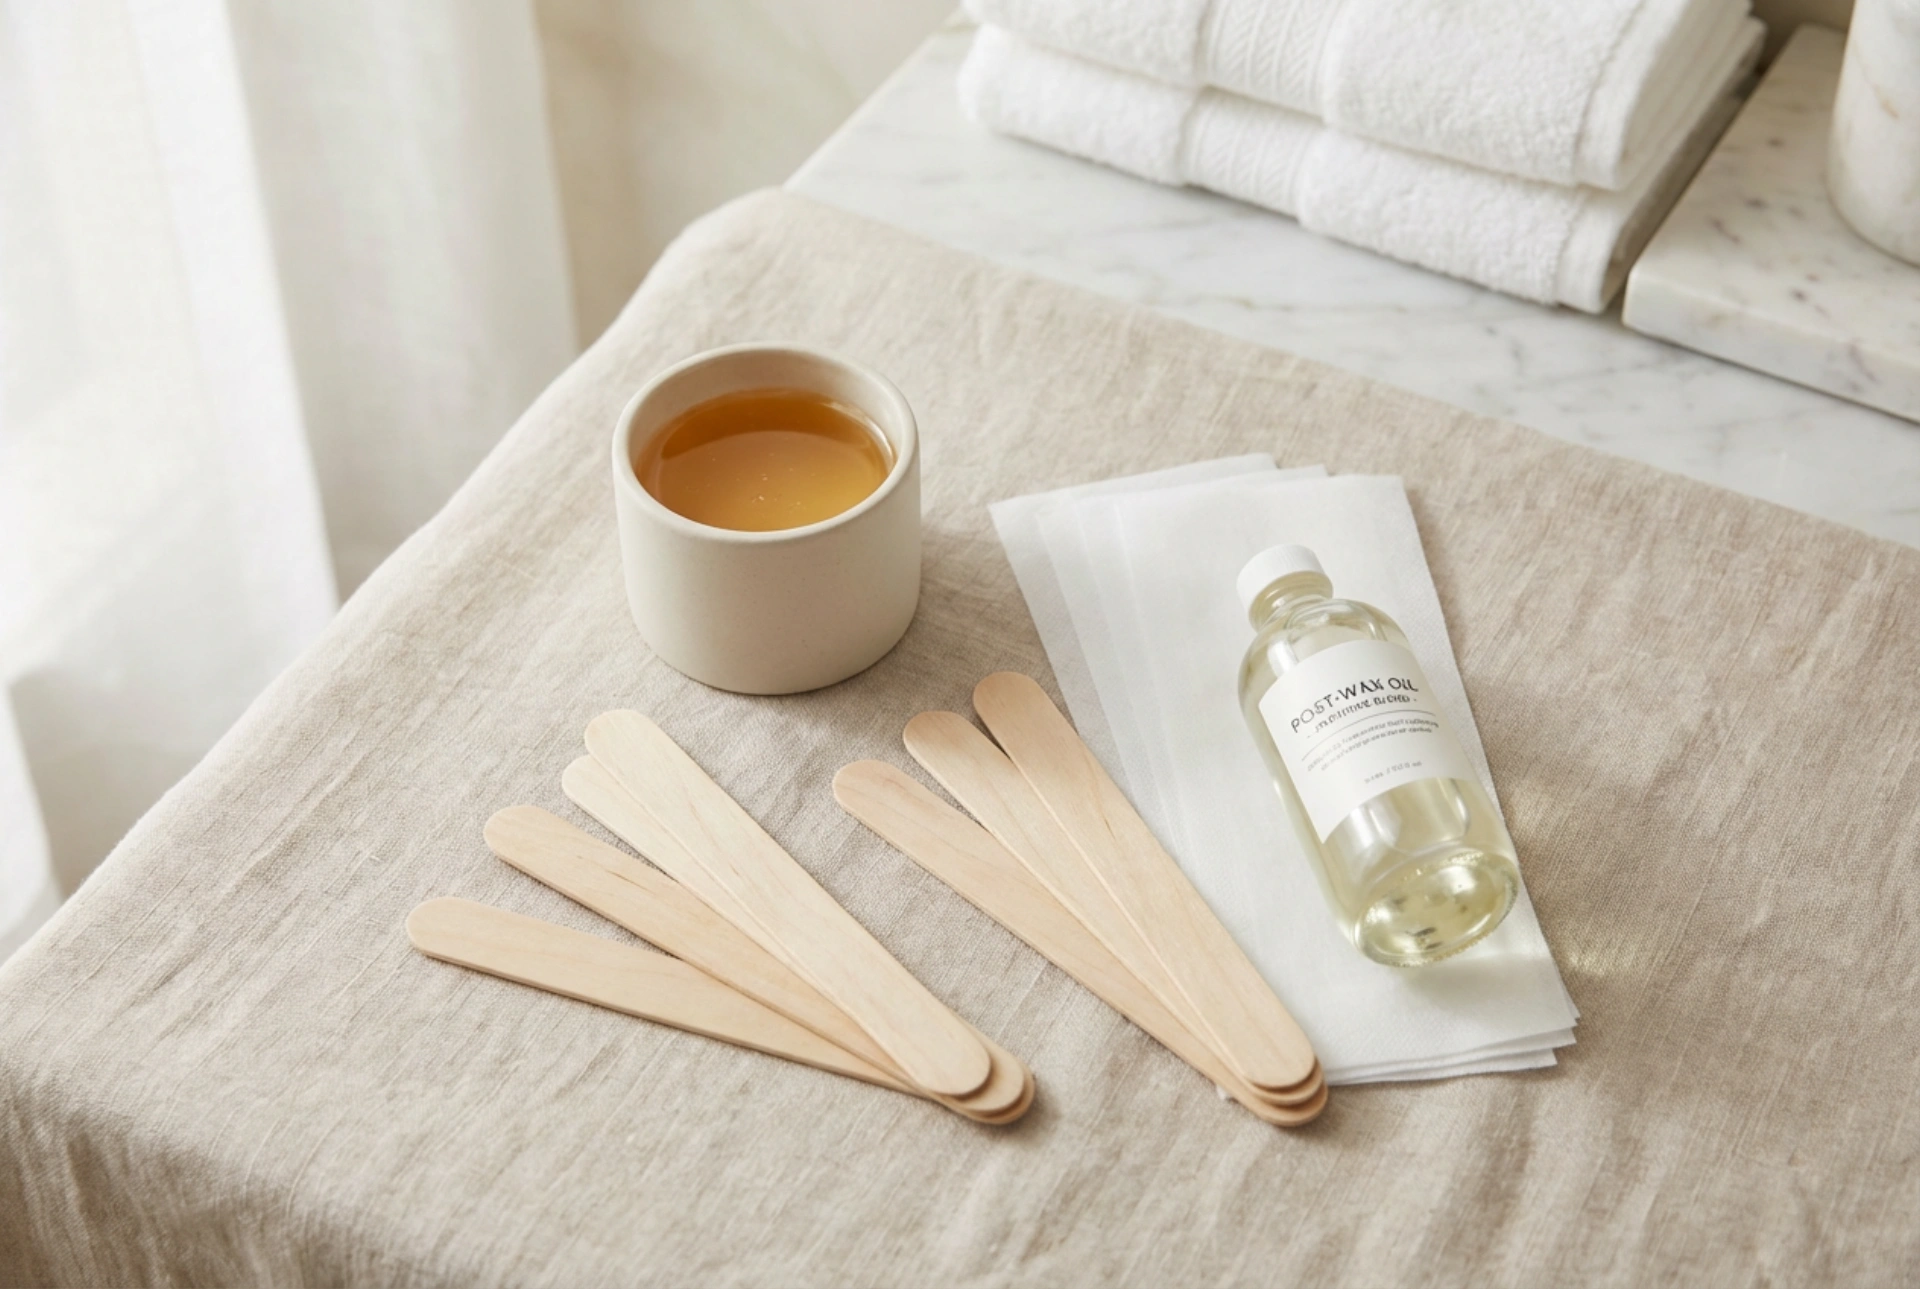
Have everything you need within easy reach before you start. This will prevent any frantic searching with sticky fingers. You will need:
- A quality warm wax suitable for sensitive areas.
- A wax warmer or a safe method for heating the wax.
- Waxing strips (if using soft wax).
- Wooden spatulas for application.
- A post-wax oil or a gentle, natural oil to remove residue.
- A soothing, alcohol-free lotion for aftercare.
Always perform a patch test on a small, discreet area of skin 24 hours before your first time using a new wax product to check for any adverse reactions.
The Waxing Process: A Step-by-Step Method
With your skin prepped and supplies ready, it's time to begin. Work in a well-lit, comfortable space. Remember that underarm hair can grow in multiple directions, so you may need to work in smaller sections.
1. Heat the Wax
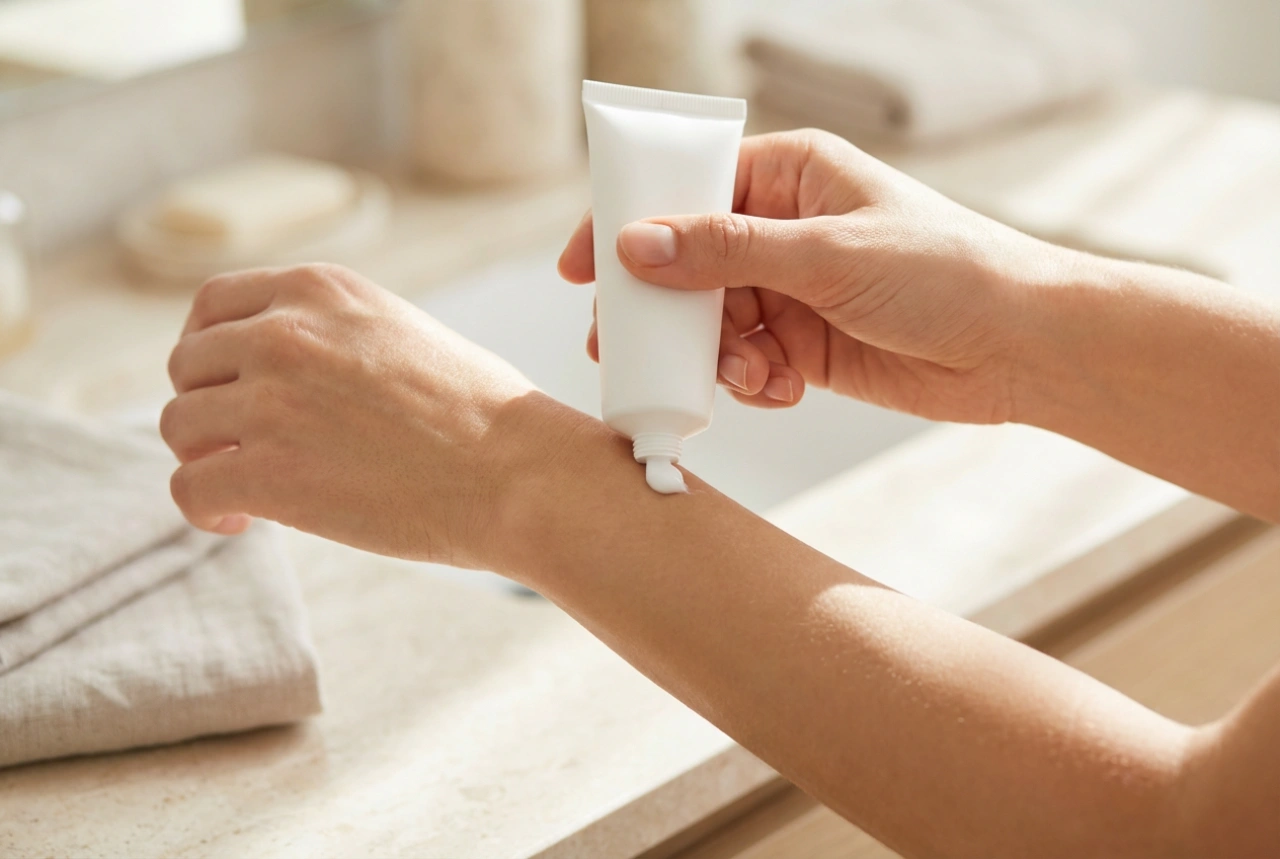
Follow the manufacturer's instructions to heat the wax to the correct temperature. The ideal consistency is similar to thick, runny honey. If it's too thin and watery, it's too hot and could burn your skin. If it's too thick and hard to spread, it's too cold and won't work effectively. Before applying it to your underarm, test a small amount on the inside of your wrist to ensure the temperature is comfortable and safe.
2. Apply the Wax
Dip a clean spatula into the wax. Using the edge of the spatula, apply a thin, even layer of wax to a small section of your underarm, following the direction of hair growth. For most people, this means applying from the bottom upwards for the top half of the underarm, and from the top downwards for the bottom half. Applying in the direction of growth is vital for effective removal.
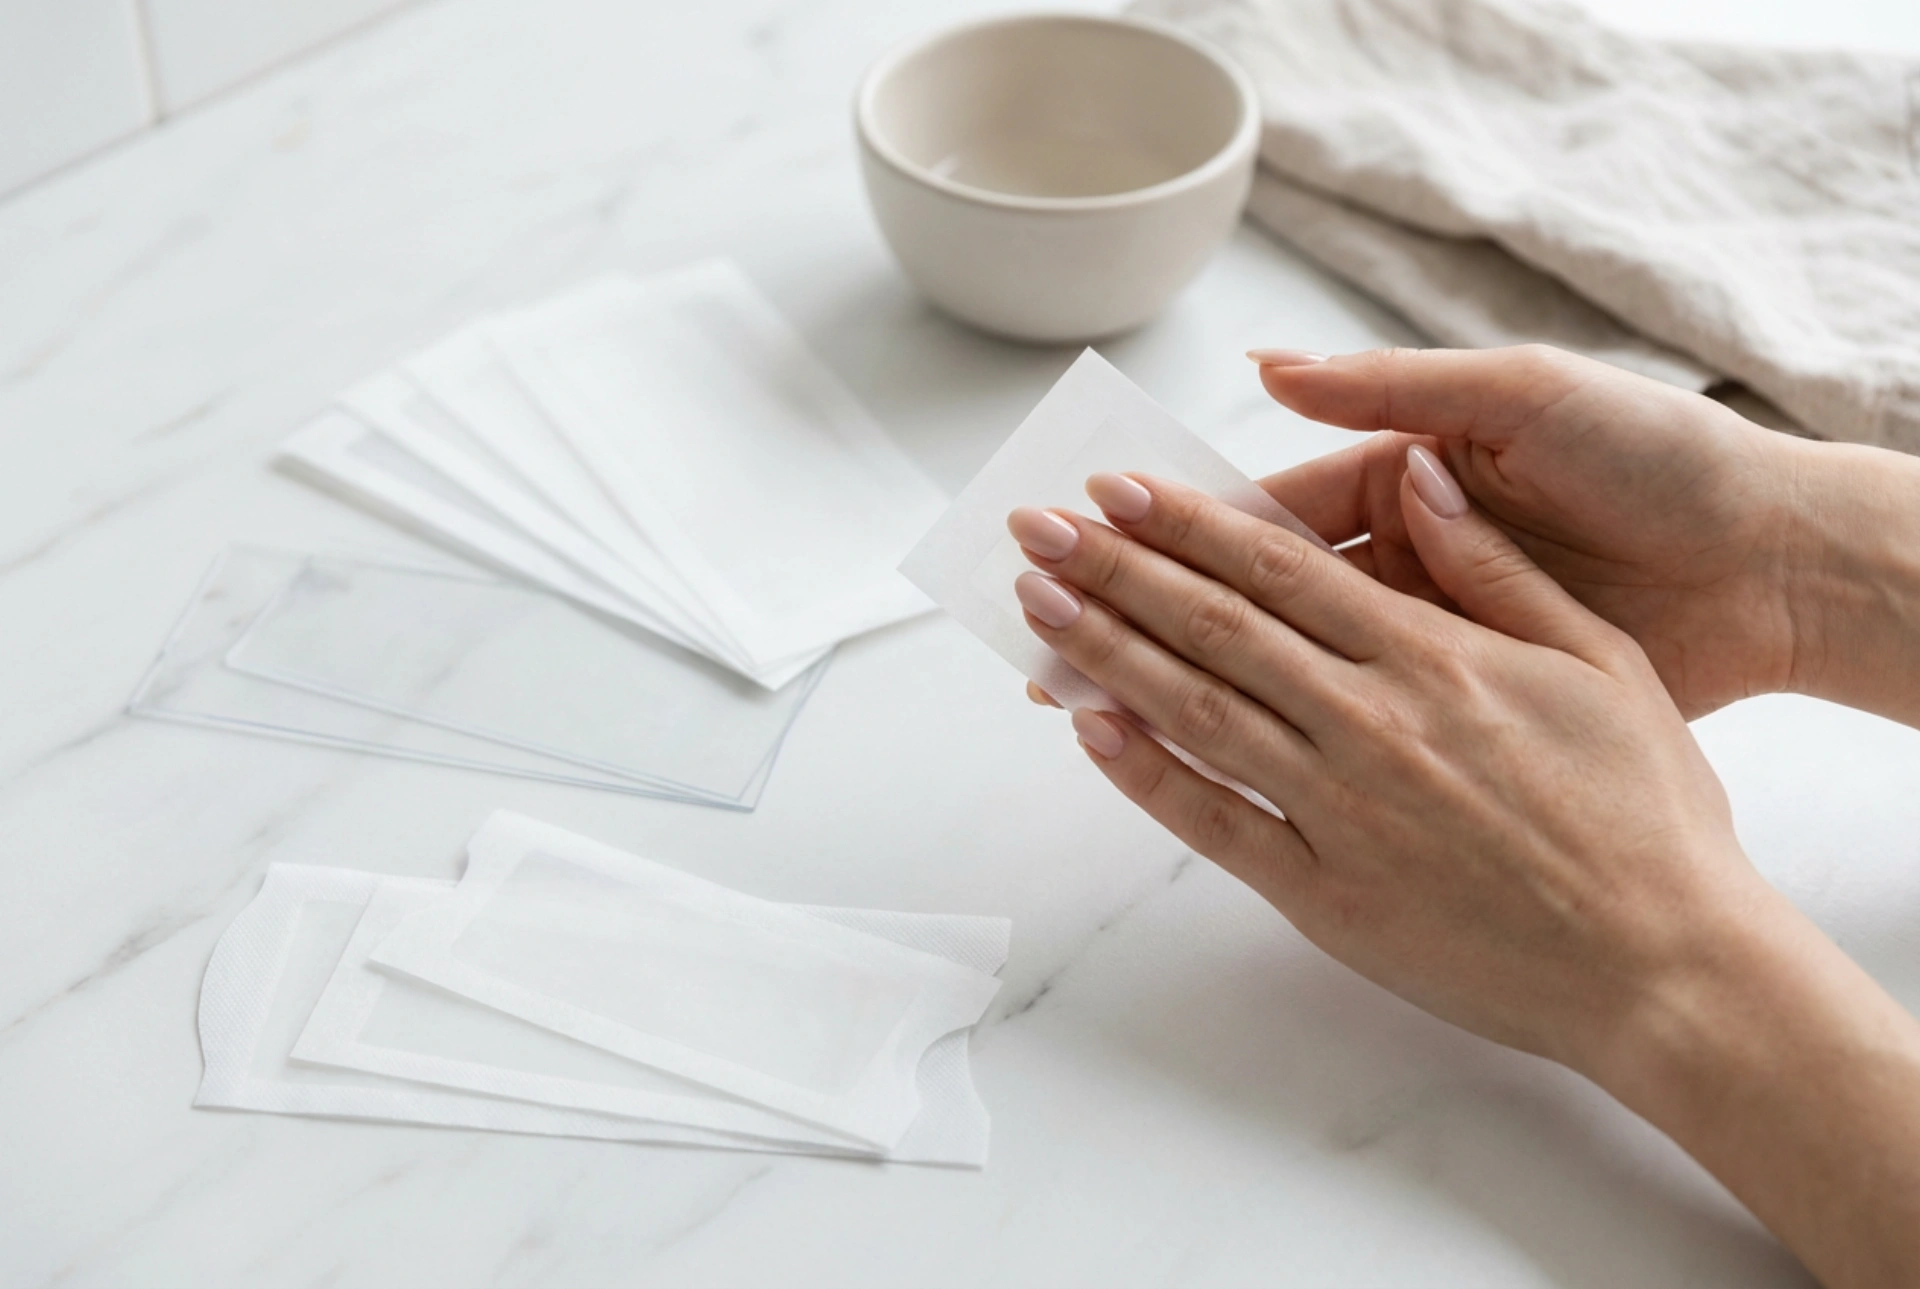
3. Apply the Strip
If you're using soft wax, place a strip over the wax you just applied. Leave a small 'tab' at the end of the strip that isn't covered in wax, which you'll use to pull. Rub your hand firmly over the strip a few times in the direction of hair growth to ensure it has fully adhered to the wax and hair.
4. Remove the Strip
This is the moment of truth. Take a deep breath. Use one hand to hold the skin taut below the strip. This is the most important tip for reducing pain and preventing bruising. With your other hand, grip the 'tab' you left at the end of the strip. In one quick, fluid motion, pull the strip off in the opposite direction of hair growth. Crucially, pull parallel to the skin, not straight up and away from it. Pulling upwards can break the hair and damage the skin.
5. Repeat as Necessary
Continue this process in small sections until you have removed all the unwanted hair. Try not to apply wax over the same area more than twice in one session to avoid over-irritating the skin. If a few stray hairs remain, it's safer to remove them with tweezers than to re-wax the area excessively.
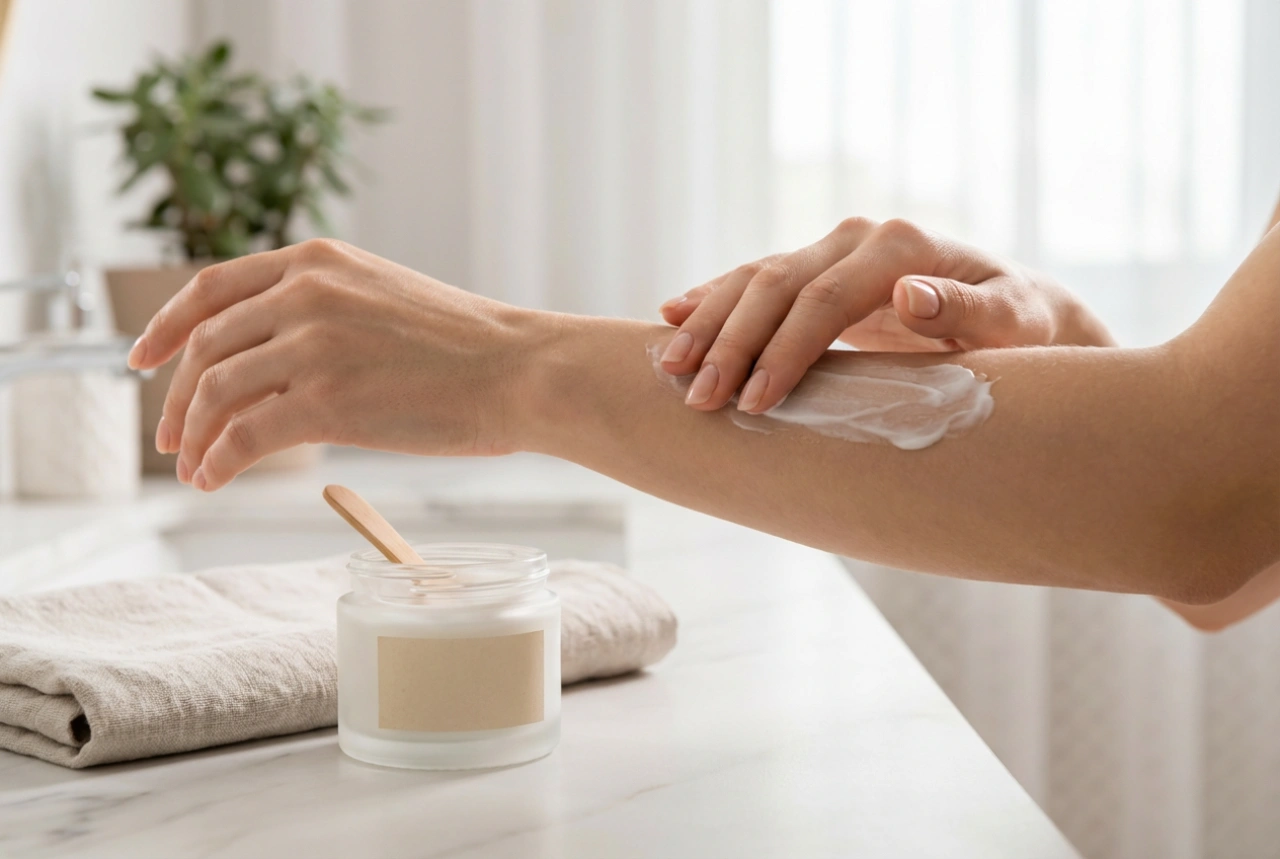
Essential Aftercare: Soothing Your Skin
The care you provide your skin after waxing is just as important as the preparation. The area will be sensitive, so it needs gentle treatment.
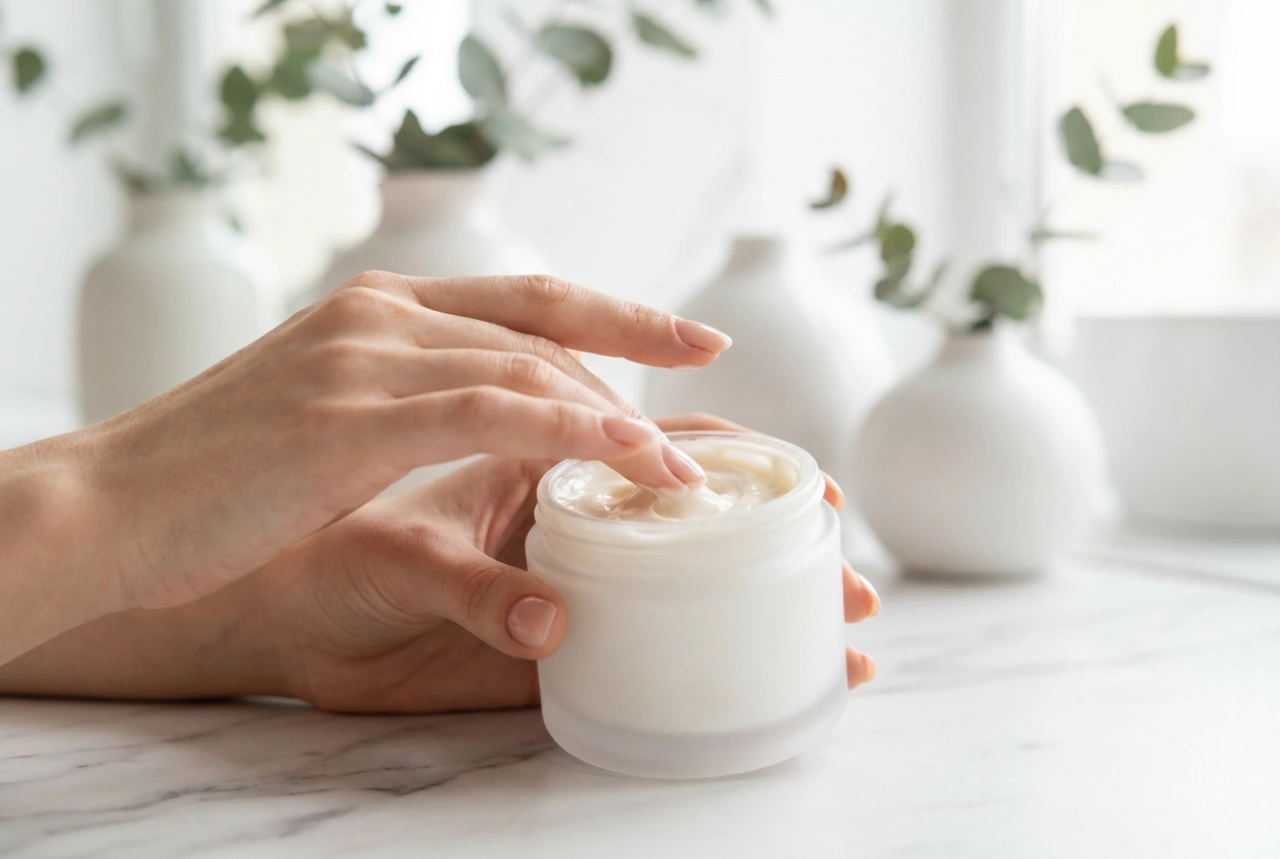
Immediately after you've finished, use the post-wax oil included in your kit or a simple, pure oil (like jojoba or almond oil) on a cotton pad to gently remove any sticky wax residue. Do not try to scrub it off with soap and water, as this will only make it worse and can irritate the skin. Once the skin is clean, you can apply a soothing, fragrance-free and alcohol-free lotion. Products containing calming ingredients like aloe vera are an excellent choice. For the next 24-48 hours, avoid hot baths or showers, saunas, swimming, intense exercise (sweat can irritate open follicles), and tight clothing that could rub against the area. It's also best to avoid applying deodorant or antiperspirant, especially those containing alcohol, until the following day.
Common Mistakes to Avoid for a Flawless Finish
To ensure your home waxing experience is a success every time, be mindful of these common errors:
- Incorrect Hair Length: Waxing hair that is too short is ineffective, while hair that is too long is unnecessarily painful.
- Wrong Wax Temperature: Wax that is too hot will burn your skin, and wax that is too cold will not adhere properly. Always test it first.
- Not Holding Skin Taut: Failing to pull the skin taut is a primary cause of pain, bruising, and incomplete hair removal.
- Pulling in the Wrong Direction: Always pull the strip against the direction of hair growth and parallel to the skin, never upwards.
- Over-waxing an Area: Applying wax to the same spot multiple times in one session can lift the skin and cause significant irritation or damage.
- Skipping Aftercare: Neglecting to soothe the skin and remove residue properly can lead to clogged pores and prolonged redness.