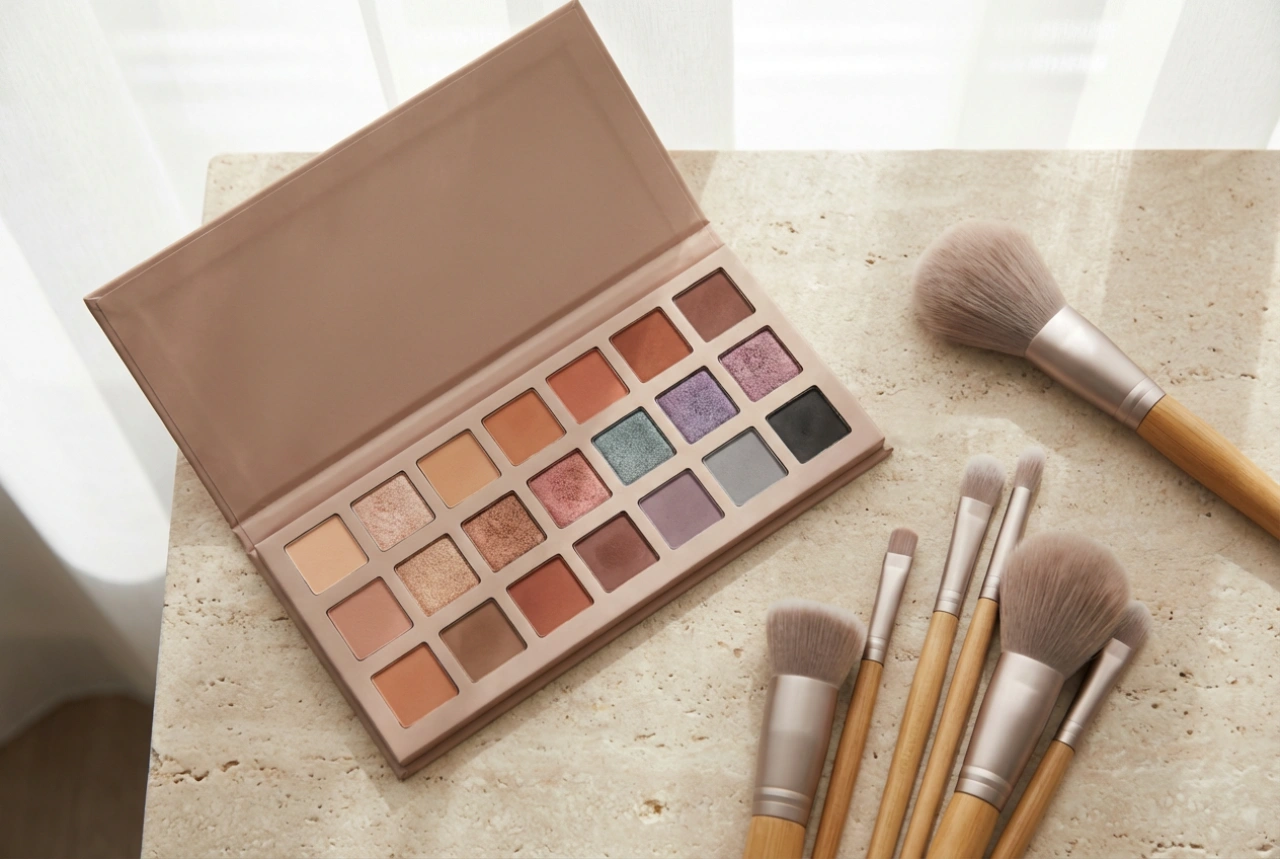


A vibrant eyeshadow palette can be both exciting and a little daunting. Filled with a rainbow of possibilities, it promises creative expression, yet many of us hesitate, unsure how to combine shades or worried about achieving a messy, patchy result. The good news is that with the right techniques and a little knowledge, anyone can master the art of colourful eyeshadow. It's not about being a professional makeup artist; it's about understanding the fundamentals to unlock your creativity and wear bold colours with confidence.
The Foundation: Preparing Your Lids for Colour
Before you even dip a brush into that bright blue or vivid pink, the most crucial step is preparing your canvas. The secret to a flawless, long-lasting and vibrant eyeshadow application lies in preparation. Skipping this stage is one of the main reasons colours can look patchy or fade quickly.
Start by ensuring your eyelids are clean and free from any oils. Then, apply a thin layer of a dedicated eyeshadow primer. An eyeshadow primer is a game-changer for colourful looks for several reasons. It creates a smooth, uniform base, neutralising any discolouration on your lids and giving the eyeshadow something to grip onto. This not only intensifies the pigment, making colours appear truer to how they look in the pan, but it also dramatically increases wear time and, most importantly, prevents creasing and patchiness. After applying the primer, you can lightly set it with a translucent powder or a neutral eyeshadow shade close to your skin tone. This extra step creates an exceptionally smooth surface, making the blending process that follows much easier.
Understanding Colour Harmony for Cohesive Looks
The sheer number of options in a colourful palette can feel overwhelming. A simple way to approach it is by using some basic colour principles. You don’t need to be an expert in colour theory to create beautiful, harmonious looks.
Monochromatic Looks
This is the simplest and often most elegant approach. A monochromatic look involves using different tones and shades of a single colour. For example, if you're working with purples, you could apply a light lavender all over the lid, add a medium plum to the crease for definition, and use a deep eggplant shade on the outer corner to add depth. This method is foolproof and always looks chic and intentional.
Analogous Colours
Analogous colours are shades that sit next to each other on the colour wheel, like yellow, orange, and red, or blue, teal, and green. They naturally blend well together and create a beautiful, gradient effect. A simple way to apply this is to use one colour on the inner half of the lid and a neighbouring colour on the outer half, blending them where they meet. For example, a soft peach on the inner lid blending into a warm coral on the outer corner.
Complementary Colours
For a bolder, more eye-catching look, turn to complementary colours. These are opposites on the colour wheel, such as blue and orange, purple and yellow, or red and green. When placed next to each other, they make each other appear more vibrant. A wearable way to use this principle is to apply one colour as your main lid shade and use a small amount of its complement as an accent, perhaps as a liner or smudged along the lower lash line. This creates a striking pop of colour without being overwhelming.
The Art of Blending: Application to Finish
The difference between a patchy finish and a seamless gradient often comes down to technique and tools. Using the right brushes and applying eyeshadow with patience is key.
Start by using a fluffy blending brush to apply a light, neutral 'transition shade' into your crease. This shade helps bridge the gap between your bold colours and your natural skin tone, ensuring a softer, more professional-looking blend. Use gentle, back-and-forth 'windscreen wiper' motions.
Next, use a flatter, denser brush to pack your chosen colour onto the eyelid. Patting the colour on, rather than swiping, deposits the pigment more intensely and with less fallout. To avoid applying too much product at once, which leads to patchiness, always tap the excess eyeshadow off your brush before it touches your skin. It is always easier to build up colour in thin layers than to take away colour that has been applied too heavily.
To blend different colours together, use a clean, fluffy brush with no extra product on it. Gently swirl the brush in small circles over the edges where the colours meet. The goal is to soften the lines, not to mix the colours together into a muddy mess. Patience is your best friend here; soft pressure and repeated motions will yield the best results.
Common Mistakes and How to Correct Them
Even with practice, you might encounter a few common hurdles. Knowing what they are makes them easier to avoid and fix.
- Starting too dark: Applying the darkest shade first can make blending very difficult. Always start with your lightest shades (like your transition colour) and gradually build up to the darker ones. This creates a natural gradient.
- Over-blending: While blending is crucial, it is possible to overdo it. If you blend too much, colours can lose their vibrancy and merge into a single muddy shade. Focus on blending only the very edges where colours transition.
- Using the wrong brush: Using a single brush for everything will make your application challenging. Invest in at least two basics: a flat shader brush for application and a fluffy brush for blending. This will give you much more control.
- Forgetting the lower lash line: Leaving the lower lash line bare can make an eye look appear top-heavy and incomplete. Sweeping a small amount of one of the colours you used on your lid along the lower lashes helps to balance and complete the entire look.
Working with a colourful eyeshadow palette is a journey of discovery. By preparing your lids properly, understanding simple colour pairings, and mastering a few key blending techniques, you can confidently create endless stunning looks and turn that intimidating palette into your favourite tool for self-expression.