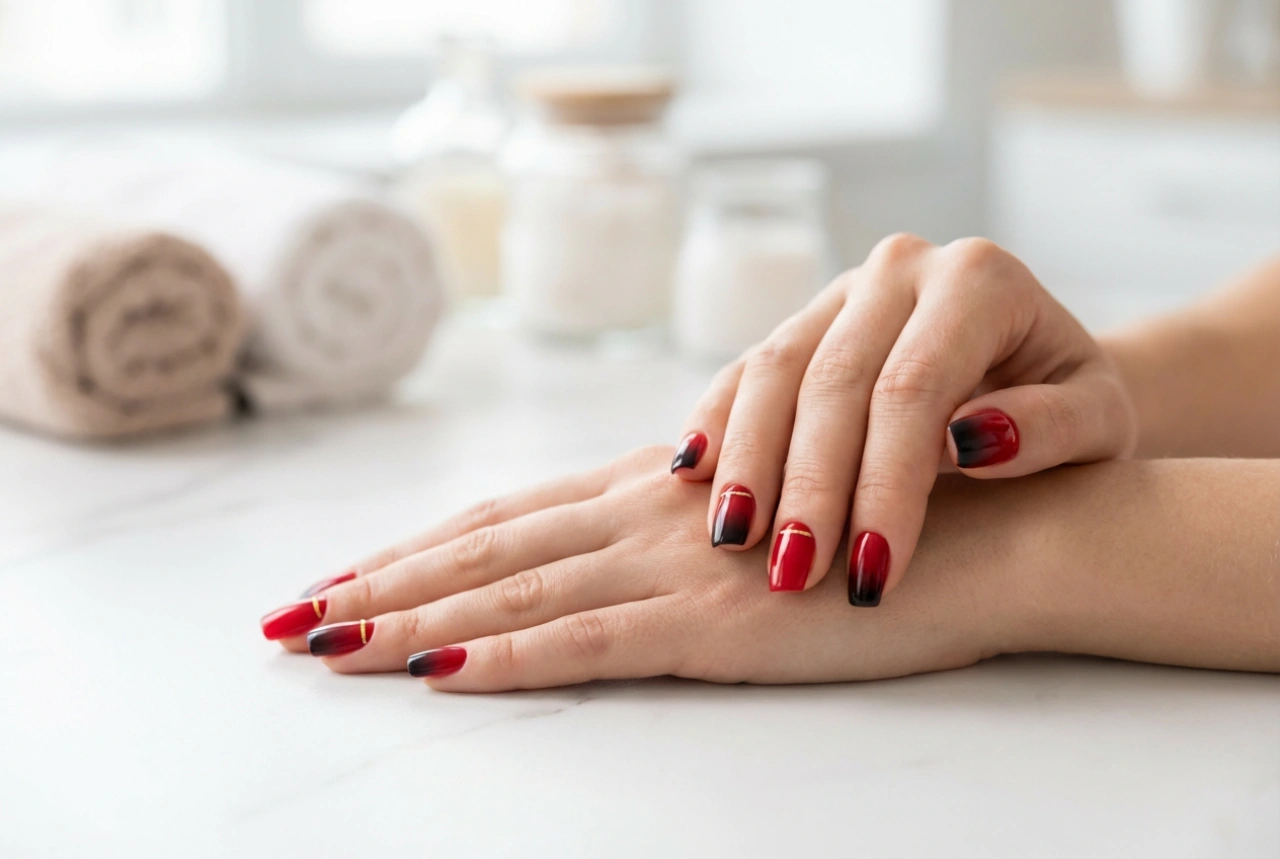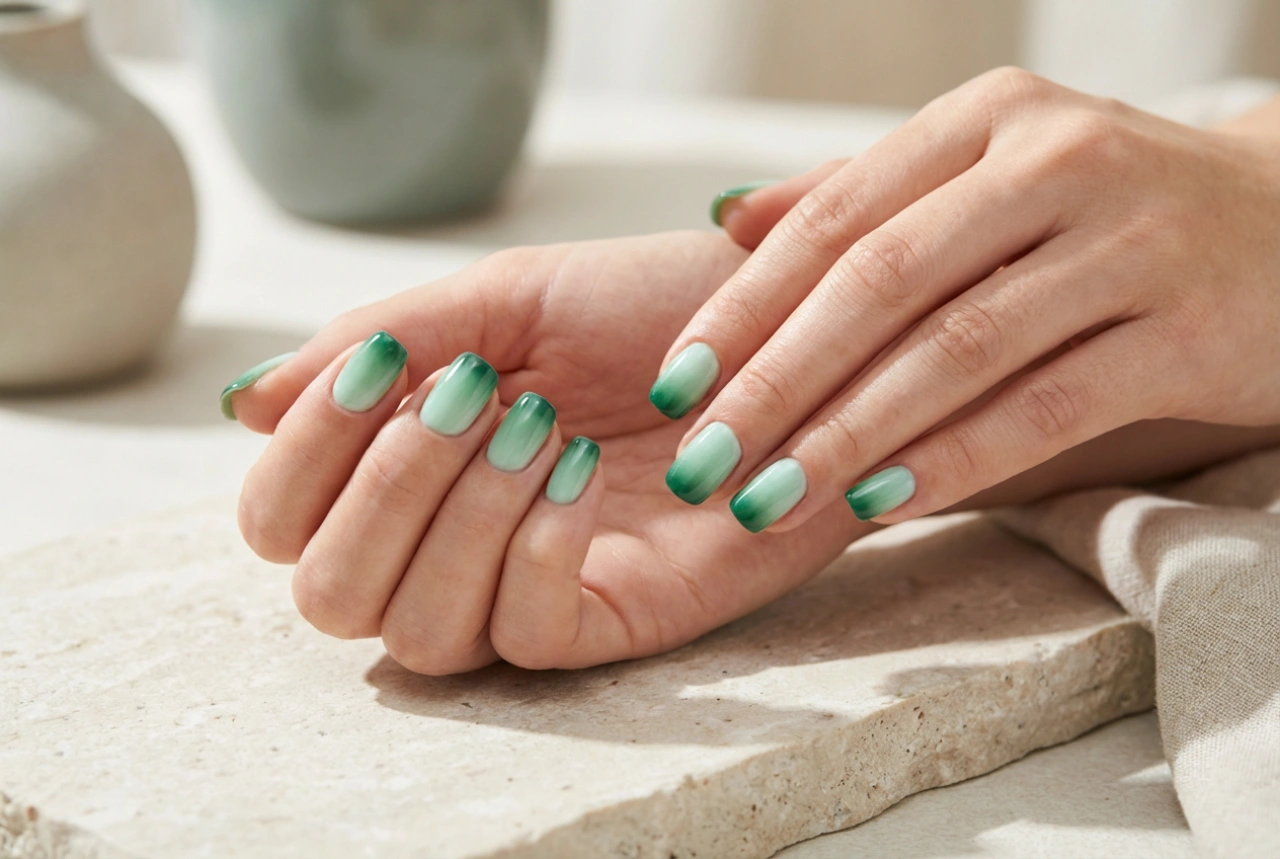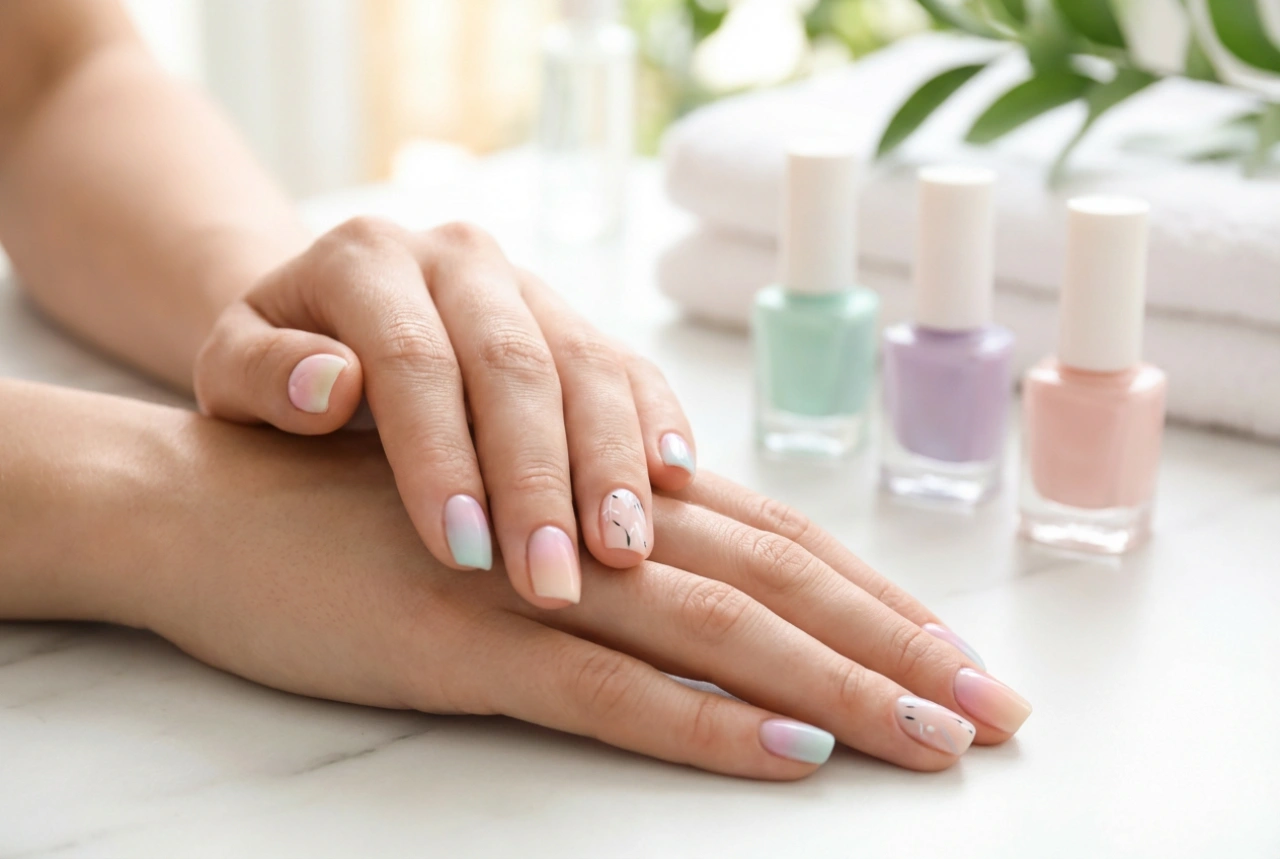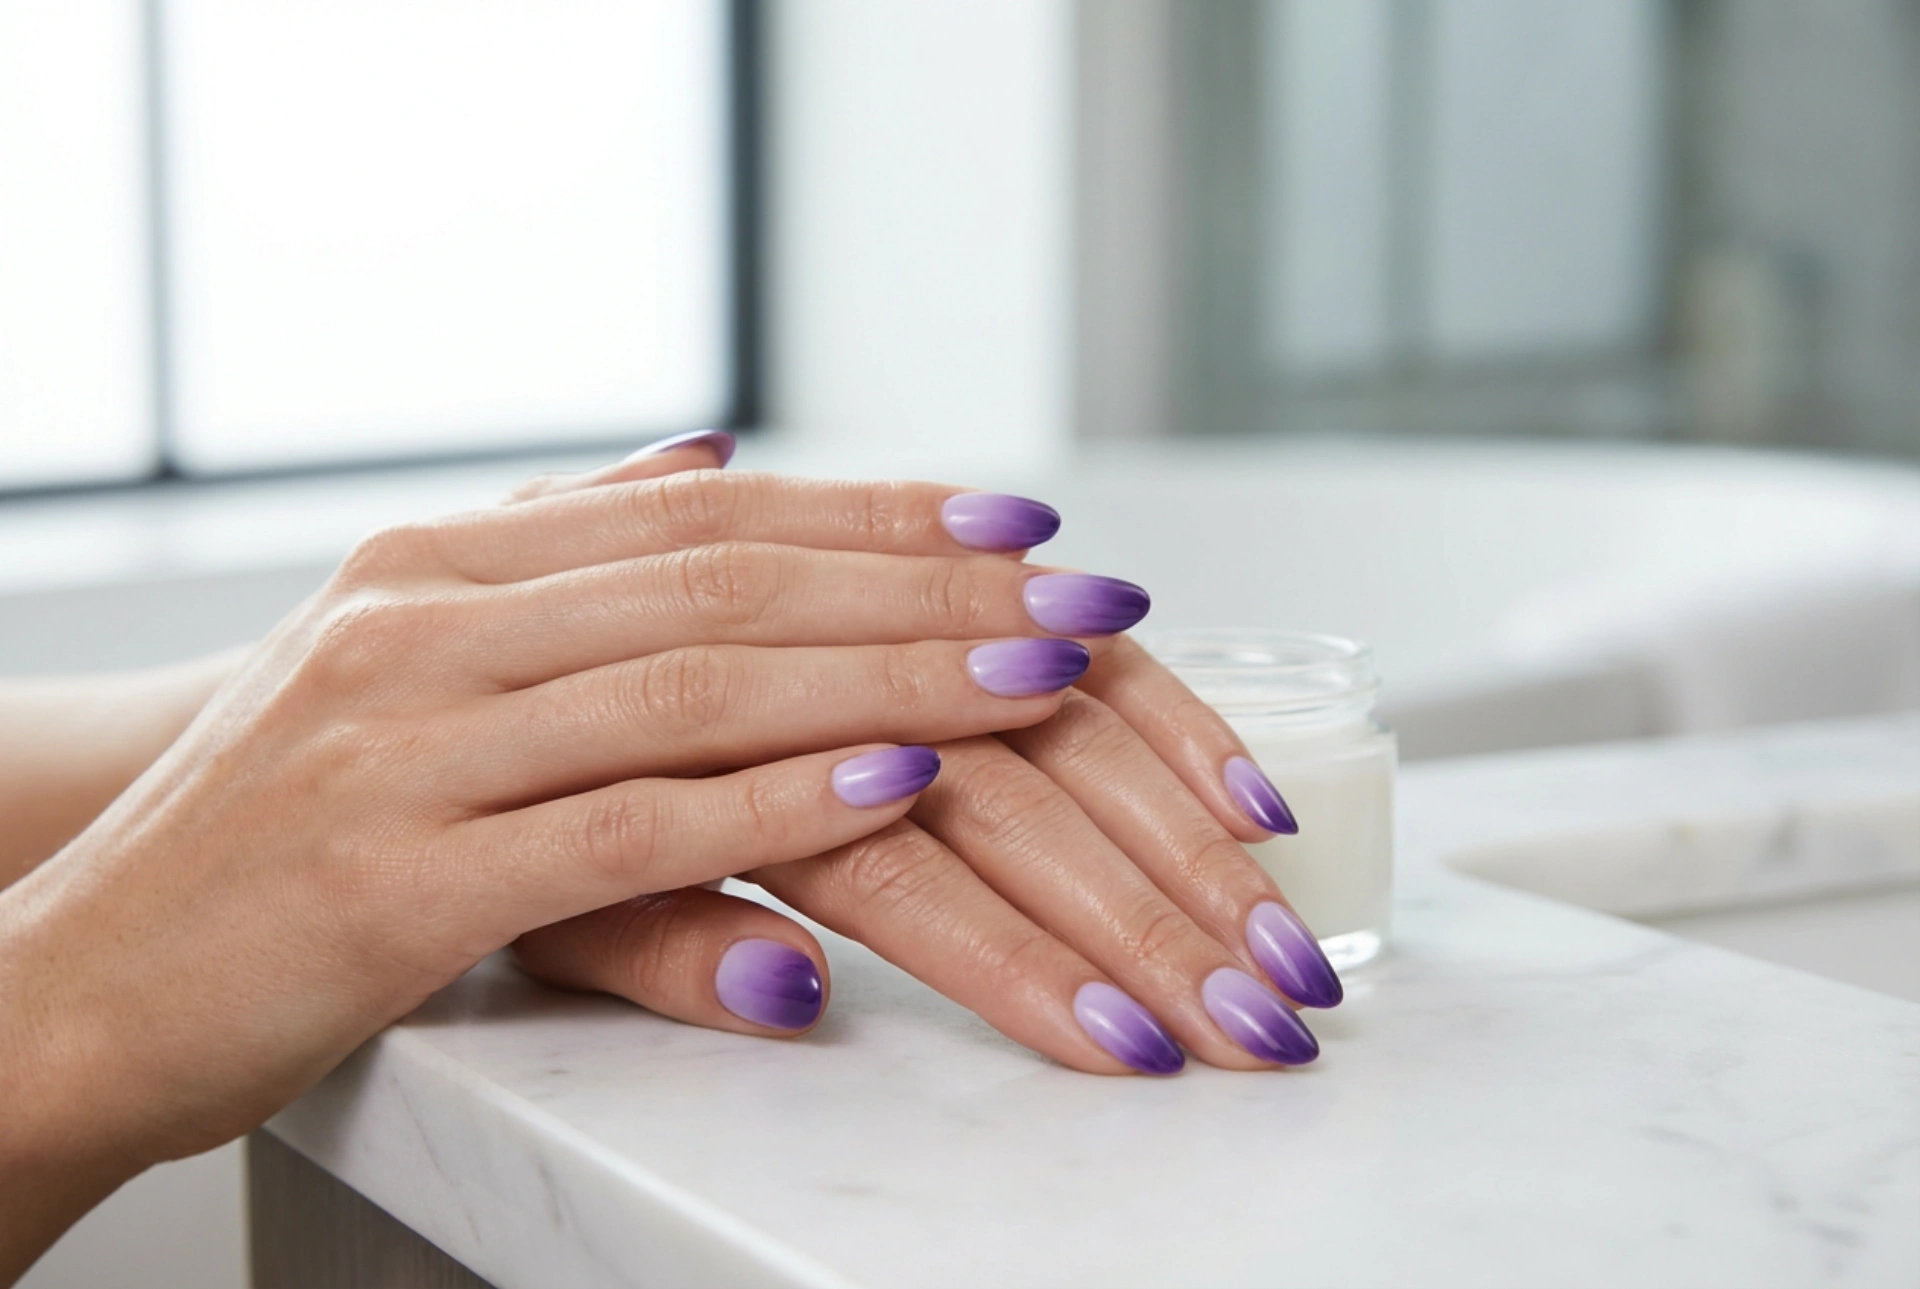


Beautifully manicured hands displaying a flawless purple gradient evoke a serene and polished aesthetic that is both modern and timeless. The delicate transition from a soft lavender base to a deep, dramatic violet creates a sophisticated visual depth that complements various skin tones. This elegant nail art design relies on careful shade selection and precise blending techniques to achieve a professional, seamless look. By understanding the fundamentals of colour transitions and proper sealing methods, you can recreate this captivating style at home, achieving a durable and high-lustre finish.
Preparing the Canvas for a Seamless Gradient
Before applying any colour, preparing the nail plate is essential to ensure the longevity of your manicure. An uneven nail surface can disrupt the smooth flow of the ombre transition, making the blending process more difficult. Begin by gently pushing back the cuticles and shaping the nails. A soft oval or almond shape works exceptionally well with ombre designs, as the curved edges naturally enhance the lengthening effect of the gradient.
Once the nails are shaped, lightly buff the surface to remove any natural oils, which helps the polish adhere better. Apply a high-quality base coat to protect the natural nail from staining and to create a smooth, even surface. Let the base coat dry completely, or cure it thoroughly if you are using gel polishes. This initial step provides the perfect foundation for a seamless gradient.
Selecting Your Purple Colour Palette
The key to a stunning ombre lies in choosing the right shades of purple. A smooth transition requires colours that belong to the same tonal family but differ in intensity. For a classic, elegant look, select three distinct shades of purple:
- The Base Shade: A light, delicate pastel lavender or lilac. This colour will cover the entire nail and act as the brightest point of the gradient near the cuticle.
- The Transition Shade: A medium violet or amethyst tone. This shade sits in the middle of the nail, softening the jump between light and dark.
- The Accent Shade: A rich, deep plum or dark purple. Applied at the very tips of the nails, this shade provides depth and contrast.
Ensure that all chosen polishes have a similar consistency. Mixing very thick polishes with runny ones can make blending difficult and may result in an uneven texture on the nail surface.
The Sponge Blending Method Step-by-Step
The most accessible and effective way to achieve a soft, airbrushed ombre gradient at home is by using a makeup sponge. A latex-free wedge sponge works best because its fine texture prevents large air bubbles from forming in the polish. First, apply two thin coats of your lightest lavender shade over the entire nail to create an opaque background. Allow this base layer to dry completely.
Next, lightly dampen the makeup sponge with water and squeeze out any excess. Dampening the sponge prevents it from absorbing too much polish, ensuring a smoother application. Paint three parallel, slightly overlapping horizontal stripes of your purple shades directly onto the edge of the sponge, starting with the light lavender, followed by the medium violet, and ending with the deep plum at the very tip.
Gently press the sponge onto the nail, aligning the lightest shade with the cuticle and the darkest shade with the free edge. Dab the sponge up and down slightly in a gentle bouncing motion. This slight movement helps the colours blend together where they meet, eliminating any harsh lines. Avoid dragging the sponge, as this will smudge the design. Repeat this dabbing process in thin layers, allowing each layer to dry slightly before applying the next, until you achieve your desired opacity.
Mastering the Brush Blending Technique
For those who prefer working with gel polishes, brush blending offers a highly professional and clean alternative to the sponge method. After applying and curing your light lavender base coat, apply the medium violet to the middle section of the nail and the deep purple to the tip. Leave the area near the cuticle with just the light base shade.
Take a clean, flat ombre brush or a fine detailing brush and lightly damp it with alcohol or slip solution. Hold the brush at a shallow angle to the nail and gently feather the boundaries between the colours using light, sweeping strokes. Work from the lighter areas toward the darker sections to maintain colour purity. Once the transition looks smooth and completely seamless, cure the nail under your lamp to lock the design in place.
Sealing and Securing a Long-Lasting Finish
The blending process can sometimes leave the surface of the nail looking slightly textured or matte. Applying a generous top coat is the magical step that melts the colours together, smoothing out any minor imperfections and creating a glassy, professional finish. When applying the top coat, float a generous bead of product over the nail rather than pressing hard with the brush, which could drag the blended colours.
Be sure to seal the free edge of the nail by running the top coat brush along the very tip. This technique, known as capping, prevents premature chipping and keeps your ombre looking fresh for longer. To maintain the elegant lustre and keep your hands looking perfectly groomed, apply a nourishing cuticle oil daily to hydrate the surrounding skin and enhance the natural beauty of your hands.