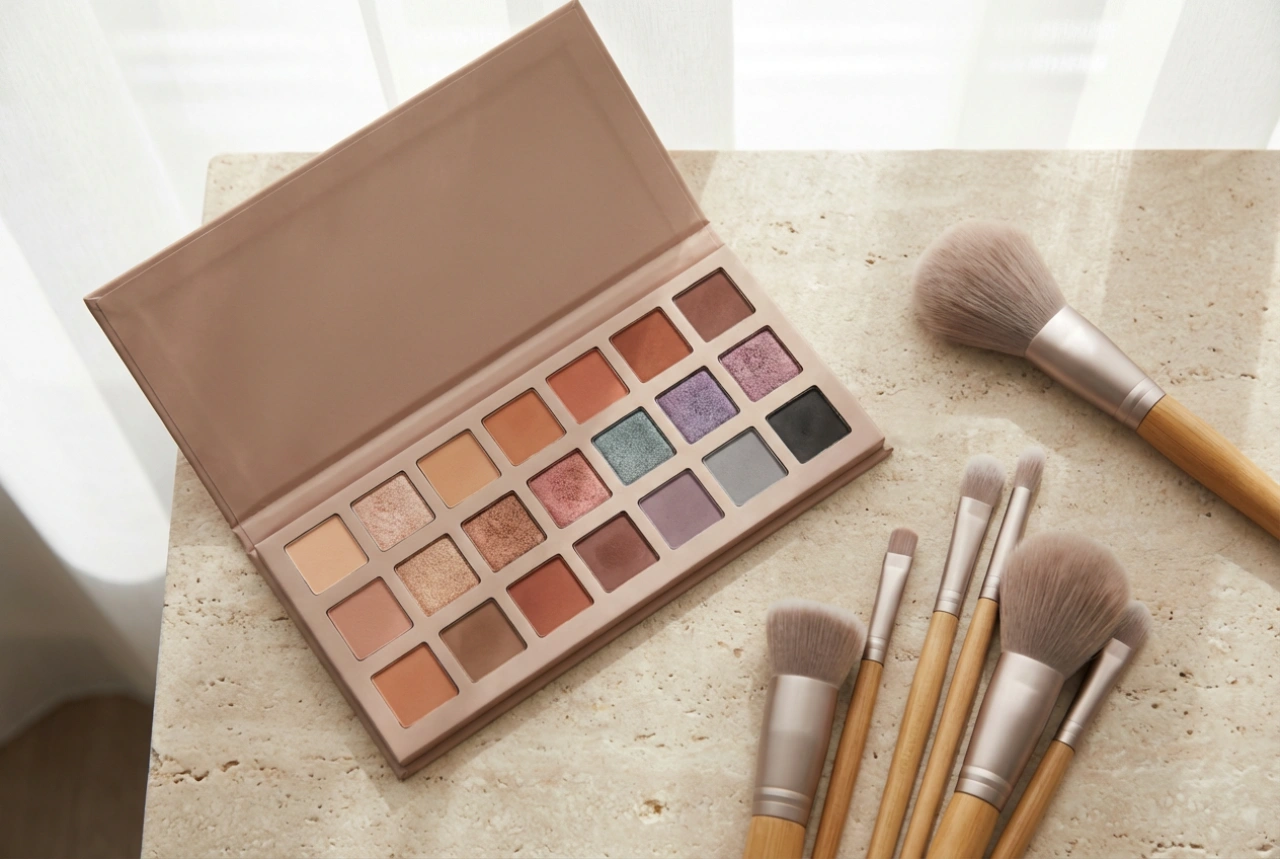


False eyelashes can beautifully enhance any makeup look, adding volume, length, and definition that frames the eyes. While they may seem intimidating at first, mastering the application of strip lashes is a skill that can be easily learned with a little patience and the right technique. This guide will walk you through the entire process, from initial preparation to safe removal, ensuring a comfortable and flawless result every time.
Preparation: The Foundation for a Perfect Fit
Proper preparation is the most crucial step for achieving a seamless, long-lasting application. Rushing this stage is often the source of most difficulties. Before you even reach for the lash glue, take a few moments to get everything ready.
1. Start with a Clean Base
Ensure your eyelids and natural lashes are completely clean and free of any oil or residual makeup. Use a gentle, oil-free makeup remover on a cotton pad to wipe the area, even if you think it's clean. An oil-free surface helps the lash adhesive to bond correctly and last longer.
2. Measure and Trim
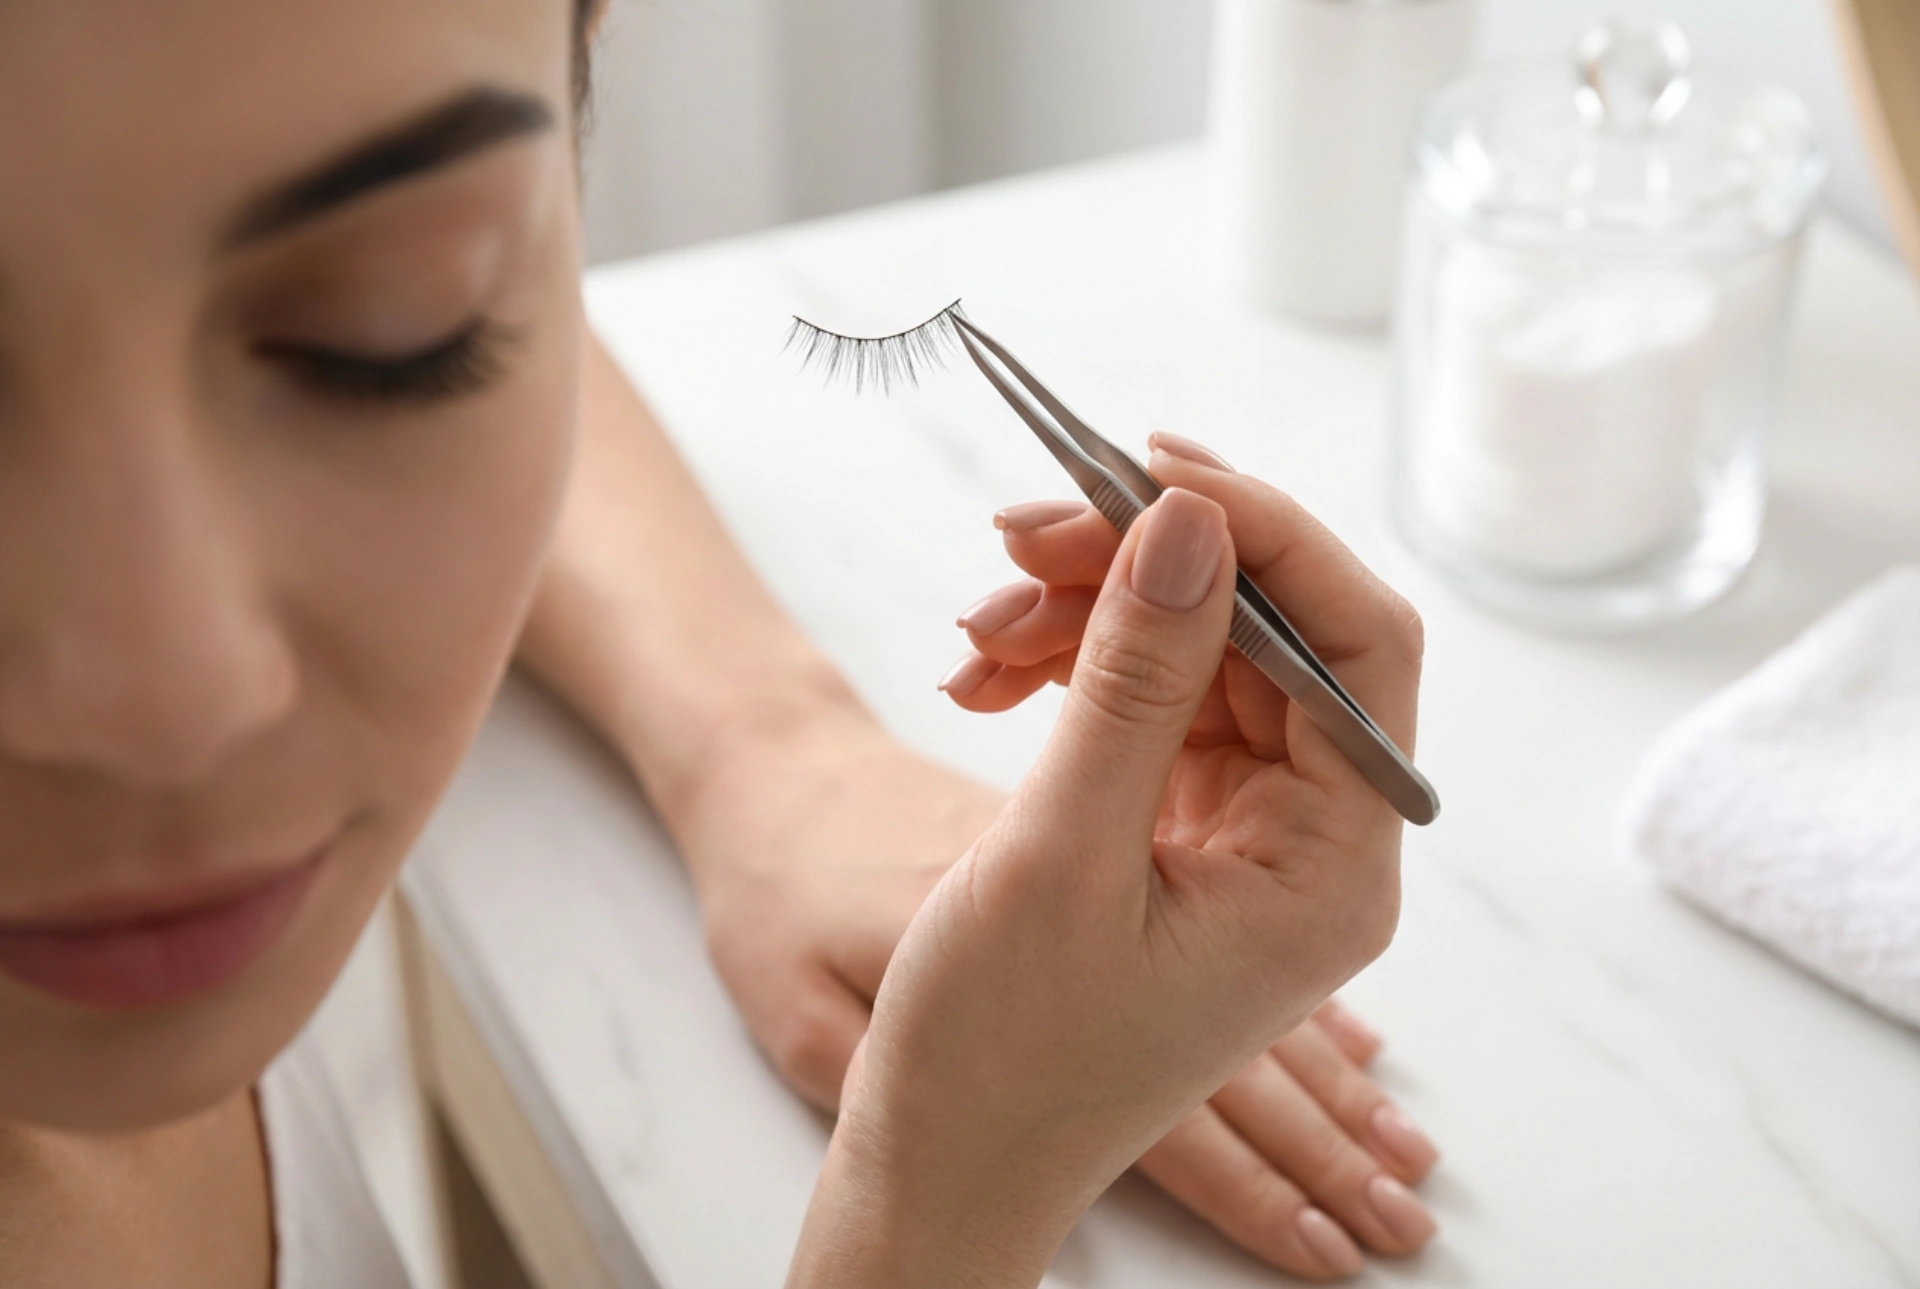
Most strip lashes are intentionally made longer than the average eye. To avoid a drooping effect or poking at the corners, you must customise the length. Hold the strip lash up to your eyelid without any glue. Align the inner edge of the band with where your natural lashes start to become dense. See where the band ends on the outer corner. It should not extend beyond the last of your natural lashes. Using small, sharp scissors, trim the excess length from the outer edge, never the inner one. This preserves the natural taper of the lash. Trim in small increments and re-measure until you have the perfect fit.
3. Prepare Your Natural Lashes
Gently curl your natural lashes with an eyelash curler. This creates a supportive 'shelf' for the false lash strip to rest on, helping them blend together more naturally. Afterwards, apply a single, light coat of mascara to your own lashes. This helps the false lashes grip and provides a darker base for a more cohesive look.
Step-by-Step Application
With your lashes trimmed and your natural lashes prepped, it's time for the main event. Work in a well-lit area with a mirror positioned so you can look downwards into it, which makes it easier to see your lash line.
Applying the Adhesive
Apply a thin, even layer of lash adhesive directly onto the lash band. Many people make the mistake of applying it to their eyelid, which can be messy and imprecise. Pay special attention to the inner and outer corners, adding a tiny extra dot of glue there for added security. Avoid using too much glue; a fine line is all you need.
The Crucial Wait
This is a game-changing tip for beginners. Do not attempt to apply the lash immediately. Wait for about 30-60 seconds for the adhesive to become tacky. It should feel sticky to the touch, not wet. Applying the lash when the glue is wet will cause it to slide around and make a mess. Tacky glue will grip the skin instantly, allowing for precise placement.
Placing the Lash
Using tweezers or your fingertips, hold the lash strip in the middle. Look down into your mirror and place the strip as close to your natural lash line as possible, starting from the centre of your eyelid. Don't worry about the corners just yet. Once the centre is anchored, use the tweezers or your fingers to gently press the inner corner into place, followed by the outer corner. Ensure the entire band is resting snugly against your skin, not on your natural lashes.
Blending for a Seamless Finish
Once the glue has fully dried, you can gently pinch your natural lashes and the false lashes together with your fingertips. This helps to merge them into one. If you see a noticeable gap between the false lash band and your real lashes, you can fill it in with a dark liquid or gel eyeliner. A final light coat of mascara can also help fuse them together, but be aware this may reduce the number of times you can reuse the lashes.
Safe and Gentle Removal
Never pull or rip off your false eyelashes at the end of the day. This can damage the delicate skin on your eyelids and even pull out your natural lashes. Safe removal is simple and quick.
- Soften the adhesive: Dip a cotton swab in an oil-free makeup remover or a dedicated lash remover. Gently run the saturated swab along the lash band where it meets your skin. This will dissolve the adhesive.
- Peel gently: Once the glue has loosened, grasp the outer corner of the lash band and slowly and gently peel it towards the inner corner. It should come away without any resistance or pulling.
- Clean your eye area: After removing the lash, use a cotton pad soaked in makeup remover to gently wipe away any remaining adhesive from your eyelid and natural lashes.
Caring for Lashes for Reuse
With proper care, a good quality pair of strip lashes can be worn many times. After removing them, you need to clean them. Hold the lash steady and use tweezers to gently peel off the strip of old adhesive from the band. If there is mascara residue, you can gently wipe the lash hairs with a cotton swab and a small amount of oil-free makeup remover. Always store your clean, dry lashes in their original tray or a dedicated lash case. This helps them maintain their curved shape and keeps them protected from dust and damage.
Common Mistakes to Avoid
If you're struggling, you might be making one of these common errors:
- Not trimming the band: The most frequent mistake. A band that's too long will lift at the corners and feel uncomfortable.
- Using too much glue: This creates a mess, increases drying time, and can make the band look thick and obvious.
- Applying when the glue is still wet: Leads to sliding, smudging, and a frustrating application experience.
- Placing the lash too far from the lash line: Creates an unnatural-looking gap. Aim to get it right on top of your natural lash roots.
- Applying mascara after the false lashes are on: While it can help with blending, applying too much can make them look clumpy and will significantly shorten their lifespan. Apply it before, or very sparingly after.
With these steps and tips, you're well-equipped to apply false lashes with confidence, adding a touch of glamour to your look whenever you desire.