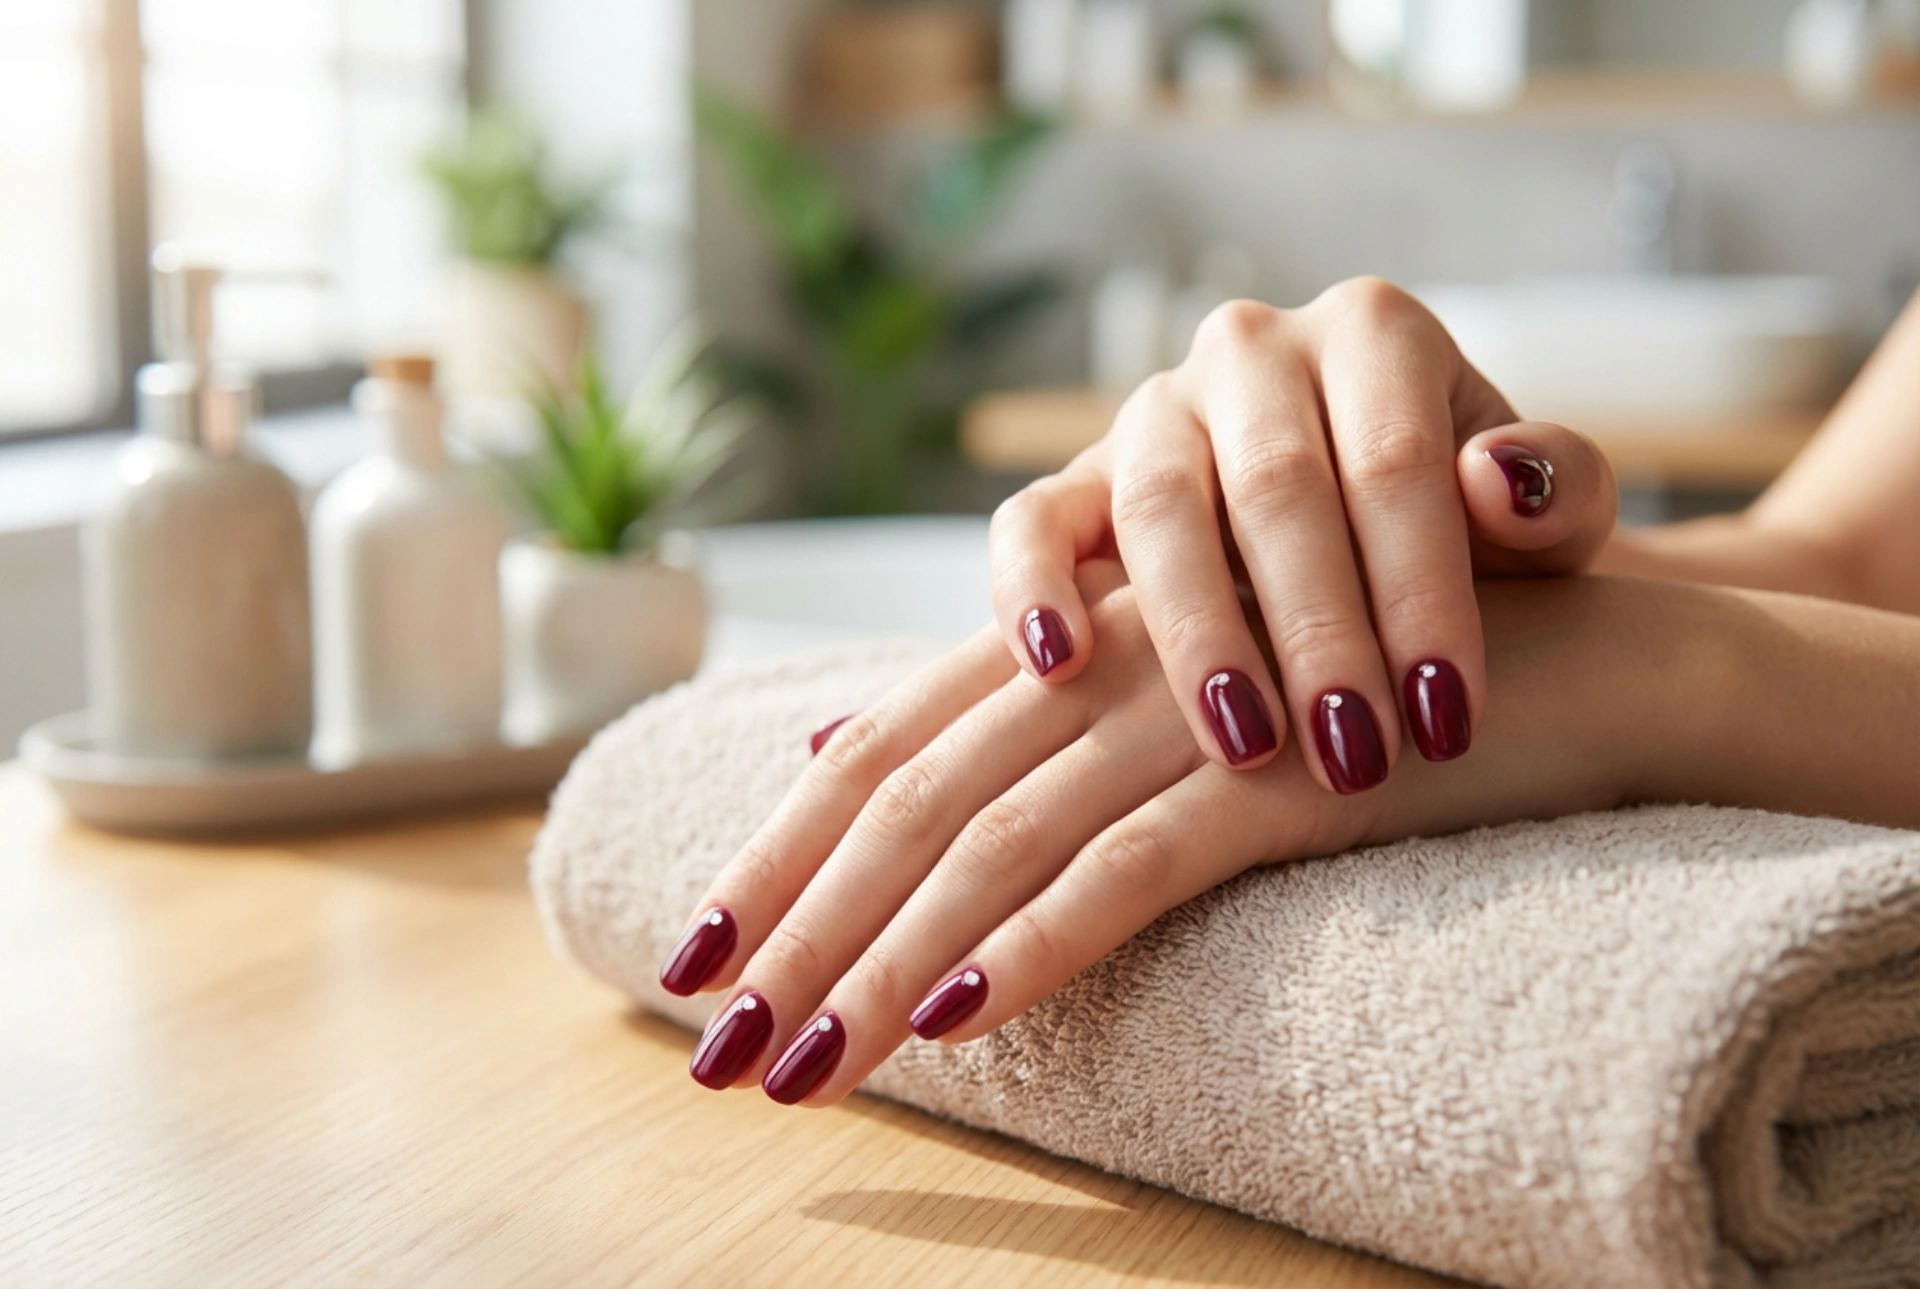


A classic manicure in a rich maroon or deep burgundy shade is the epitome of elegance. When combined with the delicate sparkle of carefully placed rhinestones, it transforms into a sophisticated statement suitable for any occasion. Achieving this look at home does not require professional salon equipment, but it does demand patience, precision, and the correct technique. Understanding how to prepare, apply, and secure these tiny gems ensures your beautiful manicure remains flawless and chip-free for days.
Preparing the Base: The Key to Long-Lasting Adhesion
Before any decorative elements are applied, the foundation of your manicure must be meticulously prepared. Without a smooth, oil-free surface, even the strongest adhesive will fail to hold the rhinestones in place. Start by shaping your fingernails and gently pushing back the cuticles to create a clean canvas.
Once the nails are prepped, apply a high-quality base coat to protect the natural nail plate. Follow this with two thin coats of your chosen burgundy polish. It is important to let each layer dry completely before moving on to the next step. If you are using standard air-dry nail polish, wait a few minutes until the surface is dry to the touch but slightly tacky, as this can sometimes assist in initial placement. For those using gel polishes cured under a lamp, apply your colour coats and cure them according to the instructions, leaving the sticky inhibition layer intact if you plan to use it for placement.
Choosing and Planning Your Rhinestone Placement
Rhinestones come in various sizes, shapes, and materials, ranging from classic round crystals to teardrops and marquise shapes. For a subtle, sophisticated finish, smaller gems work beautifully, whereas larger stones can serve as a striking focal point. Planning your design beforehand is crucial to avoiding mistakes on wet polish.
Popular Arrangement Styles
- The Accent Nail: Placing a single rhinestone or a small cluster near the cuticle of the ring finger for a minimalist yet elegant look.
- The Cascade: Arranging stones of varying sizes down the centre or side of the nail plate, gradually decreasing in size.
- The Half-Moon: Lining the natural curve of the cuticle with tiny crystals to highlight the nail shape.
Before applying any adhesive, map out your design on a clean, flat surface. Use a wax pen, picker tool, or fine tweezers to arrange the crystals in the exact layout you want. This prevents hesitation once the adhesive is applied to the nail.
Gluing Techniques: How to Attach Rhinestones Securely
There are two primary methods for attaching rhinestones to your nails at home, depending on the type of nail polish you are using. Each method requires a steady hand and a minimalist approach to adhesive application.
Using Traditional Nail Glue
For standard air-dry nail polishes, traditional nail glue is the most reliable option. Dip a fine brush or a toothpick into a small drop of glue and place a tiny dot onto the nail exactly where you want the crystal to sit. Avoid using too much glue, as excess adhesive can seep out from under the stone, dulling its sparkle and leaving unsightly residue. Gently press the rhinestone into the glue using your picker tool and hold it in place for a few seconds until it sets.
Using Gel and Top Coats
If you prefer using gel products, a thick base coat or a dedicated nail gem gel is ideal. Apply a small bead of the gel to the desired spot, place the rhinestone on top, and gently press it down so that the gel slightly rises around the edges of the crystal's base. This creates a secure pocket for the stone. Once you are satisfied with the placement, cure the nail immediately under the lamp to lock the design in place.
Securing and Protecting Your Design
Applying the rhinestones is only half the battle; ensuring they stay put during daily tasks requires proper sealing. A protective top coat acts as a shield, preventing the edges of the crystals from catching on hair or clothing, which is the most common cause of lost gems.
Using a fine-detail nail art brush, carefully apply top coat around the base of each rhinestone. It is absolutely essential to avoid painting directly over the top of the crystals. Covering the faceted surface of a rhinestone with top coat fills in the angles, removing its reflective properties and making it look dull and plastic-like. Instead, seal only the edges where the stone meets the nail. For maximum durability, apply a second layer of top coat to the rest of the nail, ensuring the free edge is capped perfectly.
Caring for Your Manicure and Safe Removal
To extend the life of your maroon and rhinestone manicure, wear protective gloves when doing household chores or washing dishes. Avoid using your nails as tools to open cans or peel labels, as this puts direct pressure on the adhesive bonds.
When it is time to remove your manicure, never try to peel, scrape, or pry the rhinestones off your nails. This can cause severe damage to the natural nail plate, peeling away healthy layers of keratin. Instead, soak a cotton pad in a gentle acetone-based remover, place it over the nail, and wrap it in foil for a few minutes. The adhesive will soften, allowing the rhinestones to slide off easily without resistance. Wash your hands thoroughly afterwards and apply a nourishing cuticle oil to restore moisture.