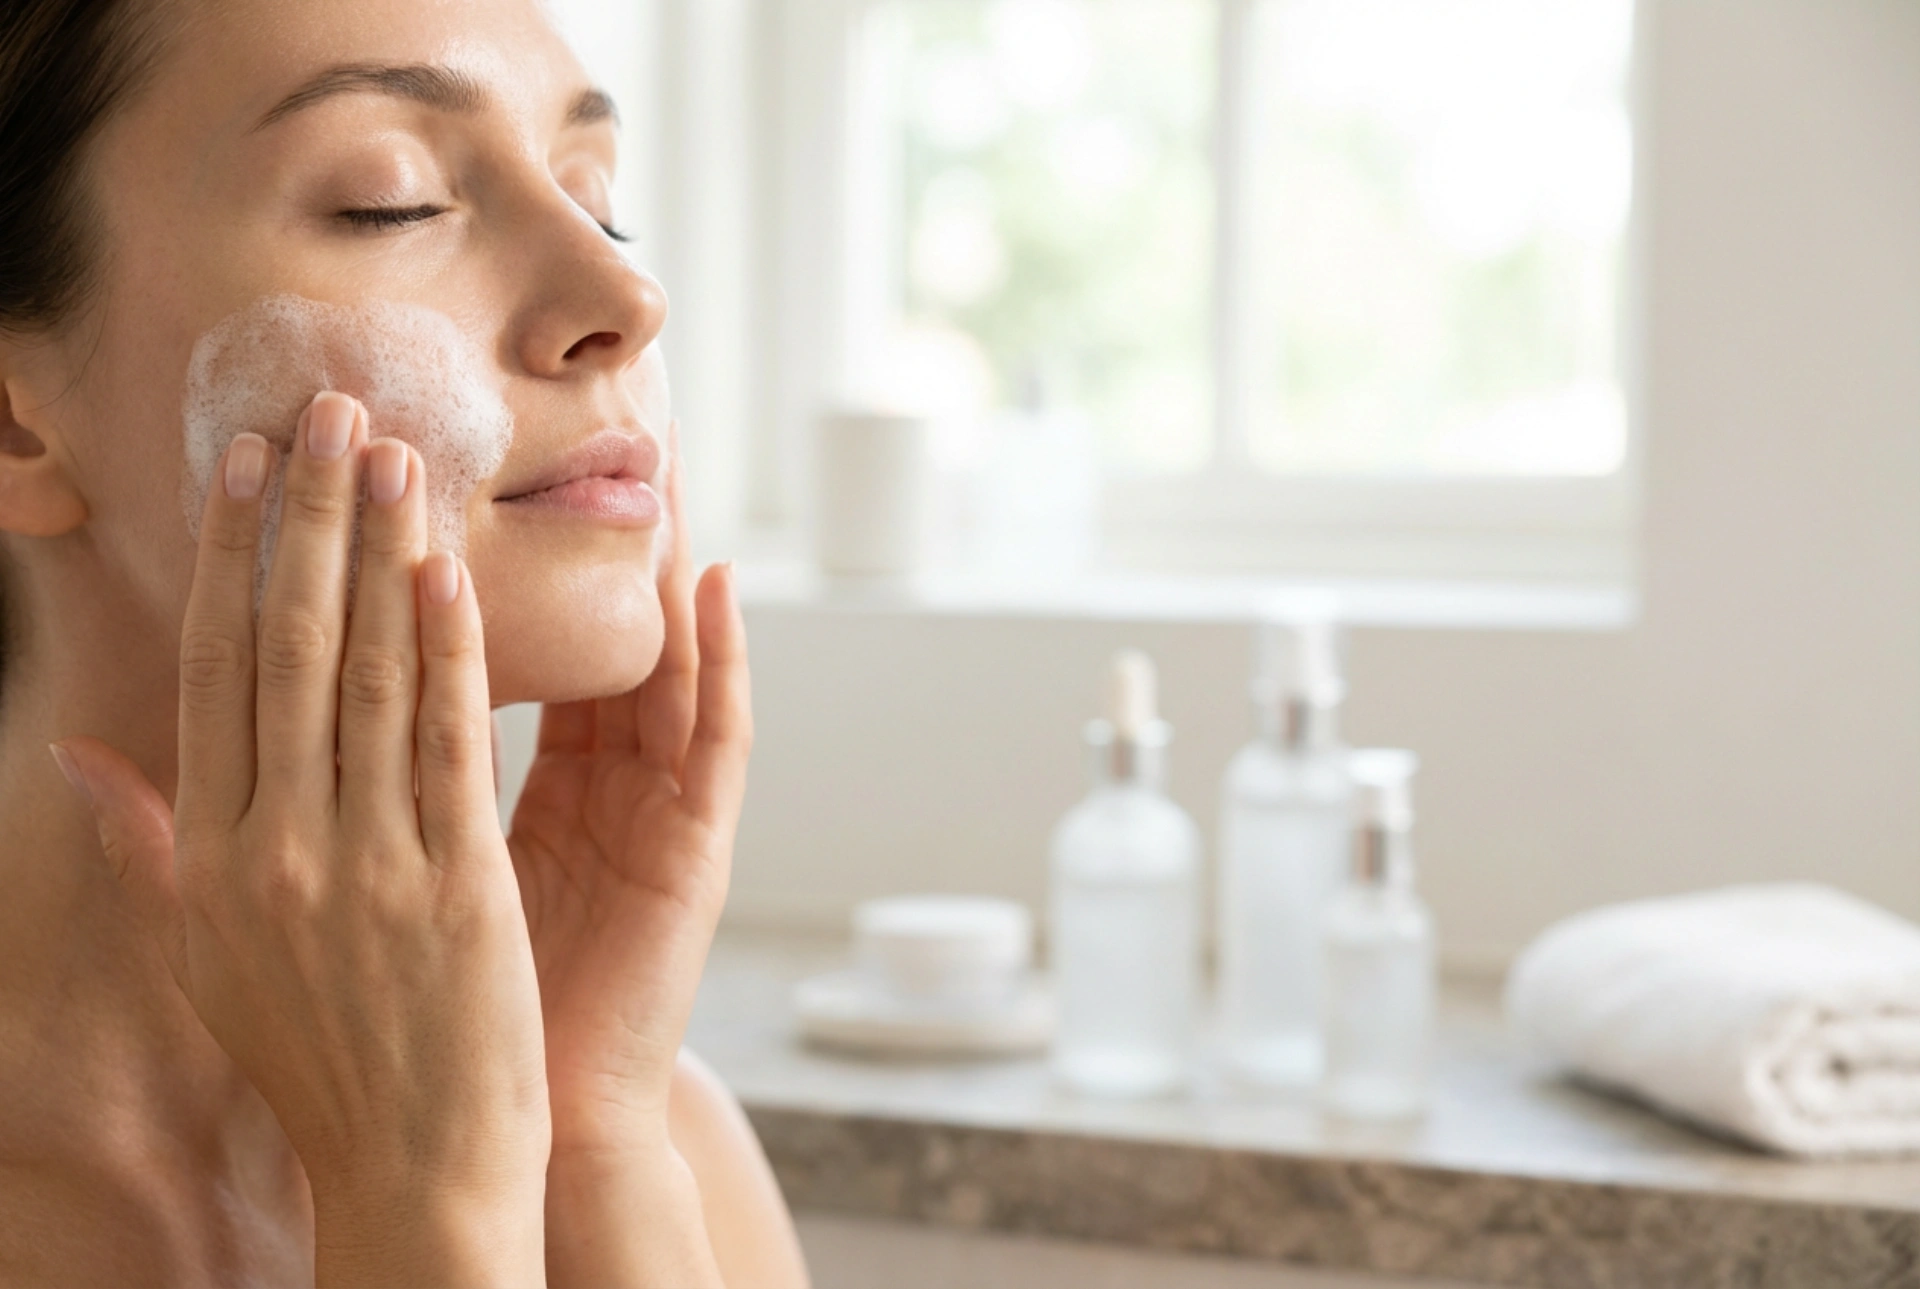


The modern home skincare routine is as much about sensory pleasure as it is about maintaining a healthy-looking complexion. Among the most delightful innovations in the beauty world is the bubble mask, a treatment that transforms from a smooth cream or a simple sheet into a rich, effervescent foam. Watching this delicate, airy foam develop on a serene face captures the very essence of a tranquil self-care moment. Beyond the visual appeal, the gentle tickling sensation of micro-bubbles provides a unique micro-massage that refreshes the skin, making this playful ritual a staple for those seeking a radiant and deeply cleansed appearance without leaving the comfort of their home.
Understanding the Effervescent Magic of Bubble Masks
To get the most out of your home spa day, it is helpful to understand how these bubbling treatments function. Typically formulated with specialised ingredients that react to oxygen, bubble masks begin to lather almost immediately upon contact with the air. As the product activates, millions of tiny micro-bubbles are formed, creating a fluffy cushion on the surface of the skin. This foaming action serves a dual purpose: it gently loosens surface impurities, dead skin cells, and excess sebum, whilst simultaneously providing a delicate massage that promotes a healthy-looking glow.
Unlike harsh physical exfoliants that can cause micro-tears on sensitive skin, the bubbling mechanism offers a non-abrasive alternative for clarifying the complexion. It is an excellent choice for anyone looking to revitalise dull skin, minimise the appearance of pores, and enjoy a deeply relaxing, tactile beauty ritual. Whether you choose a wash-off clay-to-bubble formula or a convenient pre-saturated sheet mask, the key to success lies in proper preparation and application techniques.
Step 1: Preparing Your Skin for the Treatment
Any successful skincare ritual begins with a clean canvas. To allow the active elements of the bubble mask to interact effectively with your skin, you must first remove any superficial makeup, dirt, or pollution. Use a gentle, hydrating cleanser and lukewarm water to wash your face thoroughly, then pat the skin dry with a clean, soft towel.
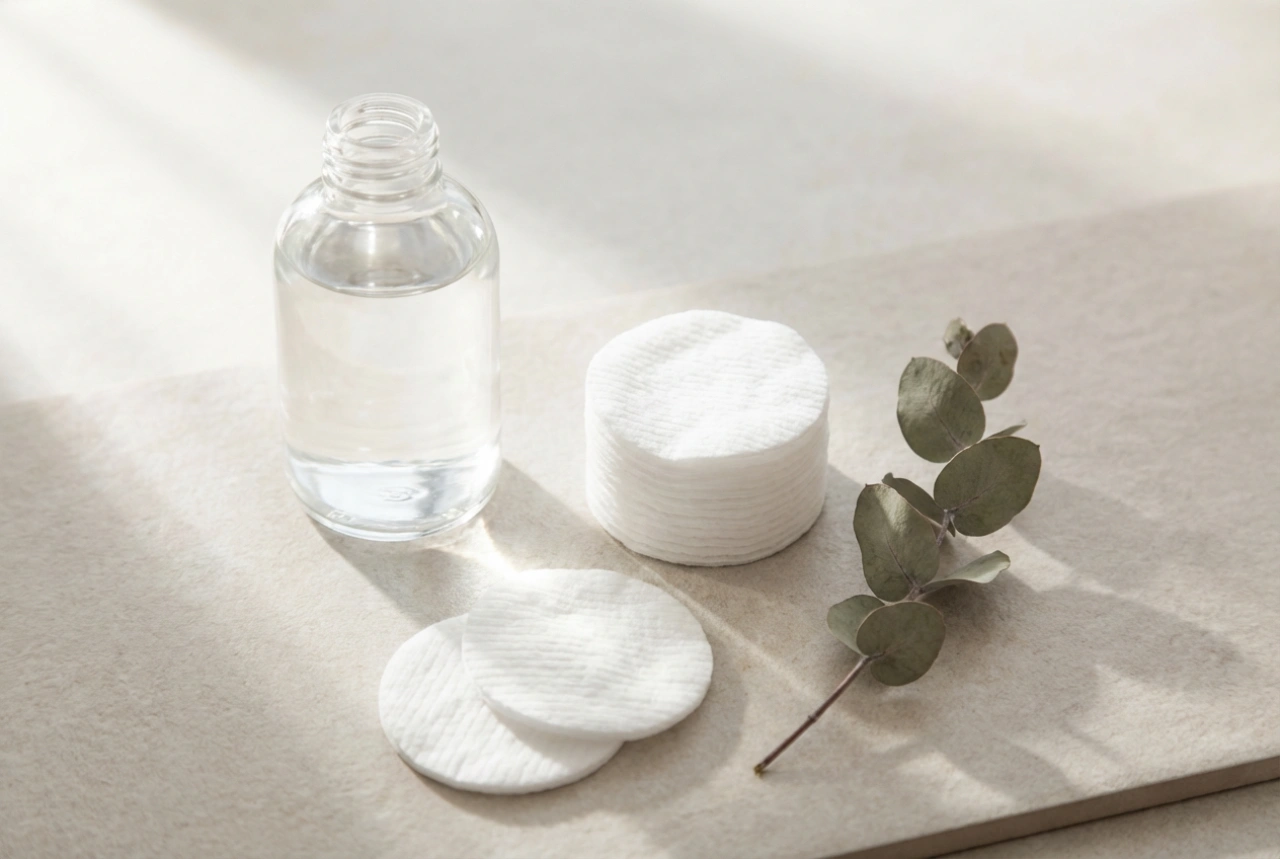
For an enhanced experience, some skincare enthusiasts prefer to use a mild toner after cleansing. A toner helps to balance the skin's pH levels and prepares the surface to receive the full benefits of the mask. Ensure your hands are clean and dry before handling the product, as moisture on your fingers can trigger the bubbling reaction prematurely, reducing the efficacy of the treatment once it is applied to your face.
Step 2: Smooth and Precise Application
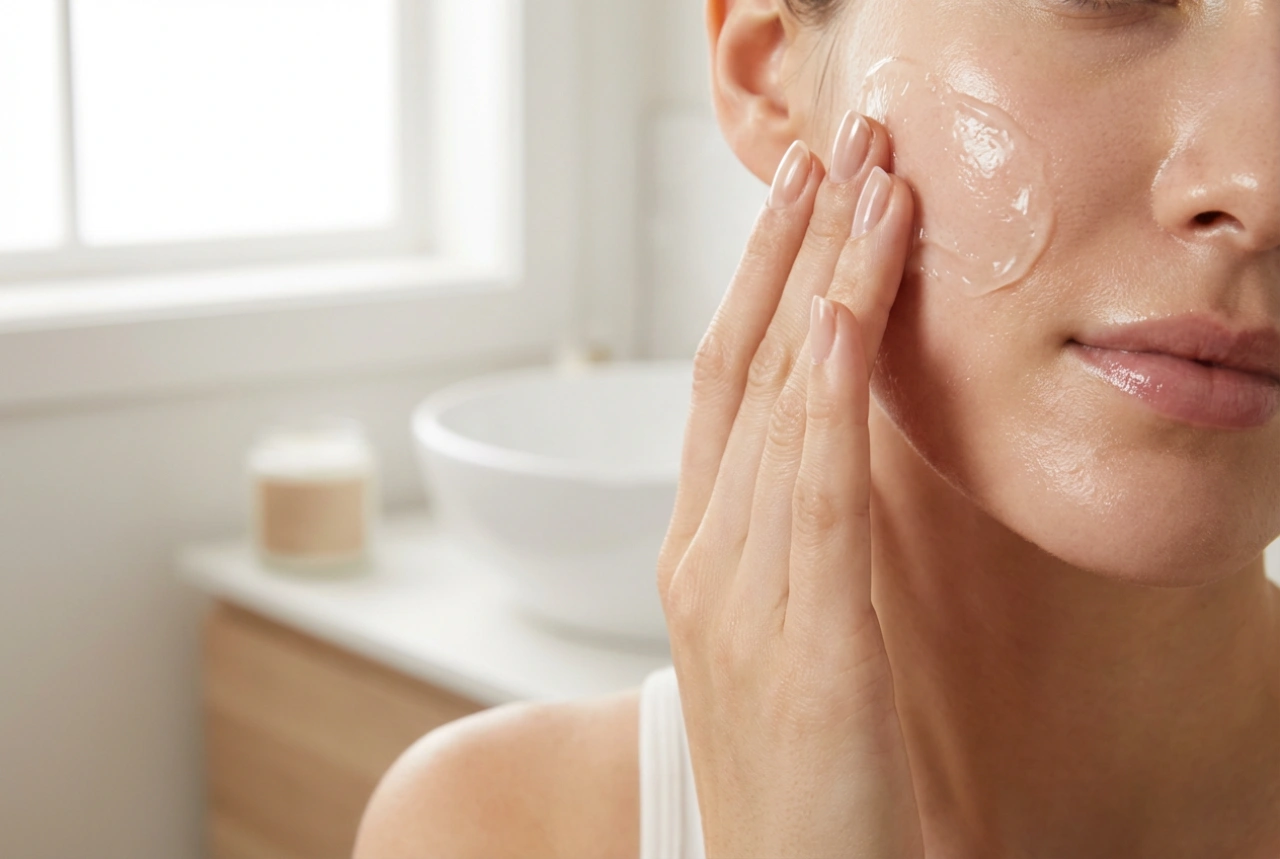
The application method varies slightly depending on whether you are using a liquid-to-foam mask or a sheet mask. For liquid, gel, or clay-based bubble masks, dispense a moderate amount of product onto your fingertips or a clean silicone spatula. Spread an even, thin layer across your face, taking care to avoid the delicate eye area, eyebrows, nostrils, and lips. The bubbles will expand significantly, so leaving a small margin around these sensitive areas ensures that the foam does not accidentally enter your eyes or mouth.
Applying a Bubble Sheet Mask
If you opt for a sheet mask, unfold it carefully and align the pre-cut openings with your eyes, nose, and mouth. Smooth the sheet down onto your skin to ensure complete adherence, pressing out any air pockets. Almost immediately, you will feel a cool, effervescent sensation as the formulation begins to interact with the ambient air, starting its delightful transformation into a cloud of delicate foam.
Step 3: The Ideal Wear Time
Patience is key during any beauty ritual, but with bubble masks, timing is especially important. Generally, these masks are designed to be left on the skin for approximately 5 to 10 minutes, or at most 15 minutes, depending on the specific instructions on the packaging. Once the bubbling action begins, you will feel a soft, tingling tickle. This is completely normal and indicates that the formulation is active and working to lift impurities.
Leaving a bubble mask on for too long can lead to over-cleansing, which may compromise your skin's natural moisture barrier and cause mild dryness or redness. Therefore, it is best to monitor the foam development. Once the bubbling has peaked and the foam begins to feel slightly airy and thin, it is time to proceed to the next step. Always listen to your skin; if you feel any discomfort or excessive warmth, do not hesitate to remove the mask early.
Step 4: Gentle Massage and Thorough Removal
Before rinsing, you can maximise the benefits of the treatment with a simple, relaxing massage. With clean, slightly damp hands, gently massage the remaining foam into your skin using light, circular motions. Focus on areas that are prone to congestion, such as the forehead, nose, and chin. This extra step helps to further loosen dead skin cells and ensures that the nourishing ingredients are thoroughly distributed.
After massaging for about one minute, rinse your face thoroughly with generous amounts of lukewarm water. Avoid using hot water, as this can strip the skin of its essential oils. If you used a clay-based bubble mask, you may need to use a soft, damp washcloth to gently wipe away any stubborn residue. Ensure all traces of the mask are completely removed, paying close attention to the hairline and jawline where foam can sometimes hide.
Post-Mask Care for a Radiant Finish
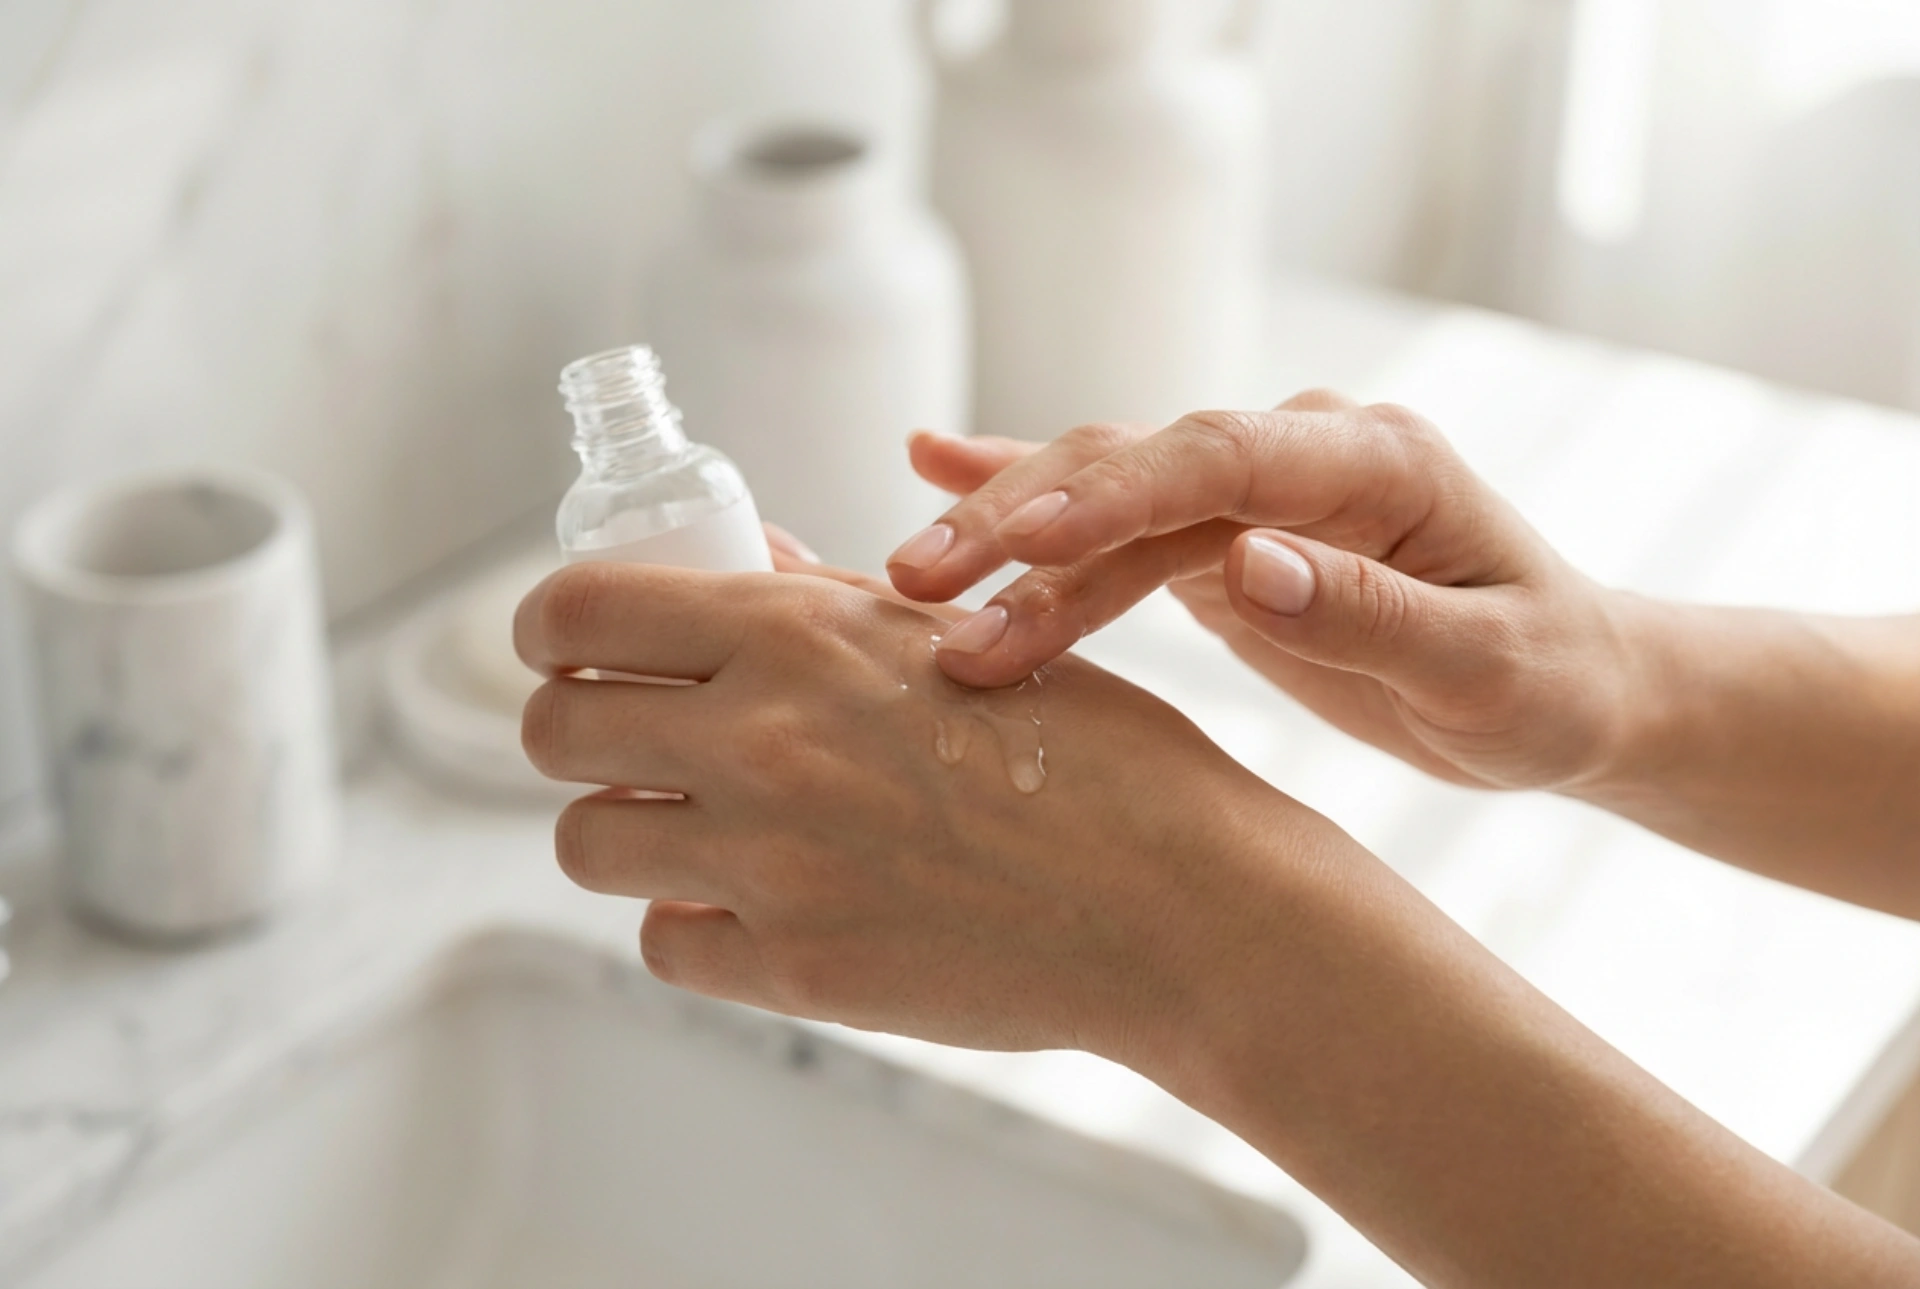
Once your face is completely rinsed and patted dry, your skin will feel exceptionally fresh, clean, and primed to absorb subsequent products. Since bubble masks are deeply purifying, it is crucial to immediately replenish the skin's moisture. Apply a generous layer of your favourite hydrating serum or a lightweight moisturiser to seal in hydration and maintain a soft, supple texture.
Incorporating this effervescent ritual into your weekly skincare schedule—ideally once or twice a week—will help you maintain a refreshed, luminous complexion. It serves as the perfect mid-week pick-me-up or a relaxing weekend treat, combining the practical benefits of deep cleansing with the ultimate, sensory joy of a modern home spa.