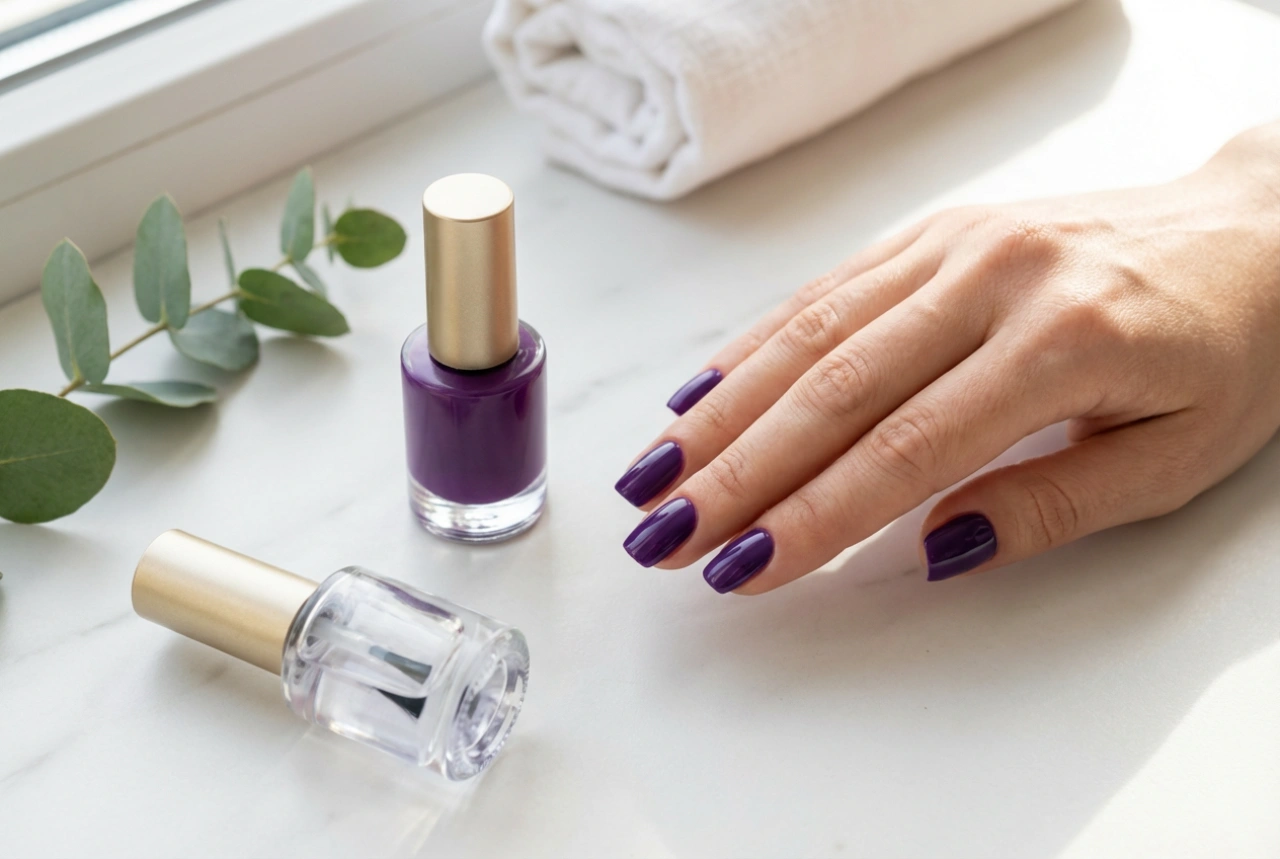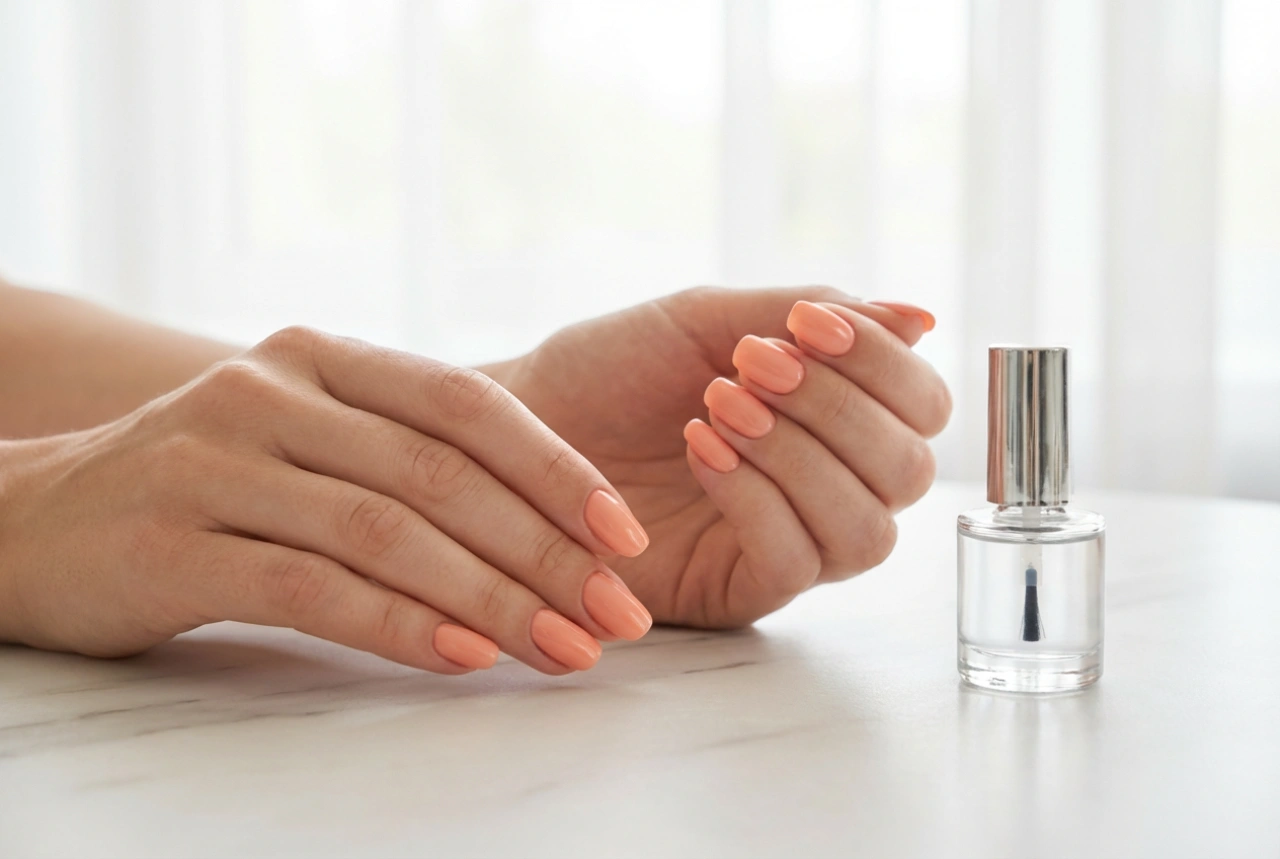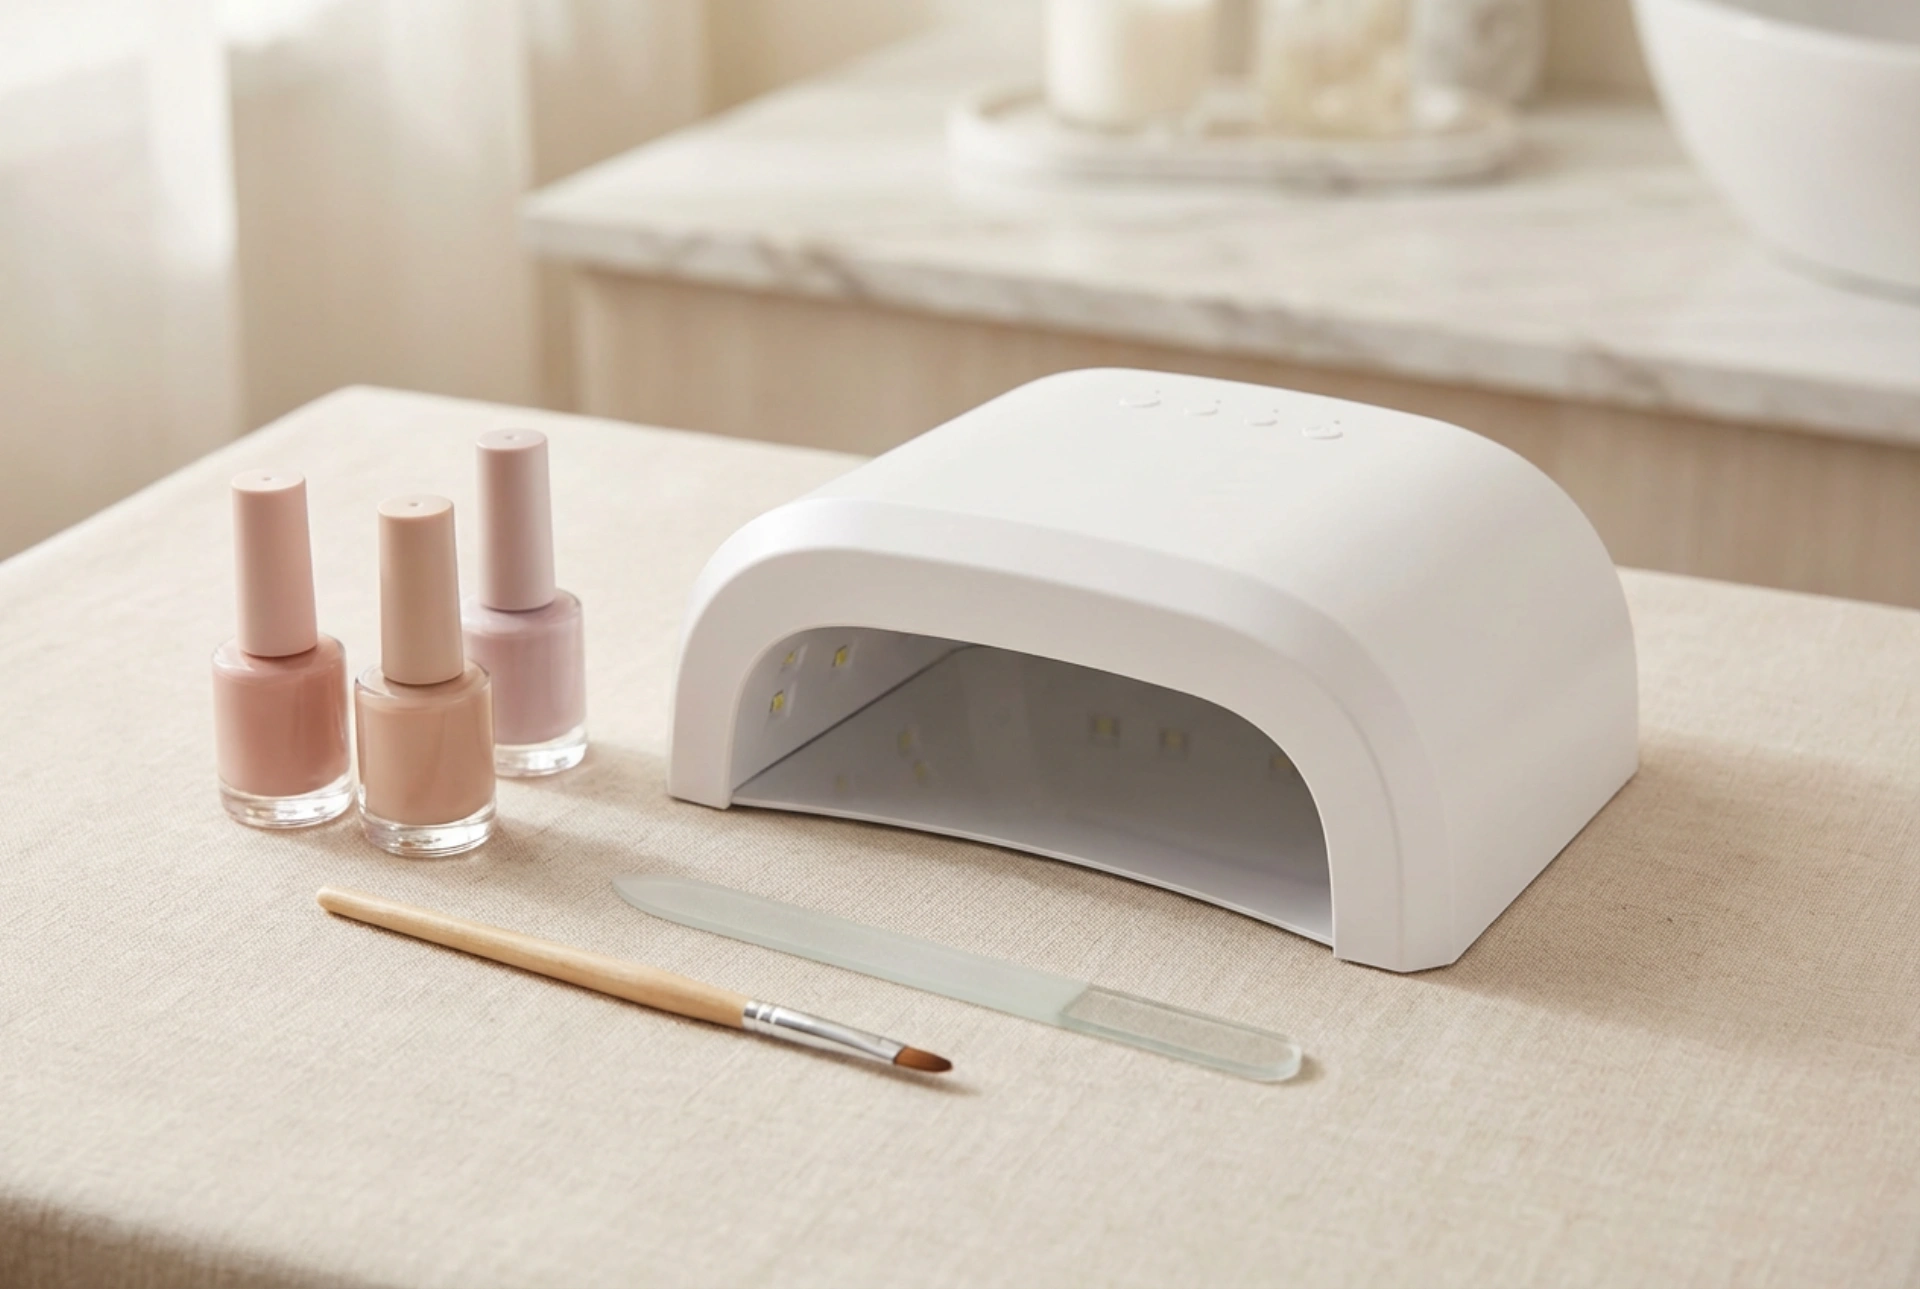


Creating a beautiful manicure at home has become a popular ritual for many beauty enthusiasts. A clean, organised setup featuring a modern LED nail lamp, soft gel polish bottles, a fine brush, and a precise nail file forms the perfect foundation for a refined and accessible hand care routine. Selecting the right equipment, understanding how to use it safely, and mastering the technical aspects of nail styling are key to achieving a long-lasting, elegant finish without relying on frequent salon visits.
Choosing the Right Nail Lamp: UV, LED, and Dual Sources
When assembling your home manicure station, the choice of nail lamp is the most critical decision. Historically, traditional UV lamps were the standard, utilising fluorescent bulbs that emitted a wide spectrum of light. While effective, they required longer curing times and regular bulb replacements. Modern technology has largely replaced these with LED (Light Emitting Diode) lamps and dual UV/LED lamps, which are highly efficient and durable.
LED lamps emit a narrower wavelength of light that cures specific gel formulas much faster, often in as little as thirty seconds. However, some traditional gel products only respond to UV light. To offer the best of both worlds, dual-source UV/LED lamps have become the industry standard. These lamps combine light wavelengths (typically 365nm and 405nm), ensuring compatibility with almost all gel polishes, builder gels, and top coats available on the market today. Investing in a dual-source lamp provides maximum versatility and future-proofs your home beauty collection.
Understanding Wattage: How Much Power Do You Need?
The power of a nail lamp, measured in watts, directly influences how quickly and thoroughly a gel product cures. When browsing for a lamp, you will encounter options ranging from low-power travel devices to high-wattage professional models. Understanding how power levels affect the manicure process is essential for making an informed purchase.
- Low Power (6W to 24W): These compact, lightweight lamps are excellent for travel or quick touch-ups. However, due to lower power output, they require significantly longer curing times. They may also struggle to fully cure highly pigmented or thick builder gels, which can lead to premature peeling.
- Medium Power (36W to 48W): Considered the ideal balance for at-home manicures, these lamps offer an optimal balance between curing speed and energy consumption. They cure most gel layers efficiently within thirty to sixty seconds, reducing the risk of under-curing.
- High Power (54W and above): Often used in busy settings, these lamps cure products incredibly quickly. While efficient, very high-power lamps can sometimes cause a rapid chemical reaction known as a heat spike, which produces a temporary burning sensation on the nail plate. Many modern high-power lamps include a "low heat mode" to mitigate this effect.
Curing Times and Best Practices for a Perfect Finish
Achieving a flawless, chip-resistant manicure depends heavily on respecting correct curing times. Each layer of product—from the base coat to the final top coat—requires a specific exposure duration to ensure proper polymerisation. Under-curing leaves the product soft and unstable, while over-curing can make the gel brittle and prone to cracking.
As a general guideline, a standard base coat requires about thirty seconds in a medium-power LED lamp. Colour coats, which contain pigments that block light transmission, usually need sixty seconds per thin layer to cure fully. Finally, the top coat requires a solid sixty seconds to seal the manicure and provide a high-shine, protective barrier. Always apply thin, even coats; thick layers prevent light from penetrating to the bottom, leaving uncured gel underneath that can compromise the health of your natural nails.
Essential Accessories for Your Home Nail Kit
While the nail lamp is the heart of your setup, several essential accessories are required to achieve a professional-looking result. Having these tools neatly organised on your workspace ensures a smooth and relaxing application process.
- Nail Files and Buffers: Proper nail preparation is crucial. A gentle buffer removes the natural shine from the nail plate, allowing the base coat to adhere properly, while a high-quality file shapes the free edge.
- Cleanser and Wipes: Lint-free wipes soaked in a professional cleaner are essential for removing oil and dust before application, and for wiping away the sticky inhibition layer after the final cure.
- Cuticle Tools: Wooden orange sticks or metal pushers help gently clear the nail plate of excess cuticle growth, ensuring the gel polish does not touch the surrounding skin.
- Nail Brushes: Fine detail brushes are excellent for cleaning up any polish that accidentally touches the skin before curing, as cured gel on the skin can cause premature lifting.
Maintenance and Safe Operation of Your Equipment
To ensure your nail lamp remains efficient and safe to use over time, simple maintenance routines should be followed. Over time, dust from filing and accidental gel spills can accumulate inside the lamp chamber. Regularly wiping the interior with a soft, slightly damp cloth or a small amount of isopropyl alcohol keeps the reflective surfaces clean, ensuring the light is distributed evenly across all fingers.
Additionally, always ensure your hands are dry before plugging in the device, and avoid looking directly at the light source while the lamp is active. By maintaining a clean workspace and following manufacturer guidelines, your home nail styling setup will remain a safe, hygienic, and highly satisfying part of your self-care routine.