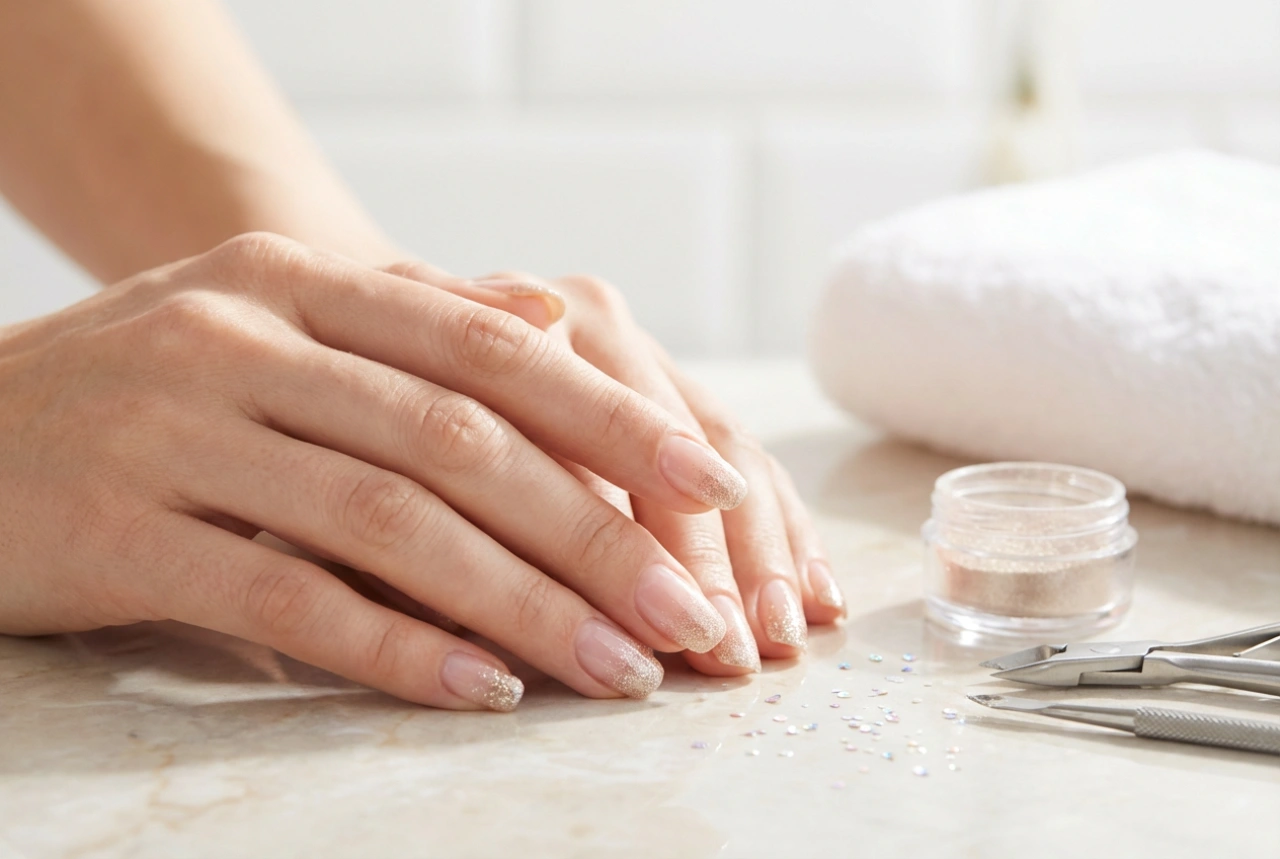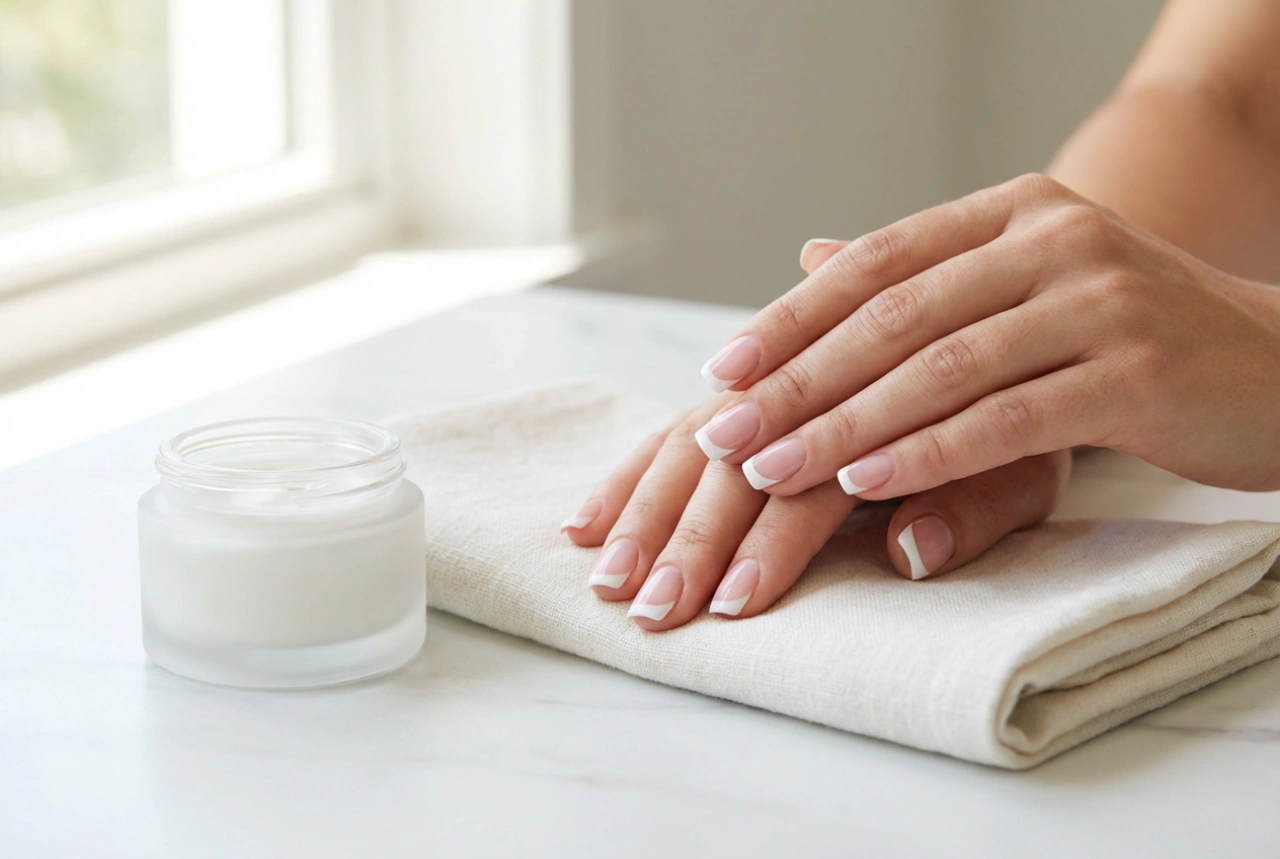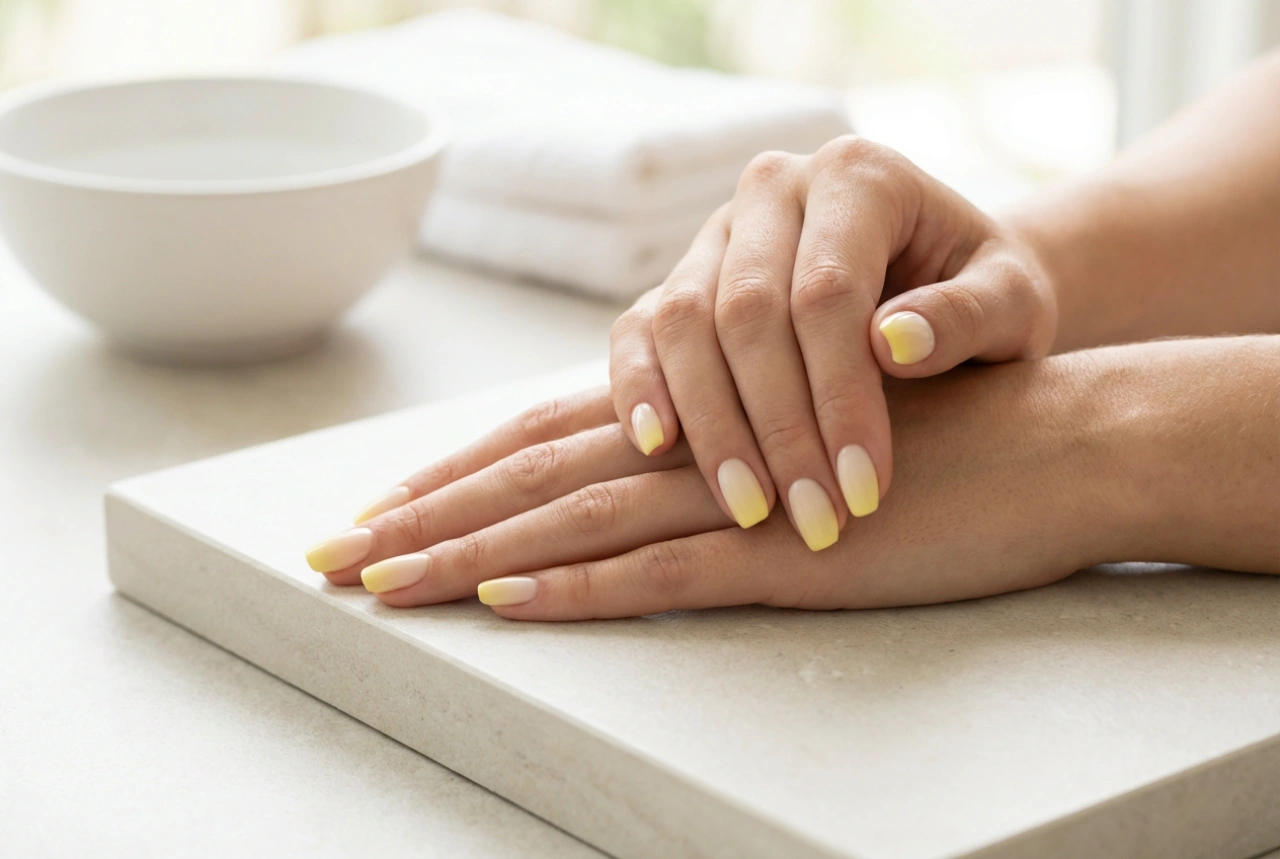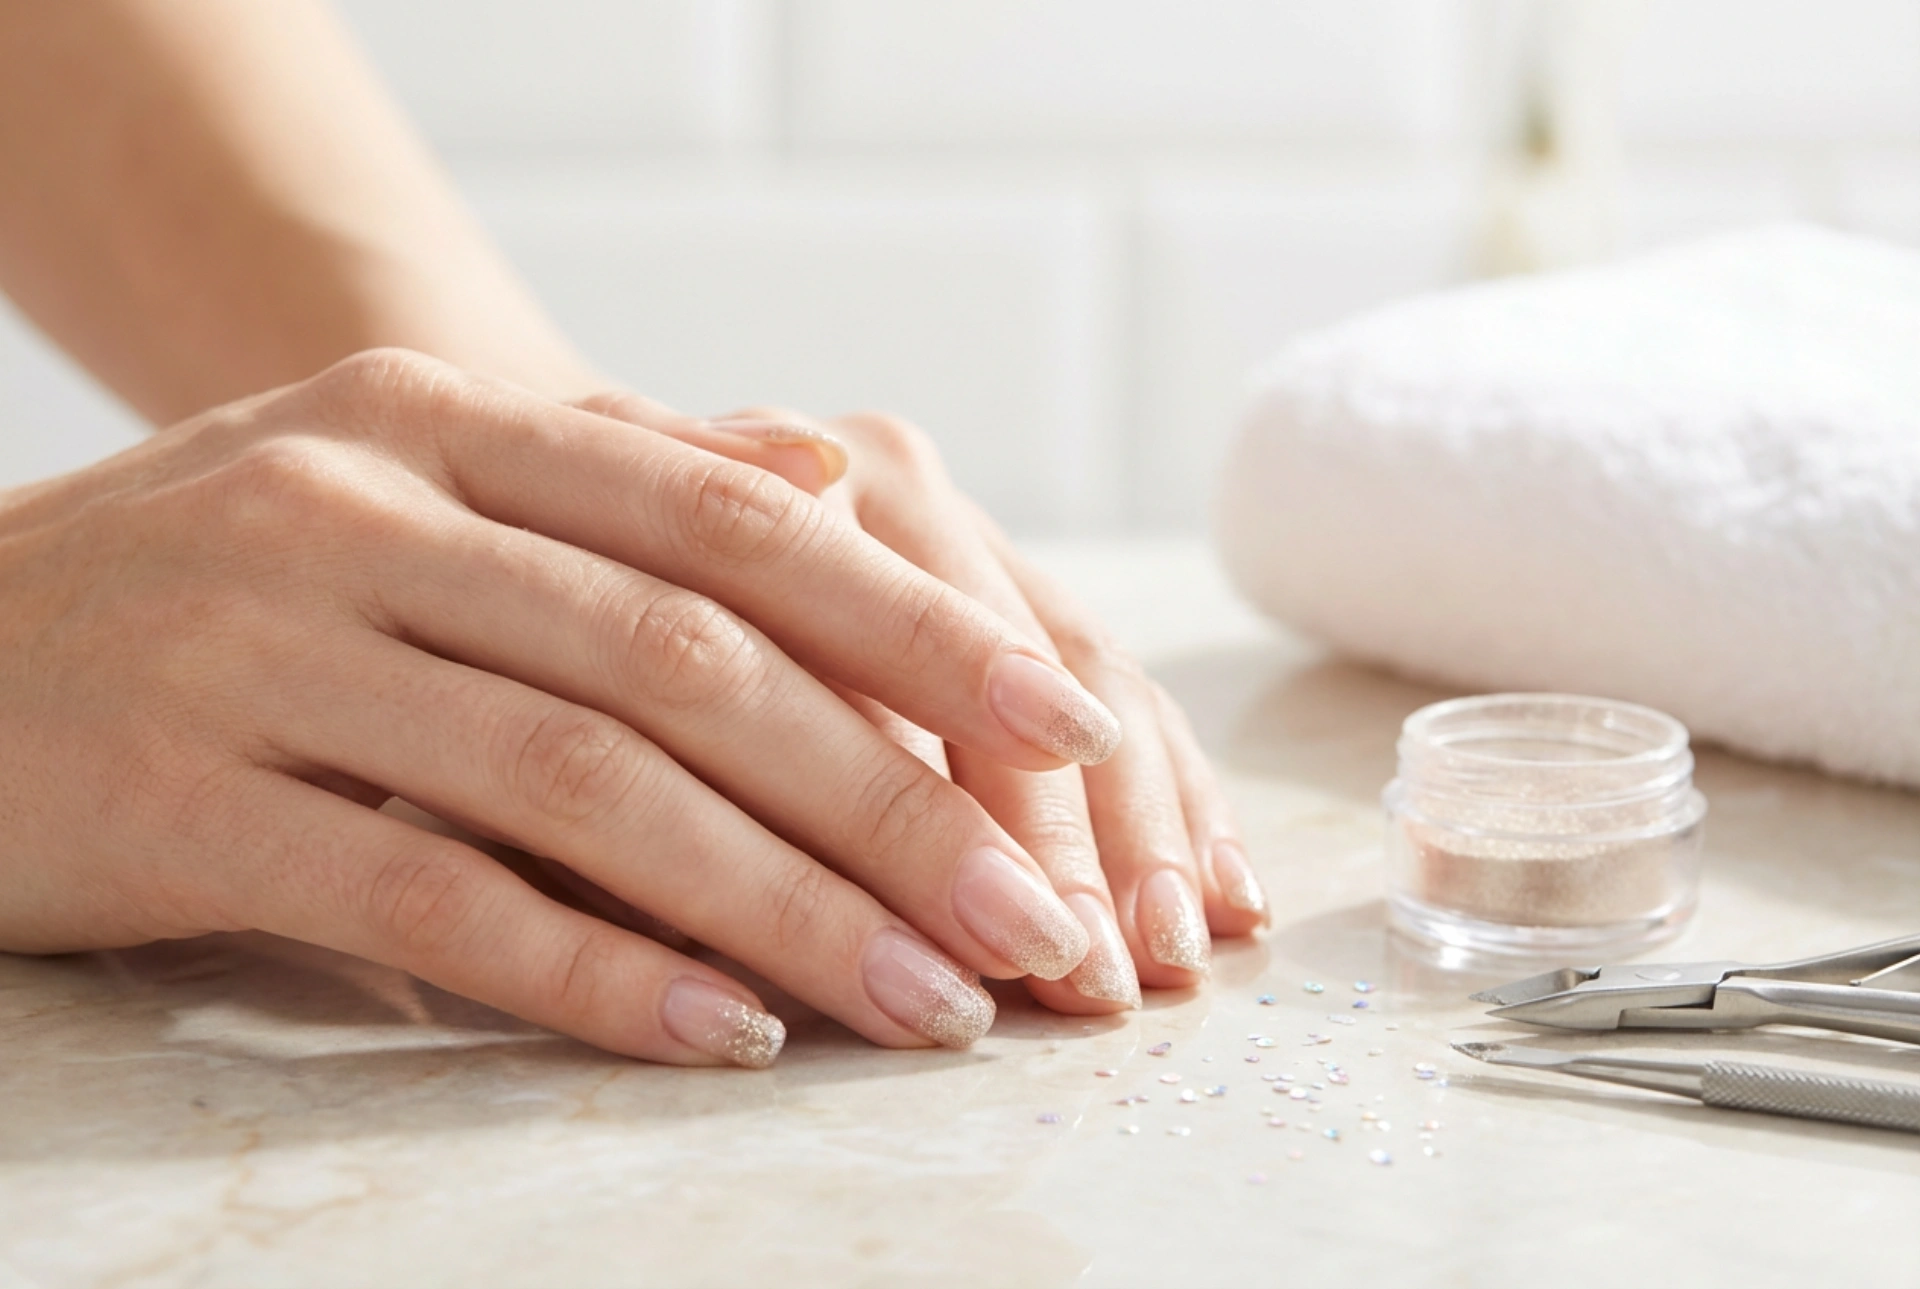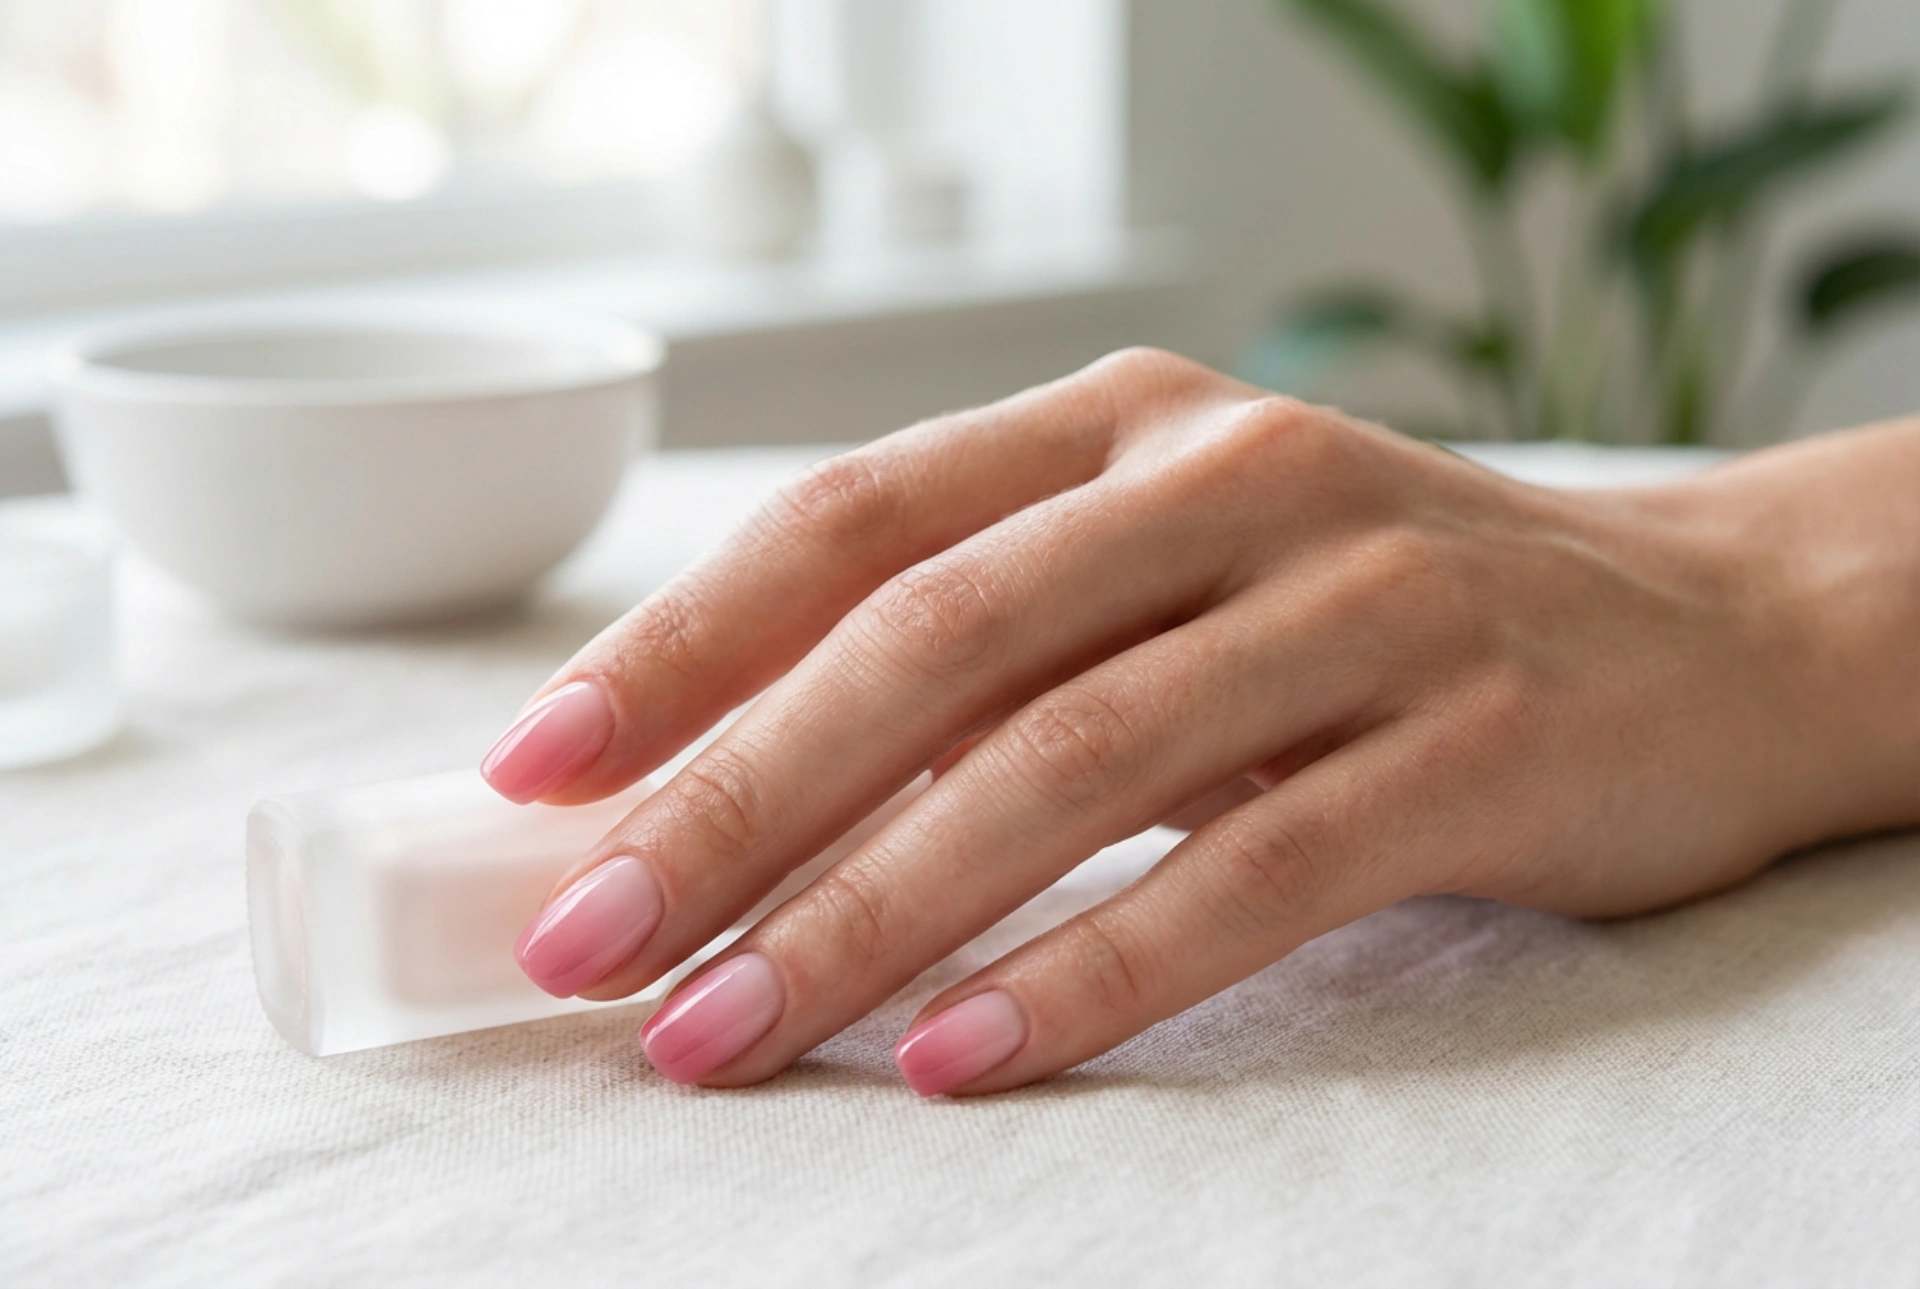


A flawless pink ombré manicure is the epitome of elegance, offering a soft, transition of colour that complements any hand. When executed perfectly, the seamless gradient from a delicate pale pink to a richer, deeper rose shade creates an effortlessly polished look. However, achieving this smooth blend at home without leaving behind unsightly sponge textures or streaks can sometimes feel challenging. Fortunately, with the right preparation and a simple blending technique, you can easily replicate this sophisticated style in the comfort of your own home.
Preparing Your Canvas for a Smooth Blend
The key to any successful manicure, particularly one involving gradients, lies in thorough preparation. Any unevenness on the nail surface will be magnified once the ombré effect is applied. To ensure a sleek result, start by shaping your nails and gently pushing back the cuticles. Lightly buffing the nail plate helps to create a uniform surface that allows the polish to adhere better.
Applying the Base Layer
Never skip the base coat, as it protects your natural nails and prevents staining. Once dry, apply a solid foundation layer. For a pink ombré, a highly opaque white or a very pale pastel pink acts as the perfect base. This base layer makes the subsequent pink shades pop and prevents the natural nail colour from peeking through, which can ruin the gradient effect. Ensure this base layer is completely dry before proceeding to the next step.
The Sponge Technique: Step-by-Step
Using a makeup sponge is the most reliable way to achieve a soft gradient. However, using a dry sponge can absorb too much polish and leave behind tiny air bubbles or a textured finish. To avoid this, follow this refined sponge technique:
- Dampen the sponge: Lightly moisten a latex-free makeup sponge with water and squeeze out all excess moisture. It should feel barely damp. This prevents the sponge from soaking up too much nail polish.
- Apply the polish lines: Paint parallel horizontal stripes of your chosen pink polishes directly onto the edge of the sponge. Start with the lightest shade and transition to the darkest. The stripes should slightly overlap to begin the blending process.
- Gentle dabbing: Gently press the sponge onto the nail, moving it slightly up and down to blend the boundaries between the colours. Do not press too hard, as this can create bubbles.
- Build up in layers: One layer will not be enough. Allow the first layer to dry for a minute, then repeat the sponging process. Two to three thin layers will yield a rich, streak-free gradient.
Expert Secrets to Avoiding Streaks
Many struggle with visible lines or a patchy appearance when trying ombré designs. To ensure your transition is completely seamless, pay close attention to the consistency of your nail polishes. Formulas that are too thick or dry too quickly will not blend well. Opt for creamy, moderately fluid polishes that allow a few seconds of blending time on the nail.
The Role of the Top Coat
The ultimate secret to a streak-free ombré is the top coat. While the sponge application may initially look a bit textured or matte, a generous layer of a high-quality, glossy top coat will work wonders. The top coat acts as a blending agent, melting the different shades of pink together and smoothing out any minor imperfections or sponge marks. Apply the top coat while the final gradient layer is still slightly damp for the best blending results.
Maintaining Your Elegant Pink Ombré
Once you have achieved the perfect gradient, protecting your design is essential. Apply a thin layer of top coat every few days to prevent chipping and maintain that high-shine finish. Additionally, keeping your hands and cuticles moisturised with a nourishing oil will beautifully frame your newly styled, elegant nails, ensuring they look fresh and professional for longer.