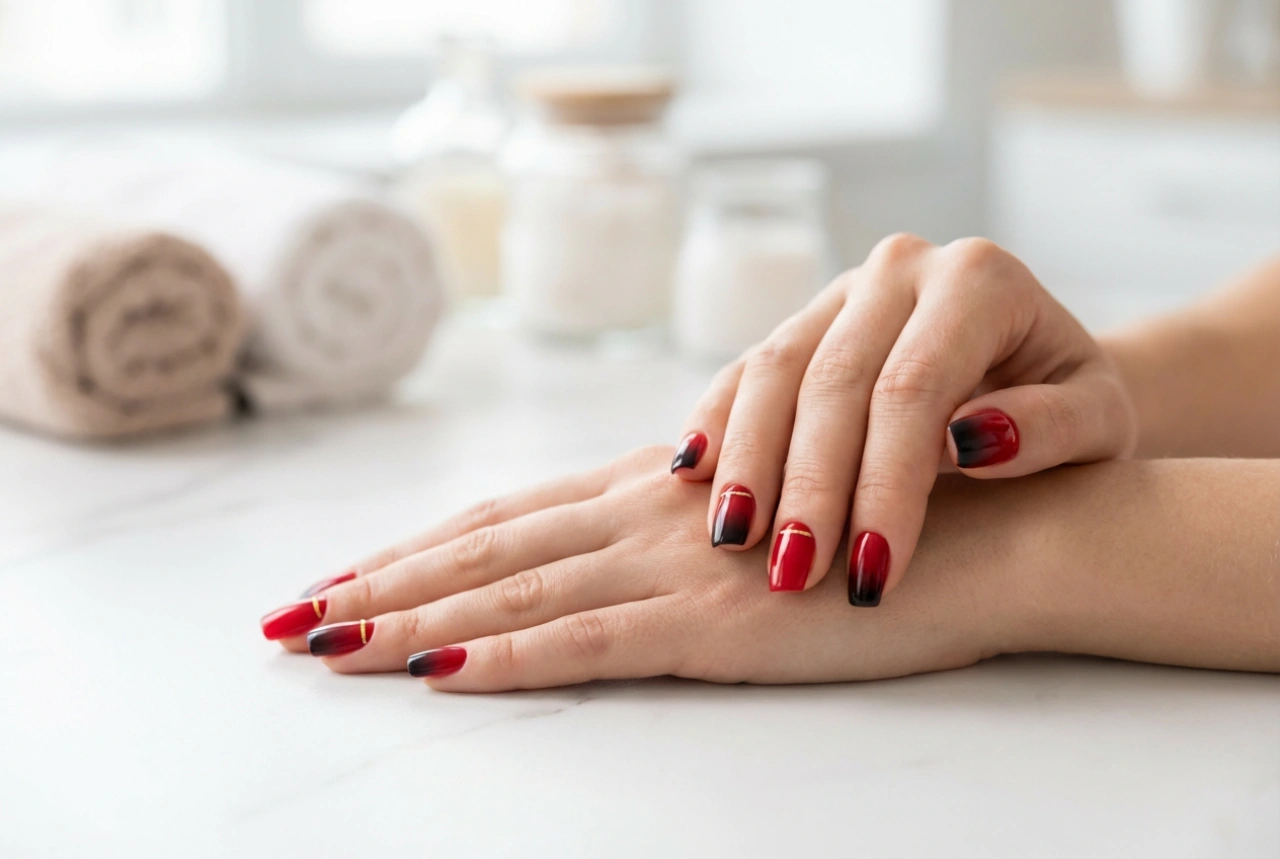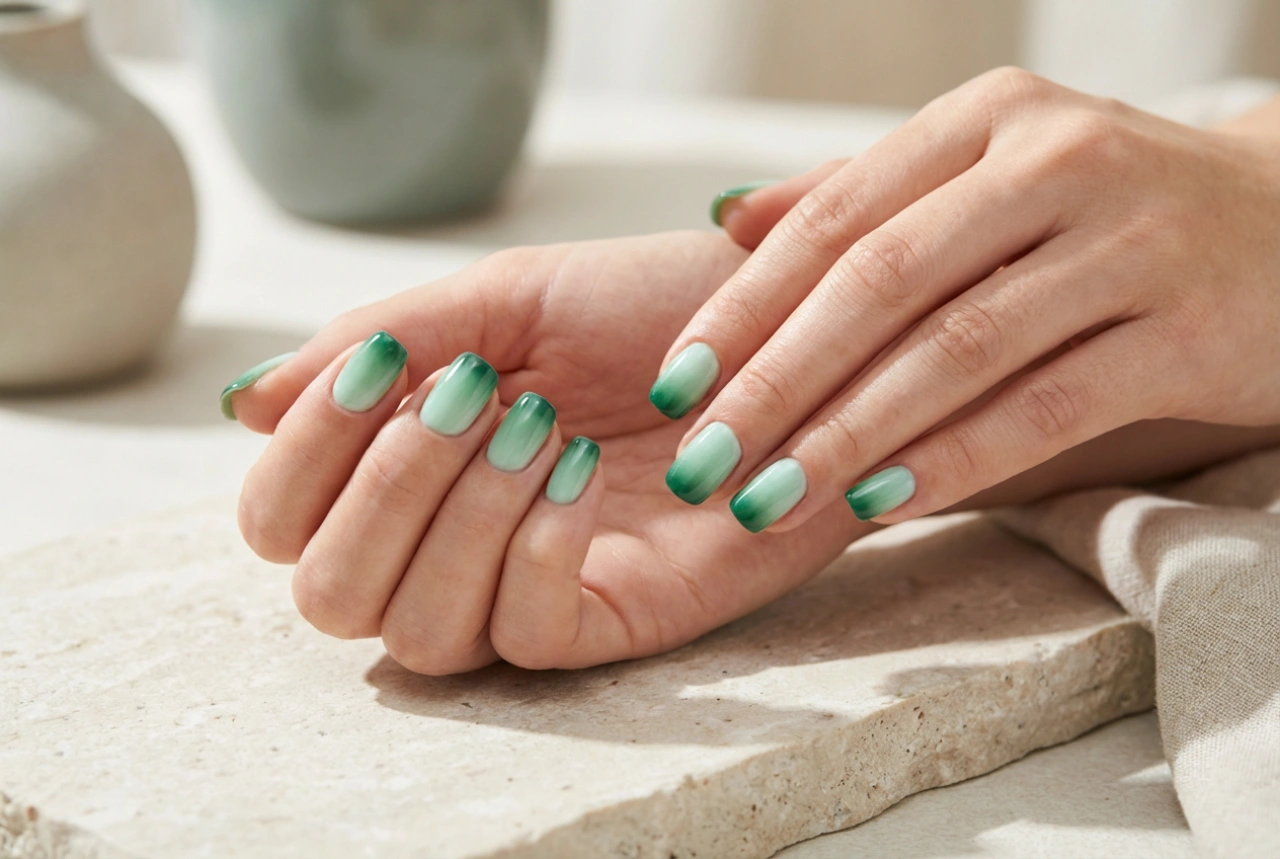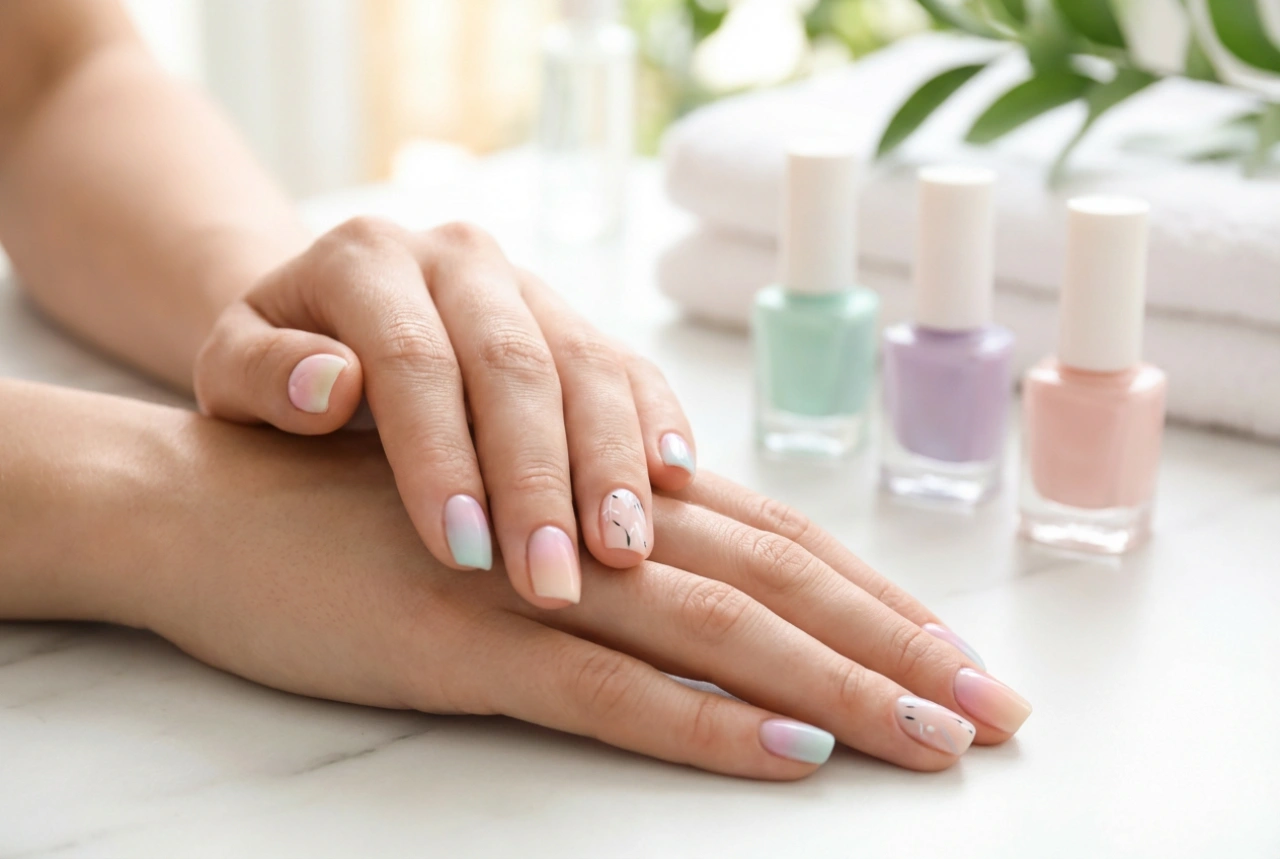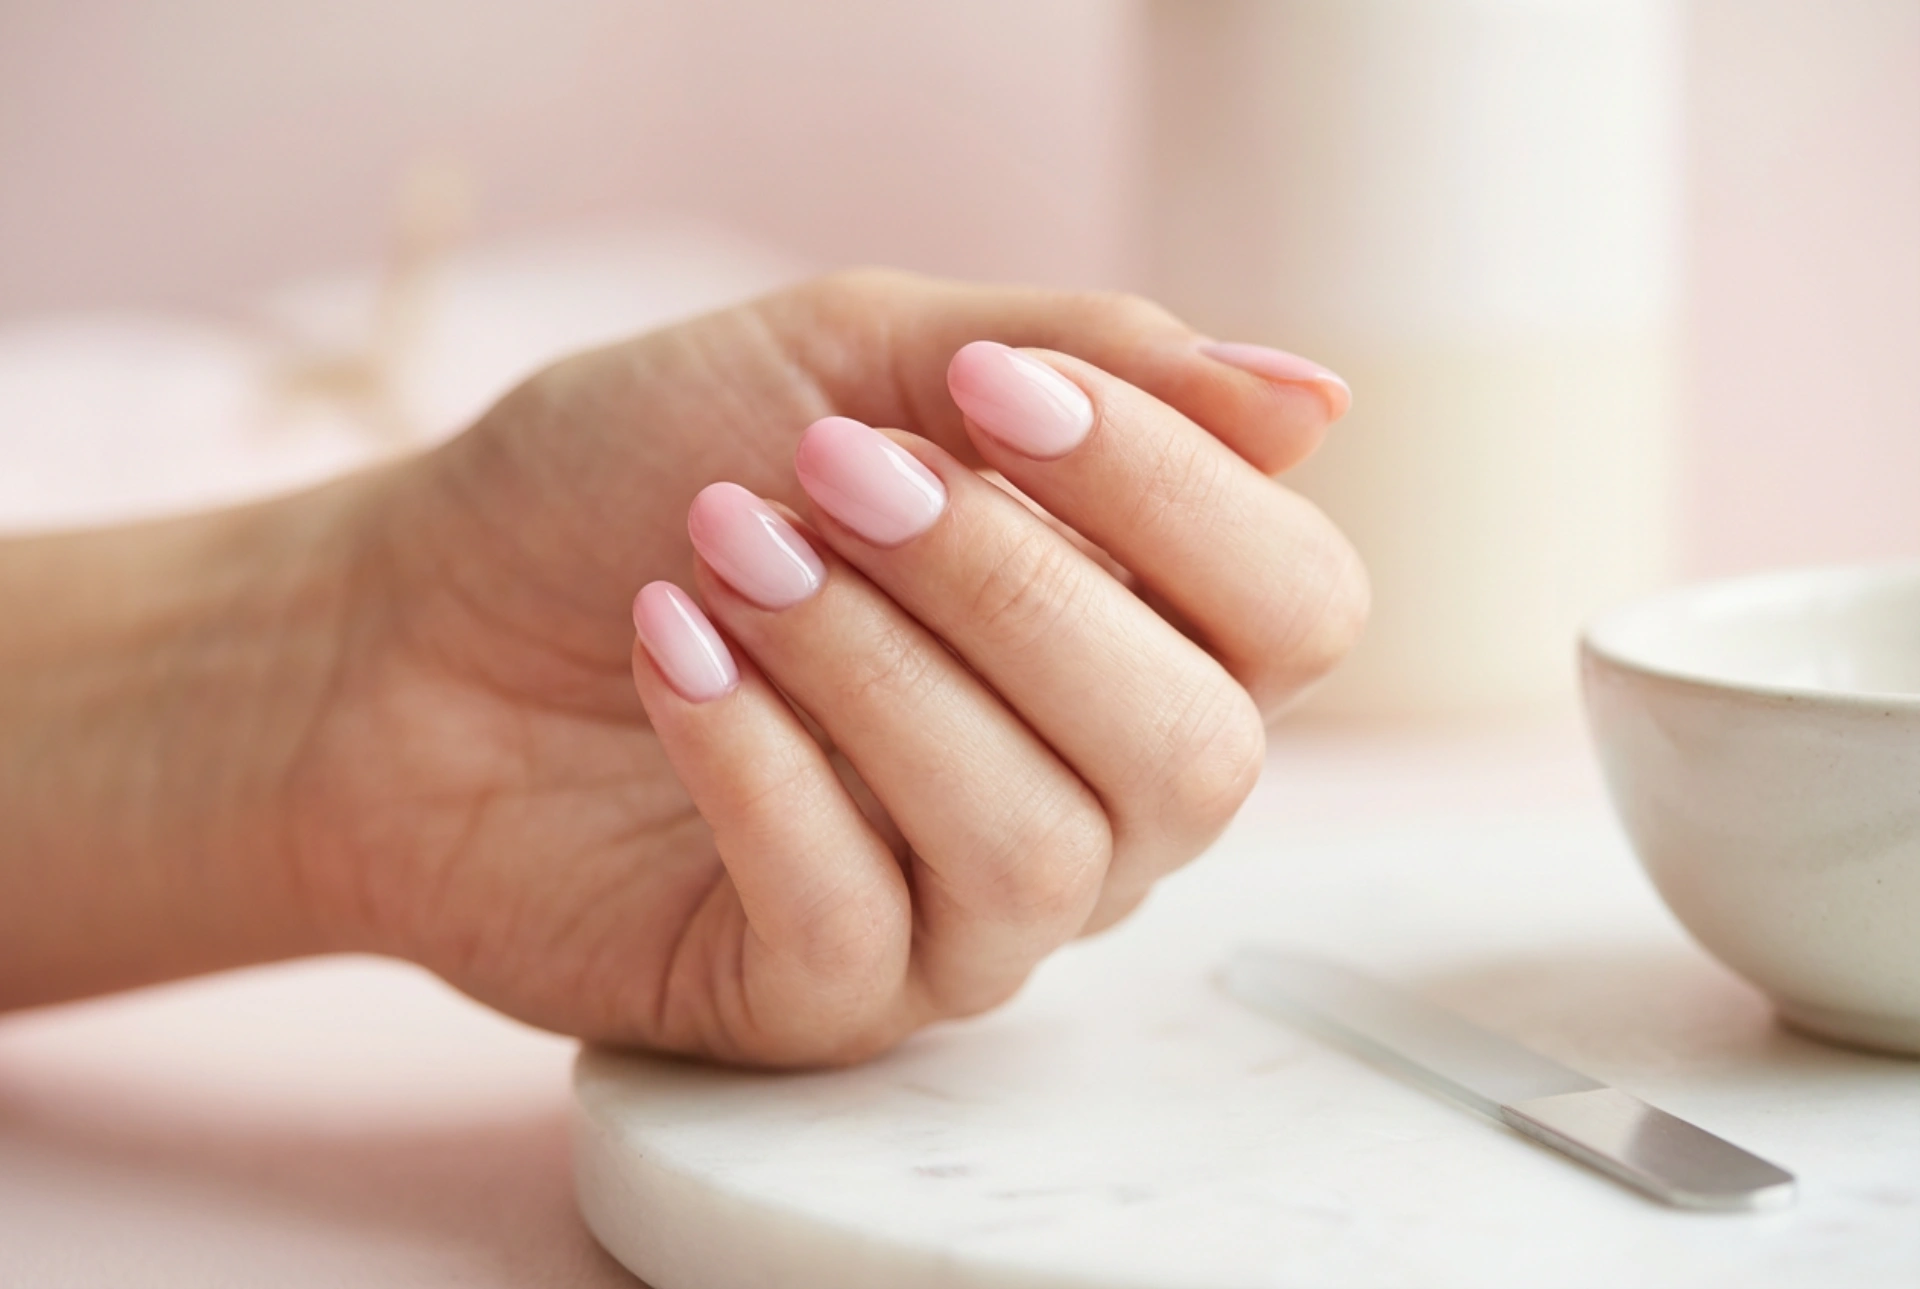


A beautifully manicured hand with delicate pink ombre nails offers a fresh, elegant, and modern beauty aesthetic. The soft transition of hues captures natural light perfectly, making it one of the most versatile and sophisticated choices for everyday elegance or special occasions. Recreating this seamless gradient at home is highly rewarding and surprisingly simple once you master the foundational techniques. By understanding how to blend shades smoothly, you can achieve a professional-looking finish that elevates your overall style.
Preparing the Nails for a Perfect Gradient
Before applying any colour, preparing the nail plate is the most critical step to ensure longevity and a smooth finish. Any unevenness on the nail surface can disrupt the gradient flow, making the transition look patchy rather than seamless.
- Nail Shaping: Begin by filing your nails into your preferred shape. Oval, almond, or soft square shapes work exceptionally well with ombre designs, as they complement the soft, flowing nature of the gradient.
- Cuticle Care: Gently push back the cuticles using a wooden stick. Clean and tidy cuticles provide a neat frame for your manicure and make the blending process near the nail bed much easier.
- Base Coat Application: Apply a thin, even layer of a protective base coat. This not only protects the natural nail from staining but also provides a smooth surface for the coloured polishes to adhere to.
The Classic Sponge Technique
The sponge method remains the most popular and accessible way to achieve a flawless pink ombre effect at home. Using a simple make-up sponge or a dedicated nail art sponge helps to diffuse the colours beautifully, creating a soft transition.
Step 1: The Base Colour
Apply a solid base coat using the lightest shade of pink or a neutral nude colour. Allow this layer to dry completely before moving on to the next step. This base shade serves as the foundation and ensures the gradient colours appear vibrant.
Step 2: Preparing the Sponge
Take a small, clean piece of a wedge-shaped make-up sponge. Lightly moisten the sponge with water and squeeze out any excess. Dampening the sponge prevents it from absorbing too much polish, ensuring more product is transferred onto the nail surface.
Step 3: Applying the Polish to the Sponge
Paint horizontal stripes of your chosen pink shades directly onto the edge of the sponge. For a classic look, start with the lighter pink at the bottom (closer to the cuticle side) and the darker pink at the top. Ensure the stripes slightly overlap on the sponge to begin the blending process.
Step 4: Dabbing and Blending
Gently press the sponge onto your nail, moving it slightly up and down to blend the boundaries between the colours. Avoid pressing too hard, as this can create air bubbles. Repeat this process in thin layers, allowing each layer to dry slightly before applying the next, until you reach your desired opacity.
Alternative Methods: The Brush Ombre
If you prefer a method that does not involve sponges, using a brush is an excellent alternative. This technique requires a steady hand but offers precise control over the colour transition.
To try the brush ombre, apply the lighter pink polish on one half of the nail and the darker pink on the other half while both are still wet. Using a damp, flat ombre brush or a fine-bristled fan brush, gently sweep across the dividing line in a light, zig-zag motion. This blends the wet polishes directly on the nail, creating a soft, artistic transition. Wipe the brush regularly to avoid transferring too much dark polish into the lighter area.
Inspiring Pink Ombre Variations
Pink is an incredibly versatile colour category, allowing you to experiment with various moods and styles depending on the shades you select.
- The Classic Baby Boomer: A timeless combination of soft pastel pink transitioning into a clean, soft white at the tips. This style mimics the natural nail's appearance but with a modern, elegant twist.
- Peachy Pink Warmth: Blending a delicate baby pink with a warm peach shade creates a cheerful, sun-kissed look that is perfect for spring and summer.
- Monochromatic Pink Gradient: Transitioning from a deep raspberry or rose gold hue at the tips down to a pale cotton-candy pink at the base offers a sophisticated, monochromatic depth.
Pro Tips for a Flawless Finish
To elevate your home manicure and make it look as though it was crafted by an expert, keep these simple tips in mind during the process.
Always seal your design with a generous layer of a glossy top coat. The top coat plays a functional role in the ombre process by pulling the blended layers together and smoothing out any texture created by the sponge. Apply the top coat while the ombre layer is still slightly tacky to facilitate the ultimate blend.
Additionally, protect the skin around your nails before you begin. You can apply a barrier cream or tape around the nail edges. Once finished, use a small brush dipped in mild polish remover to clean up any stray polish for clean, sharp edges that frame your beautiful gradient perfectly.