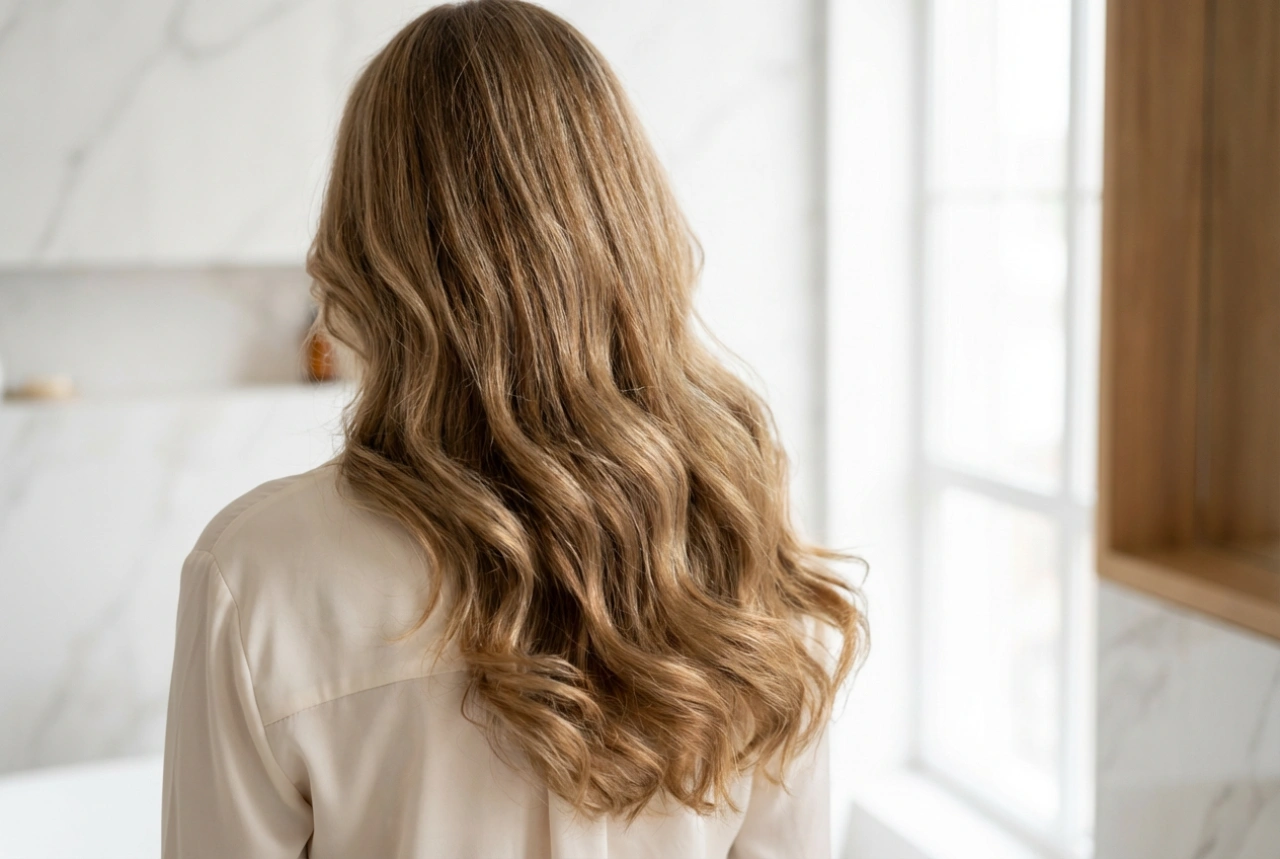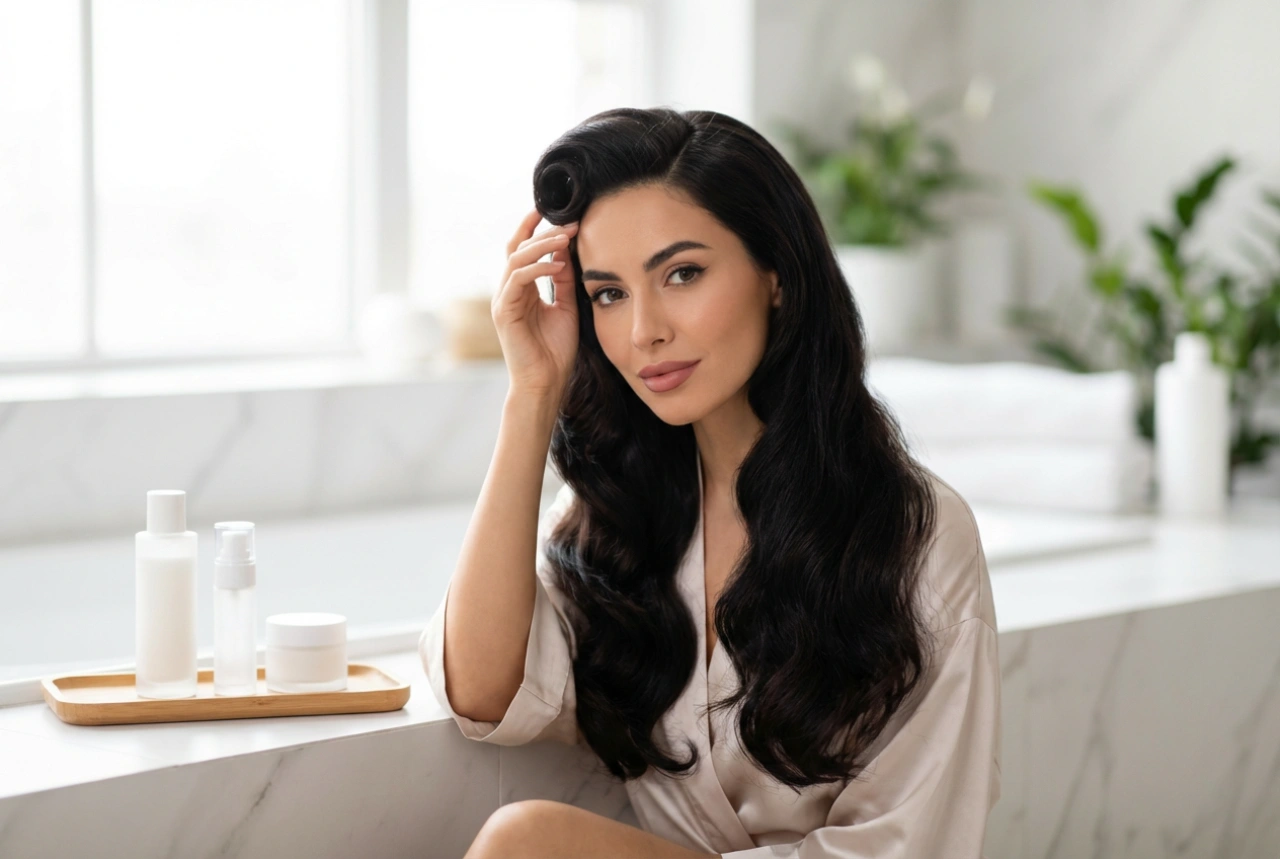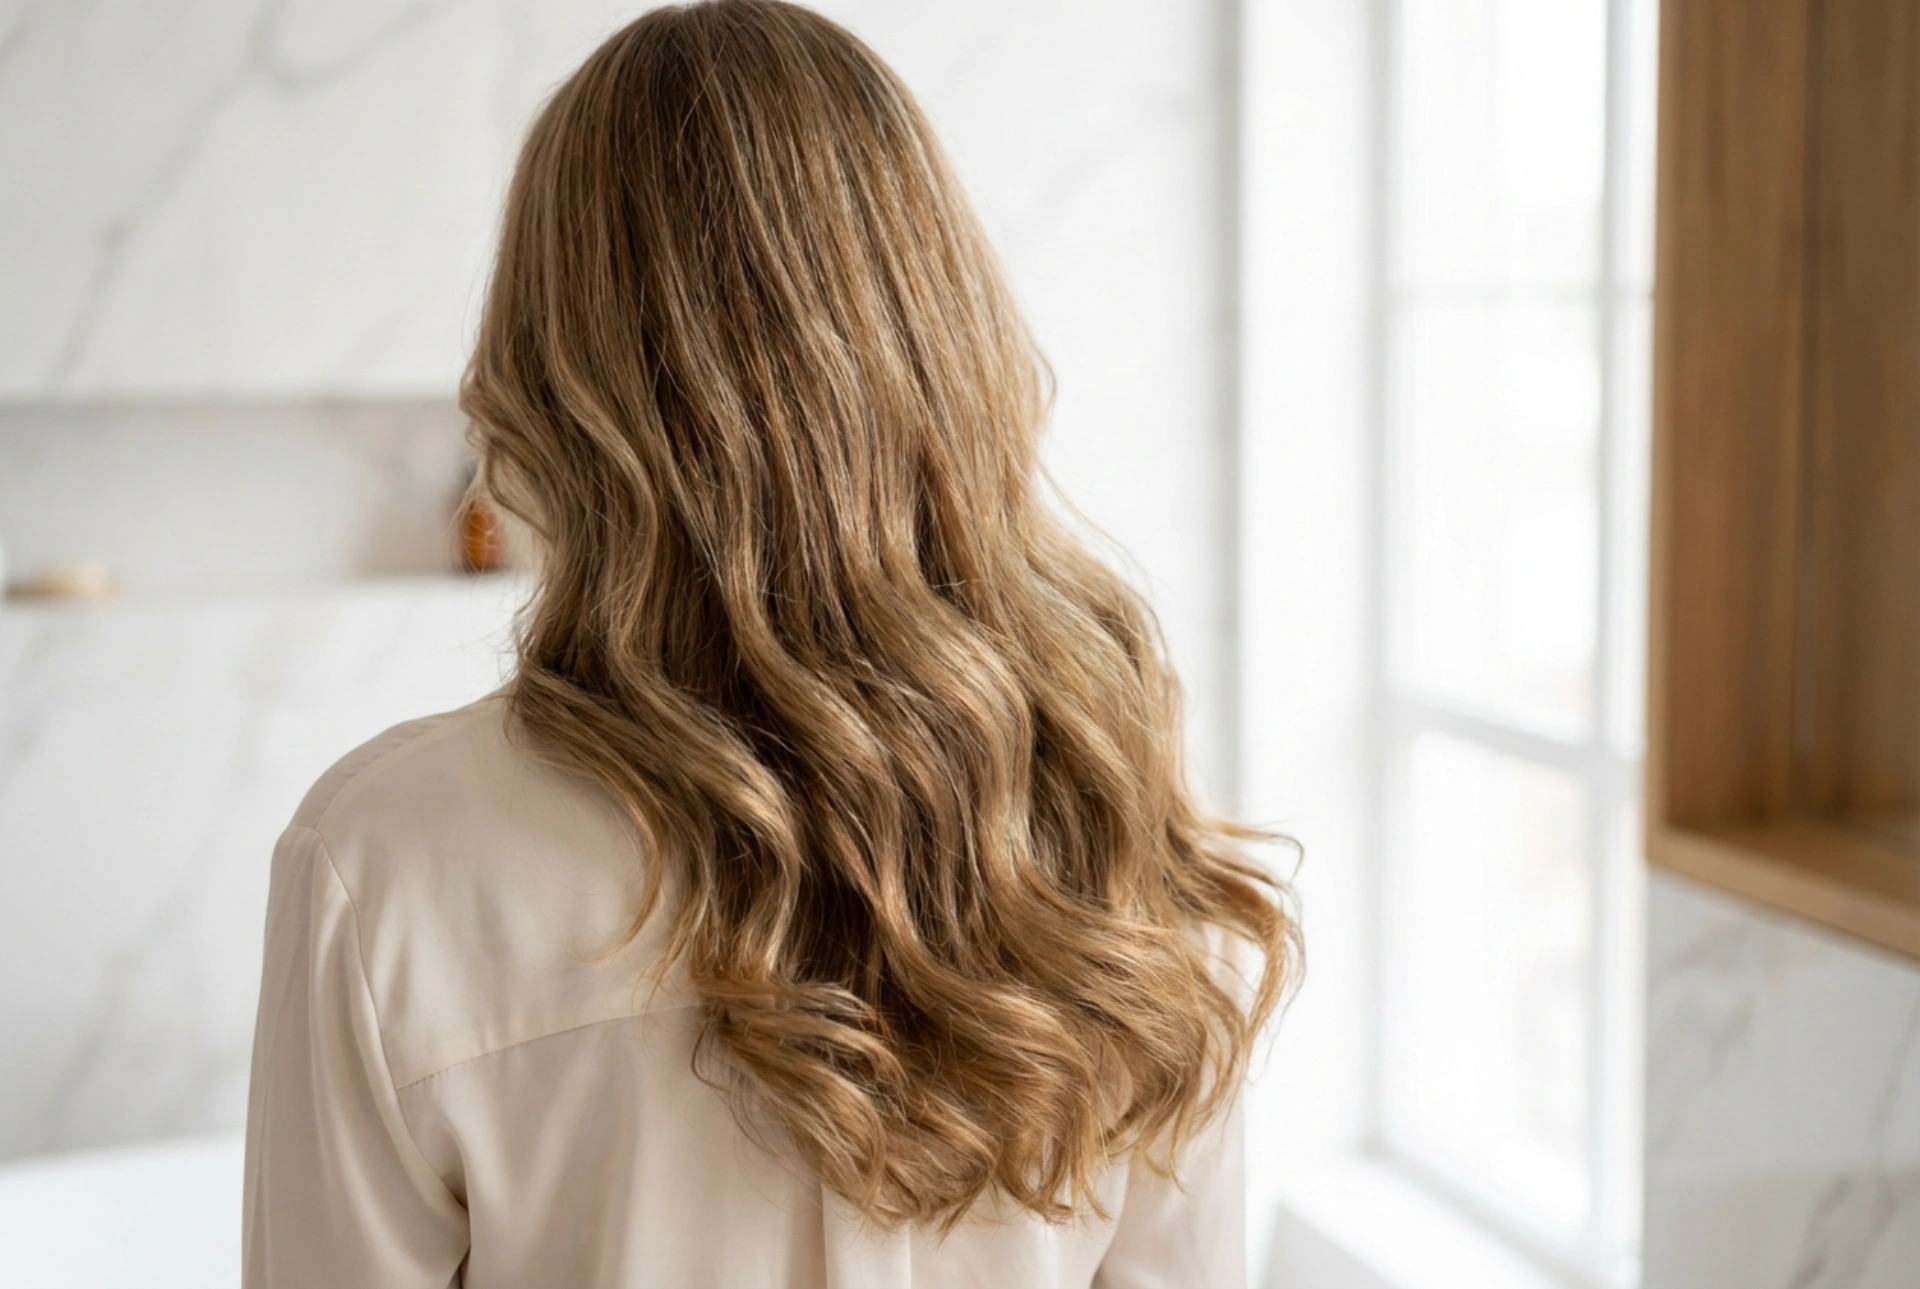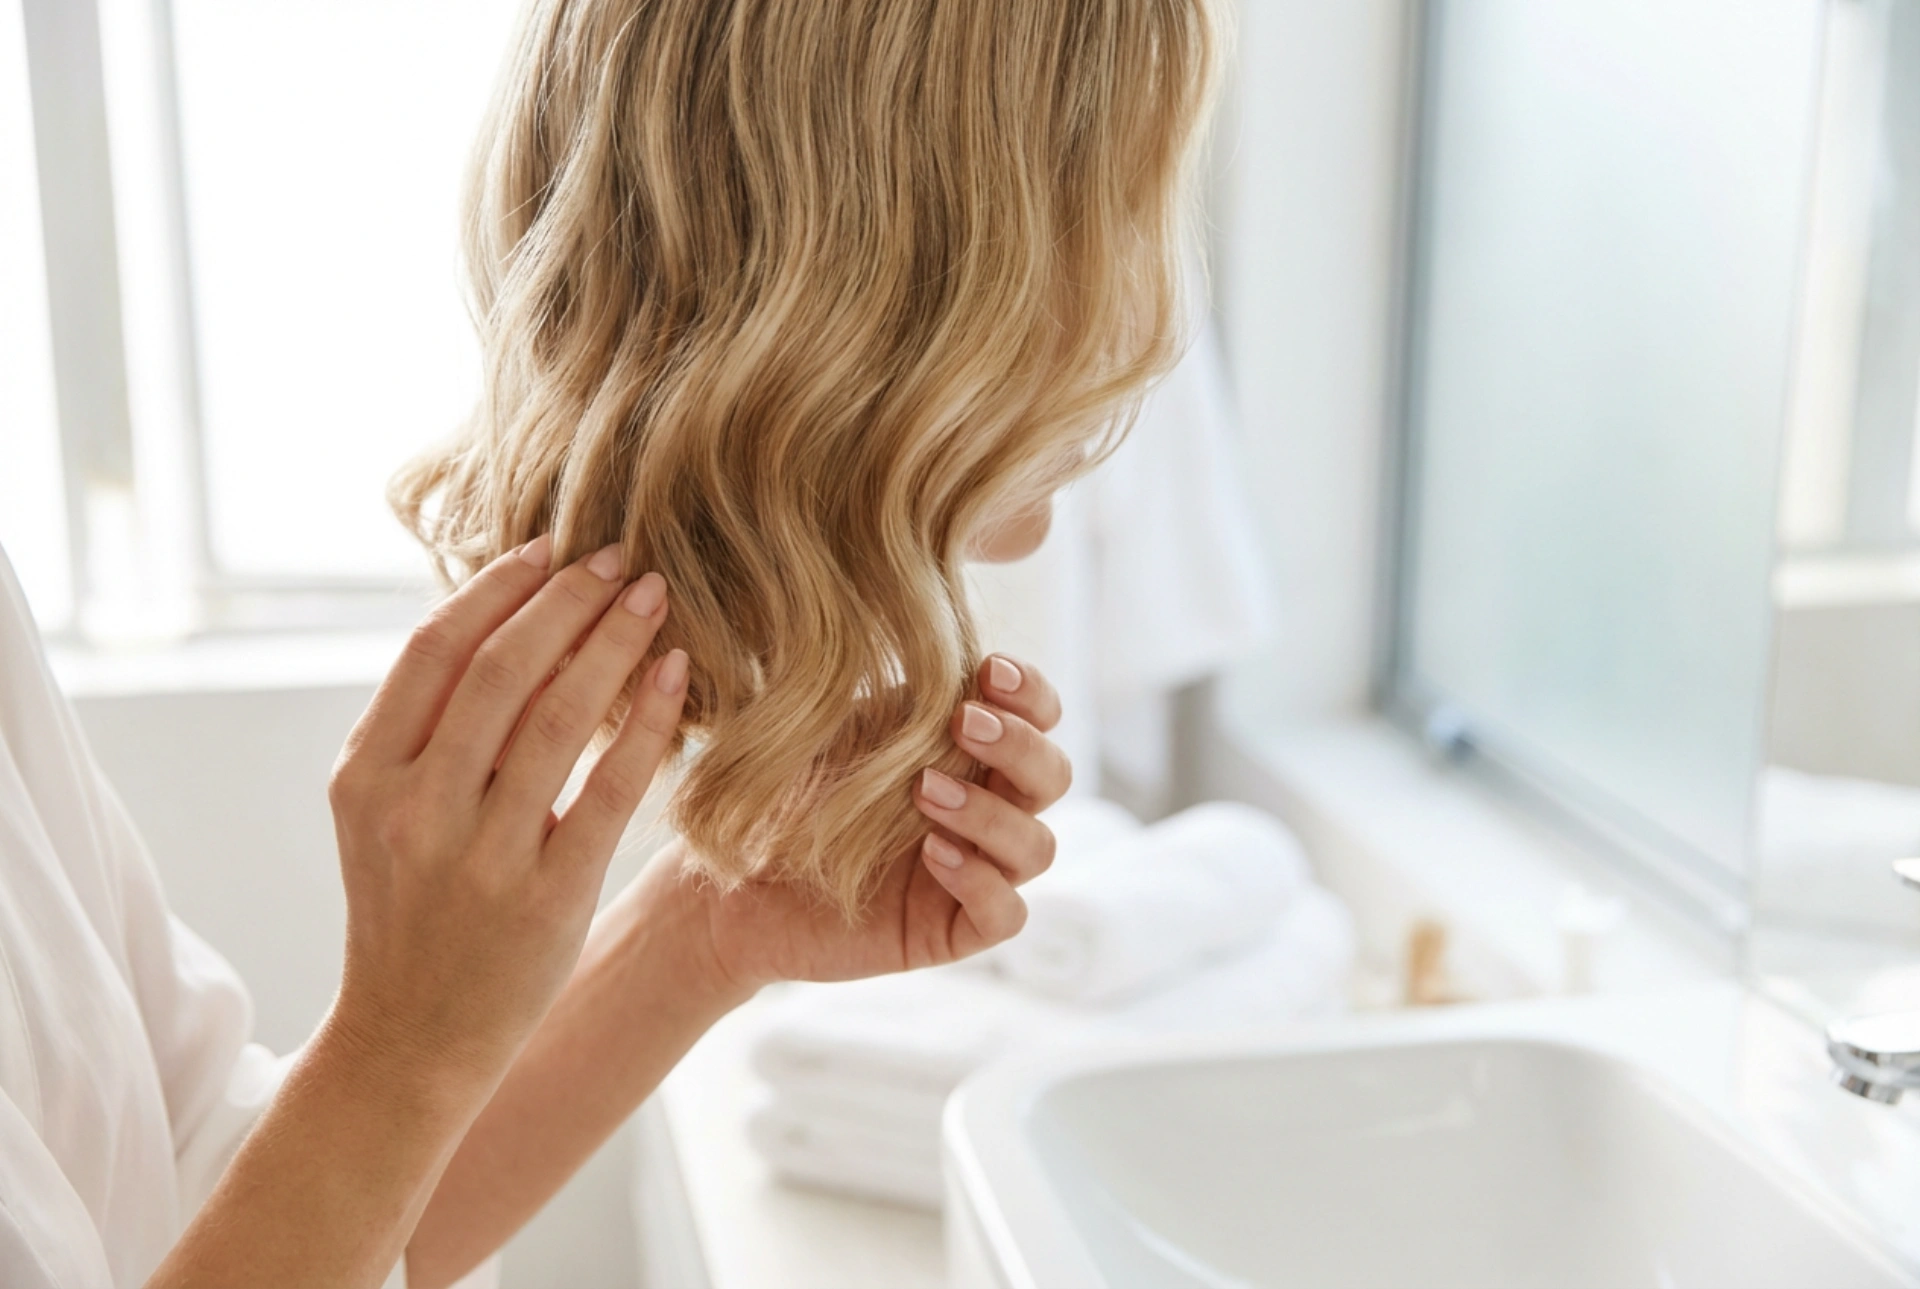


Creating soft, textured waves on shorter hair lengths is an effortless way to elevate your everyday look. While styling short locks can sometimes feel limiting, using a hair waver is a simple and effective method to achieve natural-looking S-waves. The gentle motion of shaping short strands into soft curves brings out the hair's natural flow and volume. With the right technique and a bit of practice, you can transform your hair into a polished, modern hairstyle that exudes relaxed elegance in just a few minutes.
Why a Hair Waver Works Wonders for Short Hair
Traditional curling irons can sometimes make short hair look too structured or excessively coiled. In contrast, a hair waver creates a continuous "S" pattern that mimics natural, beachy movement. This tool is particularly brilliant for bob and lob cuts because it adds texture without significantly reducing the length of your hair. By shaping the hair in flat, uniform sections, a waver builds subtle volume right from the roots, giving fine or flat hair a much-needed boost of life.
Essential Prep for Flawless Waves
To ensure your S-waves last throughout the day without damaging your hair, preparation is key. Always start with completely dry hair, as styling wet or damp strands with high heat can lead to structural damage and frizz.
- Apply a lightweight heat protectant spray evenly from roots to tips to shield your hair from high temperatures.
- If your hair is naturally fine, mist a volumising spray or apply a small amount of styling mousse before blow-drying to provide extra grip.
- Detangle your hair thoroughly with a gentle brush to ensure the waver glides smoothly without snagging.
Step-by-Step Technique for Short Waves
Achieving the perfect wave pattern on short hair requires a slightly different approach than styling longer locks. Follow these simple steps for a natural finish:
Divide and Conquer
Divide your hair into two or three horizontal sections, pinning the top layers away. Working with smaller, manageable sections ensures even heat distribution and a more defined wave.
Position the Waver
Take a small section of hair, about two inches wide. Hold the waver horizontally, close to the roots but not touching the scalp. Clamp down gently for a few seconds.
Work Downwards
Release the clamp and move the tool down the hair section, aligning the top barrel of the waver with the last curve you just created. This ensures a seamless, continuous wave without awkward kinks.
Leave the Ends Straight
For a modern, lived-in look, leave the last half-inch of your hair uncurled. This simple trick prevents short hair from looking too round or old-fashioned.
Setting and Personalising Your Look
Once you have waved all sections, resist the temptation to touch your hair immediately. Let the waves cool completely to set the pattern. Once cool, gently run your fingers or a wide-tooth comb through the waves to break them up into a softer, more integrated look. Avoid using a fine brush, which can create unwanted frizz. To finish, mist a light-hold texturising spray or a touch of flexible hairspray to lock in the volume and movement. If you want a bit of extra definition, work a tiny drop of hair oil through the very tips of your hair.