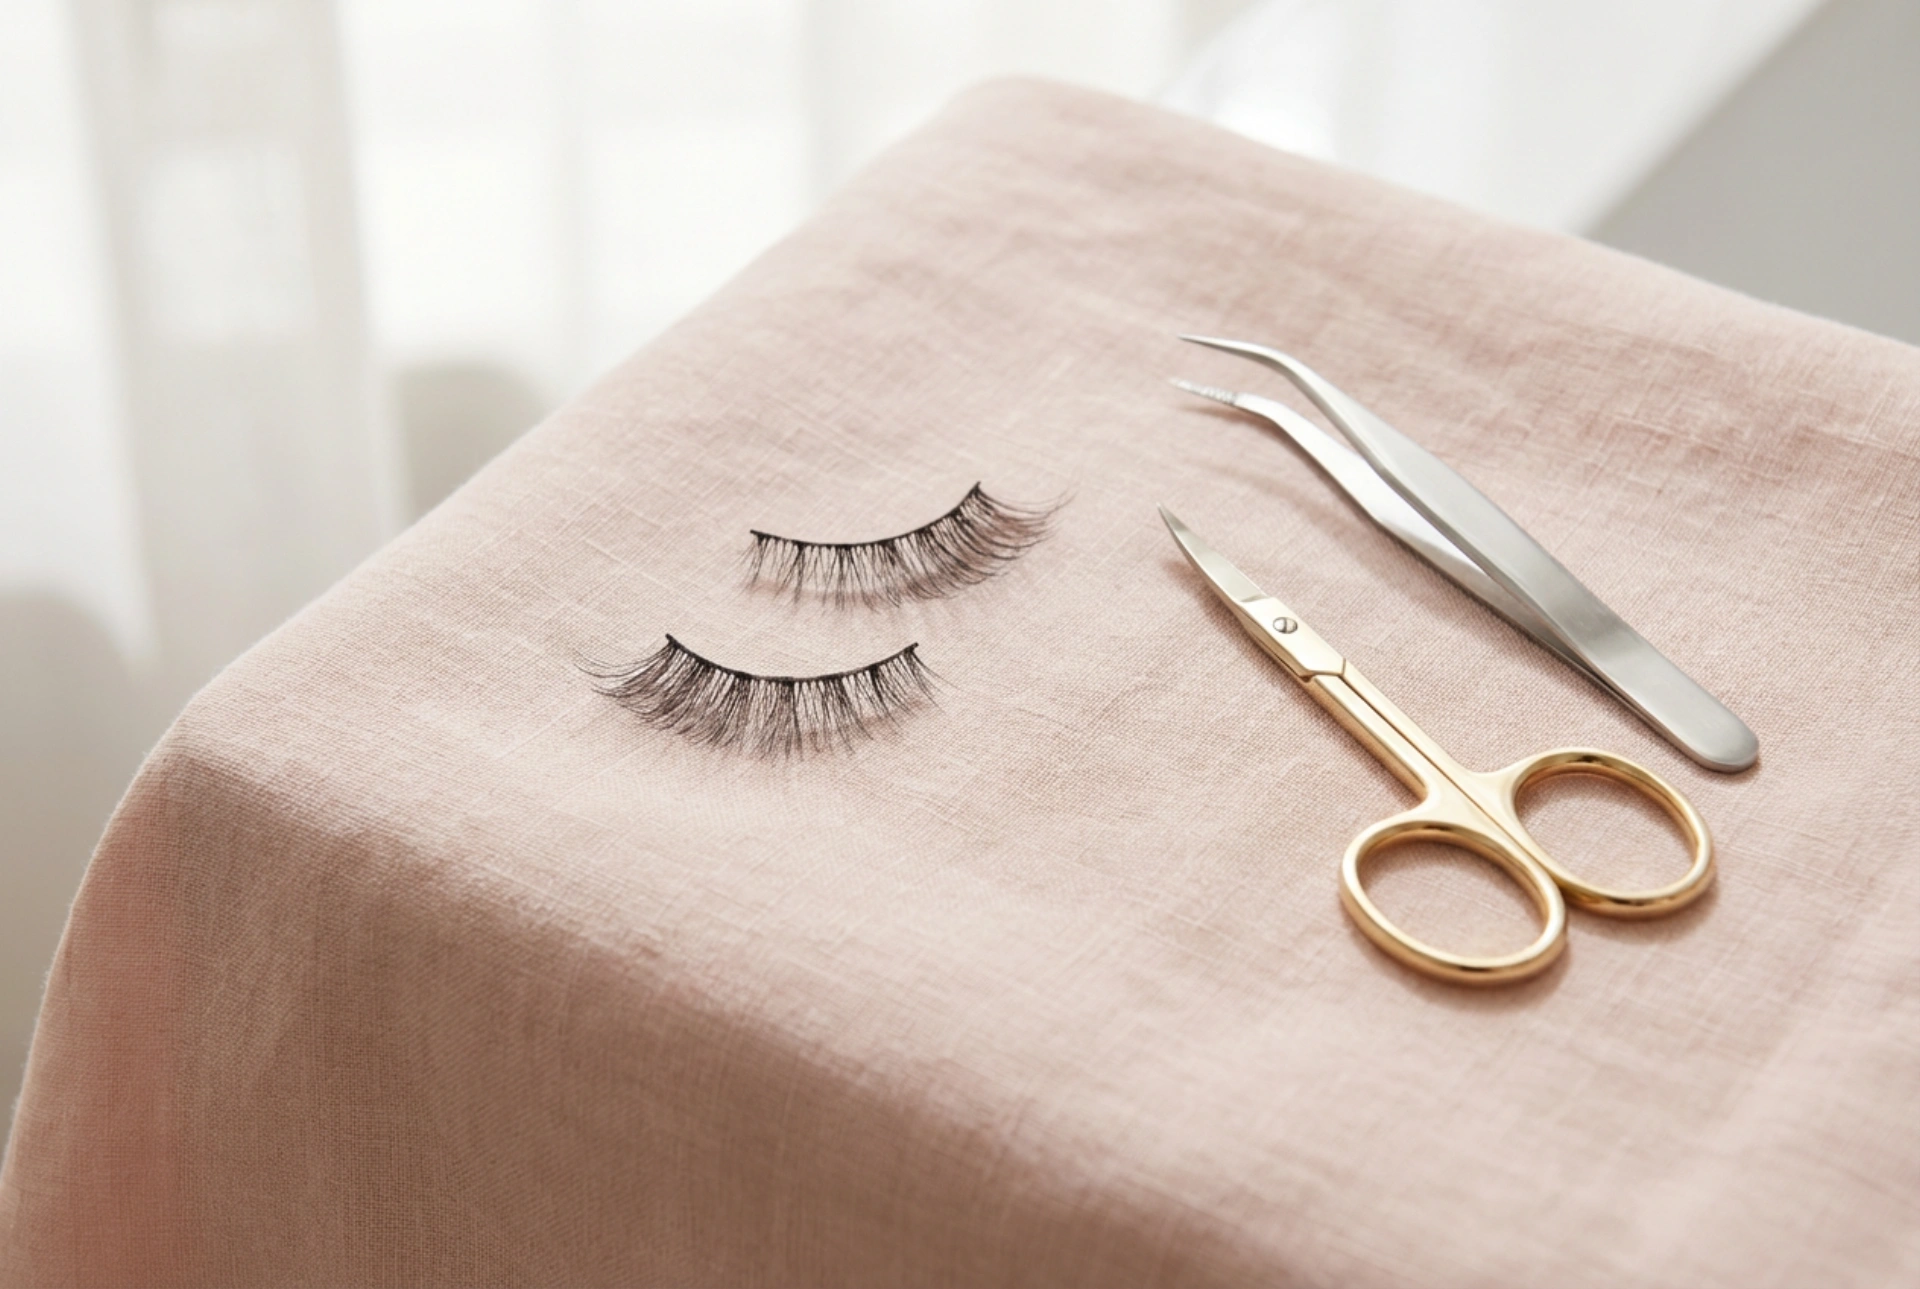


An elegant pair of delicate strip eyelashes, accompanied by precise beauty scissors and a handy applicator, represents the ultimate kit for achieving a captivating eye look. Strip lashes are a classic choice for enhancing natural beauty, offering versatility and instant volume. However, the secret to a flawless, comfortable wear lies not just in the lash style itself, but in the preparation. Off-the-shelf strip lashes are designed to fit a wide variety of eye shapes, which often means they are too long for most individuals. Customising the band to suit your unique eye shape is the essential first step to achieving a professional, natural-looking finish that remains comfortable all day long.
Understanding Your Eye Shape for the Best Fit
Before reaching for the scissors, it is helpful to understand how different strip lash designs interact with various eye shapes. For instance, almond-shaped eyes are highly versatile and can carry almost any lash style, from subtle, fluttering designs to dramatic, winged outer corners. Round eyes benefit from wispy, elongated lashes that draw the eye outwards, creating a soft, feline effect. Hooded or deep-set eyes often look best with lashes that feature longer fibres in the centre, which helps to open up the gaze. Recognising your eye shape allows you to select a strip lash style that harmonises with your features, making the customisation process much more straightforward.
The Art of Measuring: Step-by-Step Guidance
Achieving a custom fit begins with accurate measurement. Holding the lash strip with a dedicated applicator, gently place it along your natural lash line without any adhesive. This dry run is crucial for determining how much of the band needs to be trimmed. Always align the inner end of the lash strip a few millimetres away from the inner corner of your eye. Placing the lash too close to the tear duct can cause irritation, watering, and lifting throughout the day. Once the inner starting point is established, look at where the strip ends on the outer corner. The lash band should not extend beyond your natural lash line, as this can drag the eye down and create a tired appearance. Identify the excess length at the outer edge, which is where you will make your cut.
Precision Trimming: The Essential Cut
Once you have determined the excess length, it is time to trim the lash band. For this step, a pair of sharp, small beauty scissors is indispensable. Always trim the lash strip from the outer corner, rather than the inner corner. The inner fibres of strip lashes are typically shorter and designed to blend seamlessly with your natural inner lashes; cutting this section would disrupt the natural gradient of the lash design. Hold the lash firmly and make a clean, single cut between the clusters of lash fibres. If you are unsure about the length, it is always best to cut conservatively. You can always trim away a little more if needed, but you cannot replace what has already been removed. Once trimmed, gently flex the lash band back and forth to loosen it, which helps it curve naturally to the contour of your eyelid.
Seamless Application Techniques
With the lashes trimmed to perfection, the application can proceed smoothly. Apply a thin, even layer of lash adhesive along the spine of the strip, paying extra attention to the inner and outer ends, which are most prone to lifting. A crucial step is to wait approximately thirty seconds for the adhesive to become tacky before attempting to apply the lash. If the glue is too wet, the strip will slide around, making placement difficult. Using your lash applicator, hold the lashes from the centre and gently press the band onto the middle of your lash line, as close to the natural roots as possible. Once the centre is secure, use the applicator or your fingertips to press the outer and inner corners into place. Keep your eyes looking slightly downwards into a mirror during this process to ensure the best angle.
Caring for Your Customised Lashes
Proper aftercare ensures that your perfectly fitted strip lashes can be reused multiple times. At the end of the day, gently peel the lashes off starting from the outer corner, moving inwards. Avoid pulling too hard to protect your natural lashes. Once removed, use a clean cotton bud dipped in a mild, oil-free makeup remover to gently clean any adhesive residue from the lash band. Store your lashes back in their original packaging to help them retain their curved shape. By maintaining their structure, your custom-trimmed lashes will be ready to wear again, offering the same comfortable, bespoke fit for your next special occasion or daily makeup routine.