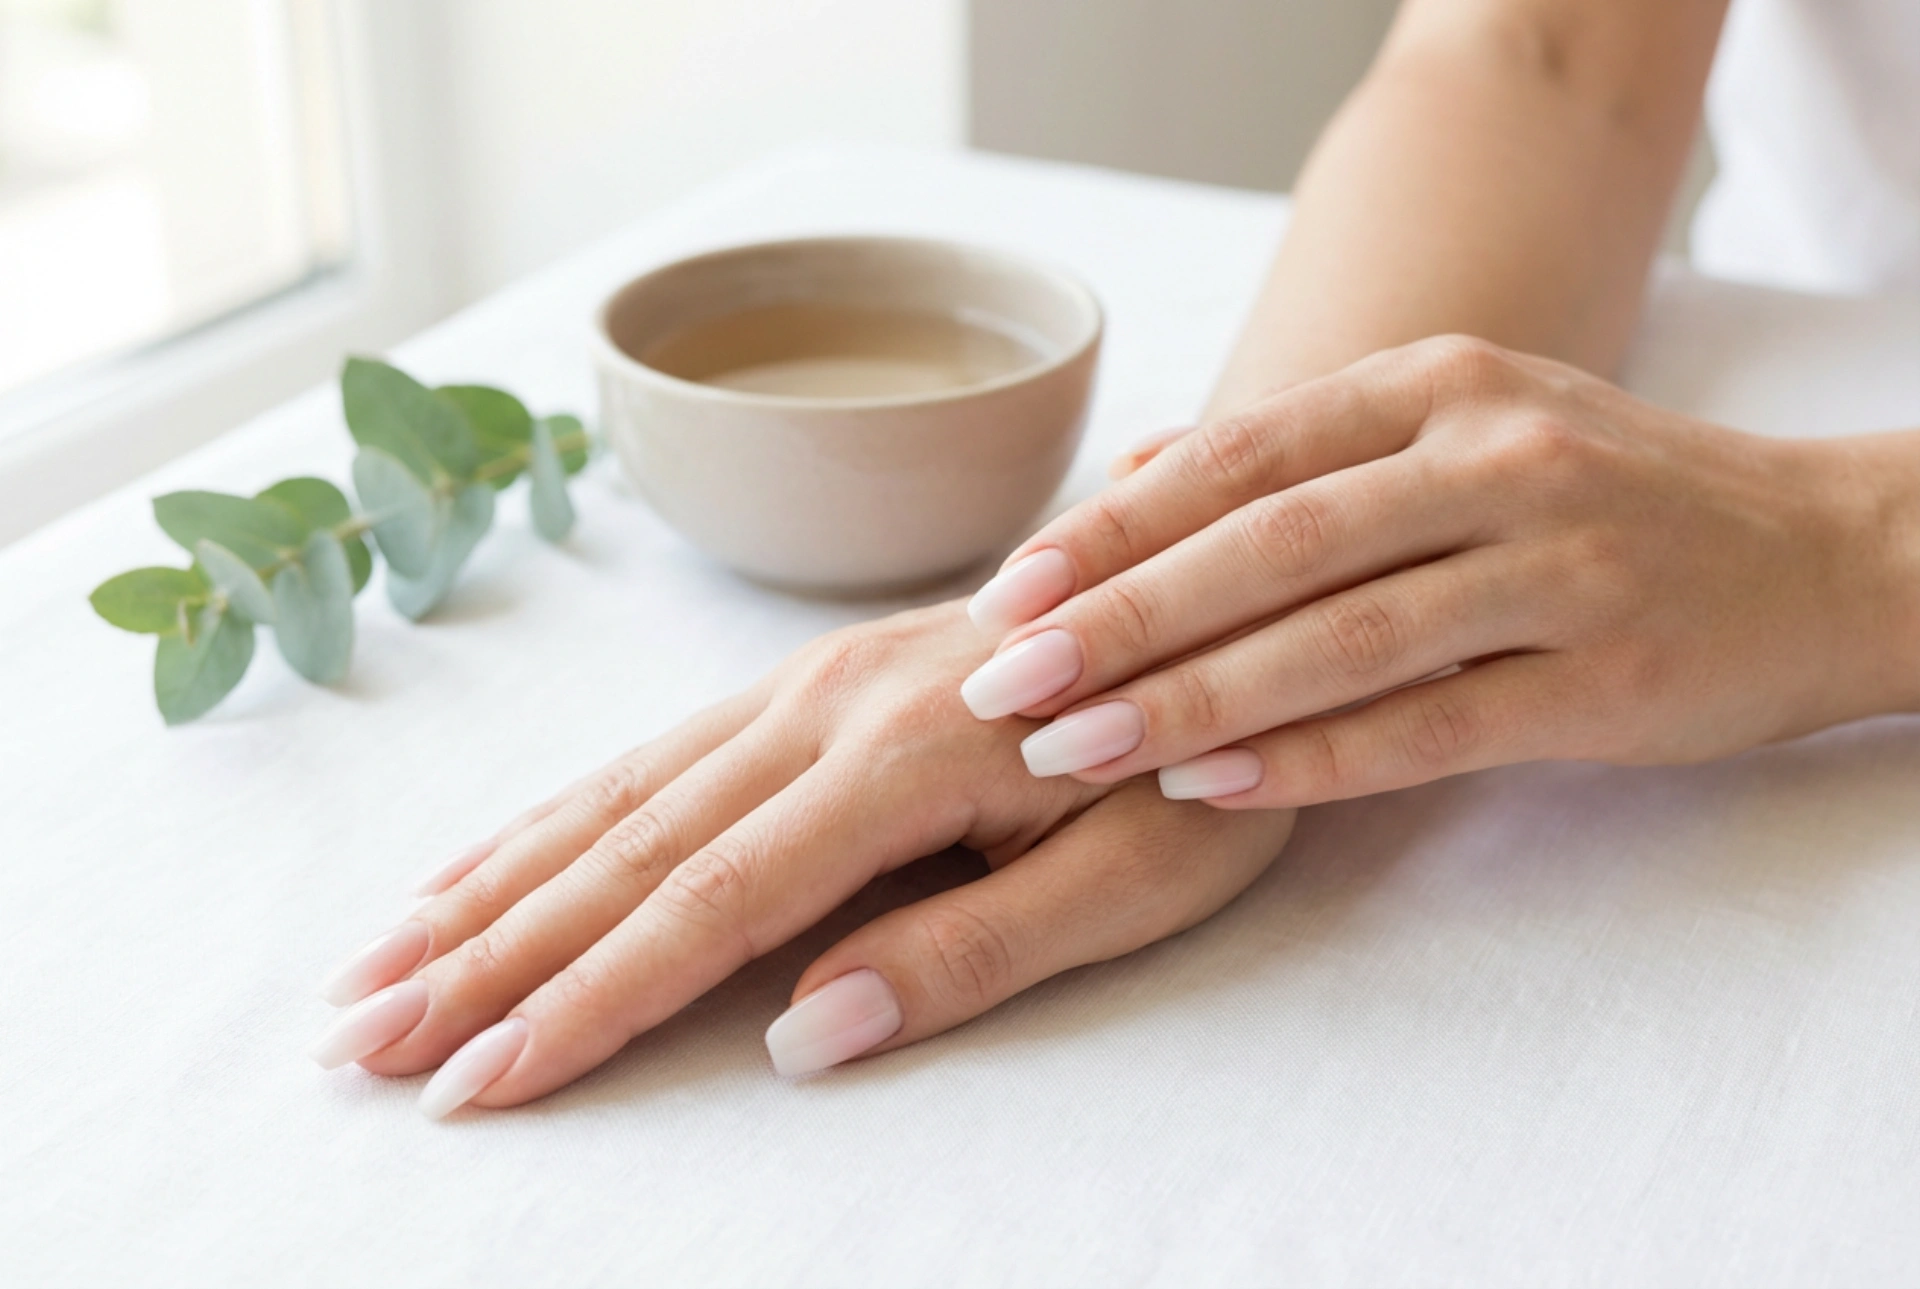


Elegant hands with a subtle, seamless gradient are the epitome of timeless chic. The milky ombre manicure, often referred to as the baby boomer effect, is a sophisticated twist on the classic French manicure. Instead of a sharp, defined white line at the tip, this modern technique blends a sheer pink or soft nude base seamlessly into delicate, milky white tips. Visually elongating the fingers, this minimalist nail style flatters all hand shapes and nail lengths, offering a clean, polished appearance that transitions effortlessly from day to night. Achieving this smooth, professional-looking gradient at home is simpler than it seems, requiring only a few basic tools and a bit of patience.
Understanding the Baby Boomer Aesthetic
The baby boomer style, also known as the French fade or milky ombre, has taken the beauty world by storm due to its understated elegance. While the traditional French manicure relies on contrast, the baby boomer focus is on harmony and soft transitions. This aesthetic mimics the natural look of healthy nails but elevates them with a refined, glossy finish. Its popularity lies in its incredible versatility; it looks equally stunning on short, natural square nails as it does on long, almond-shaped extensions. It is the ultimate "your nails but better" look, making it a favourite for weddings, professional environments, and casual daily wear alike.
Essential Tools for a DIY Milky Ombre
Before you begin the application process, it is helpful to gather all your materials. Having everything within reach ensures a smooth workflow and prevents accidental smudges. To achieve the perfect milky gradient, you will need the following items:
- A gentle nail file and buffer: To shape the nails and smooth the surface for even product adhesion.
- A sheer pink or nude polish: This serves as the background colour and should closely match your natural nail bed.
- A soft white or milky white polish: Avoid stark, chalky whites; instead, opt for a softer, slightly translucent white to ensure a gentle blend.
- A cosmetic sponge: A dense, fine-pored makeup wedge sponge works best for dispersing the polish without creating large air bubbles.
- A high-gloss top coat: This is the secret weapon that melts the two colours together, smoothing out any texture from the sponge.
- Nail polish remover and a small brush: For quick and easy cleanup of the cuticles and surrounding skin.
Step-by-Step Tutorial: Achieving the Perfect Blend
Creating a seamless transition requires a gentle hand and a layered approach. Follow these simple steps to master the milky ombre technique at home.
Step 1: Preparation is Key
Start by preparing your natural nails. Gently push back your cuticles, shape the free edge of your nails with a file, and lightly buff the nail plate to remove any excess oils. Cleanse the nails with a lint-free wipe to ensure there is no dust left behind. A clean surface ensures your manicure lasts significantly longer.
Step 2: Apply the Base Shade
Apply one or two thin coats of your chosen sheer pink or nude polish. This coat acts as the canvas for your gradient. Allow this base layer to dry completely before moving on to the next step, as applying sponge pressure to wet polish can tear the base coat.
Step 3: Prepare the Sponge and Colours
Take your cosmetic sponge. It is a good practice to slightly dampen the sponge with water and squeeze out all excess moisture; a damp sponge absorbs less polish, allowing more product to transfer directly to your nail. Paint a stripe of the sheer pink polish and a stripe of the milky white polish directly onto the flat edge of the sponge, slightly overlapping them where they meet. This overlap is where the magic blend happens.
Step 4: Dab the Gradient Onto the Nail
Gently press the sponge onto your nail, starting from the tip and moving slightly upward toward the middle of the nail bed. Use a light, rapid tapping motion. Do not press too hard, as this can create harsh lines or lift the polish off the nail. It is normal for the first layer to look faint and slightly textured. Let it dry for a minute, then repeat the process to build up the opacity of the white tip.
Step 5: Smooth and Seal
Once you are happy with the gradient transition, wait a moment for the polish to settle slightly. While the gradient is still semi-dry, apply a generous layer of high-gloss top coat. The top coat acts as a blending agent, dissolving the micro-dots left by the sponge and fusing the pink and white shades into a flawless, glass-like gradient. Finish by cleaning up any excess polish on your skin using a small brush dipped in nail polish remover.
Tips for a Smooth, Bubble-Free Finish
Achieving a flawless fade can sometimes be tricky. If you notice tiny air bubbles forming during the sponge application, try tapping the sponge once or twice on a clean piece of paper or foil before touching your nail. This removes excess polish and flattens out any air pockets. Always work in thin layers; three thin sponged layers will look much smoother and dry faster than one thick layer. Additionally, choosing a top coat with a slightly thicker consistency can help level out any remaining texture from the sponge, leaving a perfectly smooth surface.
Caring for Your Milky Manicure
To keep your elegant milky ombre looking fresh and glossy for as long as possible, daily maintenance is recommended. Apply a drop of nourishing cuticle oil to the base of your nails every evening to keep the skin hydrated and prevent peeling. When performing household chores or washing dishes, wearing protective gloves will shield your manicure from harsh chemicals and water exposure, preventing premature chipping. With proper care, your sophisticated baby boomer nails will remain a stunning accessory for days to come.




