


Three-dimensional nail art adds a captivating layer of texture and sophistication to any manicure. Among the most popular designs are delicate, sculpted flowers that transform fingertips into miniature works of art. While it may look complex, creating 3D floral designs is an accessible skill for nail enthusiasts willing to practise. With the right tools and a little patience, you can master the basics of both acrylic and gel techniques to create beautiful, dimensional flowers from the comfort of your home.
Essential Tools and Preparation
Before you begin sculpting, gathering the correct tools and preparing your workspace is crucial for a smooth process. The equipment differs slightly between the acrylic and gel methods, but some items are universal.
For any 3D nail art, you will need:
- A prepared nail surface: This can be a natural nail with a base coat and colour applied, or a nail tip. The surface should be clean, dry, and slightly buffed to provide grip.
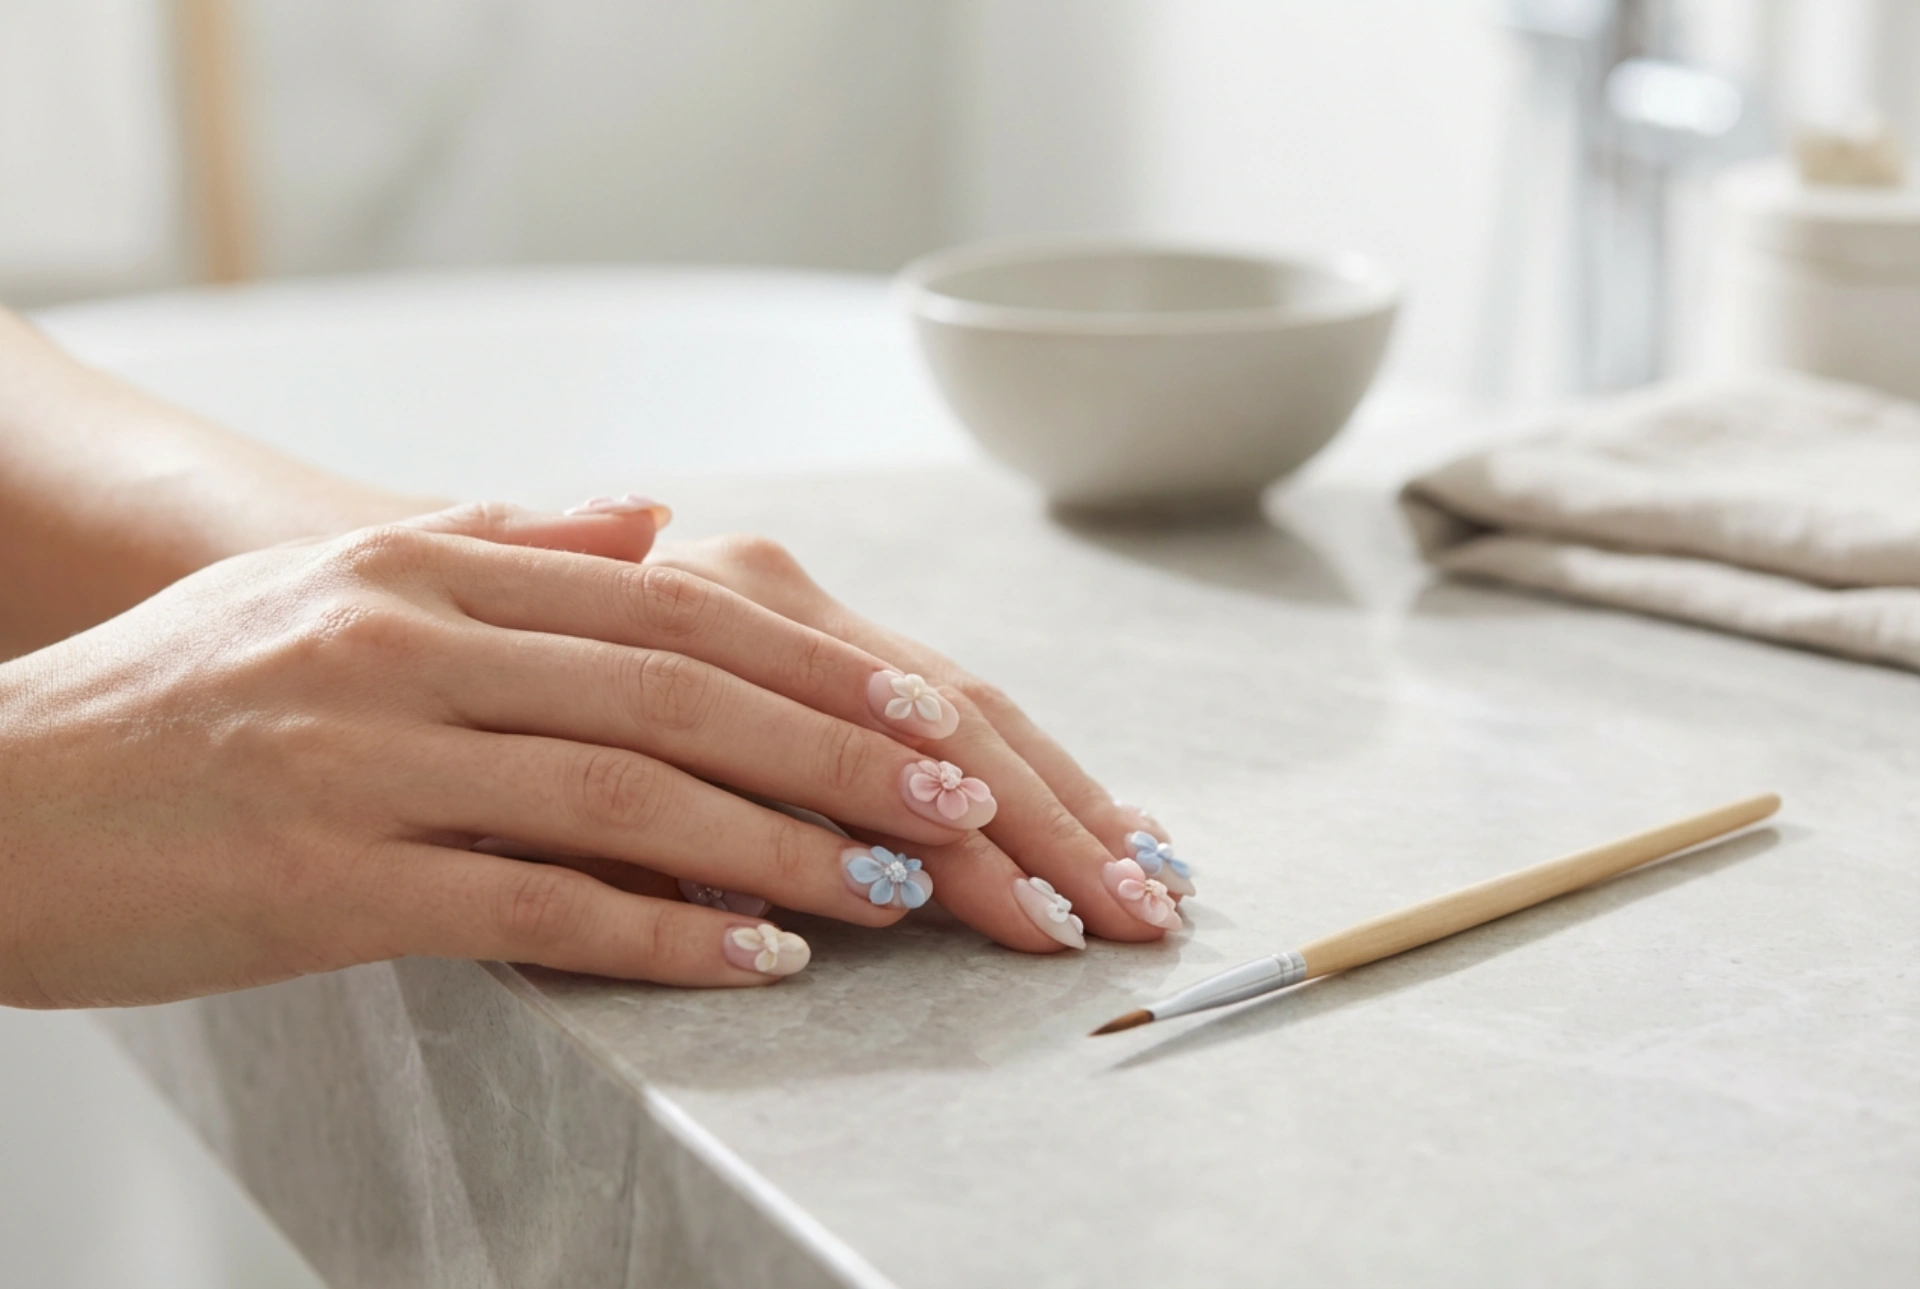
- Fine detail brushes: A high-quality acrylic brush (often made from kolinsky hair) is essential for the acrylic method. For gel, a synthetic or silicone-tipped brush works well.
- A dotting tool or a fine point tool: Useful for placing small details or centres of the flowers.
- A lint-free wipe and nail surface cleanser: To ensure the nail is free from oils and dust.
- A high-quality top coat: To seal and protect your finished design.
For the acrylic technique, you will specifically need:
- Coloured acrylic powders: Choose the shades you want for your petals and leaves.
- Acrylic liquid (monomer): This liquid is mixed with the powder to create a sculptable bead.
- A dappen dish: A small glass or ceramic pot to hold the monomer.
For the gel technique, you will require:
- 3D sculpting gel or 4D gel: This is a very thick, non-levelling gel with a putty-like consistency, designed specifically for creating dimensional art. Standard builder or colour gels are too runny for this purpose.
- A UV/LED lamp: Essential for curing the gel and hardening your design.
Always work in a well-ventilated area, especially when using acrylic monomer, as it has a strong odour.
Creating 3D Flowers with the Acrylic Method
The acrylic technique relies on creating a small, pliable bead of product that is then shaped directly on the nail before it air-dries. The key is controlling the liquid-to-powder ratio.
1. Preparing the Acrylic Bead
Pour a small amount of monomer into your dappen dish. Dip your acrylic brush into the liquid, wiping any excess on the side of the dish. The brush should be damp, not dripping wet. Quickly dip the tip of the brush into your chosen acrylic powder. A small, round bead should form on the brush tip. If the bead is too wet, it will be runny and difficult to control. If it's too dry, it will be crumbly and won't adhere properly.
2. Sculpting the Petals
Gently place the bead onto the prepared nail surface where you want your first petal to be. Allow it to settle for a second. Now, using the belly of your brush, gently press down in the centre of the bead, pushing outwards to flatten it into a petal shape. Use the tip of the brush to refine the edges, creating a rounded or pointed petal. Clean your brush in the monomer frequently to prevent the acrylic from hardening on it.
3. Building the Flower and Adding Details
Repeat the process, placing another bead next to the first petal and shaping it. Continue this motion, creating three to five petals arranged in a circle to form a basic flower. Once you are happy with the shape, you can add a centre by placing a tiny bead of a different colour (like yellow or white) in the middle. The acrylic will air-dry and harden completely within a few minutes.
4. Sealing the Design
Once the acrylic is fully hardened, you can apply a layer of top coat over the entire nail and your 3D creation. This will protect the art and give it a beautiful shine. Be sure to carefully coat around the base of the flower to secure it to the nail.
Crafting 3D Flowers with the Gel Method
The gel method offers more working time as the product will not harden until it is cured under a lamp. This can make it more beginner-friendly.
1. Applying the Sculpting Gel
Using a small spatula or a dotting tool, scoop a tiny amount of 3D sculpting gel and place it onto the nail. Unlike acrylic, the gel is pre-mixed and ready to use. It will hold its shape without running.
2. Shaping the Petals
Using a clean, dry silicone tool or a fine art brush, begin to manipulate the gel. You can lightly moisten your brush with a gel cleanser or slip solution to prevent sticking, but use it very sparingly. Press and pull the gel to form your petal shapes. The putty-like consistency allows you to create texture, thin edges, and defined shapes with ease.
3. Curing in Stages (Flash Curing)
The biggest advantage of gel is the ability to 'flash cure'. After you shape one or two petals to your satisfaction, place the nail in the UV/LED lamp for 10-15 seconds. This short burst of light will partially harden the gel, fixing the petals in place so you can work on the next ones without smudging your progress. Continue building your flower petal by petal, flash curing as you go.
4. Final Cure and Top Coat
Once your flower design is complete, perform a full cure according to the gel manufacturer's instructions, typically for 60-120 seconds. After the full cure, apply a no-wipe top coat over the entire nail and the 3D design to seal it and add shine. Ensure you cure the top coat as well.
Common Mistakes and Tips for Success
Patience is key when learning 3D nail art. Don't be discouraged if your first few attempts aren't perfect. Keep these tips in mind:
- Practise makes perfect: Before working on a real manicure, practise creating beads and petals on a practice mat or a spare nail tip. This helps you understand the consistency of the product.
- Start simple: Begin with a basic five-petal flower before moving on to more complex designs like roses or multi-layered blooms.
- Control your product: The most common beginner mistake is using too much product, resulting in a bulky, oversized design. Start with very small beads or amounts of gel.
- Keep your brushes clean: For acrylic, regularly wipe your brush in monomer and on a paper towel. For gel, wipe it clean with a lint-free wipe and cleanser. A dirty brush is impossible to work with.
- Mind the placement: Avoid placing your 3D elements too close to the cuticle or the free edge of the nail, as this can cause lifting and snagging.
- Ensure proper curing: If your gel art feels sticky or soft after a full cure, it may not have been cured for long enough, or your lamp may not be strong enough for the specific product.
By exploring both acrylic and gel techniques, you can find the method that best suits your style and skill level. With continued practice, you will soon be able to adorn your nails with stunning, dimensional floral art that adds a truly personal and elegant touch to your look.


