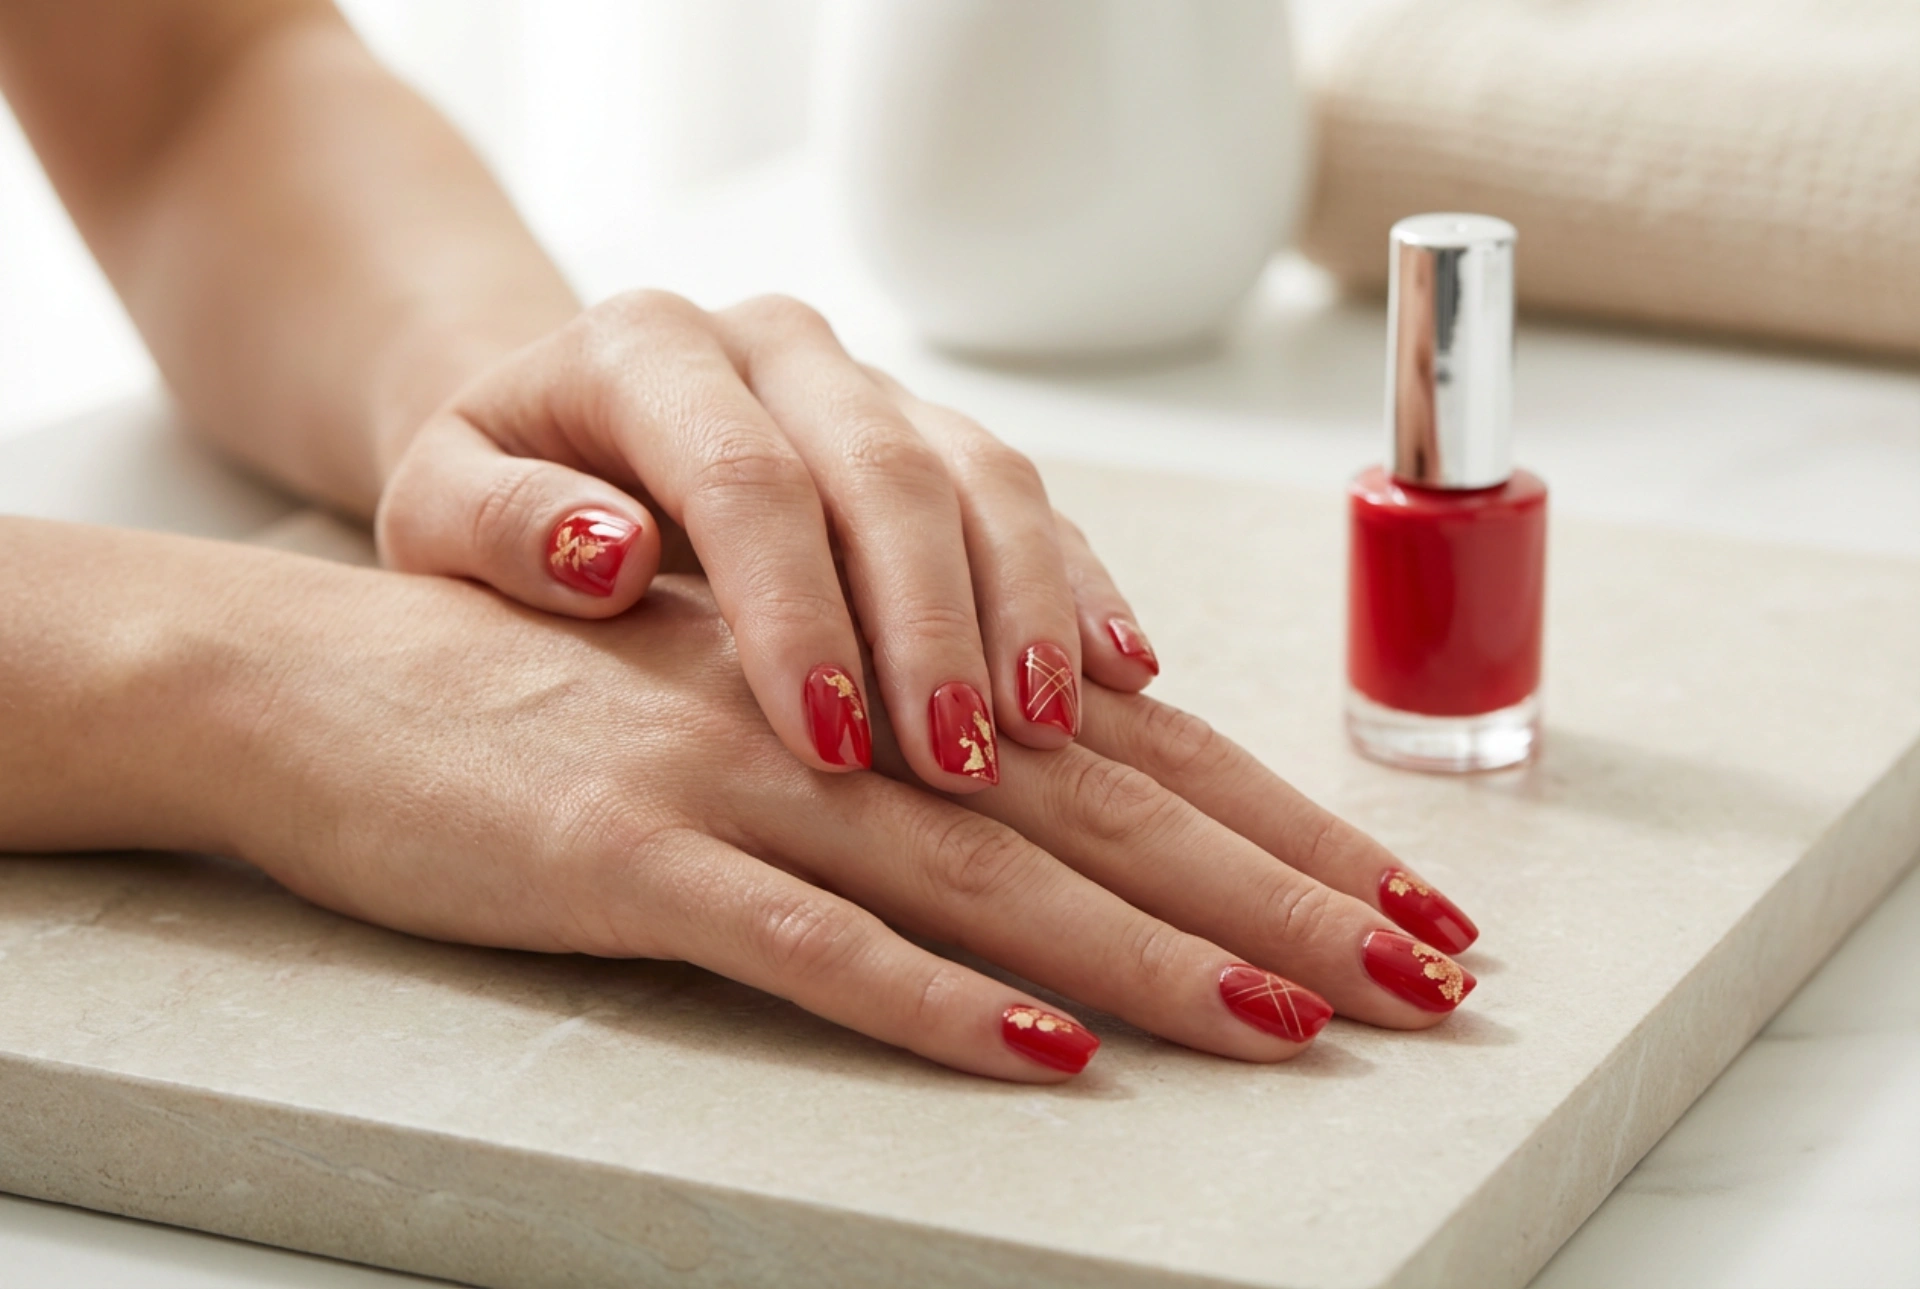


A classic red manicure has long been the ultimate symbol of sophistication and elegance. There is something uniquely empowering about perfectly painted red nails, especially when they catch the soft, natural light, showcasing a flawless glossy finish. However, you do not need to limit yourself to a single block of colour. By adding subtle, intricate decorative motifs, you can elevate this timeless look into a modern masterpiece of nail artistry. Creating beautiful accents at home is much easier than it appears, requiring only a little patience and a few basic tools.
The Appeal of Red Manicures with Subtle Accents
Red is a versatile colour that complements every skin tone and suits any occasion, from casual everyday wear to formal evening events. Introducing delicate designs to a red base breaks the monotony without detracting from the colour's inherent elegance. The key to successful home nail art lies in keeping the decorations minimal and precise. A single decorated accent nail on each hand, or very fine details across all fingers, can create a beautifully balanced look that appears professional yet remains highly achievable for beginners.
Essential Preparation for Home Nail Art
Before diving into the creative process, proper preparation is essential to ensure your manicure lasts and looks neat. Start by shaping your nails with a fine-grit file and gently pushing back the cuticles. A clean canvas is crucial for intricate designs. Always apply a high-quality base coat first; this protects your natural nails from staining and provides a smooth surface for the red polish.
For the motifs described below, you will need a few inexpensive tools that can easily be found in beauty kits:
- A dotting tool (or the round end of a hairpin)
- A thin detailer brush (or a clean, fine eyeliner brush)
- A small makeup sponge
- A high-gloss top coat to seal and protect your designs
5 Easy Nail Art Motifs Step by Step
Once your red base coat is completely dry, you are ready to start decorating. Here are five simple, elegant designs to try.
1. Minimalist Gold Dots
Gold and red are a classic, luxurious pairing. This design is incredibly simple yet looks highly refined.
- Step 1: Dip the tip of your dotting tool into a small drop of gold polish.
- Step 2: Gently press the tool near the base of your nail, just above the cuticle, to create a single, perfect dot.
- Step 3: Repeat on all nails or choose just the ring finger for an accent. Let it dry completely before sealing.
2. Elegant White Stripes
Fine white lines contrast beautifully against a rich red background, offering a clean, modern aesthetic.
- Step 1: Pour a small amount of white polish onto a piece of foil.
- Step 2: Dip your thin detailer brush into the white polish, ensuring the bristles are evenly coated but not overloaded.
- Step 3: Starting from one side of the nail, draw a thin diagonal line across the tip or down the centre of the nail. Keep your hand steady by resting your wrist on a flat surface.
3. Subtle Crimson Ombre
A soft gradient creates depth and sophistication without requiring precise painting skills.
- Step 1: Apply your primary red shade as a base.
- Step 2: On a small makeup sponge, apply a stripe of your base red and a stripe of a darker burgundy side by side.
- Step 3: Gently dab the sponge onto the tips of your nails, blending the darker colour upwards to create a seamless gradient.
4. Delicate Romantic Hearts
A sweet and simple motif that adds a touch of playfulness to your elegant red manicure.
- Step 1: Using a dotting tool dipped in white or light pink polish, place two small dots side by side on your nail.
- Step 2: Use a clean toothpick to drag the polish from the bottom of each dot downwards, meeting at a point to form a perfect heart shape.
- Step 3: Allow the motif to dry for a few minutes before applying your top coat to prevent smearing.
5. Negative Space Half-Moons
This retro-inspired design leaves a portion of the nail bare, creating a striking contrast with the bold red polish.
- Step 1: Place a small, round paper reinforcement sticker over the base of your nail, covering the natural lunula (half-moon area).
- Step 2: Paint the rest of the nail with your favourite red polish.
- Step 3: Carefully peel away the sticker while the polish is still slightly wet to reveal a clean, bare curved section at the base.
Finishing Touches and Longevity Tips
The secret to professional-looking nail art is the final seal. Once your chosen motifs are dry to the touch, apply a generous layer of clear, high-gloss top coat. This not only protects the delicate designs from chipping but also smooths out any minor ridges, creating a seamless, glassy finish. Be sure to cap the free edge of your nails with the top coat to lock in the colour. Finish by massaging a drop of nourishing cuticle oil around each nail to keep the skin hydrated and highlight the beautiful, natural glow of your fresh manicure.




