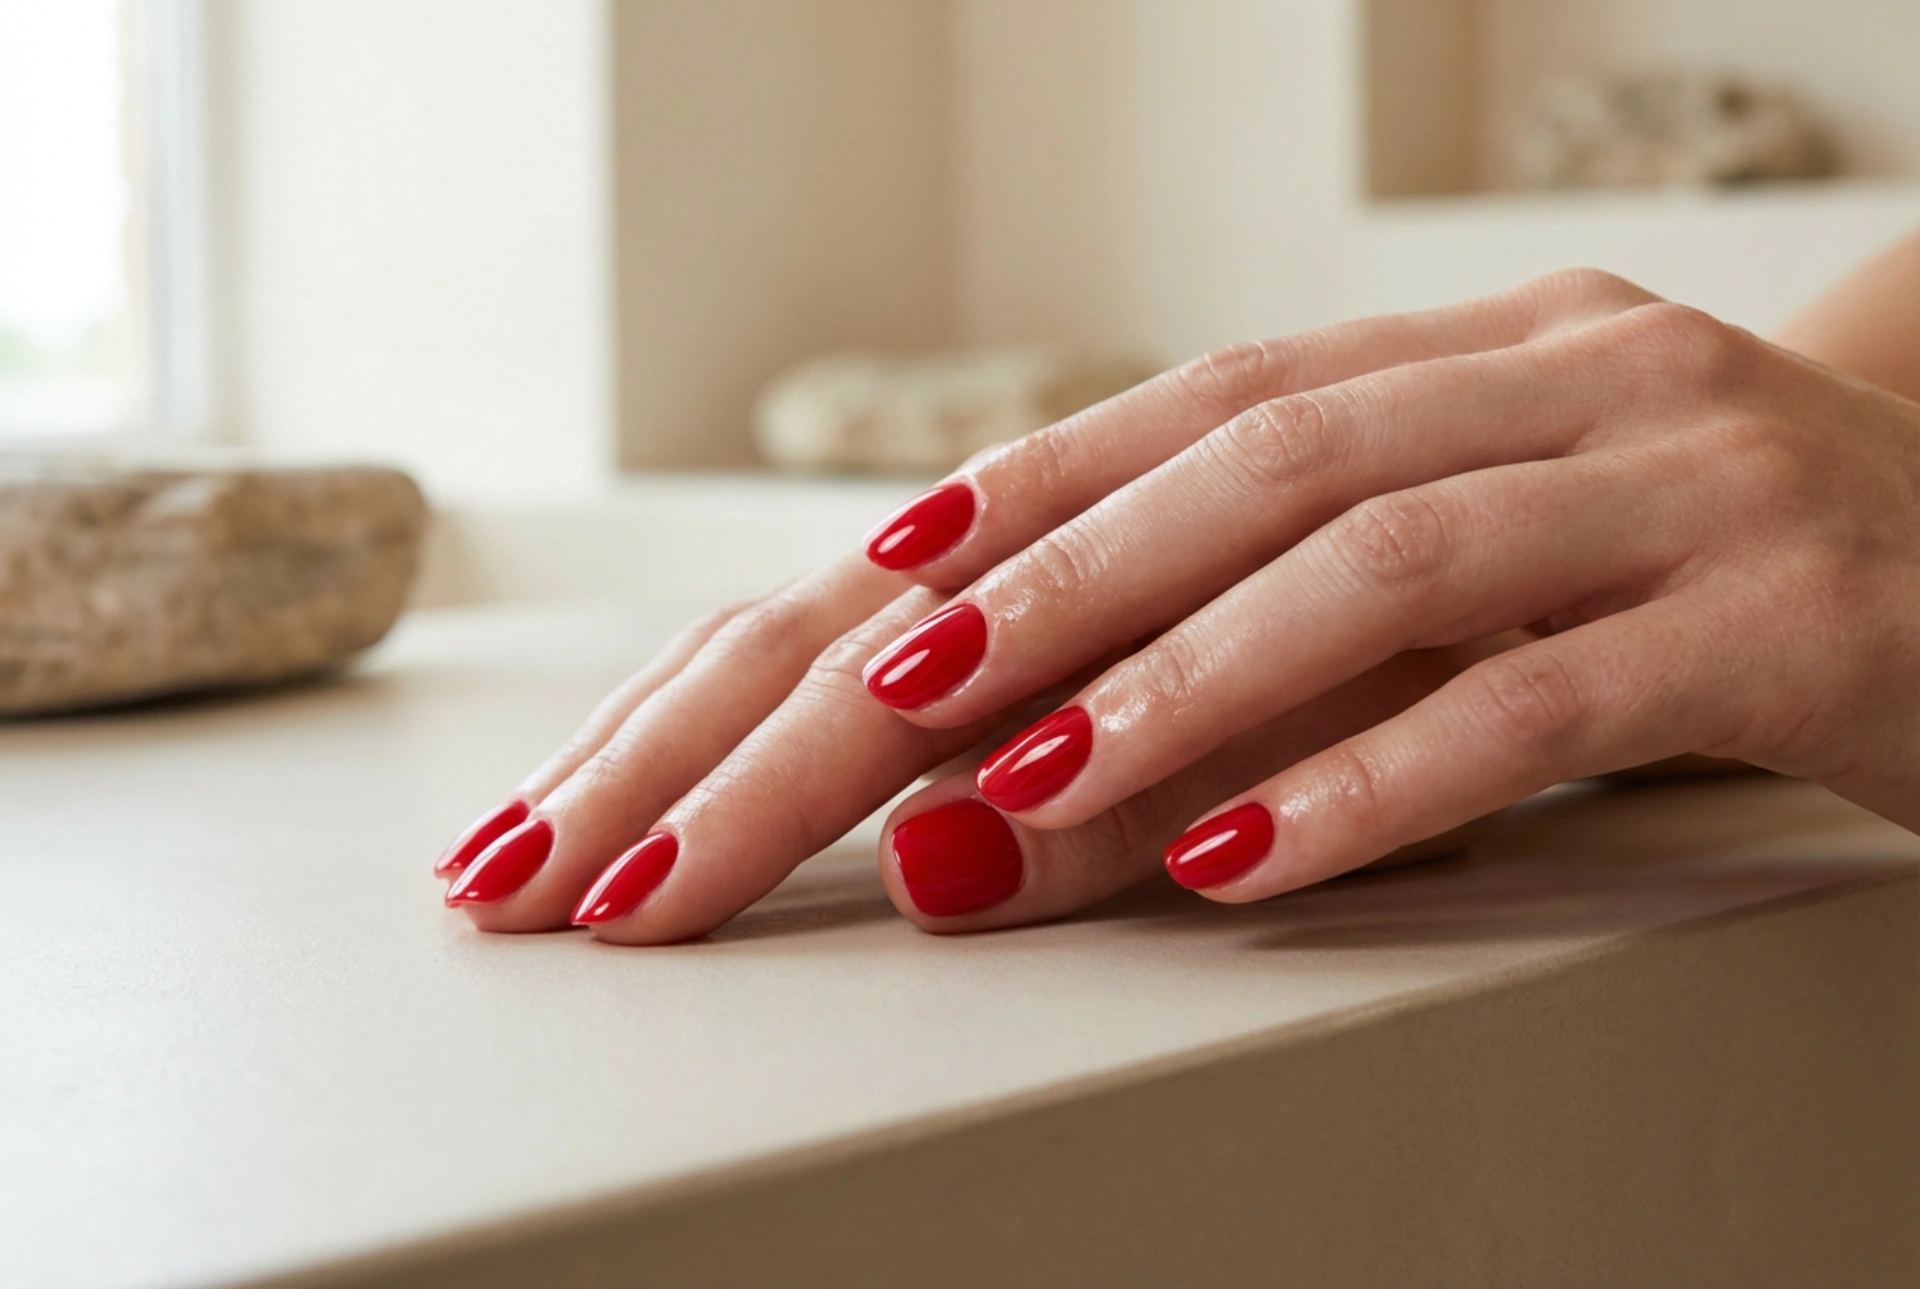


Elegant hands with perfectly manicured, glossy red gel nails are a timeless symbol of sophistication. The vibrant, even colour resting on beautifully shaped nails can instantly elevate any look, reflecting confidence and classic style. However, achieving that flawless finish at home requires more than just a steady hand. It demands a systematic approach to nail preparation, precise application techniques to prevent flooding the cuticles, and the correct choice of top coat to seal in the brilliant shine. By mastering these key steps, you can enjoy a pristine and long-lasting red manicure that remains free of chips and dullness.
Preparing the Nail Plate and Protecting Cuticles
The foundation of any successful gel manicure lies in the preparation of the natural nail and the surrounding skin. Because red polish is highly pigmented, any imperfections on the nail plate or messy cuticle edges will be immediately noticeable. Before applying any colour, it is essential to gently push back the cuticles using a wooden stick or a dedicated cuticle pusher. Keeping the cuticles neat not only creates a larger canvas for the polish but also prevents the gel from lifting prematurely.
To protect the delicate skin around your nails, you can apply a specialized barrier cream or a gentle liquid skin guard before painting. This acts as a shield, ensuring that any accidental brush strokes do not touch the skin. If gel polish does make contact with the cuticle, it must be cleaned off immediately before curing. Use a fine brush dipped in isopropyl alcohol to clean the edges, as cured gel on the skin is the primary cause of lifting and can cause irritation over time.
Achieving an Even and Vibrant Red Colour
Red gel polish is beloved for its depth, but it can be notoriously difficult to apply evenly. A common mistake is applying coats that are too thick, which can lead to bubbling, uneven curing, and wrinkling. To avoid this, always apply the polish in very thin, consistent layers. Wipe the excess product off the brush on the neck of the bottle before touching it to your nail. This allows for maximum control over the application.
Start applying the colour in the middle of the nail, slightly away from the cuticle, and gently push the brush backward towards the cuticle line without actually touching the skin. Then, swipe down to the tip of the nail, followed by strokes on the left and right sides. Always cap the free edge—the very tip of the nail—with a tiny amount of polish. This seals the colour and prevents wear at the tips. Generally, two thin coats of red gel polish are sufficient to achieve a rich, opaque finish, though some sheer formulas may require a third layer.
Common Mistakes to Avoid During Application
To ensure your red gel manicure remains flawless, there are a few common pitfalls to watch out for. Firstly, never skip the dehydration step. Applying a nail prep or dehydrator before your base coat removes natural oils that can prevent adhesion. Secondly, avoid shaking your gel polish bottles aggressively, as this introduces air bubbles that can ruin the smooth finish; instead, roll the bottle gently between your palms to mix the pigments. Lastly, always ensure your lamp is clean and functioning correctly, as insufficient curing can lead to soft patches under the top coat, causing the colour to dull and peel prematurely.
The Role of the Top Coat in Longevity and Shine
The top coat is the final, crucial step that transforms a simple polish application into a durable, high-gloss masterpiece. It acts as a protective shield against daily wear and tear, preventing scratches and preserving the vibrant red colour underneath. When selecting a top coat, consider the desired finish: a classic high-shine gloss, a subtle satin, or a modern matte look. For red nails, a high-shine finish is often preferred to enhance the richness of the red pigments.
When applying the top coat, ensure you cover the entire coloured surface, including the capped free edge. This creates a complete seal. Be sure to cure the top coat for the full duration recommended by your lamp's guidelines. If you are using a traditional wipe-off top coat, wait a minute after curing before removing the tacky dispersion layer with a lint-free wipe soaked in cleanser. This brief cooling period helps prevent the surface from becoming cloudy or losing its brilliant shine.
Post-Manicure Cuticle Care for a Polished Look
Once your gel manicure is complete and fully cured, the final touch is to restore hydration to your hands and cuticles. The curing process and the use of cleansers can strip the skin of its natural moisture, leaving cuticles looking dry. Applying a nourishing cuticle oil is the best way to restore this lost hydration and give your manicure a professional, polished finish.
- Choose natural oils: Look for products containing sweet almond oil, jojoba oil, or vitamin E, which easily penetrate the skin and nail plate to provide deep nourishment.
- Massage gently: Apply a drop of oil to the base of each nail and massage it in circular motions to stimulate blood circulation and promote healthy nail growth.
- Maintain daily: Incorporating cuticle oil into your nightly routine will keep the skin supple, prevent hangnails, and keep your red manicure looking fresh for weeks.




