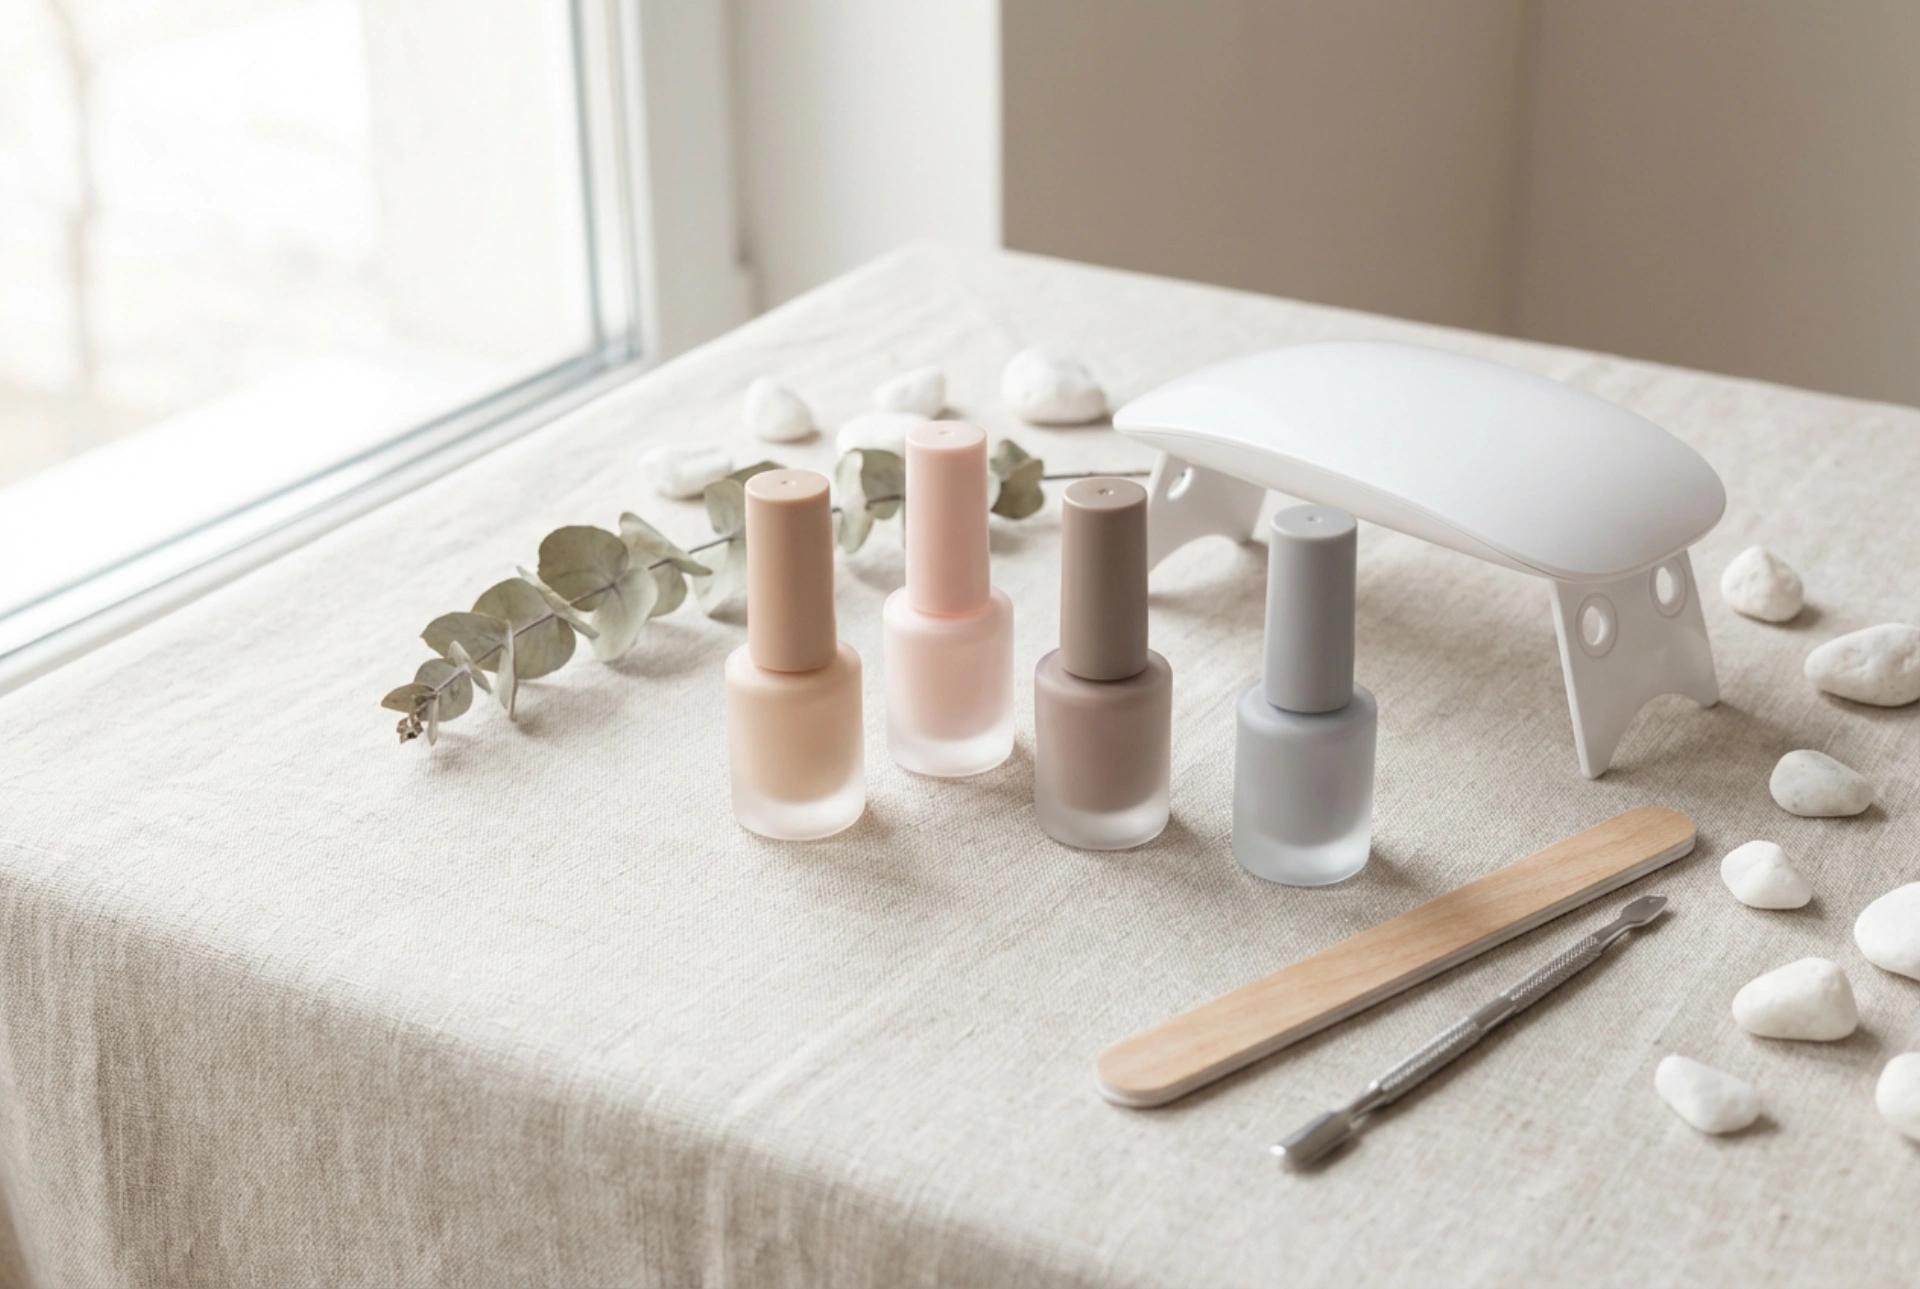


A serene home manicure station with muted gel polish bottles, a sleek UV lamp, and essential tools like a nail file and cuticle pusher is the perfect setup for a relaxing self-care session. Achieving a long-lasting, salon-quality manicure at home has never been more accessible. Hybrid gel polishes combine the ease of classic nail polish application with the durability of gel, making them a popular choice for anyone seeking chip-free, glossy nails for weeks. However, transitioning from traditional polishes to hybrid systems requires a bit of knowledge and the right preparation to ensure both a beautiful finish and the health of your natural nails.
The Essential Starter Kit for Hybrid Manicures
To begin your journey with hybrid gel manicures at home, you will need a few basic tools and products. Having everything organised beforehand ensures a smooth application process. Here is what should be in your basic kit:
- Nail file and buffer: A fine-grit file helps shape the nails, while a buffer gently removes the natural shine from the nail plate, allowing the base coat to adhere properly.
- Cuticle pusher or wooden sticks: Essential for gently pushing back the cuticles to create a clean canvas and prevent the lifting of the gel.
- Dehydrator or prep solution: This removes moisture and natural oils from the nail plate, which is crucial for product longevity.
- Base coat: A specialised base coat that acts as a protective layer and ensures the colour coats stick to the nail.
- Hybrid gel colours: Choose your favourite shades in muted or vibrant tones to express your style.
- Top coat: The final layer that seals the colour, provides shine or a matte finish, and protects the manicure from scratches.
- UV or LED lamp: This is necessary to cure and harden each layer of product.
- Cleaner and lint-free wipes: Used to remove the sticky inhibition layer left after curing the top coat.
Step-by-Step Guide to a Perfect Application
Achieving a professional-looking finish requires patience and a structured approach. Skipping any of these steps can lead to premature lifting or peeling.
1. Preparing the Nail Plate
The success of your manicure depends heavily on preparation. Start by shaping your nails with a file and gently pushing back your cuticles. Use a buffer to lightly matte the surface of each nail, focusing on the edges. Wipe the nails with a lint-free pad soaked in prep solution to remove dust and oils.
2. Applying the Base Coat
Apply a very thin layer of the base coat. Be extremely careful not to touch the cuticles or the skin around the nail. If any product gets on the skin, wipe it off before curing. Cure the base coat under the lamp for the time recommended by the manufacturer.
3. Layering the Colour
Apply your chosen hybrid polish in thin, even layers. It is always better to apply two thin coats rather than one thick coat, as thick layers may not cure properly and can wrinkle. Cure each layer in the lamp individually. Remember to cap the free edge of the nail by running the brush along the very tip to seal the colour.
4. Sealing with the Top Coat
To lock in your manicure, apply a layer of top coat. Ensure you cover the entire coloured area and cap the free edge once more. Cure under the lamp. If you are using a standard top coat, wipe away the sticky residue with a lint-free wipe and cleaner. For a no-wipe top coat, this step is not necessary.
Common Mistakes to Avoid
Many beginners encounter issues during their first few attempts. Recognising these typical errors can help you avoid them and achieve a flawless finish from the start.
- Applying layers that are too thick: This is the most common cause of peeling. Thick layers cannot be fully penetrated by the light of the lamp, leaving the product soft underneath.
- Flooding the cuticles: When gel polish touches the skin, it creates an air pocket as the nail grows. This leads to moisture getting underneath and causing the polish to lift.
- Inadequate nail preparation: Skipping the buffing or dehydrating steps prevents the base coat from bonding with the natural keratin of the nail.
- Incorrect curing time: Removing your hands from the lamp too early prevents the chemical reaction from completing, resulting in a weak, easily damaged manicure.
- Peeling off the polish manually: When it is time to remove the hybrid manicure, scraping or peeling the product off can strip away layers of your natural nail, leaving them thin and damaged. Always use proper removal techniques, such as soaking in gentle remover solutions.
Tips for Long-Lasting Results
To keep your nails looking fresh and beautiful for up to three weeks, follow some simple aftercare habits. Moisturise your cuticles daily with a nourishing oil to keep the skin soft and healthy. When performing household chores that involve water or cleaning agents, wear protective gloves to shield your manicure from harsh chemicals and physical wear. Lastly, give your nails a brief break between applications if they feel weak, allowing them to remain strong and resilient.




