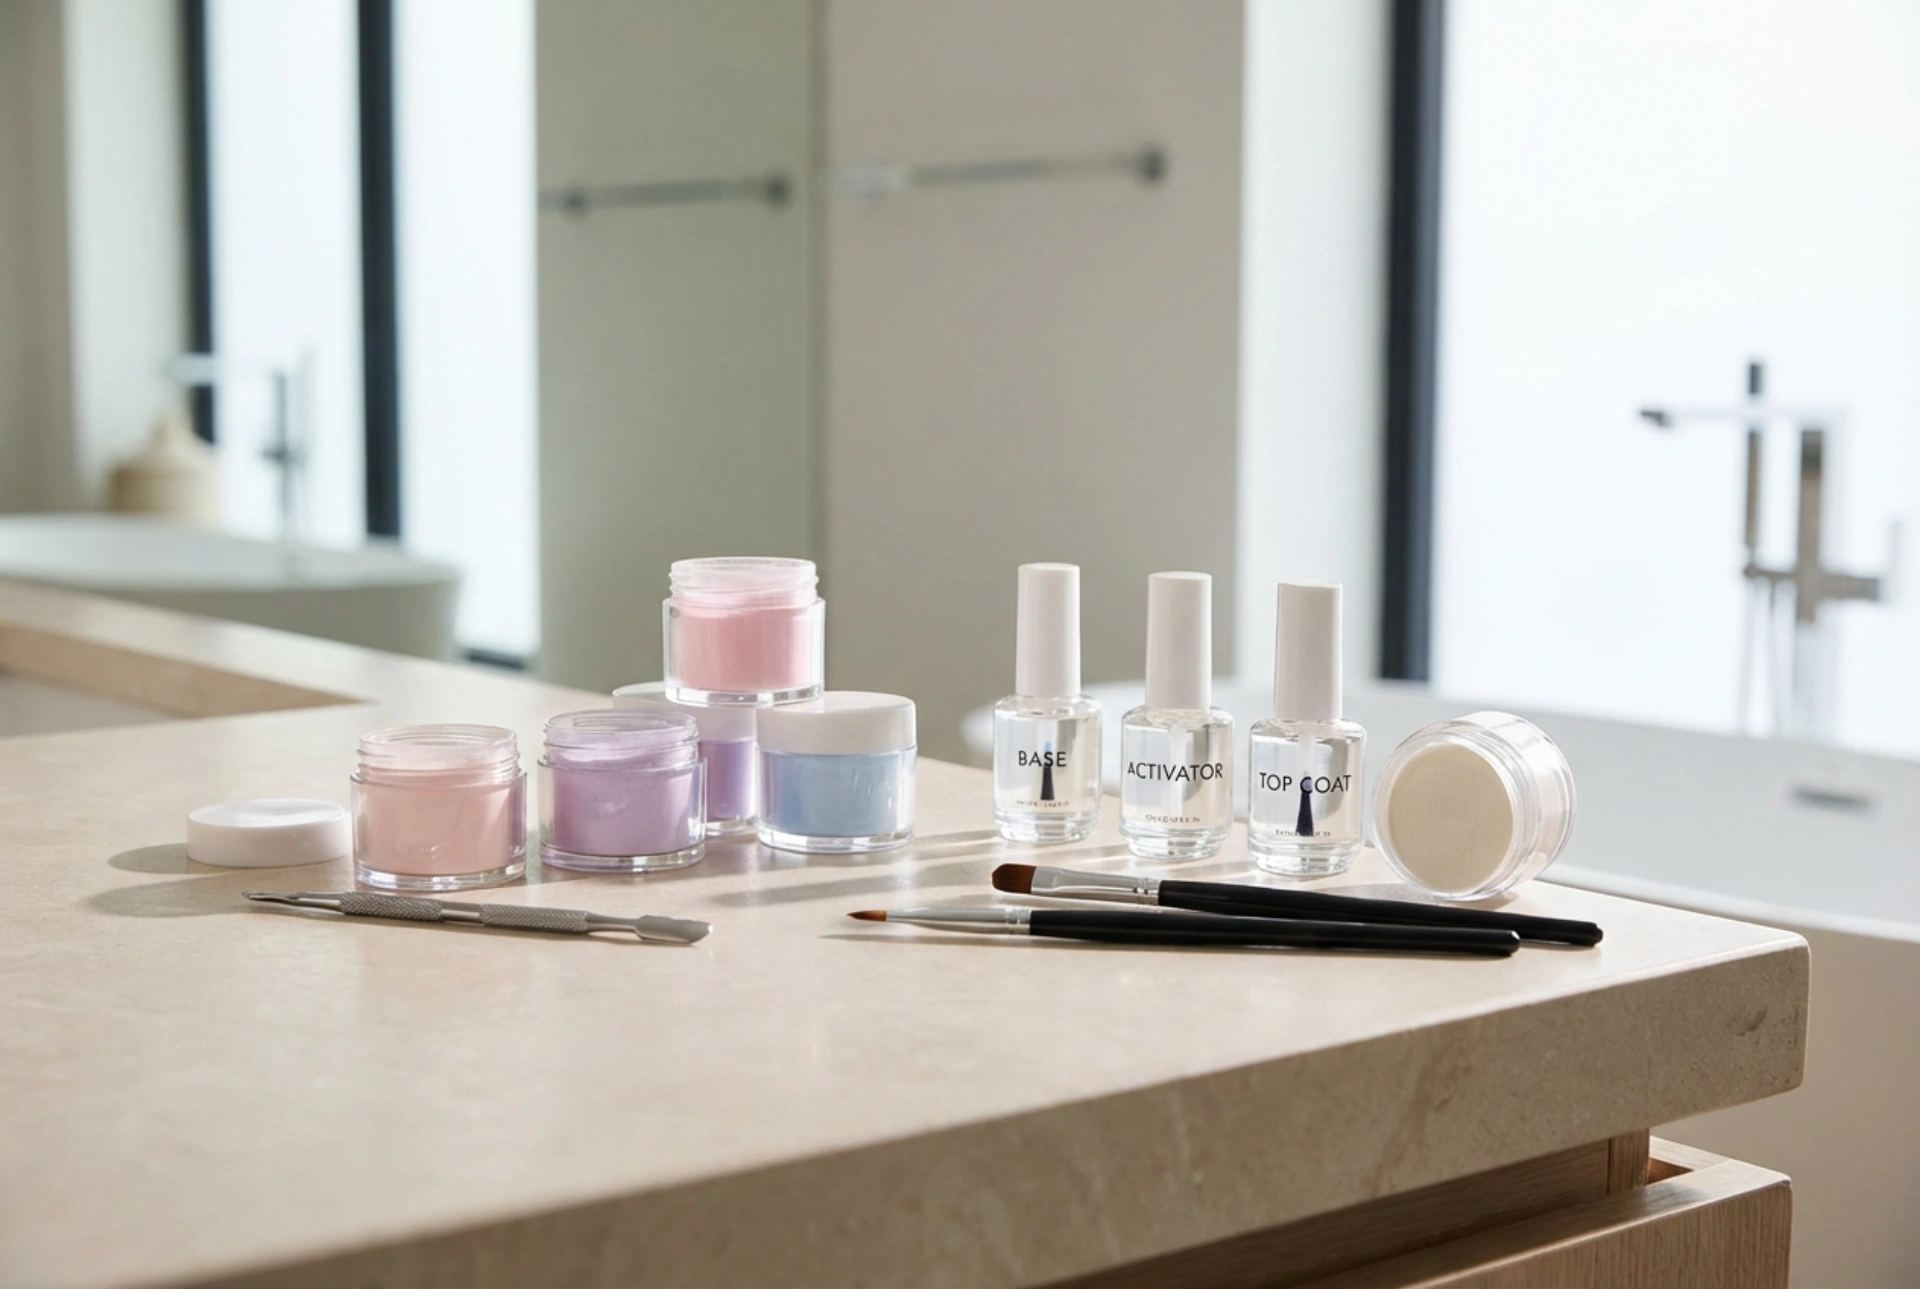


Creating a professional-looking manicure at home has never been more accessible, particularly with the rise of dip powder systems. Often known as titanium or dip manicures, this method offers a durable, long-lasting alternative to traditional nail polishes without the need for UV or LED curing lamps. A beautifully arranged home workspace, complete with neat jars of soft pastel powders, essential liquids, and delicate brushes, can transform your routine into a soothing, creative ritual. Understanding the basic components and techniques is the first step towards achieving flawless results in the comfort of your own home.
What is a Dip Powder Manicure?
A dip powder manicure relies on a combination of adhesive base liquids and finely milled acrylic powders to build a strong, resilient layer over the natural nail. Unlike gel polishes that require ultraviolet light to harden, the dip system cures through a chemical reaction initiated by a liquid activator. This process minimises exposure to UV radiation while providing a finish that can easily last for three to four weeks without chipping or peeling. The resulting overlay is strong yet lightweight, making it an excellent choice for individuals looking to grow out their natural nails or protect them from daily wear and tear.
Essential Components of Your Home Kit
To begin your journey, you will need to assemble a comprehensive kit. Investing in high-quality, generic tools and liquids ensures a smoother application and a more professional finish. Here are the key components you should look for:
- Nail Prep or Dehydrator: This essential liquid removes natural oils and moisture from the nail plate, ensuring optimal adhesion of the subsequent layers.
- Base Liquid: A specially formulated adhesive that acts as the glue for the powder. It must be applied evenly to prevent clumping.
- Colour Powders: Finely ground polymer powders available in a vast array of shades, from delicate pastels to classic neutrals and vibrant hues.
- Activator: The liquid initiator that triggers the hardening process of the base liquid and powder combination, locking the structure in place.
- Top Liquid: A high-shine or matte finishing coat that seals the manicure, provides scratch resistance, and adds a beautiful, glossy depth.
- Brush Saver: A cleaning liquid used to dissolve hardened product from your application brushes, keeping them soft and usable for future applications.
- Tools: A soft dusting brush to remove excess powder, high-quality nail files, and a buffer block to smooth the surface before the final top coat.
Step-by-Step Guide to Home Application
Achieving a smooth, even finish requires patience and a systematic approach. Before you begin, set up your workspace in a well-ventilated room with a clean, flat surface to lay out your tools and powders.
Step 1: Preparation
Proper preparation is the foundation of any long-lasting manicure. Start by gently pushing back your cuticles using a wooden stick. Lightly buff the surface of your nails to remove the natural shine, which helps the adhesive bond. Cleanse the nails thoroughly with a dehydrator or prep liquid to eliminate any dust or oils.
Step 2: Base Coat and Dipping
Apply a thin, even layer of the base liquid to about three-quarters of your nail, avoiding the cuticle area to prevent lifting. Immediately dip your nail at a 45-degree angle into the powder jar. Tap off the excess powder and use a soft brush to sweep away any loose particles. Repeat this process, this time applying the base coat closer to the cuticle line, and dip again to build the desired thickness and colour intensity.
Step 3: Activation and Shaping
Once you have achieved your desired opacity, apply a generous layer of the activator liquid over the entire nail. Allow it to dry completely for a couple of minutes. Once hardened, use a file to shape the free edges and a buffer to smooth any uneven patches on the surface of the nail. Wipe away any filing dust.
Step 4: Sealing the Manicure
Apply a second layer of activator, wait a minute, and then gently wipe the nail surface with a dry lint-free wipe. Finish by applying two thin layers of the top coat. The first layer should be applied with quick, light strokes, while the second layer can be applied more slowly to ensure a high-gloss, protective finish. Allow to dry completely.
Best Practices for Maintaining Healthy Nails
While dip powder manicures are exceptionally durable, maintaining the health of your natural nails is crucial. Always prioritise gentle removal techniques; never scrape or peel the product off, as this can strip away layers of the natural nail plate. Instead, use a gentle soaking method with cosmetic wraps. Between manicures, nourish your cuticles and surrounding skin with rich oils and hydrating creams to keep the hands looking radiant and healthy.




