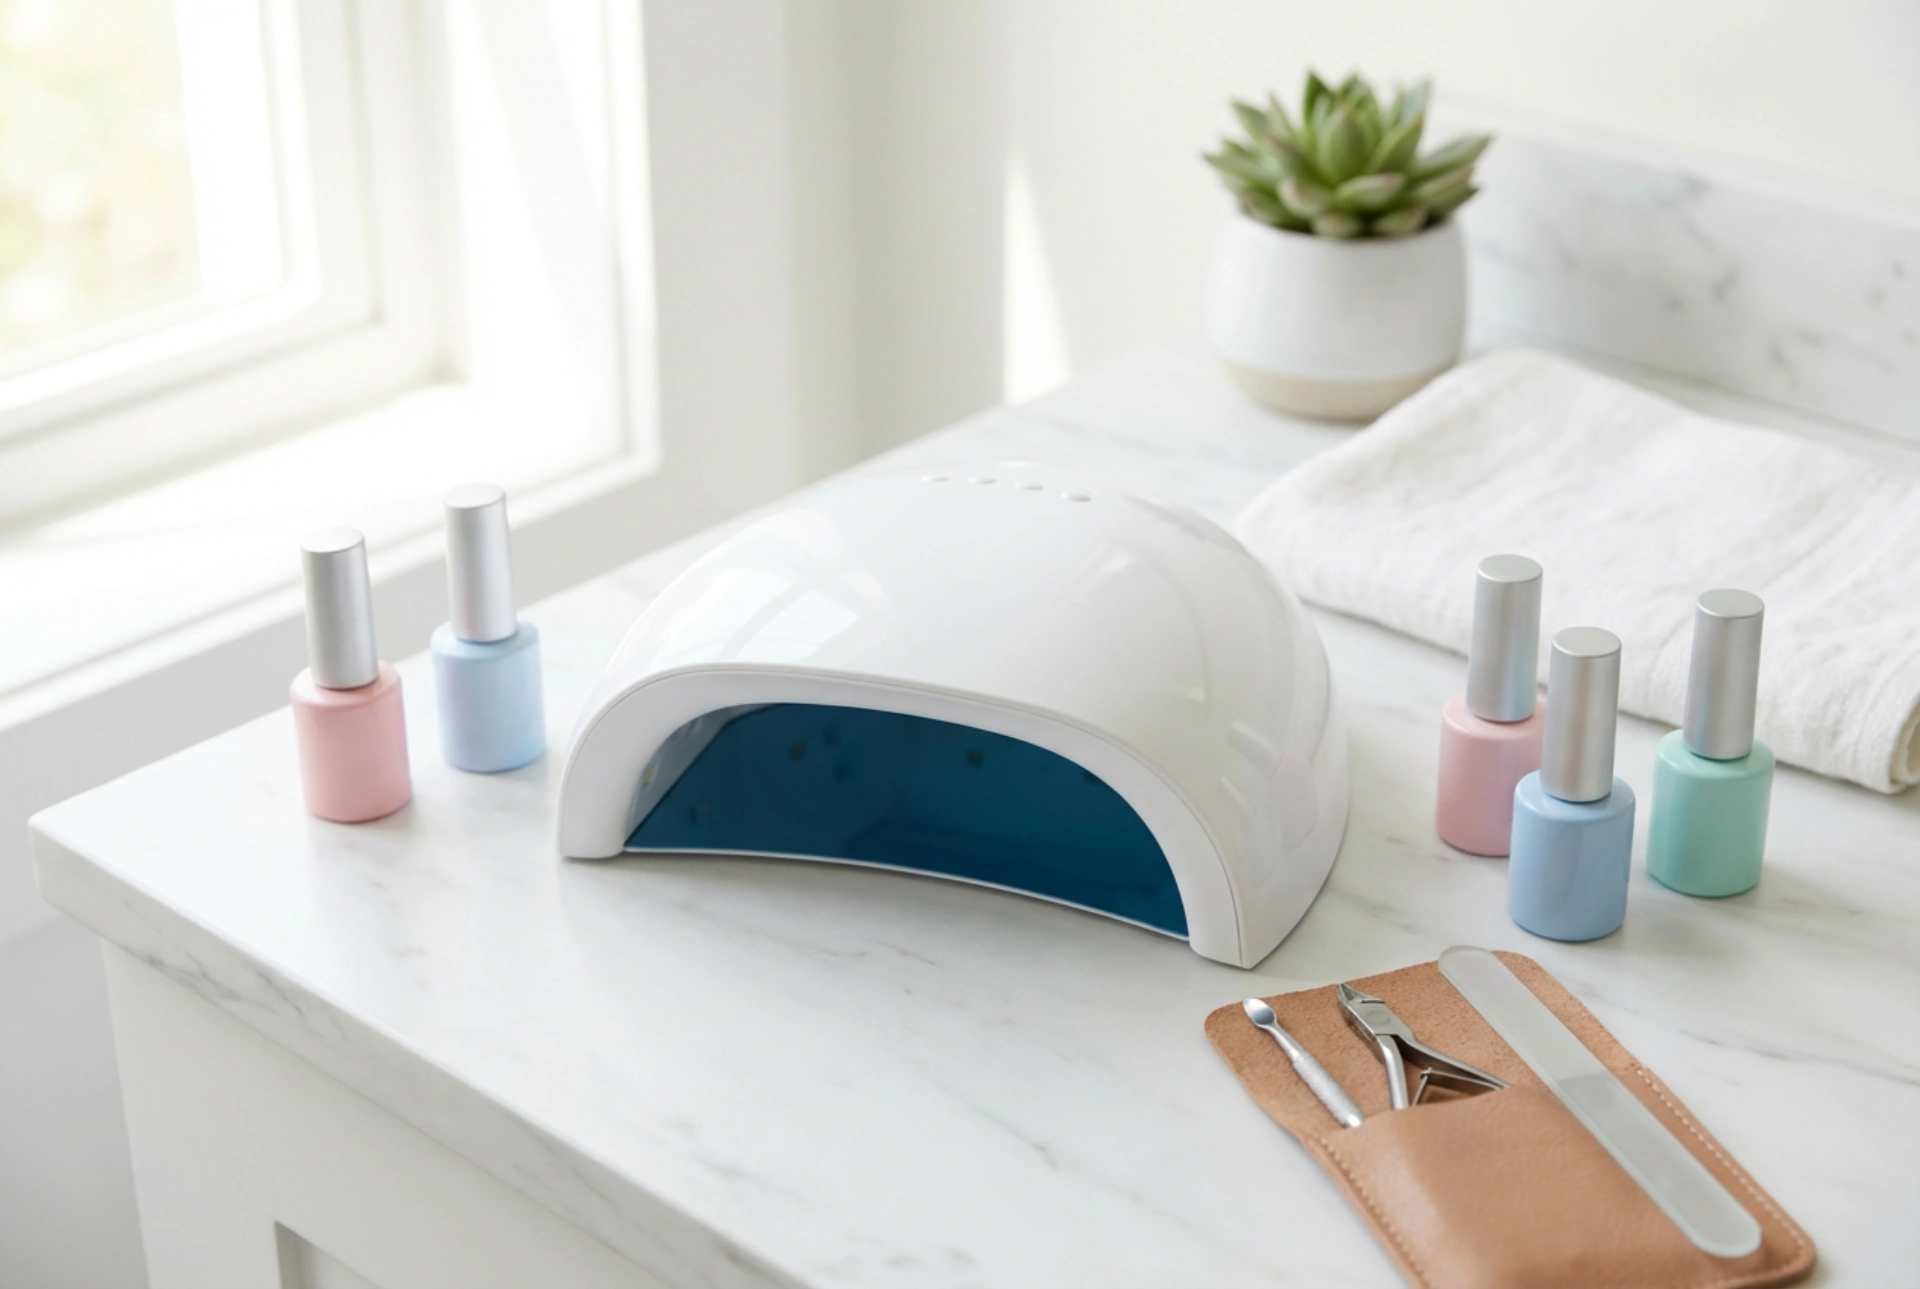


Embarking on your home manicure journey can be an incredibly satisfying experience. Creating a dedicated space with a sleek, minimalist setup – complete with pastel gel bottles, essential tools, and a reliable nail lamp – makes the process feel like a luxurious self-care ritual. Doing your own nails not only allows you to express your personal style but also gives you complete control over your routine. However, to achieve professional-looking results that last, understanding the fundamentals of your equipment and preparation is key.
Choosing the Right Nail Lamp: Power and Efficiency
The nail lamp is the heart of any modern home manicure kit. When selecting your first device, the power rating, measured in watts, is one of the most critical factors to consider. Generally, lamps for home use range from 24 to 54 watts. A lamp with too little power may fail to cure the polish thoroughly, leading to peeling or smudging, while excessively high power might cause unnecessary heat spikes on your natural nails.
For beginners, a dual LED/UV lamp with a power of 36 to 48 watts is often considered the ideal sweet spot. These lamps cure most modern gel formulations quickly and evenly, typically requiring only 30 to 60 seconds per layer. It is also beneficial to look for a model with a low-heat mode, which gradually increases power to ensure a comfortable curing process without any sudden warmth.
Essential Tools for Your Starter Kit
A complete starter kit should contain more than just a curing lamp and a few pretty colours. To ensure your manicure adheres perfectly and looks neat, you will need a selection of basic preparation tools. A high-quality nail file with a grit suitable for natural nails (usually 180/240 grit) is essential for shaping the edges, while a soft buffer block gently removes the natural shine from the nail plate, allowing the base coat to grip effectively.
- Cuticle pusher: Either a wooden stick or a metal tool to gently push back the cuticles.
- Dehydrator or cleanser: Used to remove oils and dust from the nail surface before application.
- Base coat: The crucial foundation layer that protects the natural nail and ensures adhesion.
- Gel polish: Your chosen colour, ideally applied in thin, even layers.
- Top coat: The final seal that provides a glossy or matte finish and protects the colour from chipping.
Step-by-Step: Your First DIY Application
Patience and precision are your best tools when performing your first home manicure. Begin by shaping your nails to your preferred length and gently pushing back your cuticles. Use the buffer block very lightly across the surface of each nail to remove oil and create a slightly textured surface. Wipe the nails thoroughly with a lint-free wipe soaked in prep cleanser to remove all traces of dust.
Apply a very thin layer of base coat, making sure to seal the free edge of each nail. Cure this layer under your lamp according to the manufacturer’s instructions, usually for 30 seconds. Next, apply your chosen gel polish in thin coats. It is always better to apply two or three ultra-thin layers rather than one thick layer, as thick layers may not cure properly in the centre. Cure after each layer of colour.
Finally, apply your top coat, ensuring you cover the entire coloured area and seal the edges once more. Cure this final layer thoroughly. If you are using a traditional top coat, wipe away the sticky inhibition layer with a cleanser wipe to reveal a brilliant, smudge-proof shine.
Maintaining Nail Health and Safe Removal
To keep your natural nails strong and healthy, proper maintenance and safe removal are just as important as the application itself. Never peel or scrape off your gel polish, as this strips away the delicate upper layers of your natural nail plate. Instead, use a gentle soaking method with cosmetic remover or specialised wraps to break down the polish safely before gently wiping it away.
In between manicures, nourish your hands and nails by applying a rich cuticle oil daily. This keeps the surrounding skin hydrated and prevents dry, split cuticles, ensuring your hands always look beautifully groomed and ready for your next creative design.




