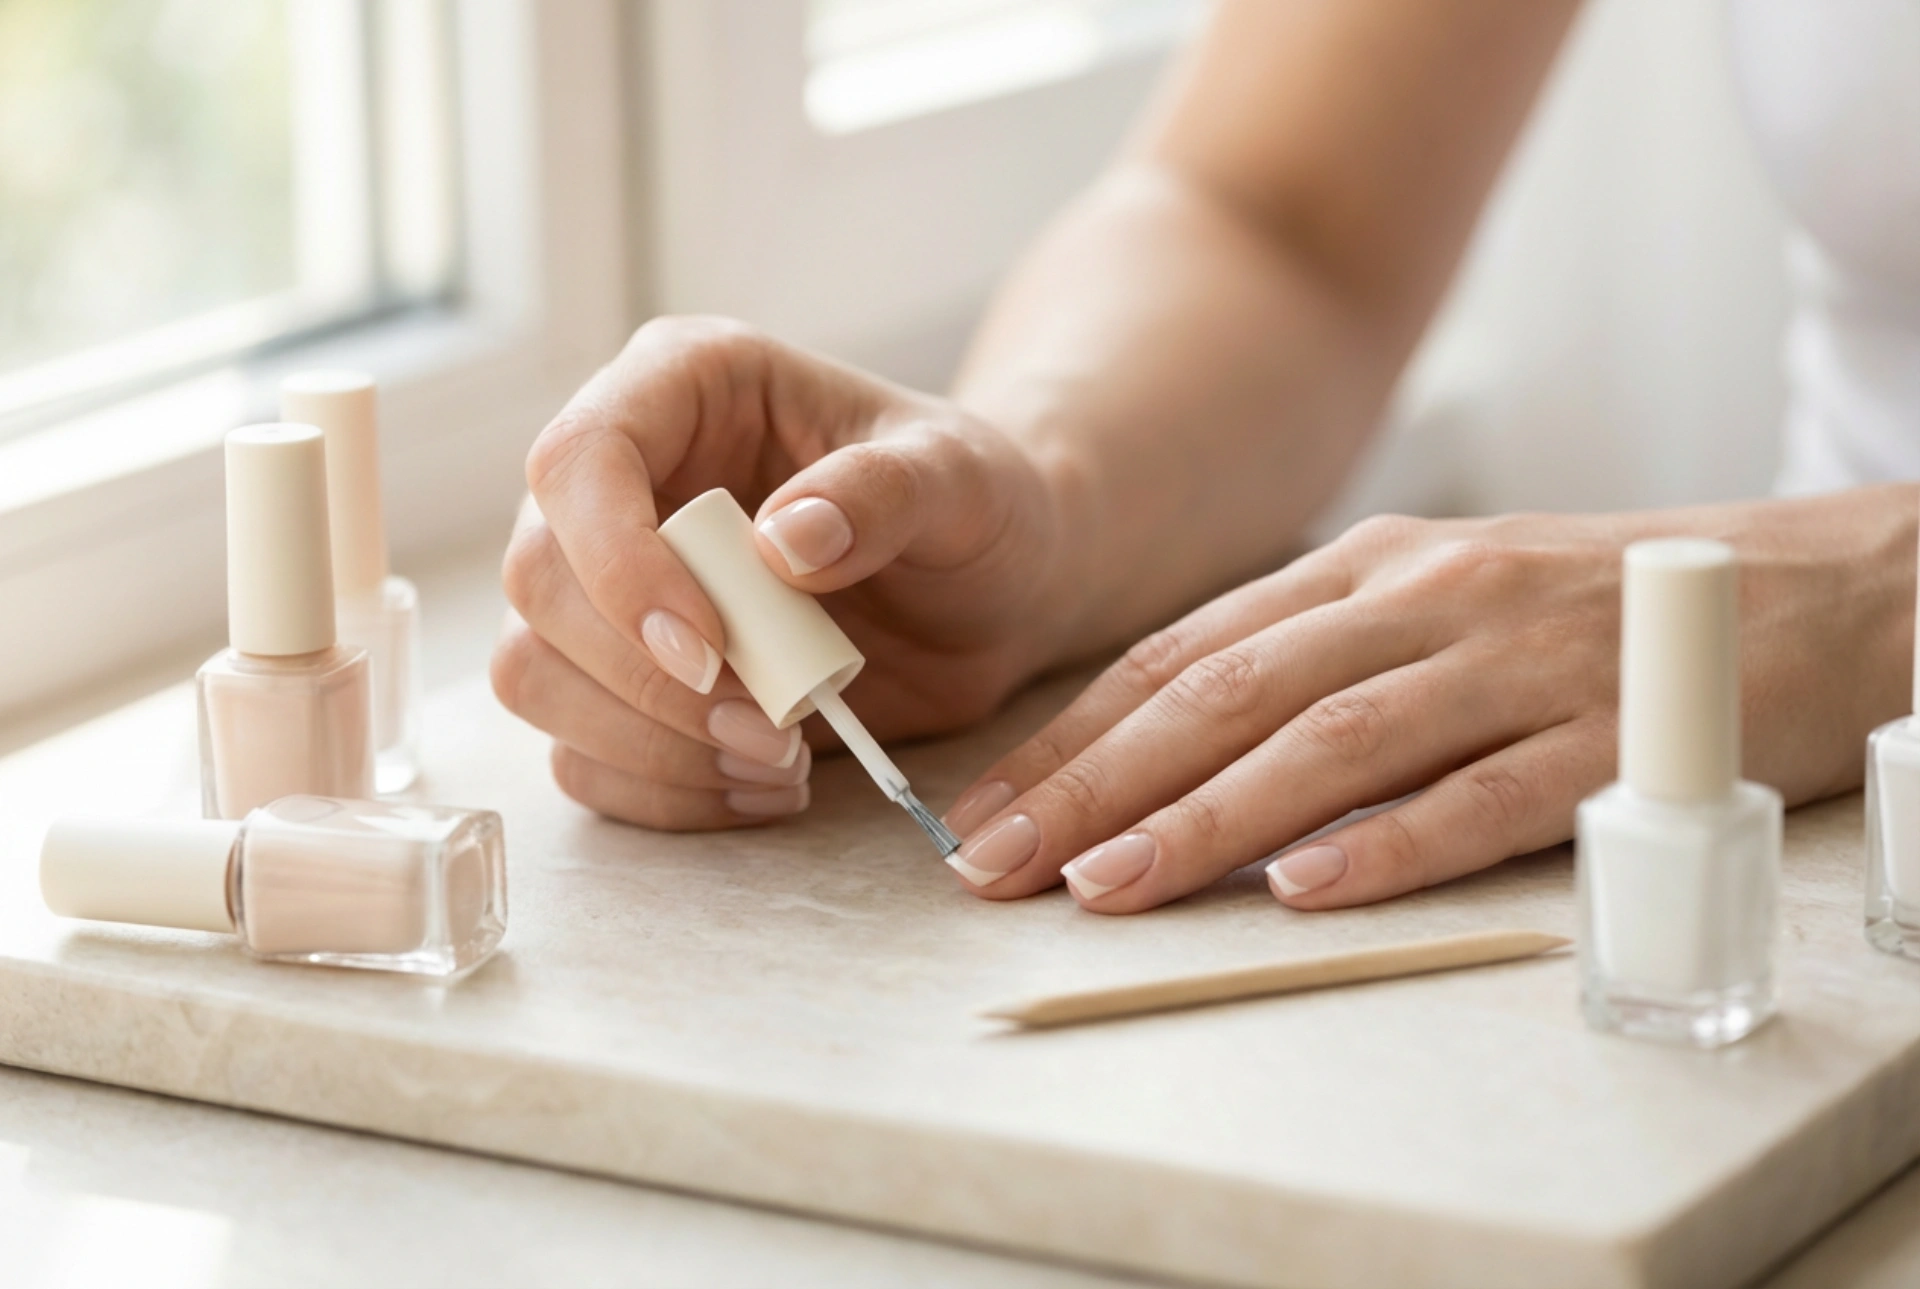


There is a timeless elegance in a classic French manicure that transcends changing beauty trends. The sight of neatly manicured hands, featuring delicate white tips paired with a sheer, healthy-looking pink base, evokes an immediate sense of sophisticated simplicity. Achieving this clean, minimalist look at home does not require professional salon visits, but rather a methodical approach to preparation and a few essential tools. By mastering the basic techniques of nail care and precision painting, anyone can recreate this enduring aesthetic with ease, enjoying a flawless finish that complements any style.
The Essential French Manicure Kit
To successfully perform a French manicure at home, having the right set of tools is crucial. You do not need professional-grade machinery, but investing in high-quality, basic manicure essentials will make the process much easier and yield far better results. A complete home kit should ideally contain the following components:
- A fine-grit nail file: A glass or high-quality emery board is gentler on natural nails than metal files, helping to shape the free edge without causing splitting.
- A cuticle pusher: A wooden orange stick or a rounded metal pusher is necessary to gently push back the cuticles and clear the nail plate.
- A base coat: This acts as a protective barrier, preventing staining and helping the subsequent layers of polish adhere smoothly.
- Sheer pink or nude polish: This mimics the natural colour of the nail bed, providing a clean, subtle tint.
- Opaque white polish: The defining feature of the French manicure, used to paint the classic smile line on the nail tips.
- A detail brush or stencils: For those who struggle with freehand painting, thin nail art brushes or adhesive stencils can assist in creating a crisp, clean line.
- A high-shine top coat: This seals the design, adds a brilliant glossy finish, and protects the manicure from premature chipping.
Step-by-Step Nail Preparation
The secret to a long-lasting and neat manicure lies in the preparation of the natural nail. Applying polish to unprepared nails often leads to lifting, uneven surfaces, and a messy overall appearance. Begin by thoroughly washing and drying your hands to remove any natural oils and lotions.
Shaping the Nails
A French manicure looks beautiful on almost any nail shape, but square, squoval, or classic oval shapes tend to work best because they offer a clear, defined tip. File your nails in one direction rather than using a sawing motion, which can weaken the nail fibres. Aim for a consistent length across all fingers to ensure a balanced aesthetic.
Managing the Cuticles
Apply a gentle cuticle remover or soak your hands in warm, soapy water for a few minutes to soften the skin. Once softened, use your cuticle pusher to gently guide the cuticles back. Avoid cutting the cuticles excessively, as they serve as a natural barrier against impurities; instead, focus on clearing any dead skin clinging to the nail plate, which could otherwise cause the polish to lift.
Dehydrating the Nail Plate
Before applying any polish, use a lint-free wipe saturated with a gentle cleanser or rubbing alcohol to wipe down each nail. This step removes residual oils, dust, and moisture, ensuring that the base coat adheres perfectly to the keratin surface.
Mastering the Perfect Smile Line
Painting the iconic white tip, often referred to as the smile line, is the most challenging part of a French manicure. However, with patience and the right technique, it becomes much easier to execute. The key is to work with thin layers and steady hands, utilising the natural curves of your nails as a guide.
The Freehand Technique
If you prefer to paint freehand, start by wiping excess white polish off the brush to avoid blobs. Place the brush at one side of the nail tip and gently sweep it toward the centre in a curved motion. Repeat this from the opposite side, meeting in the middle to form a seamless curve. Keep your hand resting on a flat, stable surface to minimise shaking.
The Clean-Up Method
An alternative approach is to paint a slightly thicker white line across the tip, then refine it using a clean-up technique. Dip a flat, angled nail art brush into polish remover, wipe off the excess, and gently sweep it along the inner edge of the white tip. This allows you to sculpt a perfectly sharp and symmetrical curve, erasing any minor mistakes instantly.
Using Guides and Stencils
For complete beginners, adhesive guides are an invaluable tool. Ensure your base coat or sheer polish is completely dry before applying the stencils, otherwise, they will peel the colour away. Place the guide just below the free edge of your nail, press it down firmly to prevent leakage, paint the tip white, and peel the stencil off immediately while the polish is still wet for the cleanest line.
Sealing and Maintaining the Manicure
Once you have successfully painted your tips, allow them to dry for a few minutes before applying the sheer pink or nude polish over the entire nail. This helps soften the stark contrast of the white tip, giving the manicure its signature cohesive look. Alternatively, you can apply the sheer colour first and the white tips on top, depending on how prominent you want the tips to appear.
Finally, seal your hard work with a generous layer of top coat. Be sure to run the top coat brush along the very edge of the nail tip to seal the polish and prevent wear. To keep your hands looking elegant, apply cuticle oil daily and wear gloves when performing household chores. With proper care, your classic French manicure will remain pristine, shiny, and sophisticated for days.




