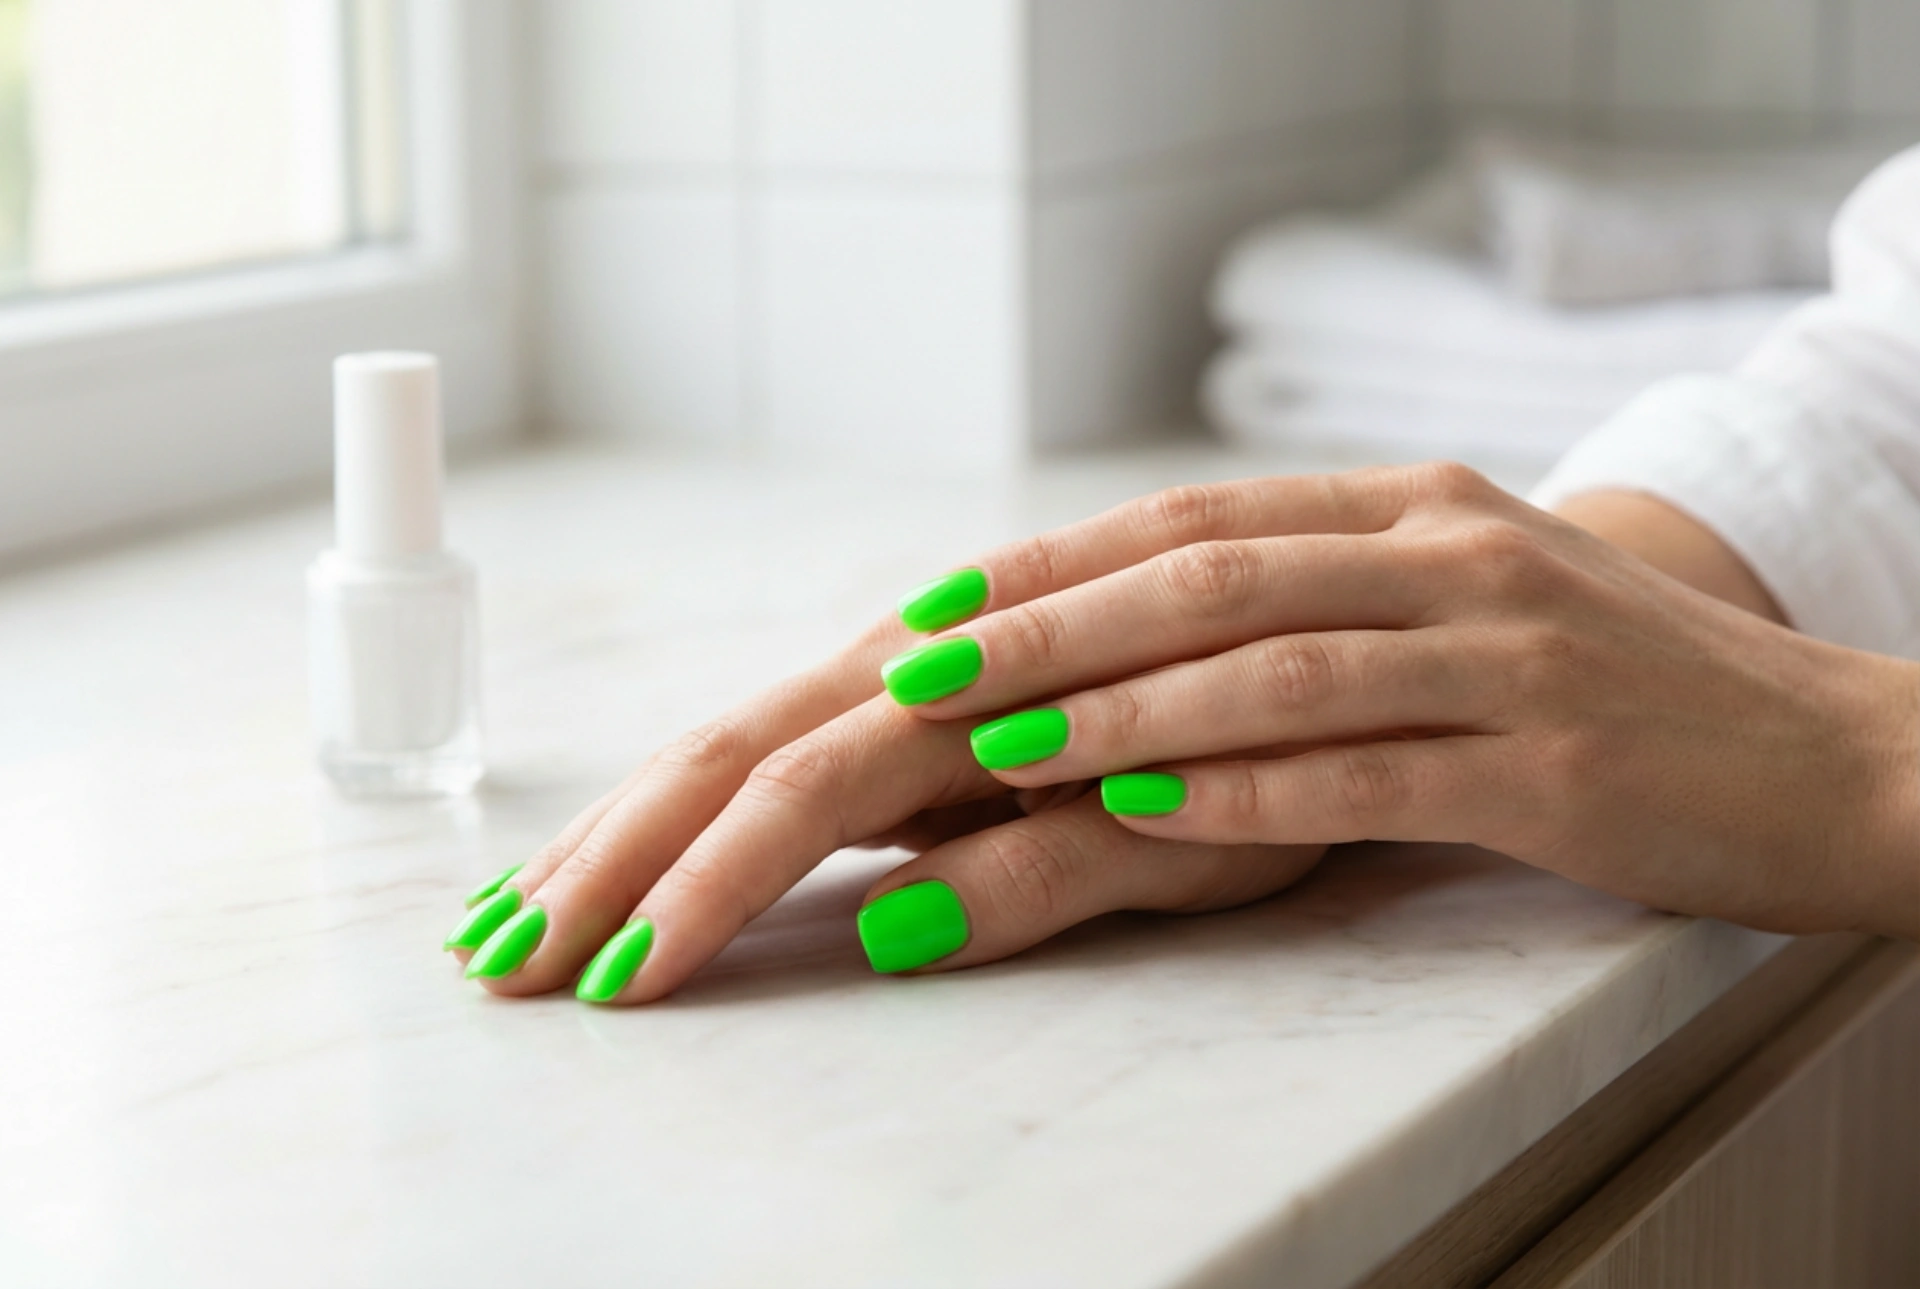


Vibrant neon green nails are a striking and modern beauty statement. Captured beautifully in soft natural light against a minimalist background, this eye-catching shade exudes confidence and energy. However, achieving that flawless, streak-free finish can often be a challenge. Neon pigments are notoriously tricky to work with, frequently resulting in a patchy or uneven application. Understanding the right techniques and preparation steps is essential to mastering this bold manicure at home.
Understanding the Challenge of Neon Polishes
To achieve a perfect application, it helps to understand why neon polishes behave the way they do. Most neon nail colours contain a high amount of white pigment or have a thinner, more chalky consistency than standard crèmes. This unique formulation is necessary to make the neon pigments pop, but it also makes the polish prone to streaking. When you apply it, the brush can easily drag the wet polish, leaving behind thin patches and unsightly lines. By adapting your application technique, you can easily overcome these chemical hurdles and achieve a professional look.
Prepping the Nails for a Perfect Canvas
A smooth surface is the absolute foundation of a streak-free manicure. Any ridges, peeling, or unevenness on the natural nail will be magnified by neon polish. Start by gently shaping your nails and preparing the cuticles. Here are the essential preparation steps:
- Gentle Buffing: Use a high-quality, fine-grit buffer to smooth out any natural ridges on the nail plate. Be cautious not to over-buff, as this can weaken the nail.
- Dehydrating the Nail: Wipe each nail with a lint-free wipe soaked in a gentle dehydrator or isopropyl alcohol to remove natural oils and dust.
- Applying a Ridge-Filling Base Coat: A dedicated ridge-filling base coat acts like a primer for your nails. It fills in microscopic imperfections, creating a perfectly flat, matte surface for the neon colour to grip.
The Secret Weapon: The White Base Coat
One of the most effective professional secrets for making neon green look incredibly vibrant and completely even is using an opaque white base coat. Because neon polishes can be somewhat sheer, applying them directly onto the natural nail often requires three or four coats, which increases the likelihood of streaks and bubbles. Applying a single, thin coat of solid white polish beforehand serves a dual purpose:
Enhancing Colour Payoff
The white background acts as a bright canvas, reflecting light back through the semi-translucent neon polish. This makes the neon green appear exceptionally bright, vivid, and true to the shade in the bottle with just one or two thin layers of colour.
Reducing Streaks
By providing a uniform, solid background, the white polish masks any natural variations in your nail bed. It also means you need fewer coats of the neon green polish itself, which minimises the chances of heavy build-up and uneven drying.
Flawless Application Technique
Once your base is fully dry, it is time to apply the neon green polish. Your technique during this stage is critical to avoiding streaks. Follow these steps for the best results:
- Three-Stroke Method: Load your brush with a moderate amount of polish. Place a drop near the cuticle, push it gently towards the cuticle line without touching the skin, and sweep down the centre. Then, sweep down each side. Avoid going over the same area multiple times while the polish is wet.
- Keep Layers Thin: It is always better to apply two or three paper-thin layers than one thick layer. Thick coats trap air, lead to bubbling, and dry unevenly, causing streaks.
- The Right Brush Angle: Hold the brush almost parallel to the nail plate rather than vertically. This prevents the bristles from scraping off the wet polish you have just applied. Use a light, floating touch.
- Allow Proper Drying Time: Give each layer at least two to three minutes to set before applying the next. Applying wet polish over a partially dry layer causes dragging and creates immediate patchiness.
Sealing and Protecting Your Neon Manicure
To ensure your flawless, streak-free green manicure lasts, a high-quality top coat is indispensable. A thick, plumping top coat can help self-level any minor imperfections or slight texture left behind by the neon polish. When applying your top coat, float the brush gently over the nail to avoid smearing the underlying colour, and make sure to seal the free edge of the nail to prevent chipping. Reapplying a thin layer of top coat every few days will maintain the brilliant shine and protect the vibrant colour from premature fading.




