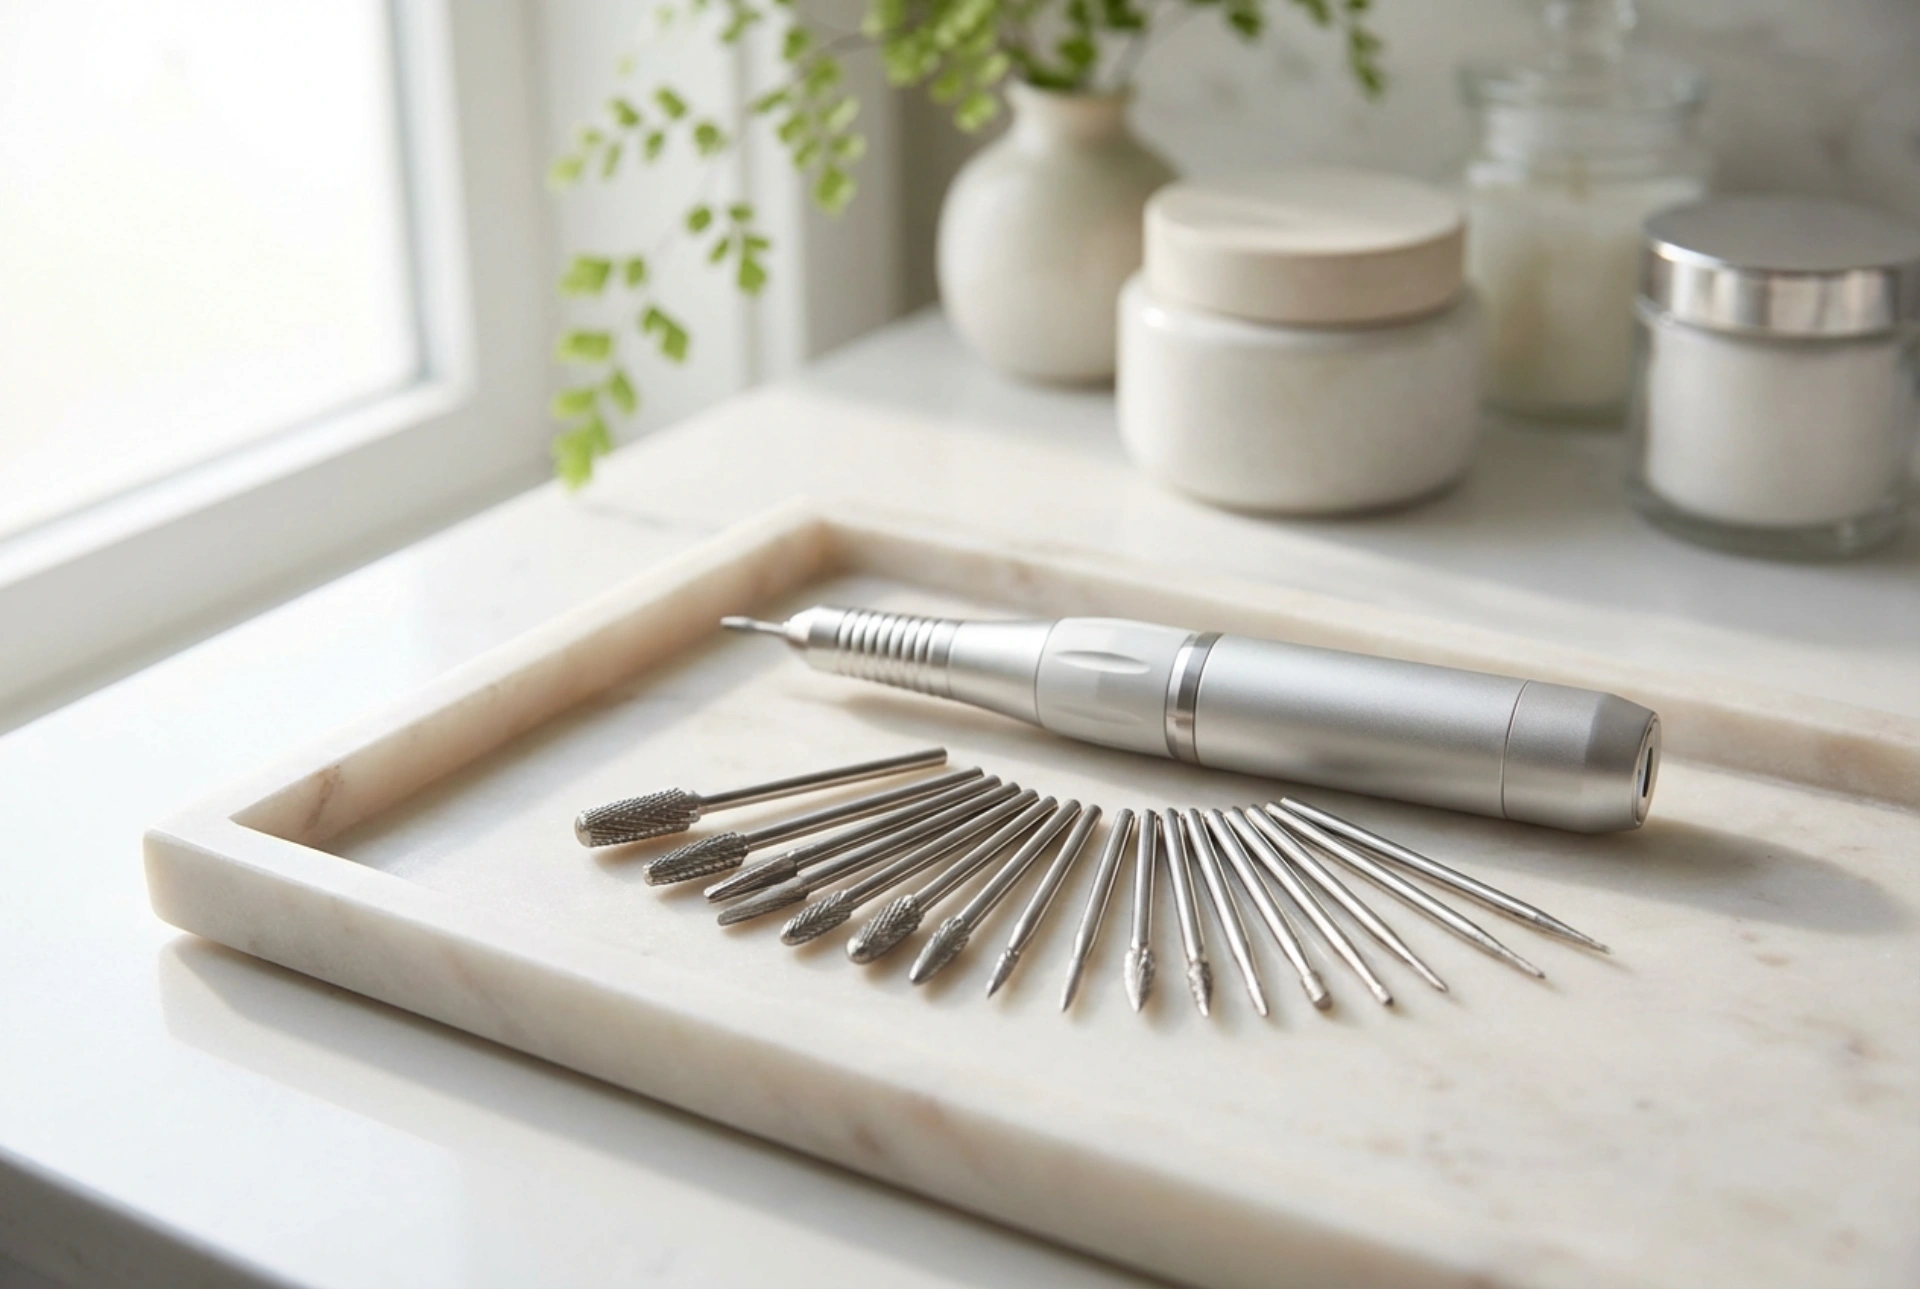


A beautifully organised beauty station, featuring a modern electric nail drill and an elegant fan of pristine drill bits resting on a light-toned surface, is the hallmark of contemporary hand care. While these devices were once reserved solely for professional salons, they have now become a staple in many home beauty routines. Using an electric nail drill, often referred to as an e-file, can significantly speed up the process of removing old gel polish, shaping nails, and tidying up cuticles. However, high-speed rotary tools require a solid understanding of safety protocols and proper maintenance. Mastering the use of this powerful device is not just about achieving a flawless aesthetic; it is primarily about protecting the health of your natural nail plate and ensuring your tools remain completely hygienic.
Anatomy of an Electric Nail Drill and Key Functions
Before plugging in your device, it is essential to familiarise yourself with its main components. A standard electric nail drill consists of a central control box and a handpiece connected by a flexible cord. The control box regulates the power supply and features a speed dial, while the handpiece houses the miniature motor that spins the drill bits. Understanding how to manage these controls is the first step towards a safe and comfortable manicure experience.
Adjusting the Speed and Rotation
Speed is measured in revolutions per minute (RPM). For beginners, maintaining a low to moderate speed is crucial. Low speeds are generally used for delicate work around the skin and cuticle area, while moderate speeds are suitable for refining the surface of the nail or shaping overlays. Most modern devices also feature a switch to change the direction of rotation, labeled forward and reverse. It is vital to adjust this setting based on which hand you are working on, ensuring the bit always spins against the direction of your movement to prevent the tool from slipping. Always ensure the motor has come to a complete stop before switching the rotation direction to protect the internal mechanics.
Selecting the Correct Drill Bits for Your Manicure
The versatility of an electric nail drill lies in its interchangeable bits. Each shape, material, and grit level serves a specific purpose, and using the wrong bit can lead to accidental damage to the nail bed. When setting up your workspace, having a clean, organised selection of bits nearby allows for smooth transitions during your routine.
Materials and Their Properties
Drill bits are typically made from ceramic, carbide, or diamond dust. Ceramic bits are highly favoured for removing gel and acrylic because they generate significantly less heat during friction, making the process much more comfortable. Carbide bits are exceptionally durable and excellent for bulk removal and shortening length. For detailed work on the skin and natural nail plate, diamond bits are the standard choice. Their fine, abrasive texture gently exfoliates dead skin without damaging the underlying tissue.
Grit Indicators and Shapes
Nail drill bits use a standard colour-coding system to indicate their grit level. Yellow and red bands represent extra-fine and fine grits, which are safest for natural nails and cuticle work. Blue represents medium grit, while green and black denote coarse and extra-coarse grits, which should only be used on artificial overlays. In terms of shape, flame-shaped bits are perfect for gently lifting cuticles, barrel bits are ideal for shortening and surface filing, and cone-shaped bits help clean the lateral folds and under-nail areas with precision.
Crucial Rules for Safe and Effortless Operation
Working with an electric nail drill requires a light hand and steady focus. Applying too much pressure or holding the tool incorrectly can cause heat spikes, thinning of the nail plate, or uncomfortable friction. By adhering to a few fundamental techniques, you can ensure a pleasant and entirely safe experience.
- Never apply downward pressure: Let the speed of the motor do the work for you. The bit should gently glide across the surface of the nail without any pressing force.
- Keep the bit in constant motion: Remaining in one spot for even a second can create a painful heat sensation. Use smooth, continuous, one-directional strokes.
- Maintain a flat angle: The bit should always lie parallel or at a very shallow angle to the nail surface. Tilting the tip downwards can create deep grooves in the nail plate.
- Establish a secure anchor: Rest your hand firmly on a flat surface and use your pinky finger as a fulcrum or anchor against the hand you are working on. This provides stability and prevents sudden slips.
Hygiene and Long-Term Maintenance of Bits and Handpiece
To preserve the precision of your equipment and protect your hands, strict hygiene practices must be observed after every single use. Dust and debris accumulate quickly in the fine grooves of the drill bits, reducing their effectiveness and creating a breeding ground for unwanted micro-organisms. Proper cleaning and storage will extend the lifespan of your tools significantly.
Cleaning and Disinfection Process
Immediately after finishing your manicure, use a dedicated nylon or brass cleaning brush to scrub away residual dust from the drill bits. Once the physical debris is removed, wash the bits in warm, soapy water. After washing, submerge the dry bits in a professional, cosmetic-grade disinfecting solution, carefully following the recommended exposure time specified by the manufacturer. Once disinfected, rinse them thoroughly, allow them to air dry completely on a clean towel, and store them in a closed, dust-free organiser box.
Protecting the Handpiece Mechanism
The handpiece is a delicate piece of engineering that requires careful handling. Never turn on the device without a bit or a special protective blank mandrel inserted into the chuck, as running it empty can damage the internal tension mechanism. Additionally, avoid dropping the handpiece, as even a minor impact can bend the internal shaft, causing the device to vibrate excessively during use. Regularly wipe down the exterior of the handpiece with a dry microfiber cloth to keep it free from fine dust.




