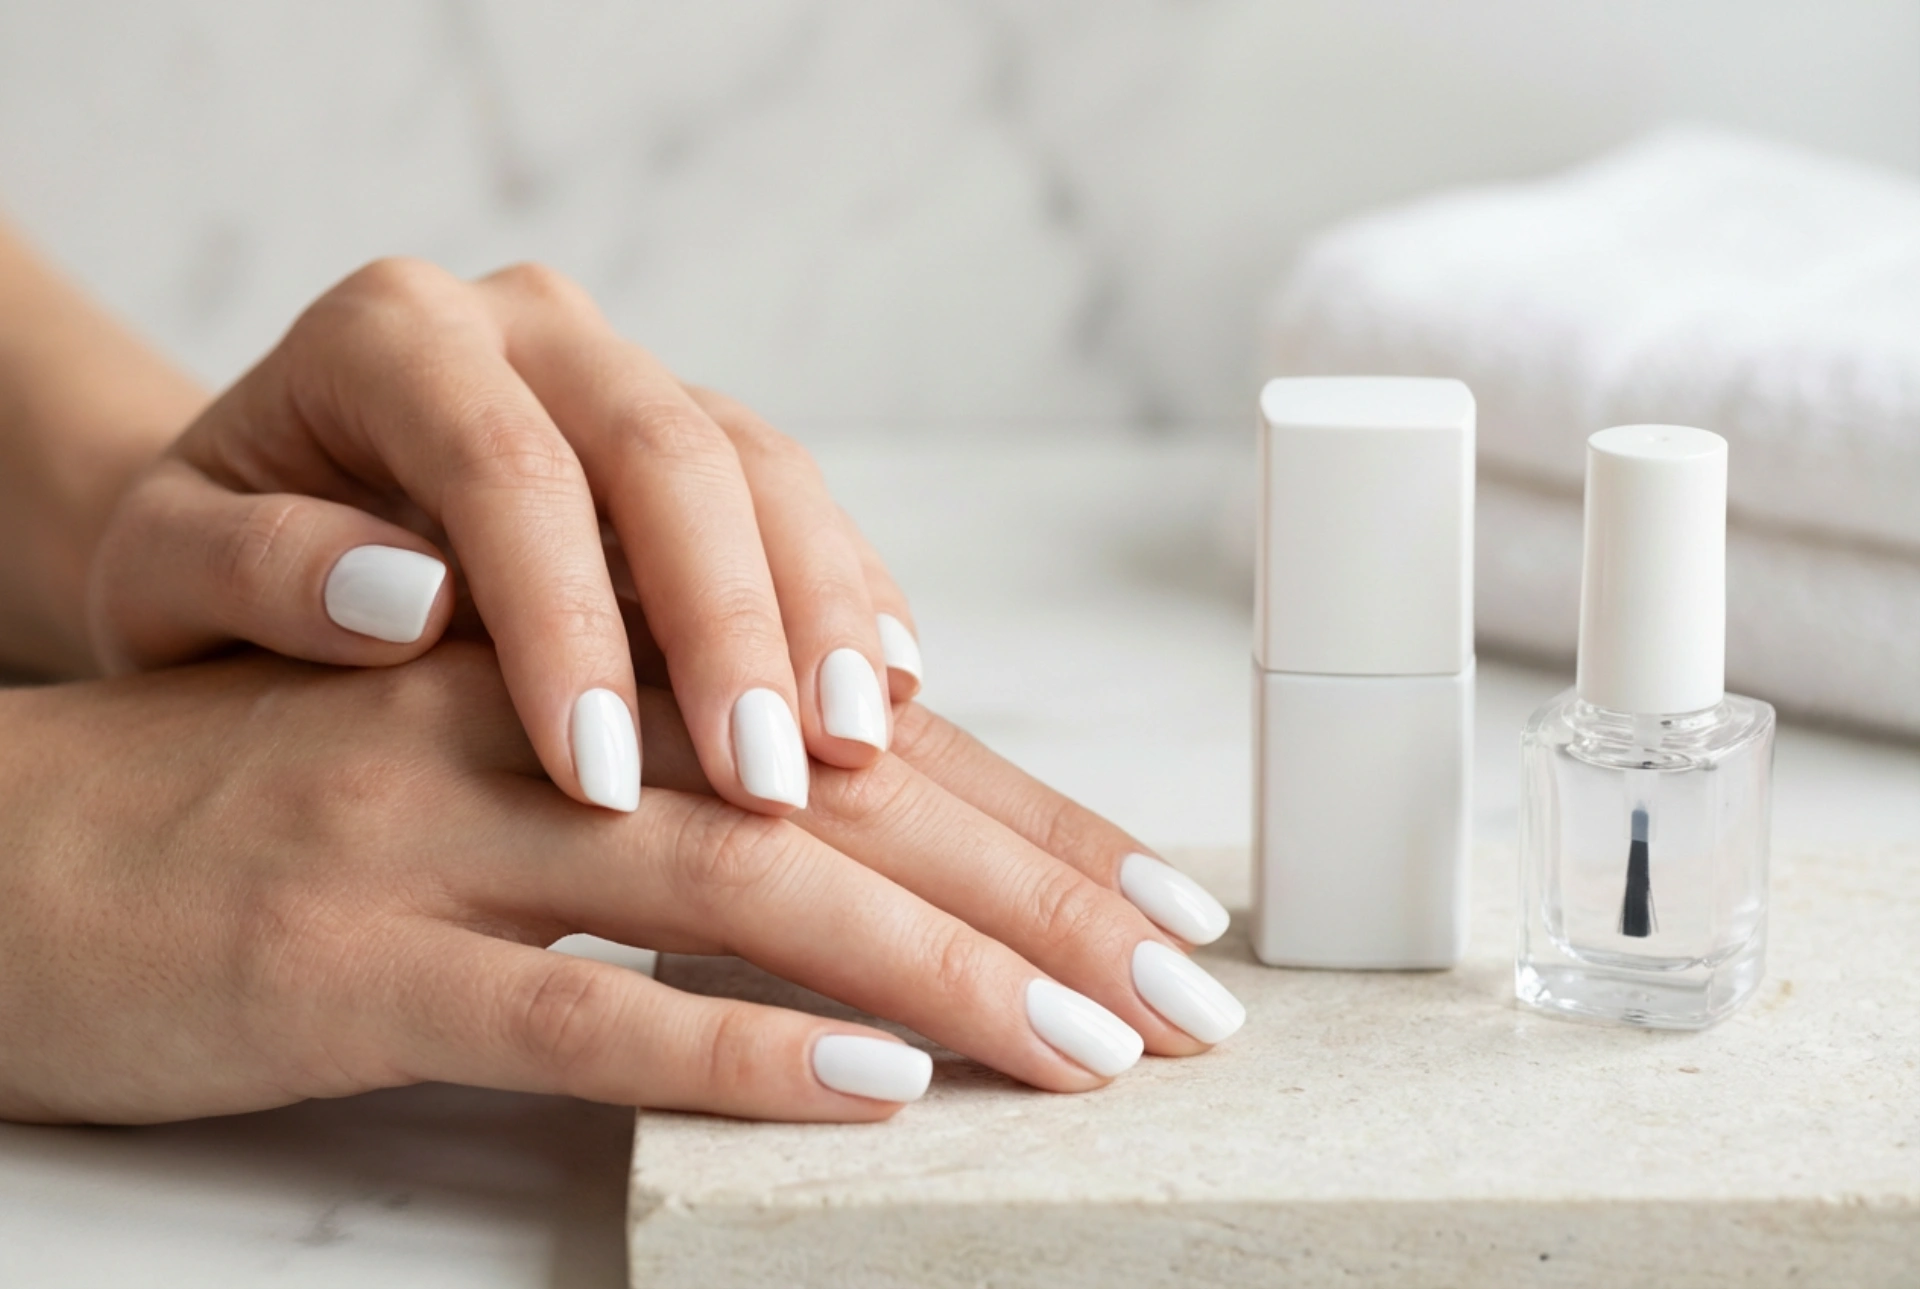


Elegant hands with a pristine, streak-free white manicure represent the pinnacle of classic elegance. Achieving this immaculate look at home, however, can be notoriously challenging. White nail polish is famous for its tendency to streak, clump, or show every tiny imperfection of the nail plate. To achieve a perfectly smooth, opaque finish akin to the clean aesthetic seen in professional flat-lays, one needs a combination of the right preparation, correct base coat selection, and precise application techniques. By understanding how white pigments behave, you can easily master the art of the perfect white manicure.
The Foundation of Success: Choosing the Right Base Coat
The secret to a flawless white manicure begins long before you open the coloured polish bottle. Because white lacquer has a high concentration of white pigment, it naturally reflects light in a way that highlights every ridge, bump, or imperfection on your nail plate. This is why prep work and base coat selection are absolutely paramount.
Instead of a standard clear base coat, consider using a ridge-filling base coat. These formulas are specifically designed to even out the surface of the nail, creating a perfectly flat canvas. Another excellent trick is to use a matte base coat or a slightly milky, semi-opaque base. The matte texture provides a subtle grip that prevents the wet white polish from sliding around, which is a major cause of streaking. A milky base coat also helps to boost the opacity of your white polish from the very first layer, reducing the number of coats you will need to apply.
Mastering the Application Technique
Applying white nail polish requires a completely different approach compared to darker shades. The main mistake many make is applying too much pressure or using too many brush strokes, which drags the pigment and creates unsightly lines. To avoid this, follow these essential application guidelines:
- Keep the brush parallel: Hold the brush almost flat against your nail rather than at a steep angle. This prevents the bristles from scraping off the polish you have just laid down.
- The three-stroke method: Place a drop of polish near the cuticle, push it gently towards the cuticle line without touching the skin, and then sweep down the centre. Follow with one swipe on the left side and one on the right.
- Use a light touch: Let the polish glide off the brush. Do not press the bristles hard against the nail plate.
- Embrace thin layers: It is always better to apply three paper-thin coats than two thick ones. Thick layers lead to bubbling, uneven drying, and prolonged drying times.
Patience and Drying Times
Patience is the ultimate virtue when it comes to white nail polish. Because white formulas are dense, they take longer to settle and dry. If you apply a second layer while the first is still slightly wet, the brush will drag the semi-dry polish underneath, creating deep streaks that are impossible to fix without starting over. Allow at least three to five minutes between each thin layer. This gives the solvents time to evaporate, ensuring each coat bonds perfectly to the one beneath it.
The Final Touch: A Plumping Top Coat
Even with meticulous application, white polish can sometimes look slightly uneven before it is sealed. This is where a high-quality top coat comes into play. A plumping or gel-like top coat is ideal for a white manicure. These formulas have a slightly thicker consistency that naturally fills in any microscopic ridges or brush marks, leaving a glass-like, pristine finish. Remember to cap the free edge of each nail to seal the polish and prevent premature chipping, ensuring your elegant white manicure remains beautiful for days.




