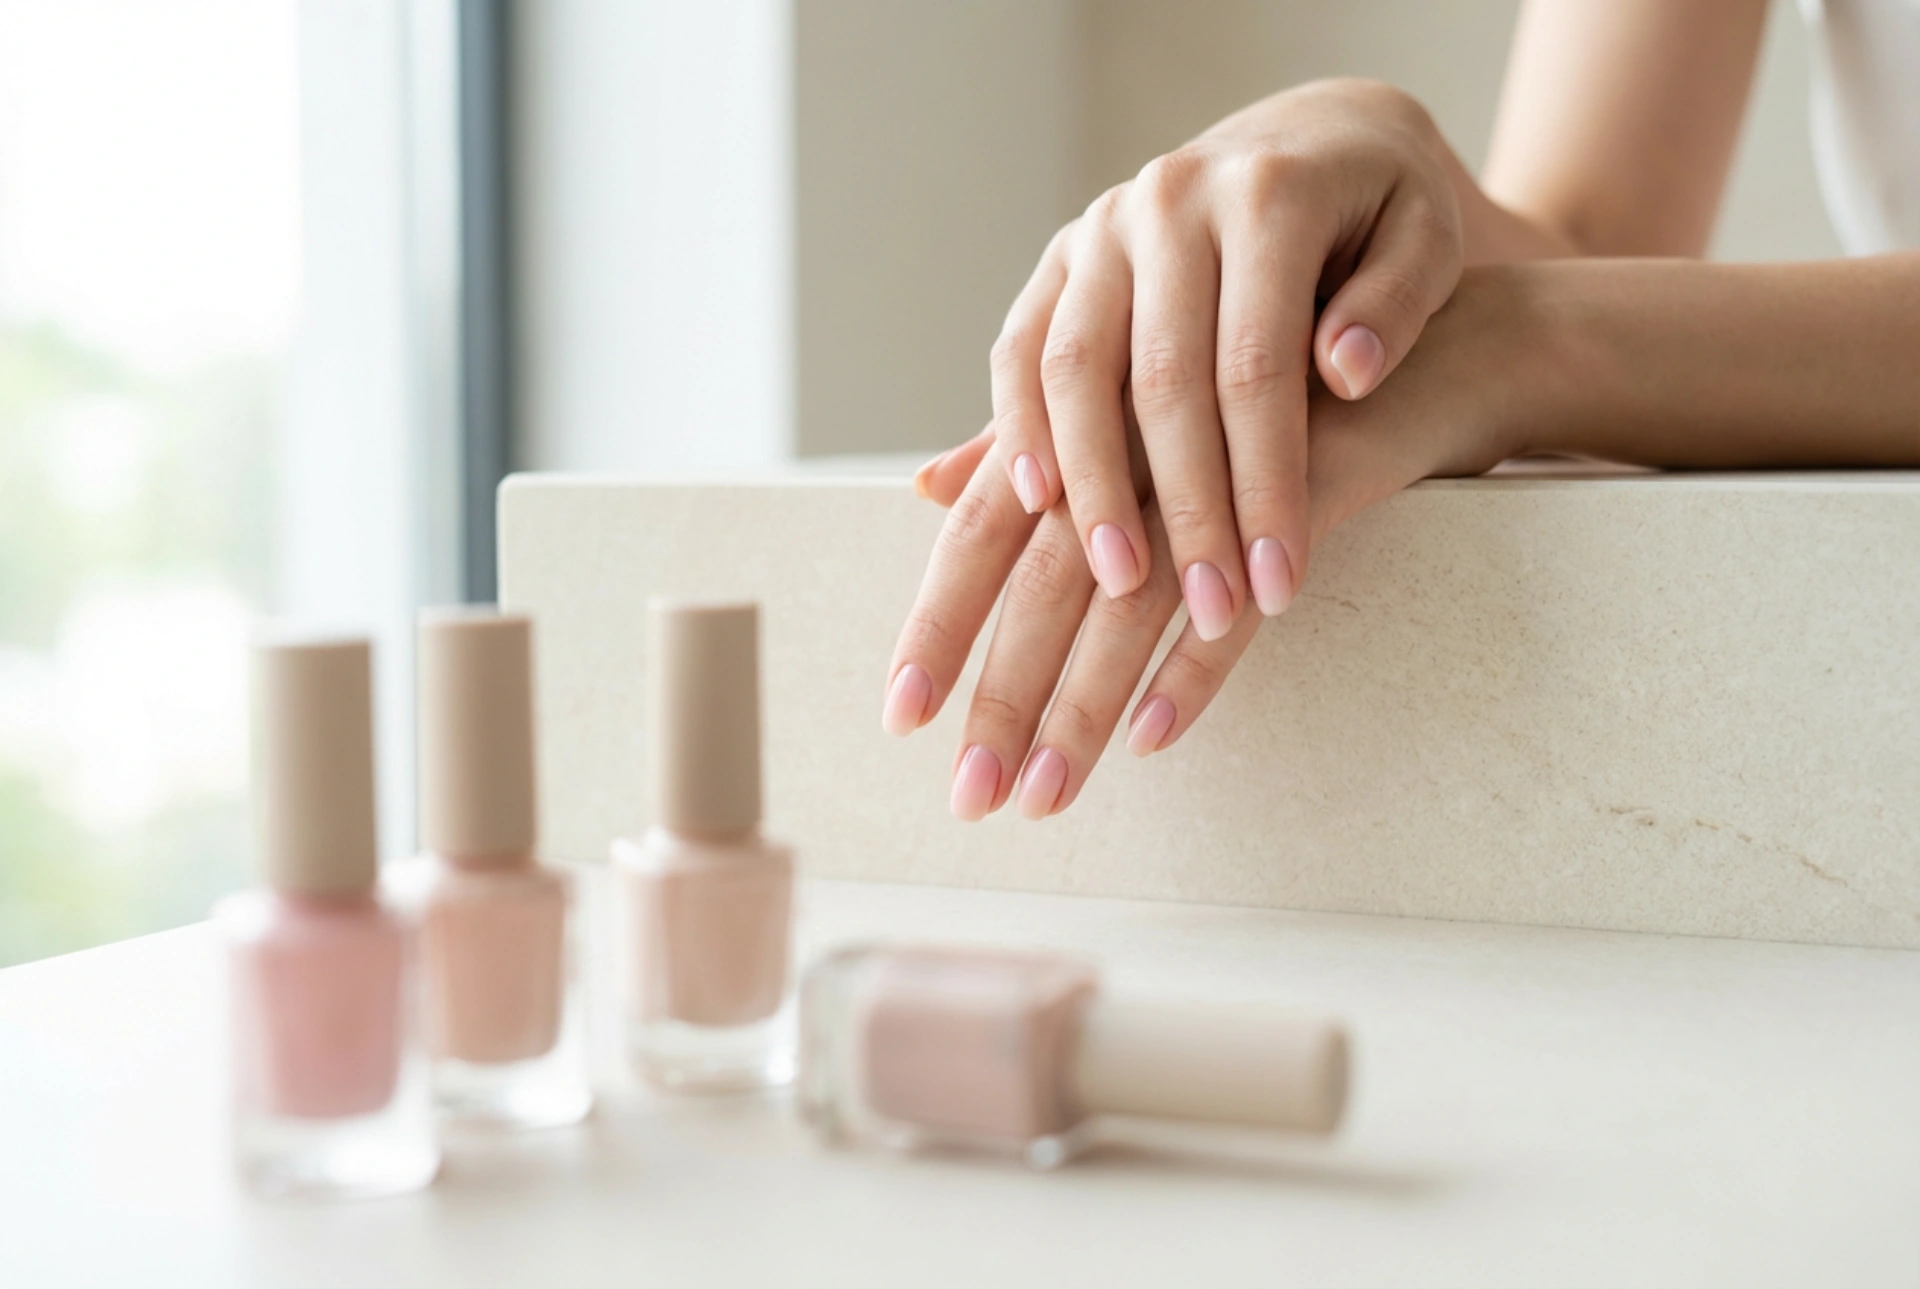


Elegant hands with perfectly manicured nails often feature delicate details that capture attention without being overly bold. A soft ombre transition, shifting gracefully from a subtle nude to a delicate pink, epitomises understated beauty. Achieving this seamless gradient effect at home has become a popular way to enjoy sophisticated nail art. With the right techniques and a little patience, anyone can master the art of colour-blending to create stunning, minimalist manicures that look professional and feel classic.
Understanding the Ombre Nail Technique
The term ombre refers to the gradual blending of one colour hue to another, usually moving from light to dark or transitioning between complementary shades. In nail design, this technique creates a soft, diffused gradient that lengthens the appearance of the fingers. Unlike solid block colours, a gradient manicure offers a fluid, multi-dimensional look. To achieve a seamless transition like the delicate pink-to-nude finish, the key lies in how the colours are applied and blended at the boundary line where they meet.
Essential Tools for At-Home Colour Blending
Mastering this look does not require professional salon equipment. Most ombre designs can be achieved using simple, everyday items found in any home beauty kit. Here are the primary tools needed for a flawless blend:
- Cosmetic Sponges: A standard, fine-pored makeup sponge is the most effective tool for stamping and diffusing colours on the nail surface.
- Base and Top Coats: A high-quality base coat protects the natural nail, while a shiny or matte top coat is essential for smoothing out the textured look left by the sponge.
- Liquid Barrier or Tape: Applying a simple protective barrier around the cuticles makes cleaning up excess polish quick and easy.
- Blending Brushes: For a more subtle touch-up, a flat or fan-shaped nail art brush can help soften the transition lines before the polish dries.
Step-by-Step Guide to the Classic Sponge Gradient
The sponge method is highly reliable for beginners and experienced nail enthusiasts alike. To begin, apply a generous layer of base coat to protect the natural nail plate. Once dry, apply one or two coats of your chosen lighter shade—such as a neutral nude—to act as the background colour. Let this layer dry completely before moving to the blending stage.
Applying and Blending the Polish
Next, take your cosmetic sponge and paint two parallel horizontal stripes of your chosen shades directly onto the edge. For a classic pink-to-nude transition, place the nude shade at the base and the pink shade at the tip. Gently tap the sponge onto a piece of paper first to remove excess polish and soften the boundary line. Then, gently press and dab the sponge onto the nail in a light up-and-down motion. This movement blends the two shades together directly on the nail plate, creating a smooth gradient. Repeat this process in thin layers, allowing each layer to dry slightly, until you reach your desired opacity.
Sealing and Finishing the Manicure
The stamping process naturally leaves a slightly textured, matte finish on the nail. To transform this into a smooth, professional-looking glaze, apply a generous layer of clear top coat while the blended polish is still slightly damp. The top coat helps to further merge the pigments together, erasing any sponge textures and leaving a glossy, seamless finish. Complete the look by removing any excess polish from the skin around the nail using a small brush dipped in standard nail polish remover.
Popular Colour Palettes and Creative Variations
While the pink-to-nude gradient remains a timeless choice for elegant hands, the ombre technique allows for endless creativity. Pastel combinations, such as soft lavender blending into pale blue, offer a cheerful yet gentle look for spring. For a more dramatic style, deep berry shades can transition into rich plums, perfect for the cooler months. Monochrome gradients, moving from a charcoal grey to a soft silver, provide a chic, modern alternative to classic neutrals.
Adding Simple Accents
Once the basic gradient is complete, you can personalise the design with minimalist nail art. Thin metallic lines, a touch of fine glitter at the tips, or a contrasting dot near the cuticle can elevate the design without overpowering the soft transition. Experimenting with a matte top coat instead of a glossy one can also completely change the character of the manicure, giving it a modern, velvet-like texture.




