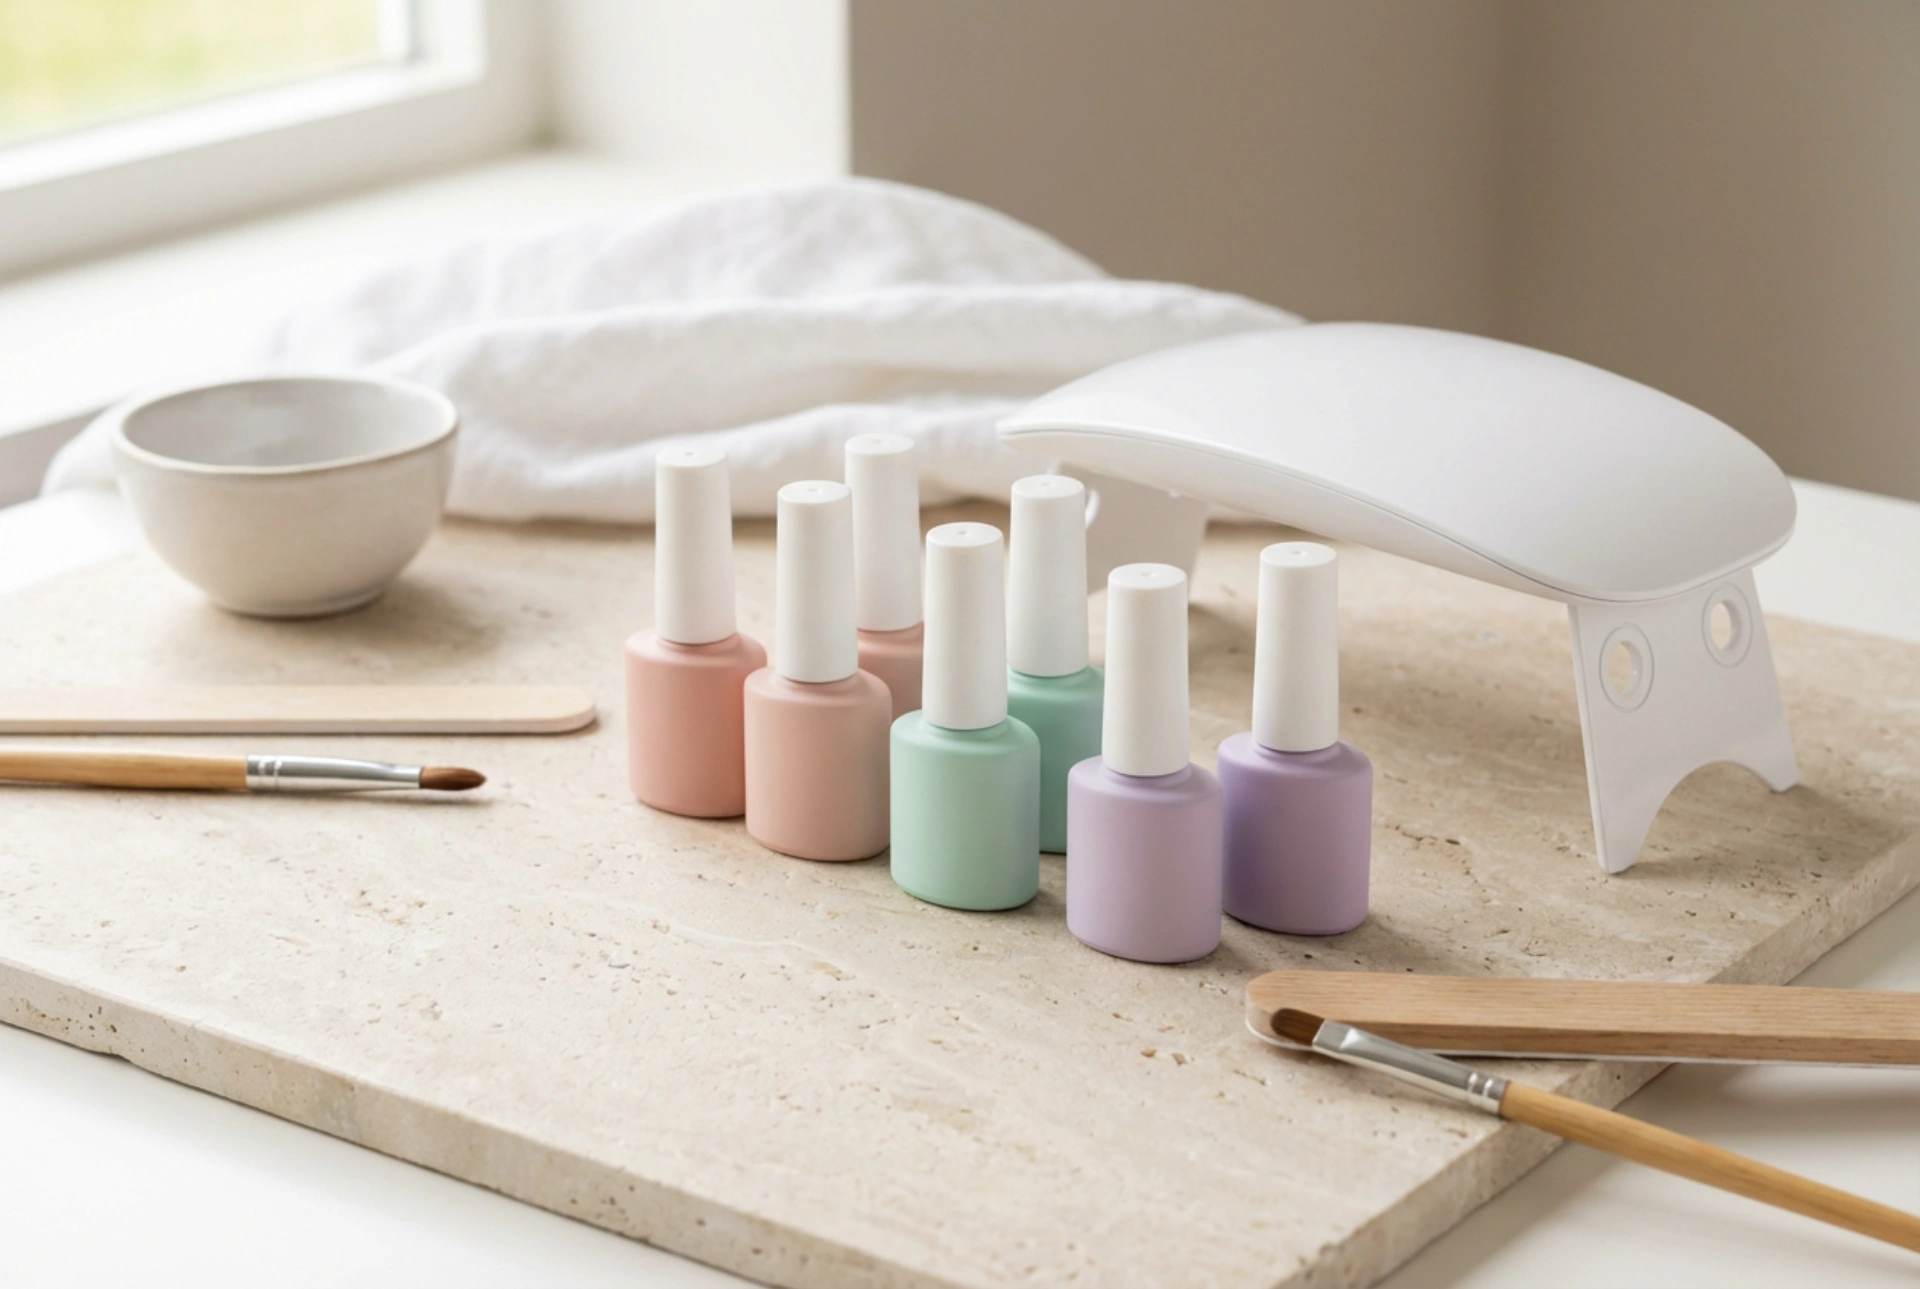


Creating a professional-looking manicure at home has never been more accessible or appealing. The sight of a pristine selection of pastel gel nail polishes, a sleek UV lamp, and neat manicure tools arranged on a clean, light surface inspires a sense of calm and creativity. Assembling your own gel nail kit allows you to enjoy a refined beauty experience in the comfort of your own space. However, achieving salon-quality results that remain beautiful for weeks requires not only the right tools but also a thorough understanding of safe application techniques. By choosing high-quality components and following a methodical process, you can maintain healthy, gorgeous nails without leaving your home.
Essential Components of a Home Gel Nail Kit
To begin your journey into home gel manicures, you need a well-curated selection of tools and liquids. A complete kit goes beyond just colour; it encompasses preparation, application, and finishing products that work harmoniously to ensure longevity and nail health. Here are the fundamental components every home setup should include:
- A UV or LED Lamp: This is the heart of the system. The lamp emits specific wavelengths of light that cure, or harden, the gel polish. A modern, minimalist LED lamp is highly efficient and cures layers in a fraction of the time required by traditional UV lamps.
- Preparation Liquids: A nail dehydrator and an acid-free primer are essential for removing excess oils and moisture from the nail plate, ensuring the base coat adheres perfectly.
- Base and Top Coats: The base coat protects the natural nail and creates a strong bond for the colour, while the top coat seals the manicure, providing a high-gloss or matte finish and preventing chips.
- Gel Polishes: Choosing a few versatile shades, such as classic pastels or neutrals, is an excellent starting point. Opt for formulas that offer rich pigmentation and smooth application.
- Manicure Tools: High-quality nail files (typically 180/240 grit), a gentle buffer block, cuticle pushers (either wooden sticks or metal pushers), and lint-free wipes are indispensable for the preparation and cleaning stages.
How to Select the Right Tools for Your Set
When putting together your kit, quality and safety should be your primary guides. The market offers a vast range of options, and selecting the right equipment can make a significant difference in your overall experience. For the lamp, a device with a timer and a low-heat mode is highly recommended, as it prevents sudden temperature spikes during the curing process. Look for lamps with a power rating of at least 24 to 48 watts to ensure even and thorough curing of all gel layers.
When it comes to files and buffers, gentleness is key. Avoid overly abrasive metal files, which can cause peeling or splitting. Instead, choose high-quality paper or glass files that allow for precise shaping. For the nail surface, a soft buffer block is sufficient to remove the natural shine without thinning the delicate layers of the nail plate. Lastly, ensure you have a dedicated cleanser or isopropyl alcohol (99%) to clean the nail plate and remove the tacky inhibition layer left after curing the top coat.
Step-by-Step Safe Gel Application
Achieving a flawless finish is a matter of patience and precision. Following a structured routine helps prevent lifting and ensures your natural nails remain in excellent condition. Follow these essential steps for a safe and beautiful home manicure:
1. Preparation of the Nail Plate
Begin by washing and thoroughly drying your hands. Gently push back the cuticles using a wooden stick or a sanitised metal tool. Shape the free edge of your nails with a fine file, working in one direction to avoid splitting. Next, use a buffer block to gently remove the natural oil and shine from the entire nail surface, paying close attention to the sides and near the cuticle line. Wipe away all dust with a lint-free wipe soaked in prep cleanser.
2. Dehydrating and Priming
Apply a thin layer of nail dehydrator to remove any remaining moisture. Follow with an acid-free primer, which acts as double-sided tape between your natural nail and the base coat. Allow this to air dry for about thirty seconds; the nail should look slightly matte or tacky, depending on the product used.
3. Base Coat Application
Apply an extremely thin layer of base coat, ensuring you do not touch the surrounding skin or cuticles. This step is crucial, as any gel on the skin can cause the polish to lift prematurely. Be sure to cap the free edge of the nail by running the brush along the very tip. Cure under the lamp for the time specified by the manufacturer (usually 30 to 60 seconds under an LED lamp).
4. Applying the Colour and Top Coat
Apply your chosen pastel or neutral shade in thin, even strokes. It is always better to apply two or three very thin layers rather than one thick layer, as thick coats may not cure completely in the centre, leading to wrinkling or peeling. Cure each layer individually. Finally, apply a generous but even layer of top coat, capping the free edge once more, and cure. If your top coat leaves a sticky residue, wipe it clean with a lint-free wipe and cleanser.
Best Practices for Nail Health and Hygiene
Maintaining high standards of hygiene is essential when performing manicures at home. All reusable metal tools should be washed with soap and water and disinfected with a suitable sanitising spray after every use. Wooden sticks and nail files, which are porous and cannot be easily disinfected, should be kept for personal use only and replaced regularly.
One of the most important aspects of gel safety is preventing uncured gel from contacting the skin. If any product accidentally touches your skin or cuticle during application, wipe it off immediately with a clean brush or orange stick dipped in cleanser before placing your hand under the lamp. Additionally, always allow the gel to cure fully by keeping your hand flat and properly positioned inside the lamp. Taking care of your cuticles post-manicure with a nourishing cuticle oil and a rich hand cream will keep the surrounding skin hydrated and healthy.




