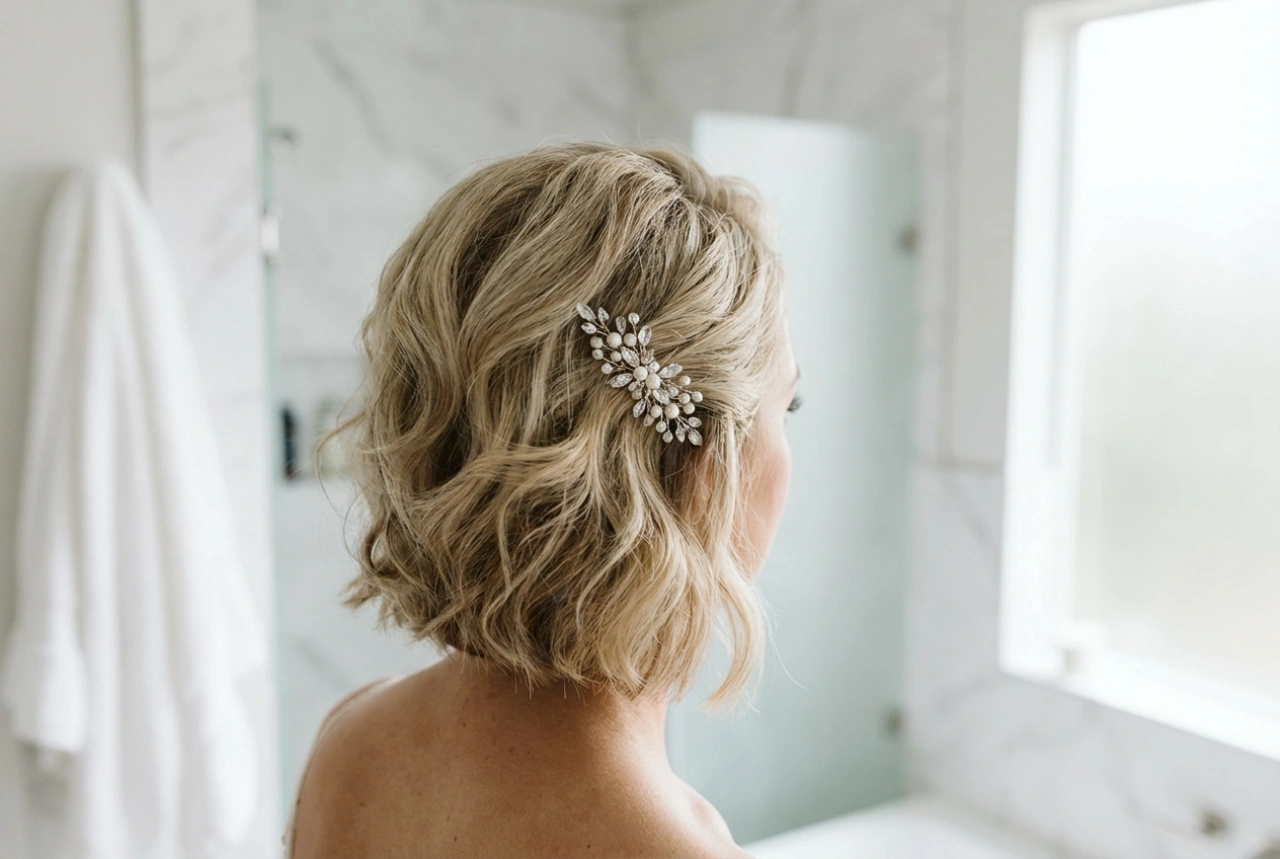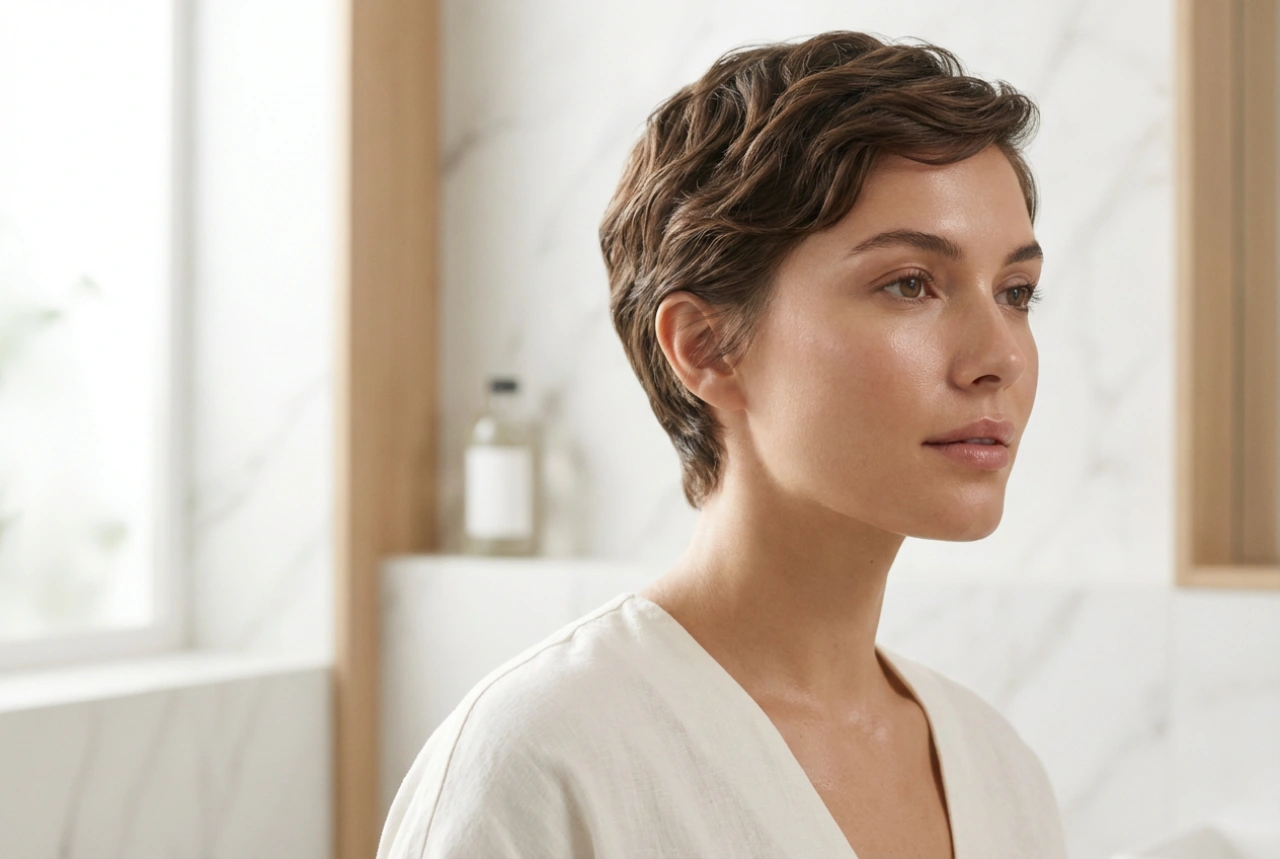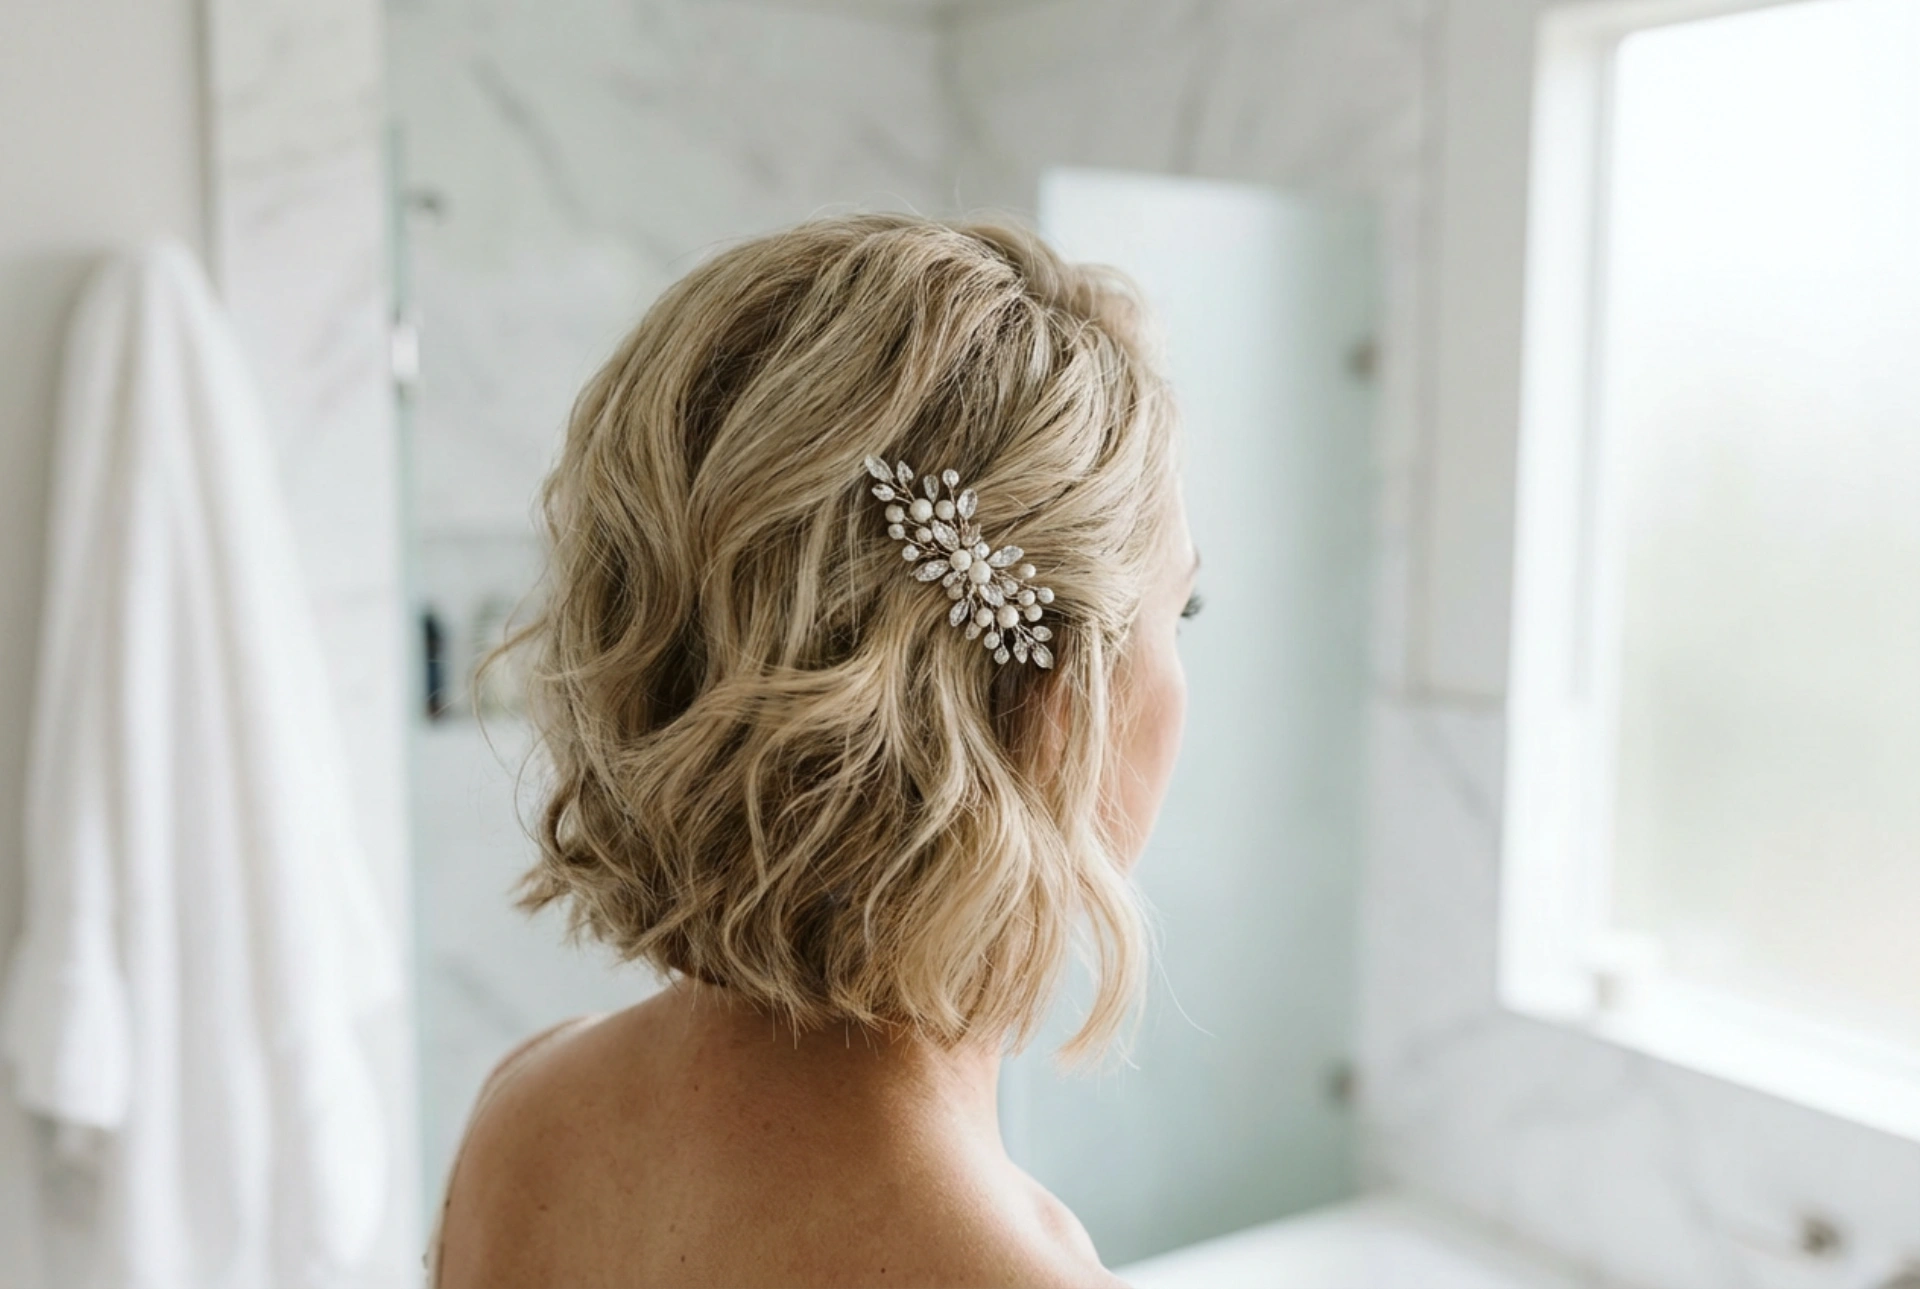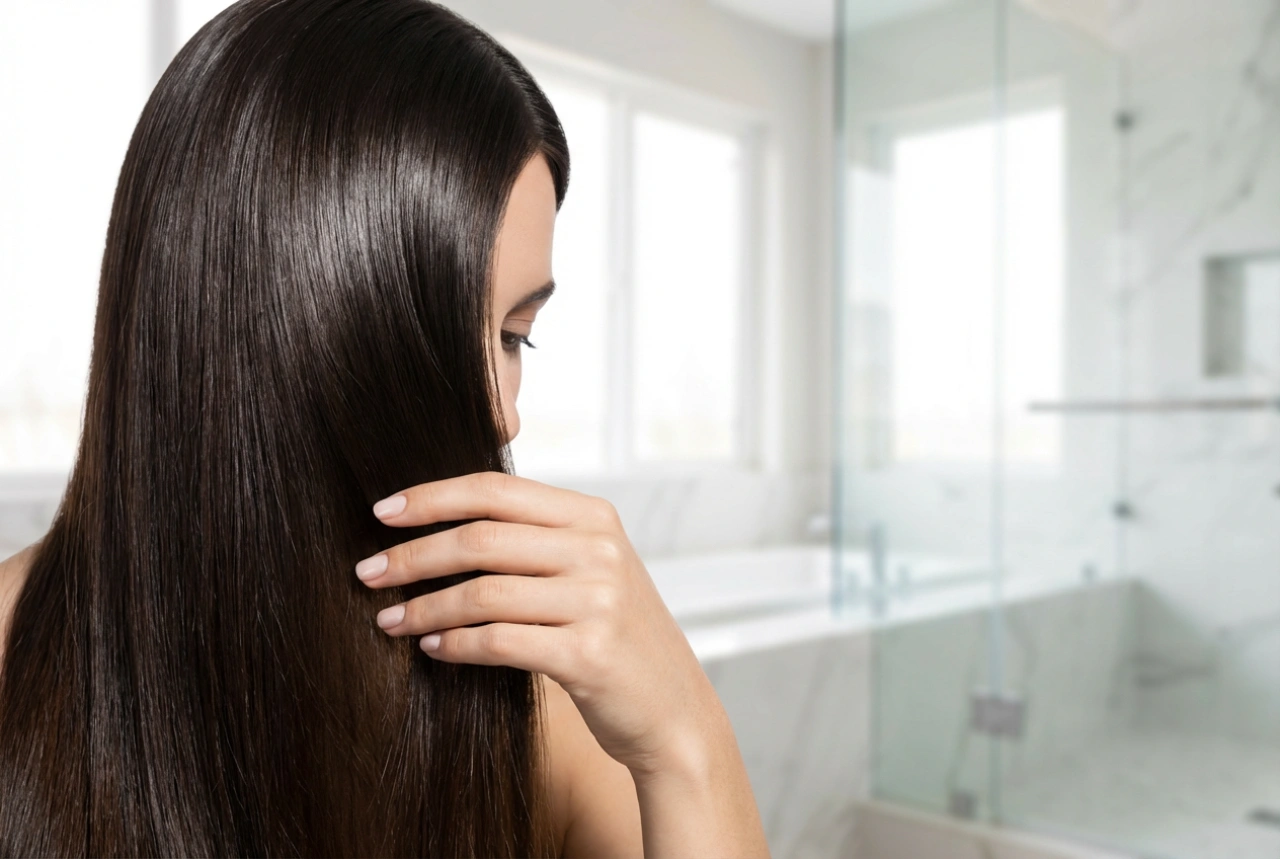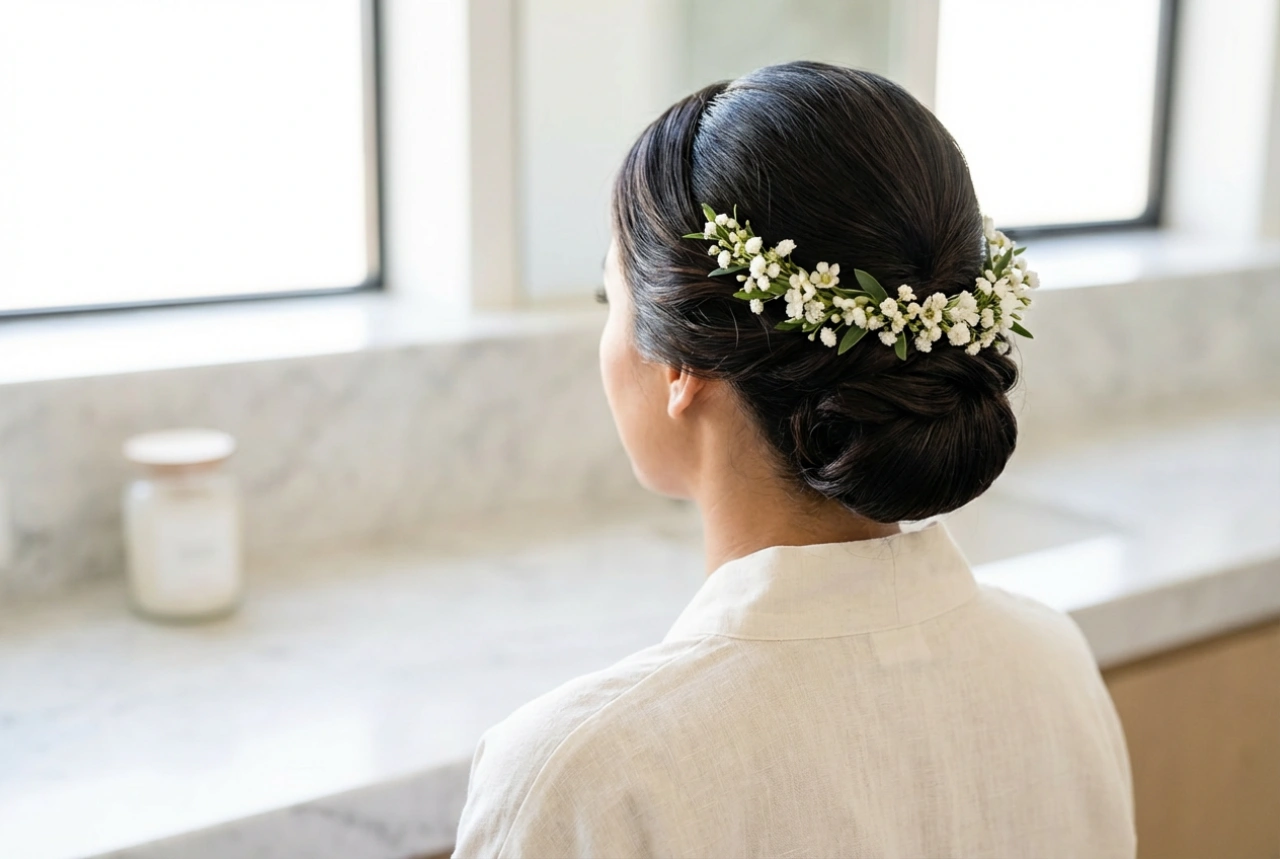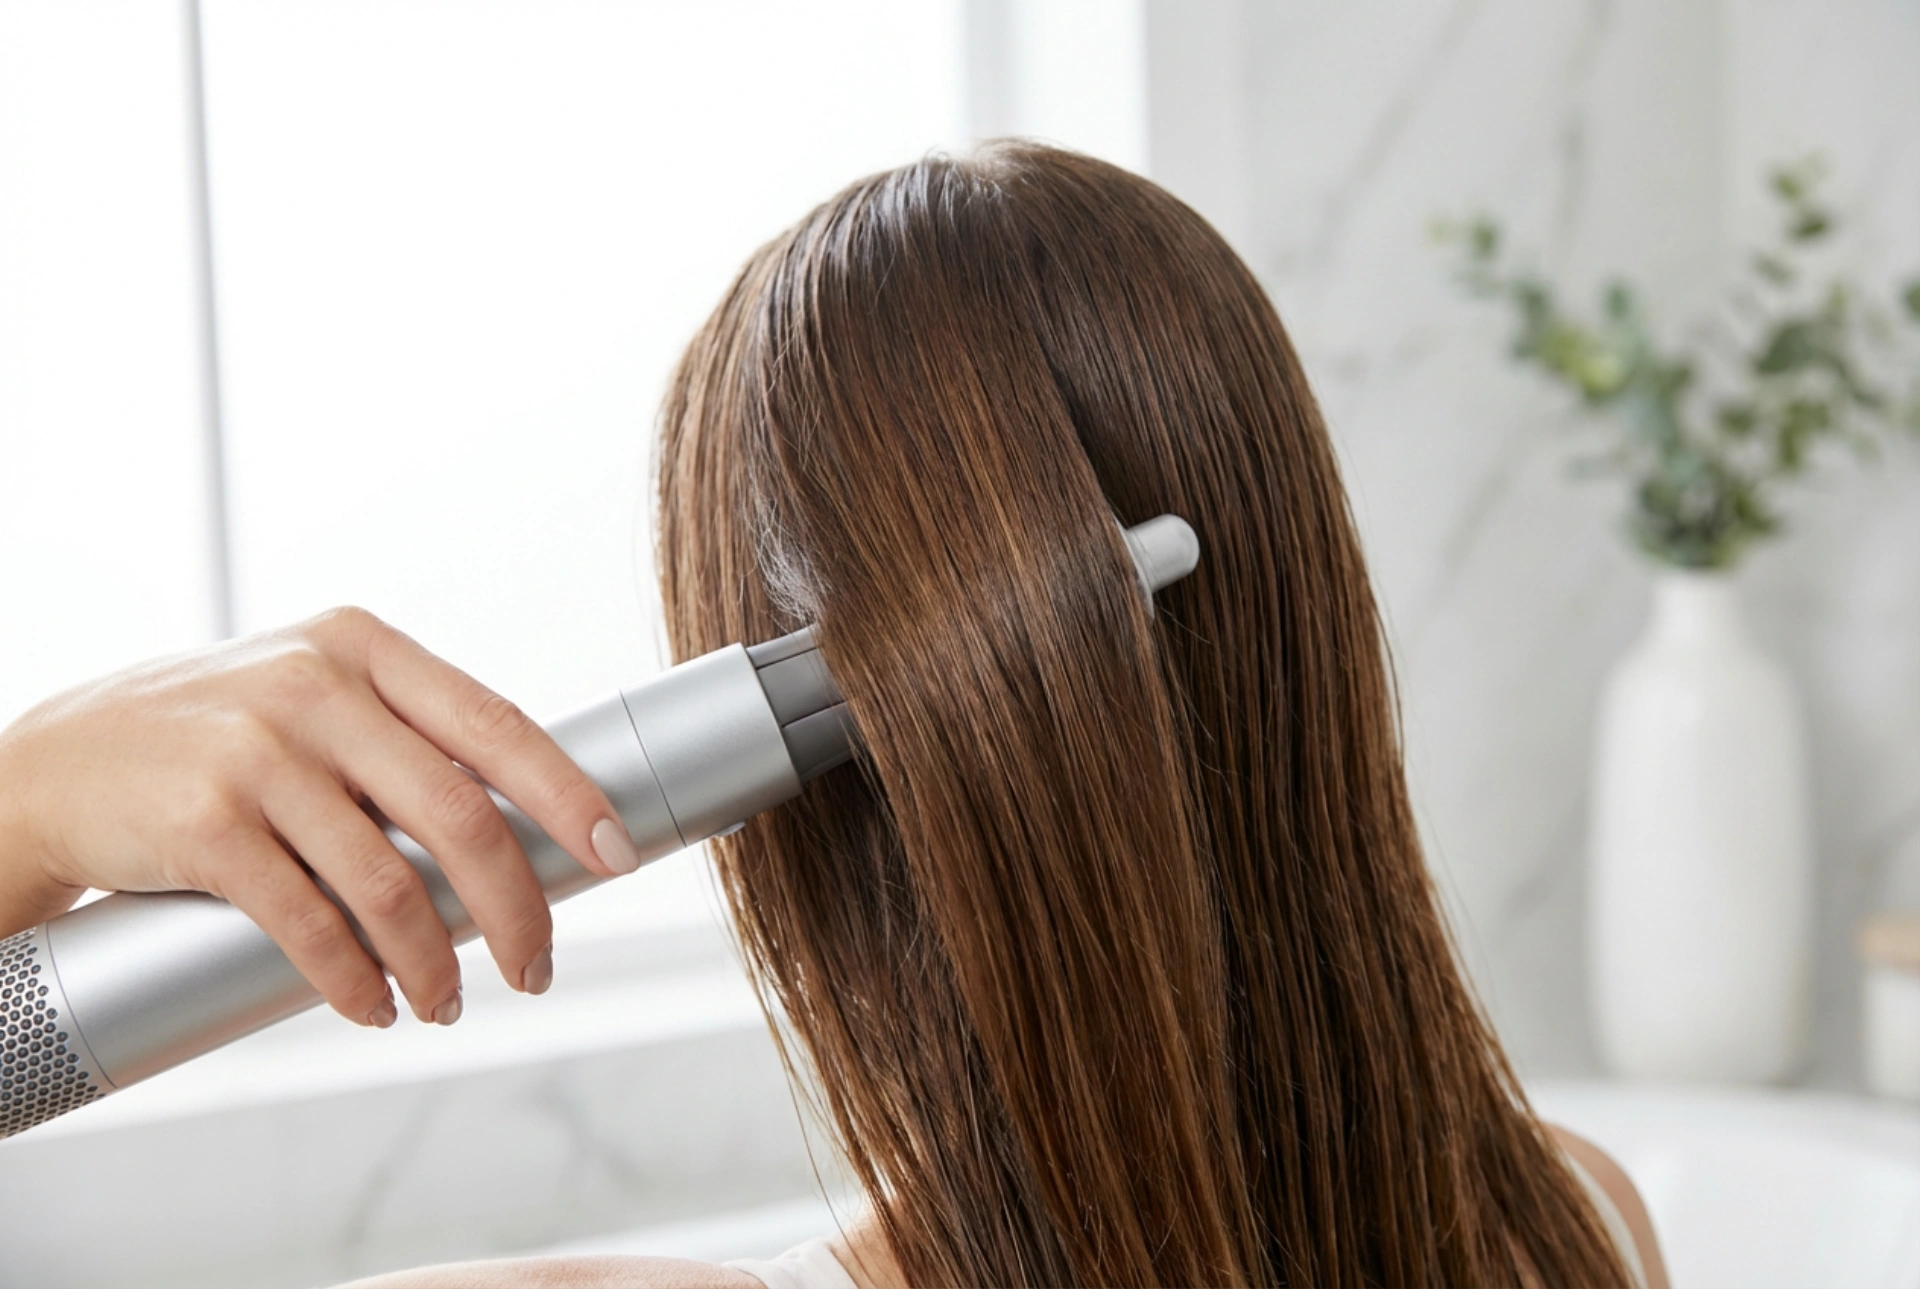


Achieving a salon-worthy blowout at home has become significantly easier with the rise of modern styling tools. Among the most versatile of these is the hot air styler, a device that combines the drying power of a hair dryer with the shaping capabilities of a round brush or curling tong. This dual-action approach not only saves precious time in the morning but also minimises the direct heat exposure that hair experiences when subjected to multiple consecutive styling tools. By gently guiding a sleek styling brush through damp strands, you can effortlessly create volume, smooth waves, and a natural, healthy shine that highlights the hair's inherent texture.
The Benefits of Styling While Drying
Using a hot air brush offers a multitude of advantages for everyday hair care routines. Because the tool works on damp hair, it shapes the hair fibers as they transition from wet to dry. This temporary reshaping process is highly effective because water breaks the hydrogen bonds in the hair, allowing them to reform in the shape of the brush as the moisture evaporates.
- Time Efficiency: Combining the drying and styling phases into a single step cuts down routine times significantly.
- Reduced Heat Damage: Unlike traditional straighteners or curling irons that apply high, direct heat to dry hair, hot air stylers use a stream of controlled warm air, which is much gentler on the delicate hair cuticle.
- Natural Volume: The airflow lifts the hair at the roots, creating a bouncy, voluminous look that is difficult to achieve with flat plates.
How to Prepare Your Hair for Hot Air Styling
To achieve the best results and maintain the health of your hair, proper preparation is essential. You should never use a hot air brush on soaking wet hair, as this can lead to excessive heat exposure and potential damage.
Step 1: Gentle Pre-Drying
After washing your hair, gently wrap it in a microfibre towel to absorb excess moisture. Avoid rubbing, which can rough up the hair cuticle and lead to frizz. Use a regular hair dryer or let your hair air-dry naturally until it is approximately seventy to eighty per cent dry. It should feel slightly damp to the touch but not wet.
Step 2: Detangling and Protection
Carefully detangle your damp hair using a wide-tooth comb or a flexible detangling brush, starting from the ends and working your way up to the roots. Apply a lightweight heat protectant spray or serum evenly throughout your hair. This creates a protective barrier and enhances the smooth, shiny finish of your final style.
Step-by-Step Guide to Effortless Styling
Once your hair is prepared, sectioning is key to achieving a uniform and polished look. Divide your hair into manageable sections, securing the top layers with clips so you can work on the bottom layers first.
Take a small section of hair, about the width of the styling brush. Place the brush at the roots, underneath the section, to create lift. Slowly guide the tool down the hair shaft, maintaining gentle tension. As you reach the ends, rotate the brush inwards or outwards, depending on your desired finish, and hold it for a few seconds to set the shape. Repeat this process for each section, working from the back of your head towards the front.
Maintaining Your Style and Hair Health
To ensure your beautiful blowout lasts throughout the day, allow your hair to cool completely before touching it or applying finishing products. A quick blast of cool air, if your device has a cool shot function, can help lock the style in place. Keep your styling tool clean by regularly removing any trapped hair and wiping down the barrel to prevent product build-up, which can affect the airflow and performance over time.