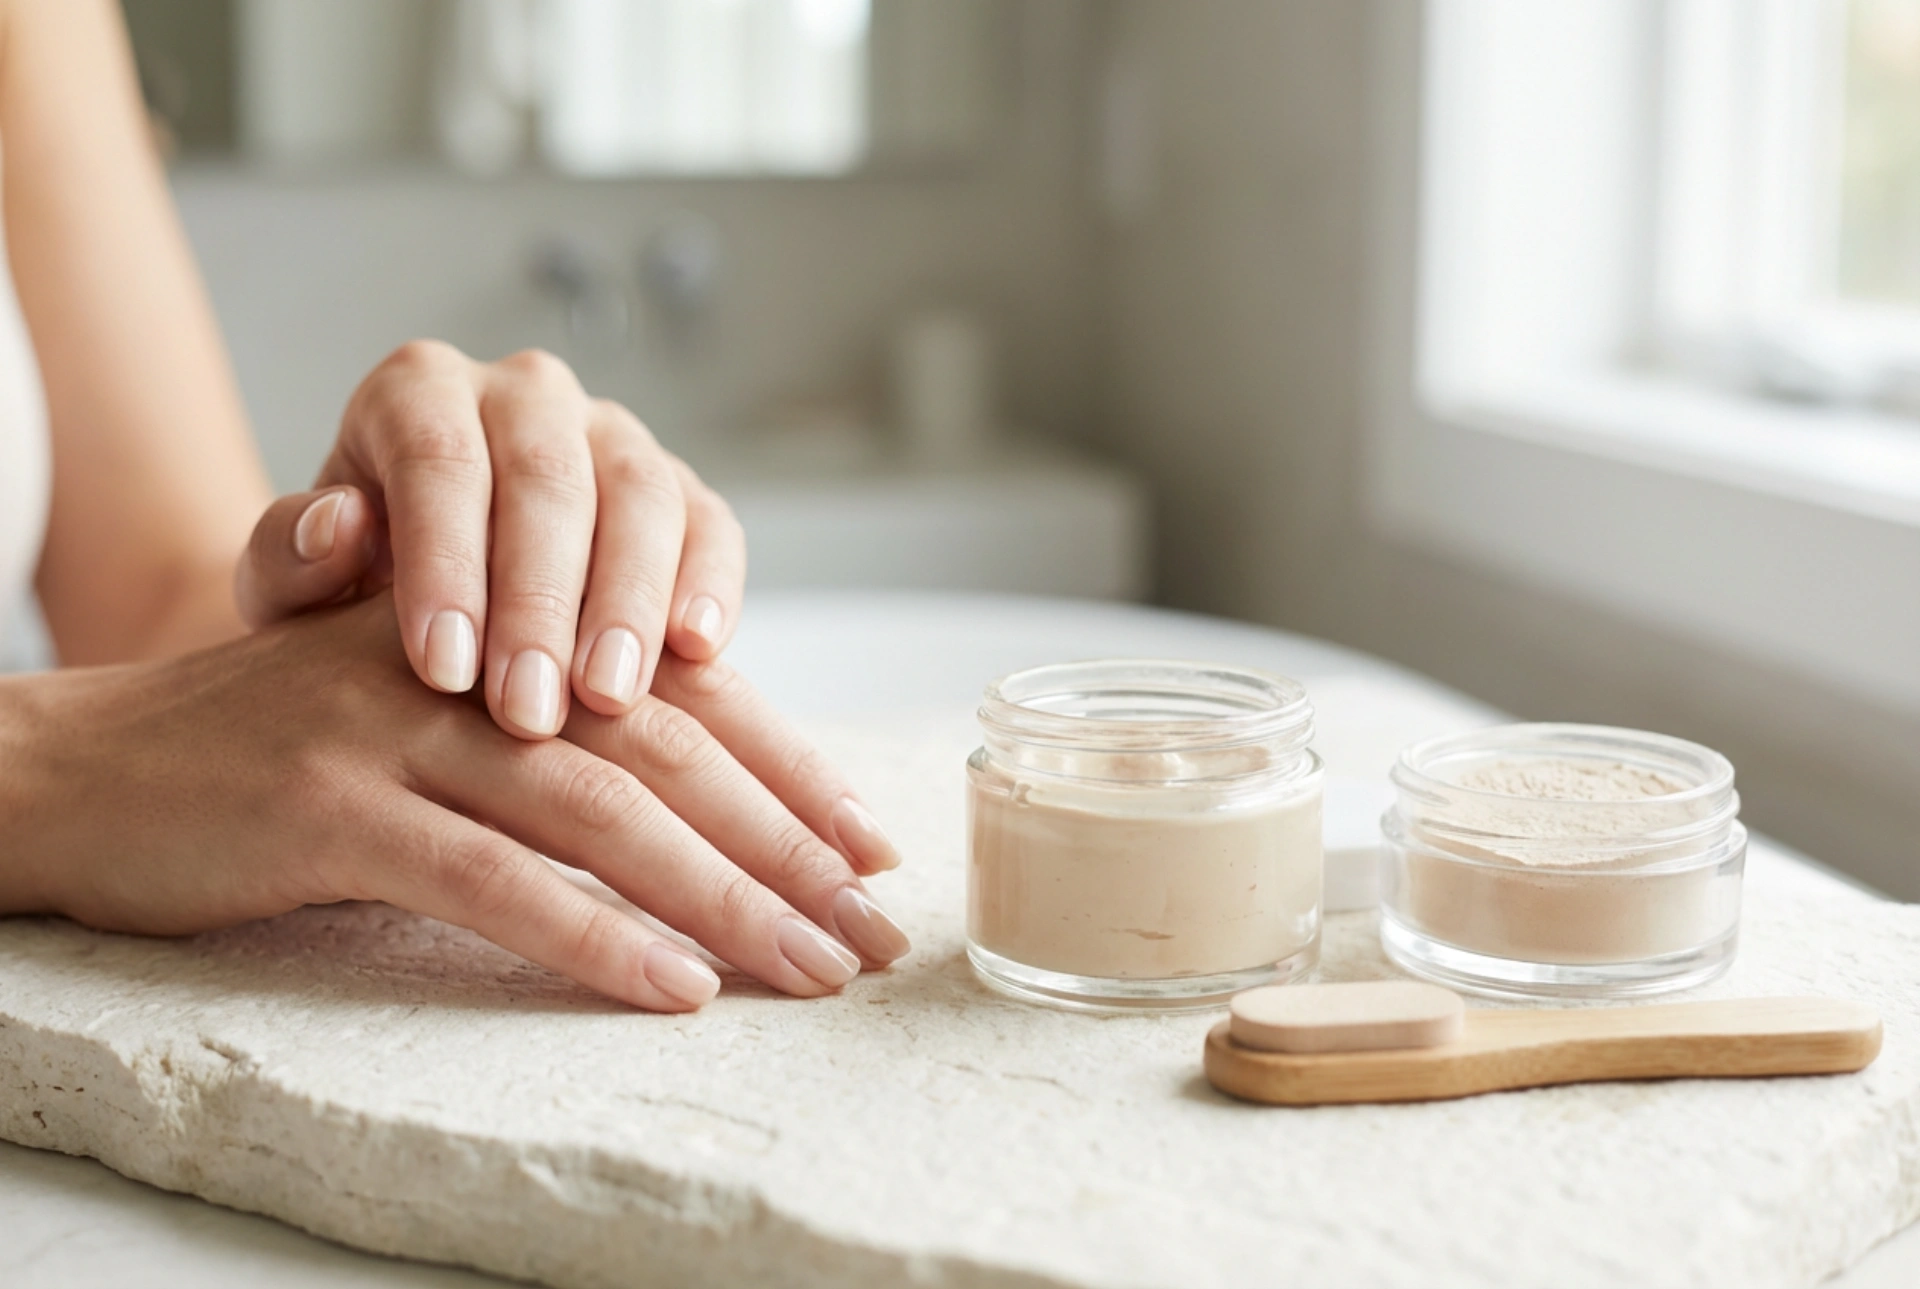


In a world where elaborate nail art and synthetic extensions often dominate, the timeless appeal of natural, understated elegance remains unmatched. Beautiful, healthy-looking hands with nails that boast a luminous, natural glow speak of sophisticated self-care and refined beauty. A Japanese manicure is an exceptional, traditional method that embraces this philosophy. Rather than masking the nails with layers of coloured polish, this technique focuses on replenishing, strengthening, and polishing the natural nail plate using nutrient-rich pastes and powders to achieve a brilliant, pearl-like shine.
The Philosophy Behind the Japanese Manicure
The Japanese manicure is a ritual steeped in history, designed to restore the natural vitality of nails that may have become brittle, dull, or damaged. Unlike modern gel or acrylic treatments that add synthetic layers, this method works directly with the keratin structure of the nail plate. It is an ideal solution for anyone seeking a minimalist aesthetic or wishing to give their nails a nourishing break. By focusing on active, natural ingredients such as beeswax, diatomaceous earth, and botanical oils, the treatment transforms the texture of the nail, leaving a smooth, mirror-like finish that lasts for weeks.
Preparing the Nail Plate with Care
The foundation of any successful manicure lies in meticulous preparation. For a Japanese manicure, this step must be approached with utmost gentleness to ensure the delicate layers of the nail are not compromised. Here is how to prepare the surface for the nourishing treatment:
- Gently shaping the nails: Use a high-quality glass or fine-grit wooden file to shape the free edge of the nails. Always file in one direction to prevent splitting and micro-tears.
- Softening the cuticles: Apply a mild, hydrating cuticle oil or warm water soak to soften the surrounding skin. Use a wooden stick to gently push back the cuticles, ensuring the entire nail bed is accessible.
- De-shining the surface: To allow the nourishing paste to bond effectively, the top shiny layer of the nail plate must be lightly buffed. Use a very gentle buffing block to create a clean, slightly textured surface without thinning the nail.
The Power of Paste and Powder
The true magic of this traditional ritual lies in the two-step application of a specialized paste and a sealing powder. These two products work in perfect harmony to repair and protect the nail plate.
Step One: The Nutrient-Rich Paste
The first step involves a dense, pale paste packed with beneficial minerals, vitamins, and natural waxes. Ingredients like beeswax provide deep hydration and create a protective barrier, while silica and keratin help to fill in microscopic ridges and strengthen the nail structure. When massaged into the nail using a green buckskin buffer, the friction warms the product, allowing it to penetrate the upper layers of the nail plate, instantly smoothing out imperfections.
Step Two: The Protective Powder
Once the paste has been thoroughly worked into the nail, the second step is to seal in the nutrients. This is achieved using a fine, pale powder, often containing pearl dust and mineral clays. Using a separate, pink buckskin buffer, the powder is buffed over the paste. This action creates a protective shield that locks in the moisture and nutrients while producing an extraordinary, natural lustre that mimics the shine of a topcoat but without any chemicals.
Step-by-Step Ritual for Home Care
Performing this luxurious ritual at home is a wonderful way to practice mindful self-care. To achieve the best results, gather your tools—including your soft buffing blocks, natural paste, and powder—and follow these steps:
- Cleanse: Thoroughly wash and dry your hands, ensuring no oils or hand creams remain on the nail plates.
- Prep: Shape your nails and gently buff the surface to remove any natural oils and prepare the texture.
- Apply the Paste: Take a small amount of the pale paste on your buffer. Work it into each nail plate with firm, consistent strokes in one direction. You will notice the surface immediately becoming smoother.
- Seal with Powder: Dip your second buffer into the powder and apply it over the nails. Buff with brisk, circular motions until a brilliant, luminous shine is achieved.
Aftercare and Maintaining the Luminous Glow
To keep your nails looking incredibly healthy and radiant after your Japanese manicure, a few simple aftercare habits are highly recommended. Because the nails are sealed with natural waxes, it is best to avoid applying standard nail polish or gel treatments immediately after, as the oils will prevent synthetic polishes from adhering correctly. Instead, enjoy the natural gloss, which typically lasts for up to two weeks. Regular application of a nourishing cuticle oil and a rich hand cream will keep the surrounding skin soft and complement the sophisticated appearance of your polished nails. Repeat the treatment every two to three weeks to maintain optimal nail strength and an enduring, healthy shine.




