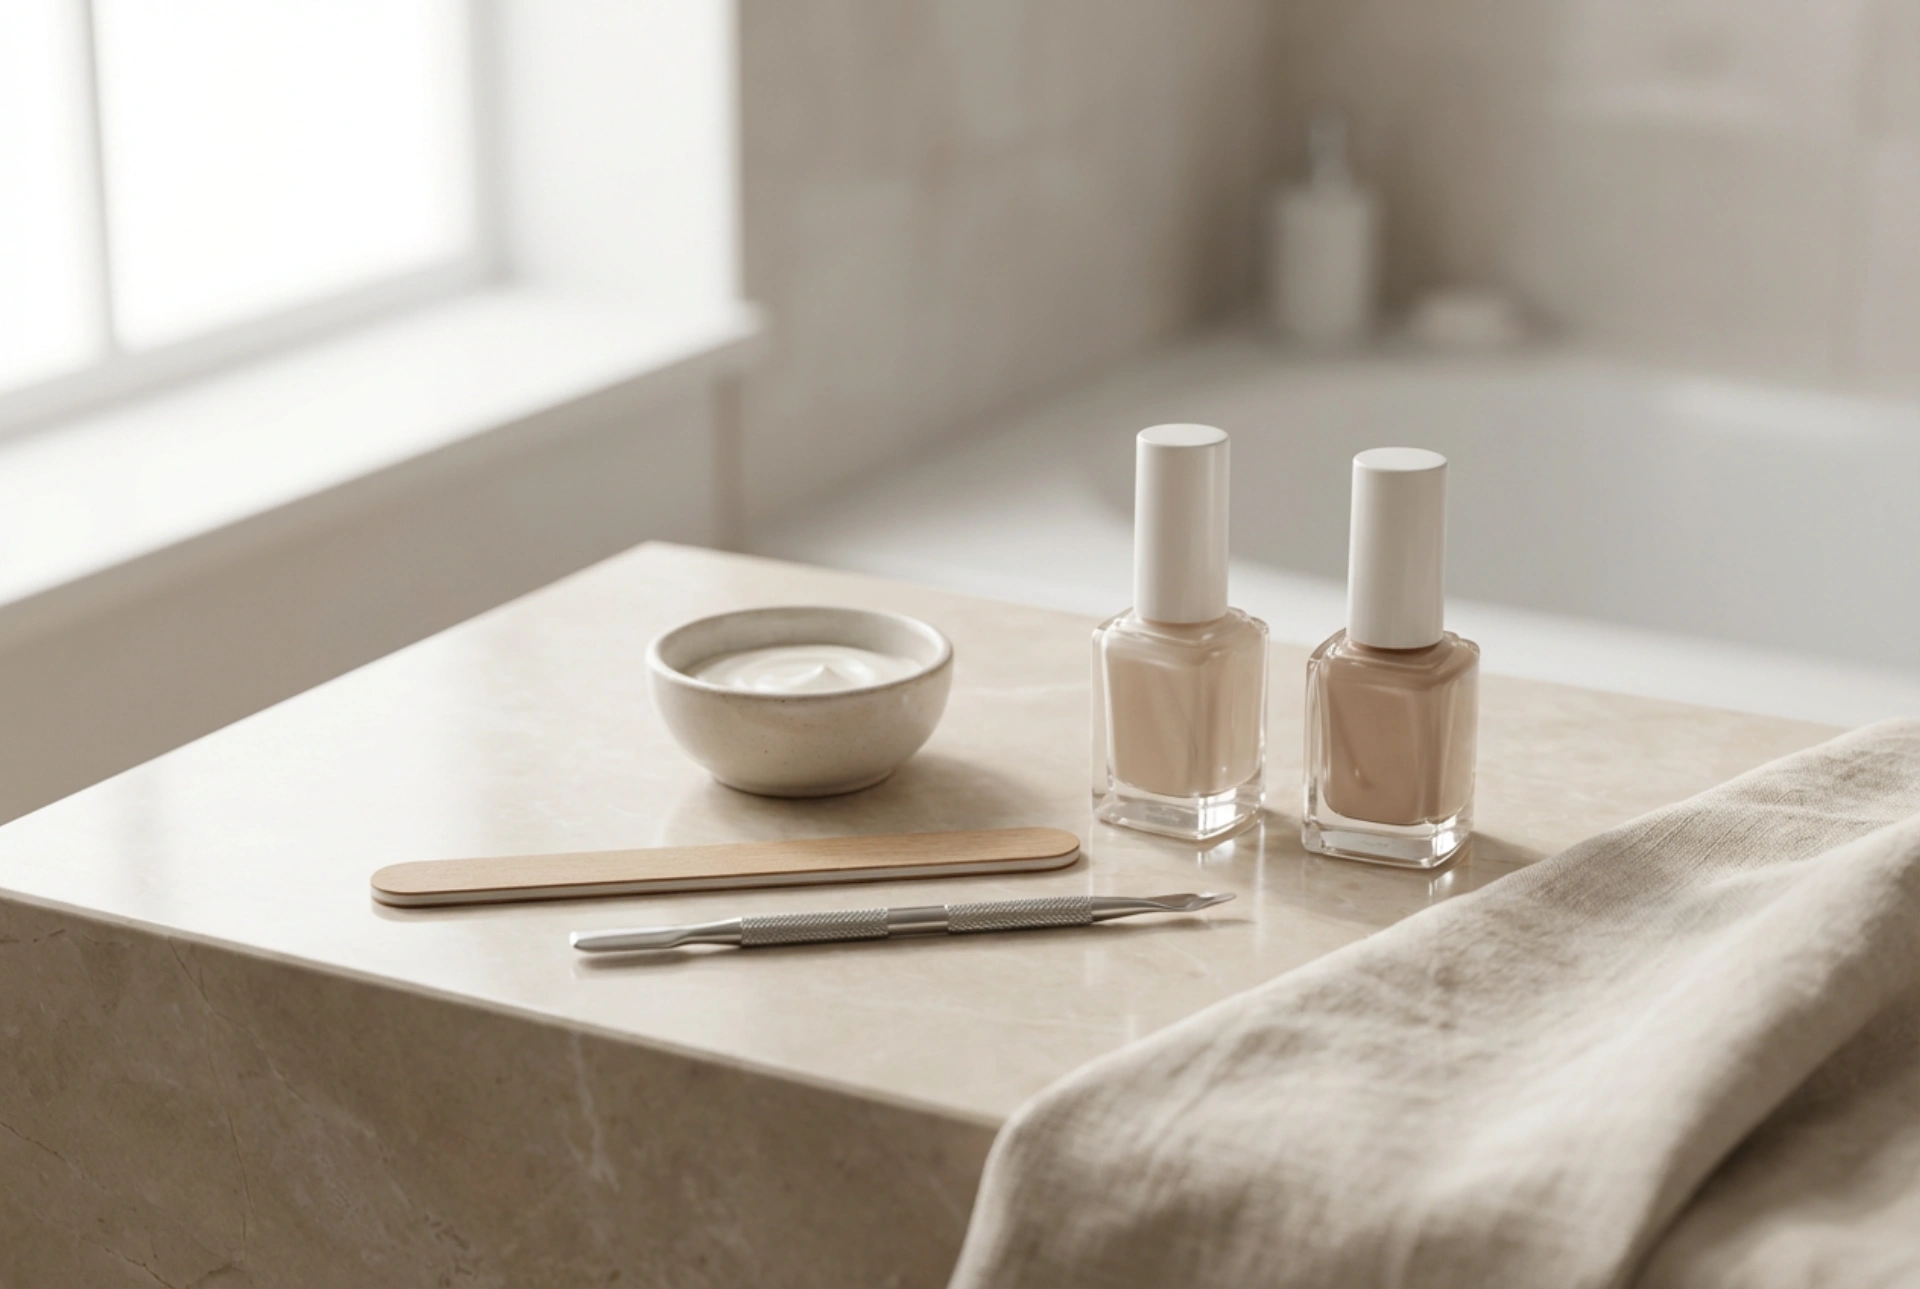


A beautifully arranged selection of elegant, unbranded polish bottles, fine files, and subtle tools laid out under soft, natural light can inspire anyone to begin their own home manicure journey. Transitioning to self-care at home is not only a relaxing ritual but also an excellent way to maintain neat, sophisticated nails on your own terms. For beginners, the vast array of manicure products on the market can seem daunting. Knowing exactly what to look for and how to use each item is the key to achieving a polished, clean finish without unnecessary clutter.
The Foundation: Essential Shaping and Prep Tools
To start, you do not need an overwhelming collection of professional machinery. A few high-quality manual tools are more than sufficient. First on the list is a fine nail file. Opt for a gentle glass file or a high-quality emery board with a grit level of around 180 to 240. This ensures you can shape your nails smoothly without causing peeling or splitting. Avoid coarse metal files, which can be too harsh for natural nails.
Next is the wooden or metal cuticle pusher. A classic orange wood stick is highly recommended for beginners because it is incredibly gentle on the delicate skin surrounding the nail bed. Additionally, a soft buffer block is crucial for prepping the nail surface. Lightly buffing the nail plate removes natural oils and smooths out minor ridges, creating a receptive surface for polish to adhere to, which dramatically improves the longevity of your manicure.
Prepping and Coating: Base and Protection
Once the physical shaping is complete, chemical preparation is the next step. A simple nail cleanser or rubbing alcohol is essential to dehydrate the nail plate slightly, removing any residual dust, lotion, or natural oils. This step is often overlooked by beginners but is the secret to preventing early chipping.
Following the prep, a protective base coat is indispensable. A base coat acts as a double-sided tape, sticking to the natural nail on one side and gripping the colour polish on the other. It also prevents darker pigments from staining your natural nail plate. For beginners, a classic nourishing or ridge-filling base coat works beautifully.
Colour and Shine: The Polish Phase
Selecting your colours is perhaps the most enjoyable part of building a beginner’s kit. Start with two or three classic shades—such as a soft nude, a timeless red, or a delicate pastel—alongside a reliable, high-shine top coat. The top coat is your manicure’s shield; it seals in the colour, prevents edge wear, and adds a glossy, professional finish that catches the light.
When applying colour, the golden rule is to use thin layers. Beginners often make the mistake of applying thick coats to get instant opacity, which leads to bubbling and extremely slow drying times. Two thin layers of colour will always look smoother and dry much faster than one thick layer.
Step-by-Step Guide to Your First Home Manicure
Ready to begin? Follow these straightforward steps to ensure a flawless application:
- Shape and File: Always file your nails when they are completely dry. File in one direction rather than sawing back and forth to keep the nail edges strong.
- Prep the Cuticles: Gently apply a drop of cuticle oil or warm water to soften the skin, then use your wooden stick to gently push back the cuticles. Avoid cutting them, as this requires advanced training to do safely.
- Cleanse the Plate: Wipe each nail with a lint-free pad soaked in cleanser to remove dust and oils.
- Base Coat Application: Apply a thin layer of base coat, sealing the free edge (the very tip of the nail).
- Colour Application: Apply your chosen shade in three strokes—one down the centre, and one on each side. Leave a tiny gap between the polish and your cuticle. Repeat for a second coat once the first is dry to the touch.
- Top Coat and Dry: Finish with your top coat, making sure to seal the free edge once more. Allow ample time to dry in a well-lit, quiet space.
Post-Manicure Care and Tool Maintenance
After completing your manicure, wait a few minutes before applying a generous drop of cuticle oil to each nail. Massaging cuticle oil into the surrounding skin daily keeps the area hydrated, prevents hangnails, and encourages healthy, resilient nail growth.
Lastly, keeping your tools clean is vital. Wipe down your files and cuticle pushers with a gentle disinfectant after each use, and store them in a clean, dry container away from direct sunlight. This simple routine ensures your tools remain hygienic and ready for your next relaxing self-care session.




