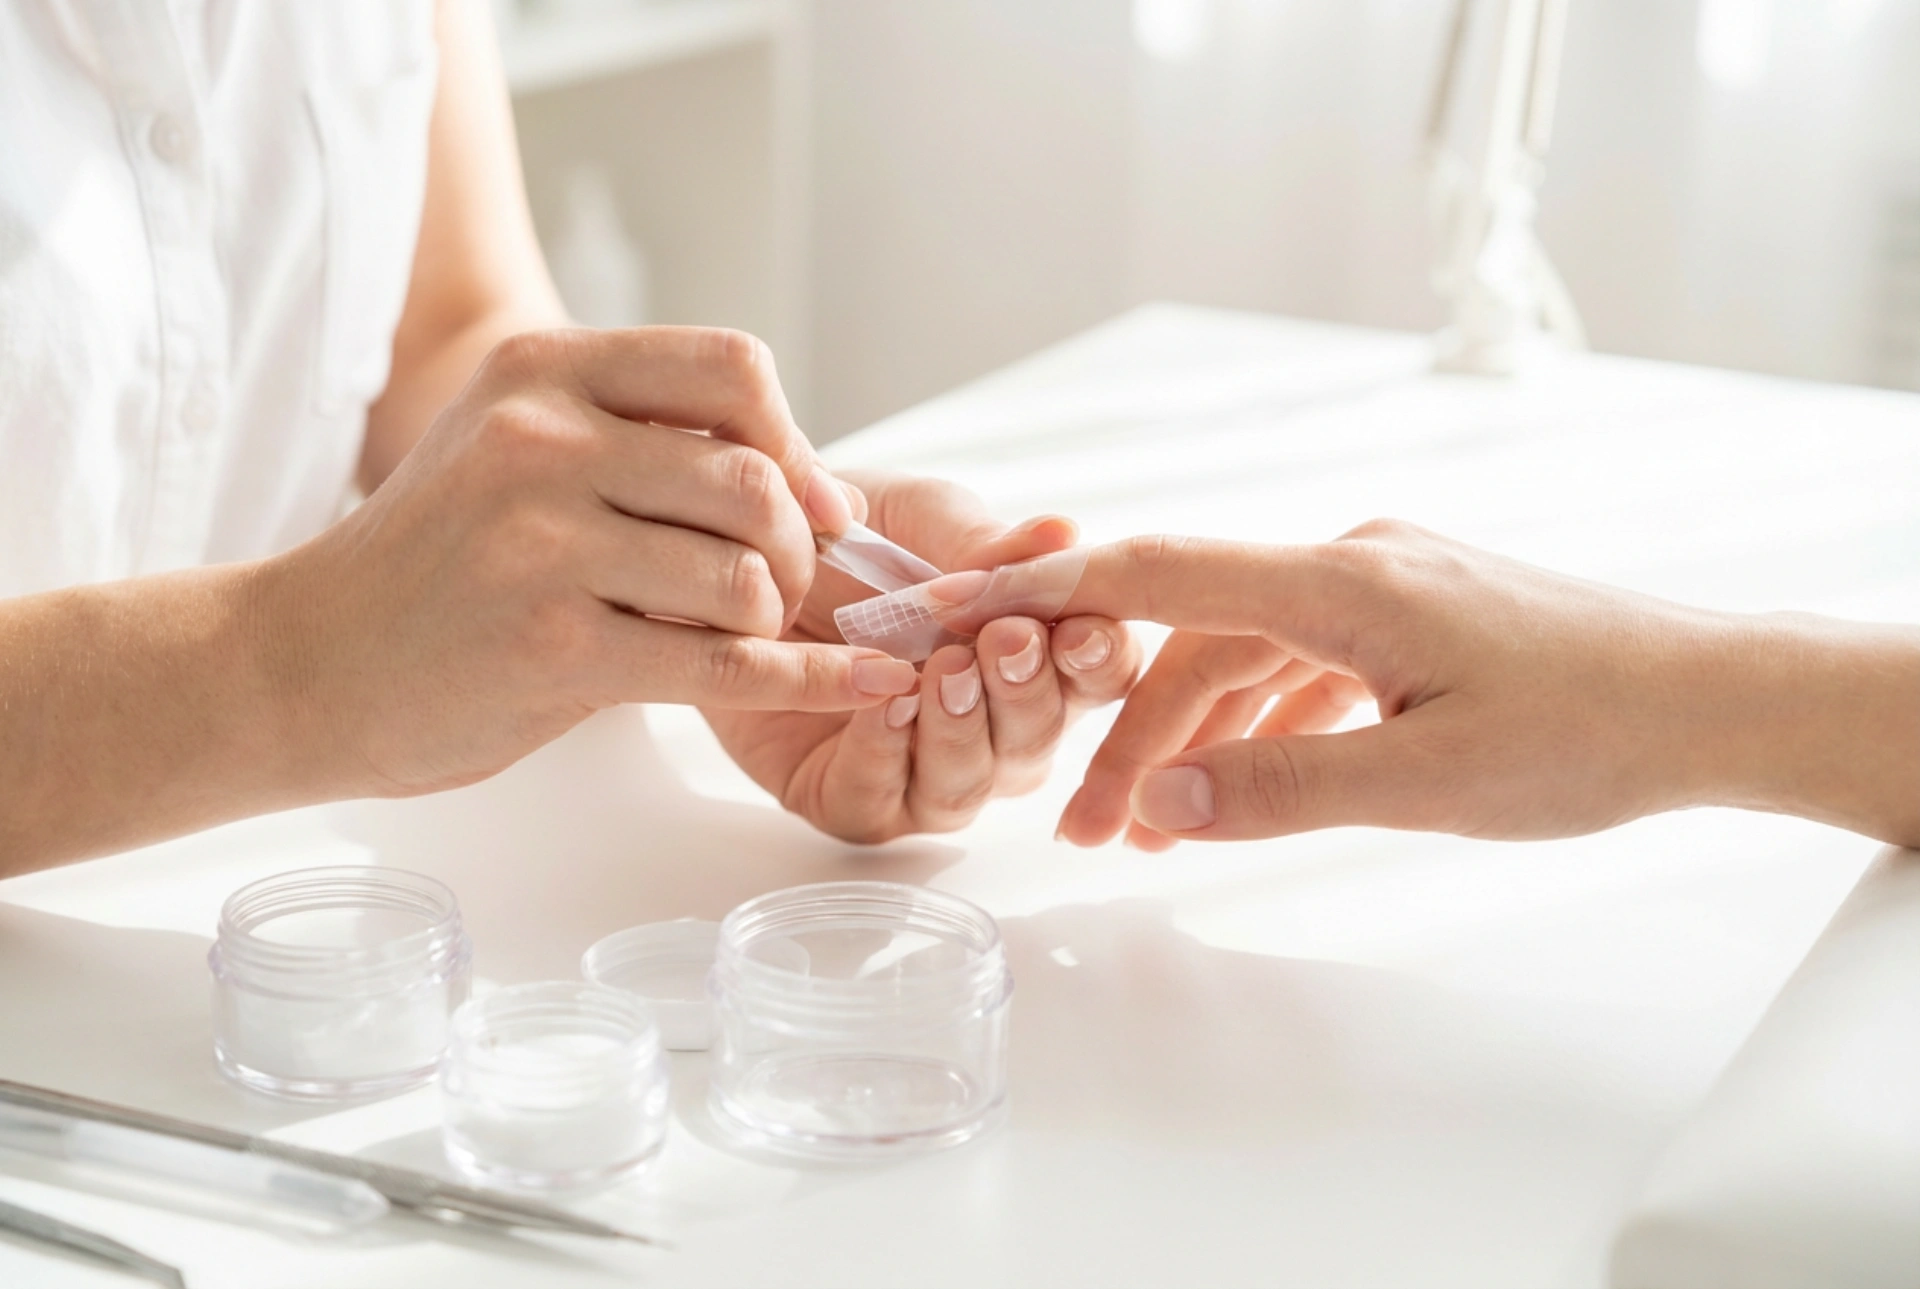


Achieving a flawless, natural-looking nail extension requires not only high-quality materials but also an exceptional level of precision during the application process. In a serene, well-lit beauty space, the sight of elegant hands meticulously preparing a translucent nail form represents the artistry behind modern manicures. While dual forms have gained popularity for their speed, classic lower nail forms remain the gold standard for customisation and structural integrity. Understanding when to reach for these traditional templates and mastering the art of fitting them correctly is essential for anyone wishing to elevate their nail styling skills.
Understanding Lower Nail Forms
Lower nail forms, often referred to as classic paper or plastic templates, are placed underneath the free edge of the natural nail plate. Unlike upper dual forms which hold the styling product on top, lower forms act as a temporary supportive shelf. This shelf allows you to sculpt the extension directly onto the natural nail, transitioning smoothly from the nail bed to the desired length. These templates come in various materials, including paper, aluminium, and translucent plastic, each offering different levels of rigidity and visibility during the curing process.
When to Choose Lower Nail Forms
Deciding which form system to use depends largely on the natural anatomy of the hand and the desired final look. Lower forms offer unparalleled flexibility and are particularly beneficial in several scenarios:
- Customising Unique Nail Shapes: If the natural nail plate is asymmetrical, damaged, or has an irregular free edge, classic lower forms can be precisely cut and tailored to fit the exact contours of the finger.
- Creating Advanced Shapes: Whether you desire a classic oval, a sharp square, or a dramatic stiletto, lower forms allow you to control the exact taper, curve, and architecture of the extension.
- Correcting Growth Direction: Natural nails that grow upwards or downwards can be visually corrected by adjusting the angle of the lower form during placement.
- Achieving a Slim Profile: By pinching the form during the curing process, you can create a beautiful, slender C-curve that is both strong and elegant.
Step-by-Step Guide to Fitting Lower Forms Correctly
The success of any sculpted nail extension depends entirely on the preparation and placement of the form. A poorly fitted form can lead to structural weakness, thick edges, or lifting. Follow these essential steps to achieve a seamless fit:
1. Preparing the Natural Nail
Before attempting to apply the template, ensure the natural nail is properly prepared. Gently push back the cuticles, remove the shine from the nail plate using a soft buffer, and dehydrate the surface. The free edge of the nail should be filed down to a short, rounded shape of about one millimetre. This small margin provides a secure anchor point for the form to slide underneath.
2. Customising the Cut-Out
Rarely does a standard form fit the natural hyponychium perfectly. To avoid gaps, hold the form against the finger and observe the shape of the free edge. Use sharp, curved scissors to trim the inner curve of the form so it mimics the natural smile line of the nail. If necessary, make small diagonal relief cuts on the sides to allow the form to slip snugly under the nail corners without flattening.
3. Aligning the Axis
Peel the form from its backing and gently curve it between your fingers to create a natural arch. Slide the cut-out under the free edge of the natural nail. It is crucial that the central line printed on the form aligns perfectly with the longitudinal axis of the finger. Look at the finger from above and from the side to ensure the template does not tilt upwards or downwards, as this will distort the final extension.
4. Securing the Wings
Once the alignment is correct, gently press the adhesive wings of the form around the finger. Start by securing the area directly under the nail bed, then join the bottom tabs together. Ensure the two halves of the front tab meet perfectly symmetrical, as this determines the symmetry of the sculpted tip. The form must feel stable and secure, with no visible gaps between the template and the natural nail plate.
Common Pitfalls and How to Solve Them
Even experienced enthusiasts can encounter challenges when working with lower nail forms. One frequent issue is the appearance of gaps at the corners. This usually happens when the template has not been customised with relief cuts, forcing the form to sit too low. Another common error is an incorrect angle. If the form is tilted too far upwards, the resulting nail will be excessively thick at the stress point; if tilted downwards, the tip will look droopy and lack structural strength. Regularly inspecting the form from a profile view before applying any product is the easiest way to prevent these structural mistakes.
Why Translucent Forms Are a Game-Changer
In modern beauty styling, translucent plastic forms have become highly favoured. These clear templates allow light from UV or LED lamps to penetrate from all angles, ensuring a complete and even cure of the gel or acrylgel product. This is particularly advantageous when working with highly pigmented or thick builders, as it minimises the risk of uncured pockets of product near the natural nail plate. Additionally, the transparency offers a clear view of the product distribution, helping you monitor the thickness and symmetry in real time.




