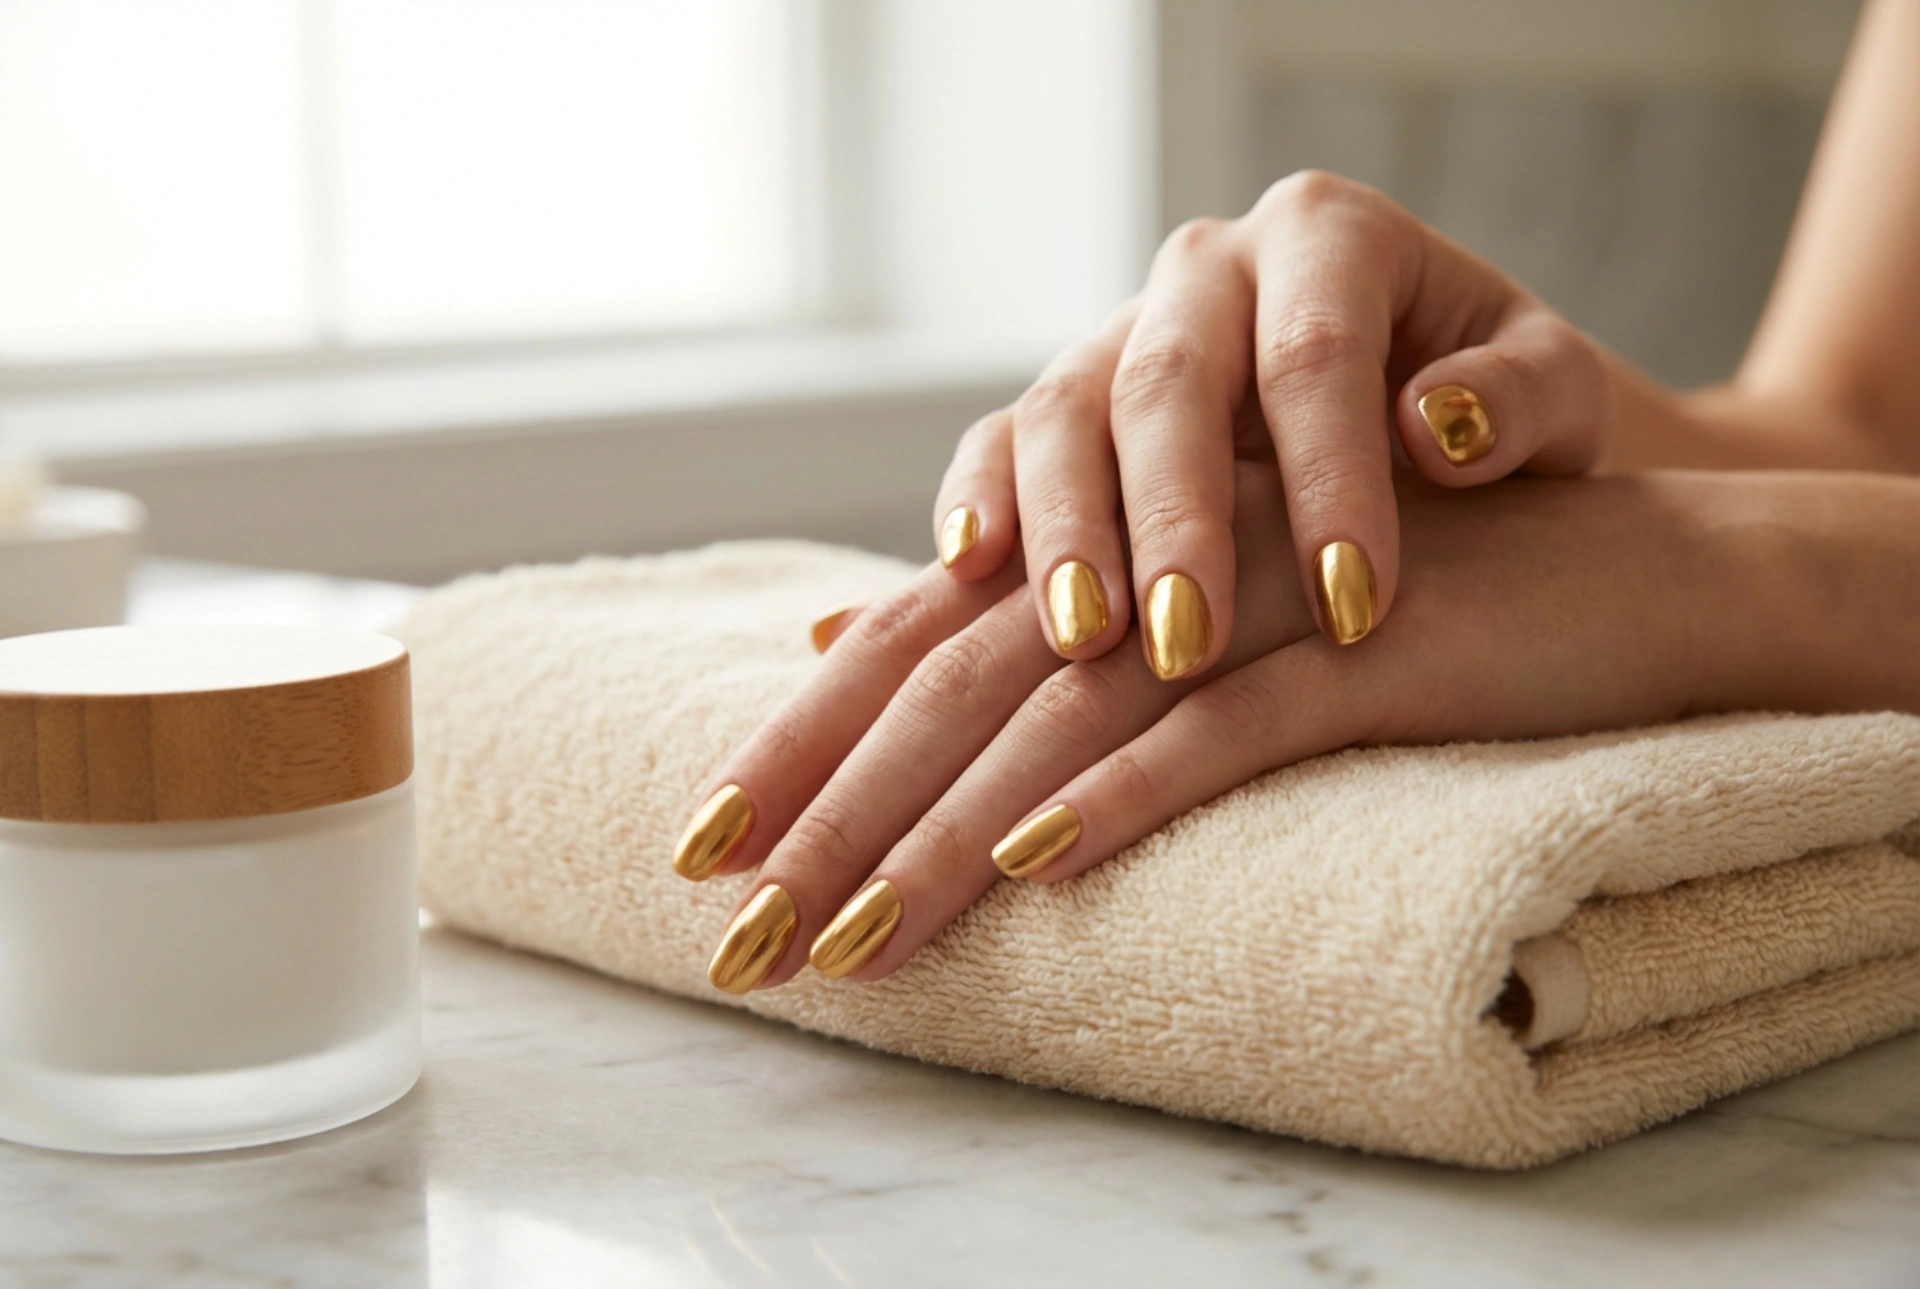


As the festive season approaches, elegant manicured hands adorned with rich, reflective golden lacquer become the ultimate accessory for winter celebrations. A flawless golden manicure exudes timeless beauty, catching the soft, diffused warmth of festive lights with an eye-catching, lustrous finish. However, achieving an even, streak-free metallic glow that lasts throughout the holiday season requires more than just a quick coat of polish. To make your gold nails look professionally done and ensure they withstand the hustle and bustle of holiday gatherings, a systematic approach to preparation, application, and daily care is essential.
The Crucial Step of Nail Plate Preparation
The foundation of any high-shine manicure lies in the preparation of the natural nail. Metallic shades, particularly reflective gold, are notorious for highlighting even the smallest imperfections on the nail surface. To achieve a perfectly smooth, mirror-like finish, you must start by creating an immaculate canvas.
- Gently Shape and File: Begin by filing your nails into your preferred shape, ensuring the edges are smooth and free of snags. Standard shapes like oval or soft square work beautifully with metallic shades as they complement the elegant nature of the colour.
- Buff the Ridges: Use a fine-grit buffer to gently smooth out any ridges on the nail plate. Be cautious not to over-buff, as this can thin the natural nail, but a light pass will ensure the gold lacquer sits flat and even.
- Tidy the Cuticles: Soften and gently push back your cuticles. Clear, clean nail borders allow the polish to be applied closer to the root, which extends the life of your manicure and creates a neat, professional boundary.
- Dehydrate the Nail Plate: Wipe each nail with a lint-free pad soaked in a mild nail cleanser to remove any residual oils, dust, or moisture. This step is vital for ensuring the base coat adheres perfectly to the nail.
The Secret to Streak-Free Metallic Application
Applying golden lacquer can be challenging because metallic pigments tend to show brush strokes easily. To achieve that coveted, liquid-gold effect, your application technique must be precise and patient.
Choosing and Applying the Right Base
Never skip the base coat. A high-quality base coat acts as a double-sided adhesive, bonding to both your natural nail and the polish. For metallic shades, a ridge-filling base coat is particularly effective. It fills in any microscopic unevenness, ensuring the gold polish glides on seamlessly without pooling or streaking.
Mastering the Thin-Coat Technique
When working with highly reflective pigments, two or three thin coats are infinitely better than one thick layer. Thick coats trap air, leading to bubbles and an uneven, slow-drying finish. When applying the gold polish, load a moderate amount of product onto the brush. Start in the centre of the nail, a fraction of a millimetre away from the cuticle, and sweep down to the tip in one smooth, continuous stroke. Repeat this on the left and right sides. Keep your hand steady and avoid pressing too hard on the brush to minimise visible lines.
Sealing the Shine and Extending Longevity
A beautiful golden manicure deserves to be protected. The final steps of your nail routine are what transform a temporary look into a durable, chip-resistant masterpiece.
The Protective Power of a Top Coat
Once your colour coats have dried slightly, apply a generous layer of clear, high-shine top coat. This not only seals in the metallic pigments, preventing them from dulling over time, but it also adds an extra layer of depth, mimicking the look of professional gel finishes. Ensure you glide the top coat over the entire nail, including the very front edge (the free edge) of the nail, to cap it. Capping prevents moisture from getting underneath the polish, which is the primary cause of premature chipping.
The Drying Process
Allow ample drying time between each step. Hurrying the process can cause the layers to slide, destroying the perfectly even metallic alignment. Avoid using direct heat sources like hair dryers, as warm air can cause the polish to bubble. Instead, opt for cool air or let them cure naturally in a calm, warm environment.
Ongoing Care for Lasting Radiance
Your festive manicure will remain pristine only if you protect it from daily wear and tear. Simple adjustments to your daily routine can double the life of your golden nails.
- Moisturise Daily: Keep your hands and cuticles deeply hydrated. Apply a rich, nourishing hand cream and a drop of cuticle oil to each nail daily. This maintains skin elasticity around the nails, preventing hangnails and dry patches that can detract from your elegant look.
- Shield Your Hands: When performing household chores, particularly washing dishes or using cleaning agents, always wear protective gloves. Water exposure swells the natural nail, causing the polish to crack and lift.
- Refresh the Top Coat: Every two to three days, apply a very thin layer of top coat to restore the original, highly reflective lustre and seal any micro-scratches that have occurred during daily activities.
By dedicating time to proper preparation and using refined application techniques, you can enjoy a flawless, luminous golden manicure that perfectly captures the magic of the festive season, keeping your hands looking beautifully polished and sophisticated throughout your celebrations.




