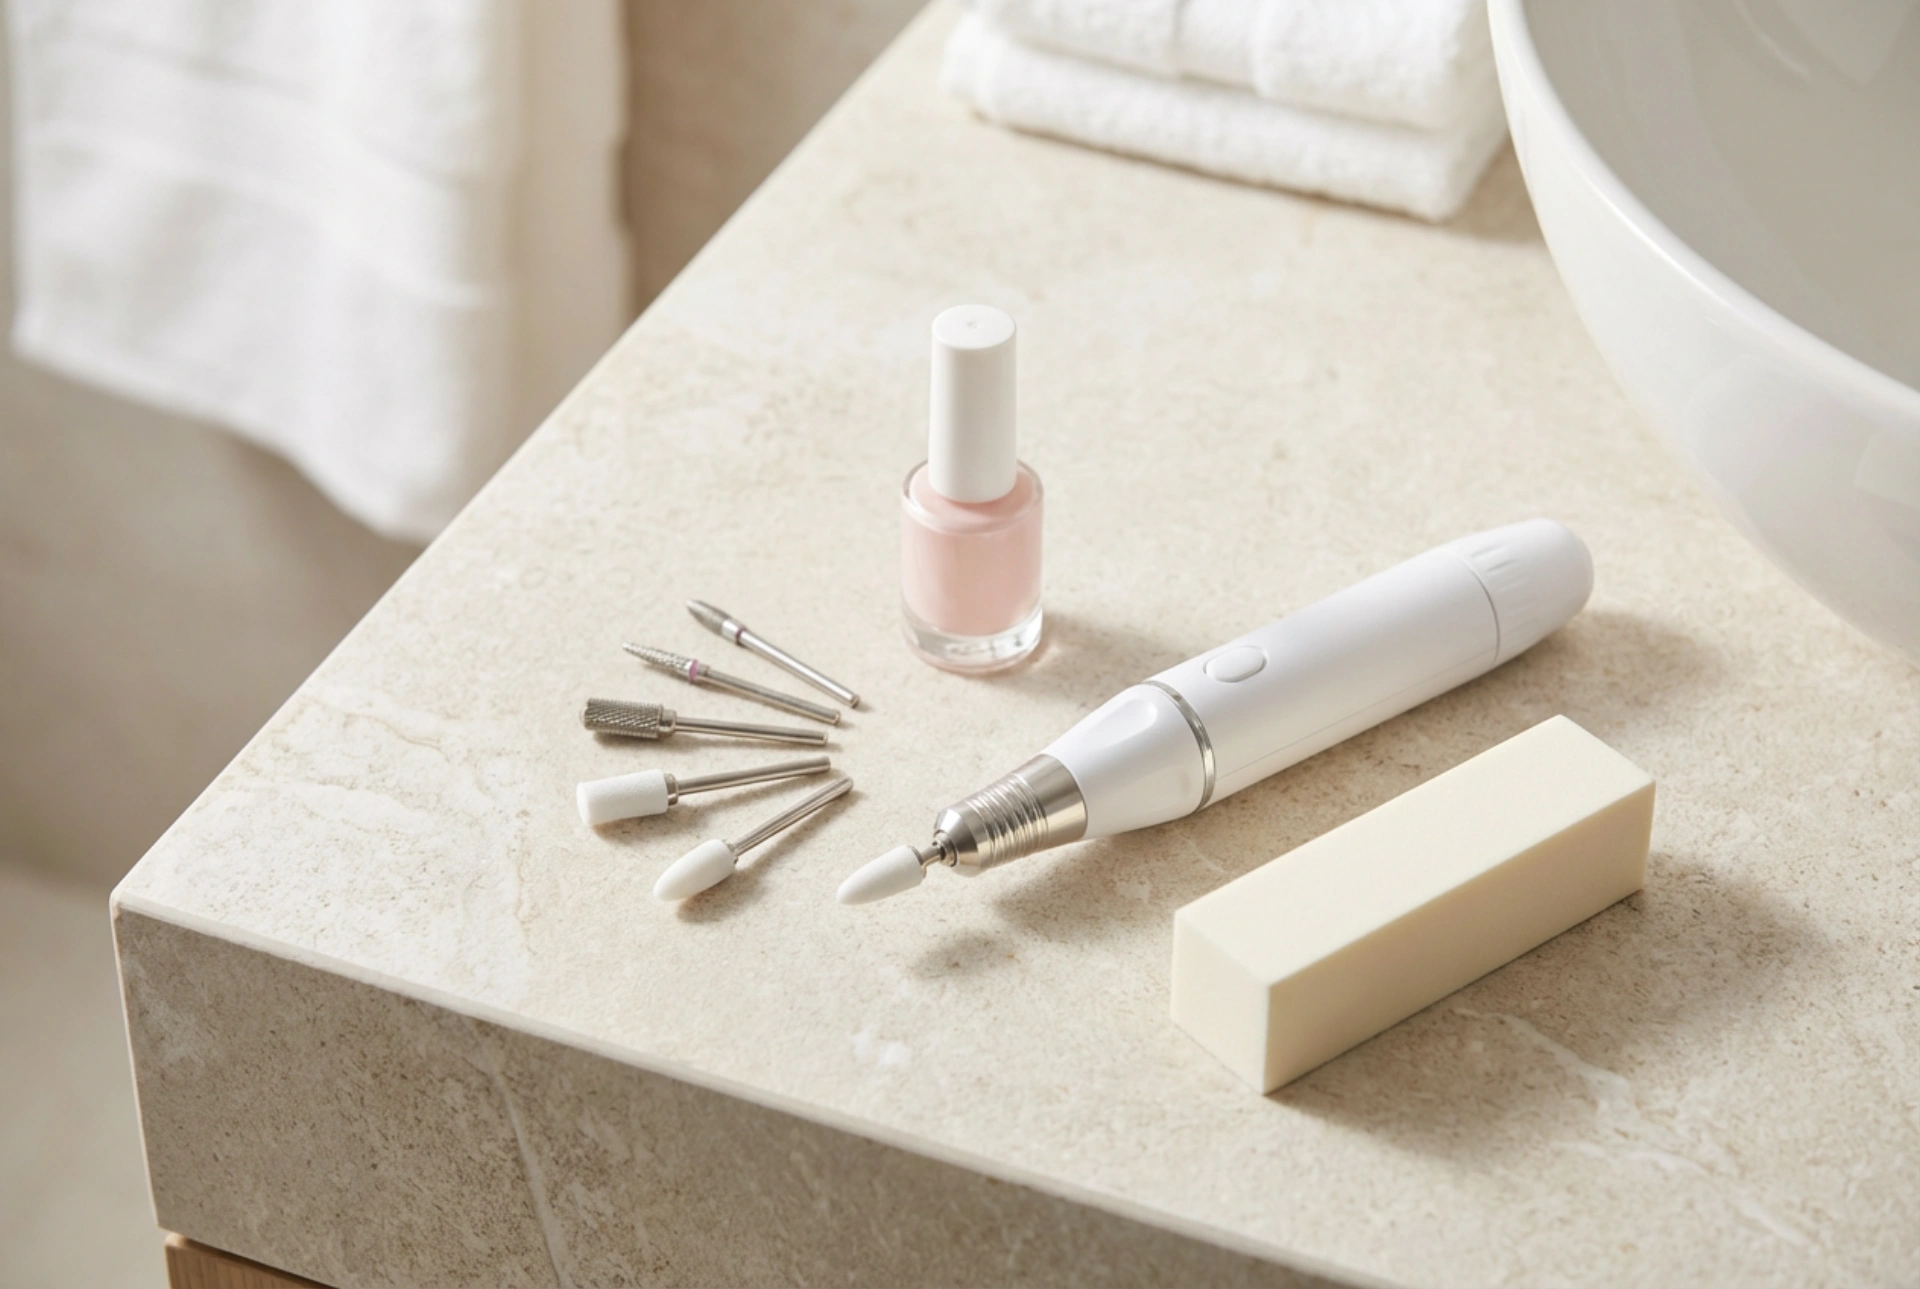


Achieving a salon-quality finish at home has become more accessible than ever, thanks to modern tools that simplify detailed nail care. A beautifully organised set, featuring a sleek electric nail file, interchangeable drill bits, a soft buffer, and a subtle nail polish, represents the perfect start to a professional-looking home manicure routine. Transitioning from traditional hand files to an electric nail drill, often referred to as an e-file, can significantly speed up the preparation process and deliver flawless, precise results. However, taking those first steps requires a bit of knowledge and the right preparation to ensure the safety and long-term health of your natural nails.
Understanding the Electric Nail File and Its Components
An electric nail file is a versatile device designed to assist with various stages of a manicure, from shaping the free edge of the nail to gently refining the cuticle area. Unlike manual files, an e-file uses rotational force to sweep away dead skin or smooth out the nail surface with minimal physical effort. To get started, it is essential to understand the different parts of a standard starter kit and how they interact with your hands.
Most basic sets consist of a main power unit, a lightweight handpiece, and a collection of interchangeable attachments known as drill bits. Each bit is crafted from different materials and tailored for specific tasks:
- Ceramic or Carbide Bits: These are excellent for removing previous gel polish or product build-up quickly and smoothly. They are known for generating less heat during operation, making them comfortable for regular use.
- Diamond Bits: Designed with a fine, abrasive diamond dust coating, these are perfect for delicate work around the cuticles and lateral nail folds. They allow for very precise exfoliation of dry skin.
- Sanding Bands: These are disposable paper cylinders that slide onto a metal mandrel bit. They are ideal for gently prepping the natural nail plate, removing shine, or smoothing rough patches on the skin.
- Felt or Buffer Bits: Used at the very end of the manicure process, these bits buff the nail surface to a natural, healthy shine, eliminating the need for manual buffer blocks.
Choosing Your First E-File Kit
When selecting your first electric nail file kit, it is important to choose a device that is user-friendly, safe, and tailored for beginners. Look for a model that offers adjustable speed controls, ideally ranging from 0 to at least 20,000 RPM (rotations per minute). For natural nail care and simple cuticle work, you will rarely need to exceed 5,000 to 10,000 RPM, but having a responsive control dial allows you to make subtle, precise adjustments as you build confidence.
Another crucial feature is the ability to change the direction of rotation (clockwise and anti-clockwise). This setting, often labelled as Forward and Reverse, ensures comfortable handling whether you are working on your left or right hand. Lastly, prioritise devices with low vibration and minimal noise. High vibration can cause hand fatigue and make precise movements much more difficult to control, while a quiet motor makes the entire experience more relaxing.
Step-by-Step Guide for Your First Treatment
Before turning on your new device, ensure your hands are completely dry and clean. Working on damp skin can cause the drill bits to slip or tear the delicate cuticle area. Follow these steps for a safe and gentle initial experience:
1. Preparing the Cuticles
Begin by gently pushing back your cuticles with a traditional wooden manicure stick. This creates a clear boundary and lifts the dead skin from the nail plate, making it easier to target with the electric file. Use a fine, flame-shaped diamond bit at a very low speed (around 3,000 to 5,000 RPM) and hold the bit parallel to the nail plate, gently sweeping it along the cuticle line without pressing down.
2. Shaping and Buffing
To smooth out any ridges or prepare the nail plate for polishing, use a soft sanding band with a very light touch. Never apply downward pressure; let the rotation of the machine do the work for you. Keep the handpiece moving constantly to prevent heat from building up in one spot, which can cause discomfort.
3. Finishing Touches
Once the cuticles are refined and the nail shape is perfected, use a soft manual buffer to remove any remaining dust and smooth the free edge. Clean the nails thoroughly with a lint-free wipe before applying a nourishing base coat or a classic neutral polish to complete the look.
Safety and Best Practices for Beginners
Mastering an electric nail drill requires patience, practice, and a gentle touch. The most common mistake for beginners is applying too much pressure or holding the bit in one spot for too long. This can cause friction heat or damage the natural nail plate. Always keep the tool in continuous, sweeping motions across the nail surface.
Additionally, pay close attention to the angle of the bit. It should lie relatively flat against the nail surface rather than pointing directly down into the nail bed. Keeping the bits clean and sanitised after every use is also essential for maintaining hygiene. Simply wash them with warm soapy water to remove dust, and submerge them in a suitable beauty-tool disinfectant before storing them back in their designated case.
Post-Treatment Care for Nails and Cuticles
After completing your manicure, it is vital to replenish moisture to the nail bed and surrounding skin. The physical action of filing can dry out the cuticles, so applying a rich cuticle oil immediately after your treatment is highly recommended. Massage the oil gently into the skin to promote healthy nail growth and prevent hangnails.
Incorporate a hydrating hand cream into your daily routine, paying extra attention to the areas around the nails. Regularly nourishing your hands ensures that the clean, polished look achieved with your electric file lasts longer and your natural nails remain strong, resilient, and beautifully cared for.




