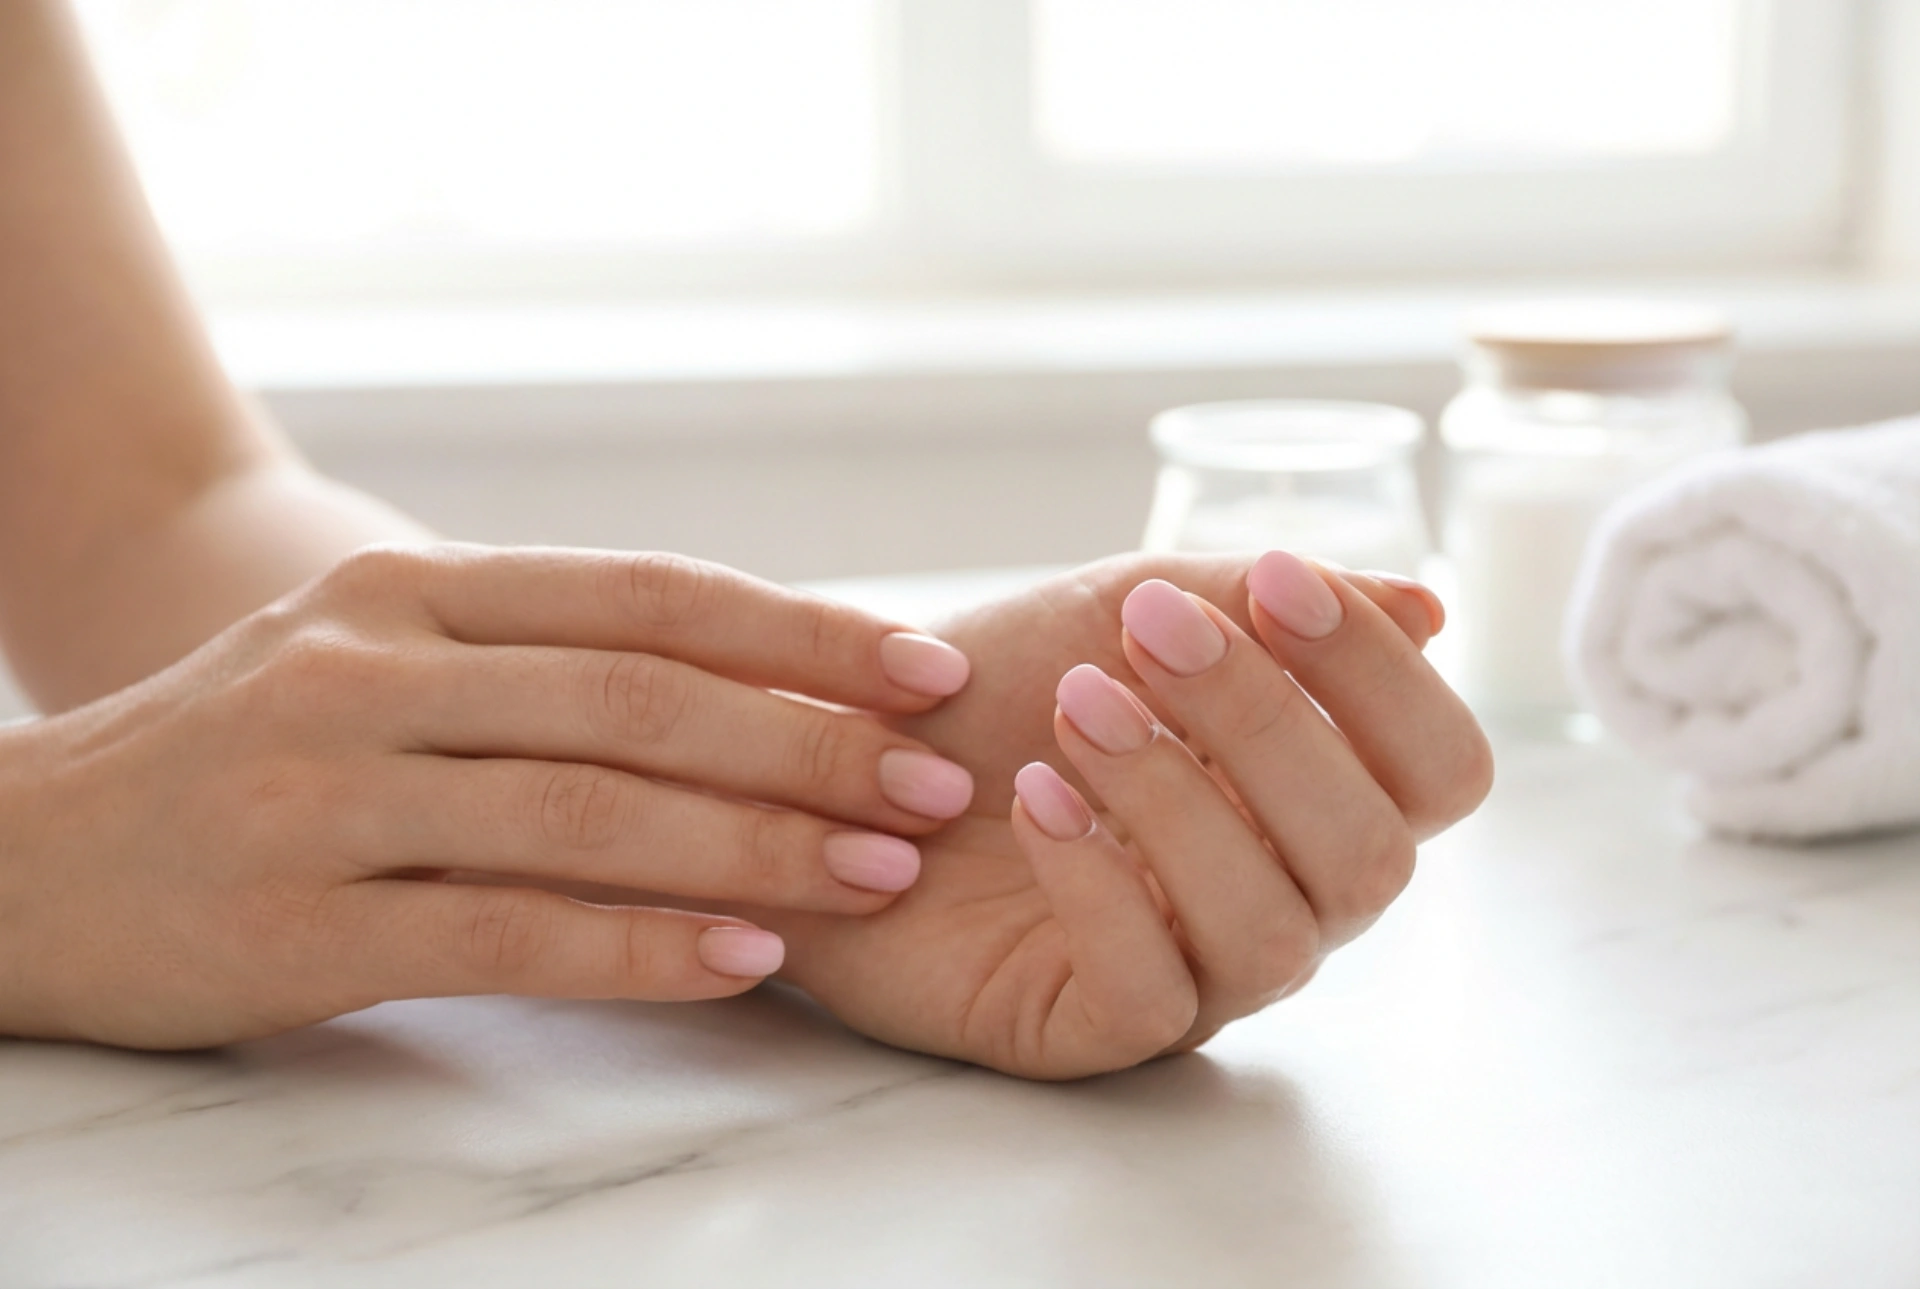


Elegant hands featuring a seamlessly blended ombre manicure are the epitome of refined style. The gentle transition from a delicate, powdery pink at the tips to a soft, natural nude at the base creates an understated elegance that complements any look. Whether highlighted by soft, diffused light or seen in everyday settings, this subtle gradient offers a clean, modern aesthetic. Doing your own nails at home can be a therapeutic ritual, and mastering the subtle art of the powder pink ombre is easier than it looks. With just a few simple tools and some patience, you can achieve a professional-looking finish that enhances the natural beauty of your hands.
The Timeless Appeal of Powder Pink Ombre
The beauty of a gradient manicure lies in its soft, diffused appearance. Unlike harsh contrasts or bold nail art, the transition from nude to powder pink mimics the natural tones of the nail bed, only enhanced. This makes it incredibly versatile, suitable for formal occasions, professional environments, and casual weekend outings alike. By blending these two classic shades, you achieve a manicured look that appears elongated, clean, and effortlessly sophisticated.
Furthermore, a subtle gradient is highly forgiving. As your nails grow, the boundary between the natural nail and the polish is less noticeable because of the nude base. This extends the life of your manicure, keeping your hands looking pristine for longer. It is the perfect choice for anyone seeking a low-maintenance yet polished aesthetic.
Essential Tools for a Home Gradient Manicure
Before beginning your manicure, it is essential to gather the correct tools. Having everything prepared beforehand ensures a smooth process and prevents any accidental smudges while your nails are wet. Here is what you will need:
- Nail file and buffer: To shape the nails into a neat oval or soft square and gently smooth the nail surface.
- Base coat: A protective layer that prevents staining and helps the polish adhere smoothly.
- Nude nail polish: A shade that closely matches your natural nail bed or skin tone to act as the base.
- Powder pink nail polish: A soft, pastel pink shade that will create the beautiful gradient at the tips.
- A small makeup sponge: A latex or latex-free wedge sponge is ideal for dabbing and blending the colours.
- Top coat: A glossy top coat is crucial to smooth out the texture of the sponged polish and lock in the shine.
- Clean-up brush and nail polish remover: A small, flat brush dipped in remover to clean up any excess polish around the cuticles.
Preparing Your Nails for a Perfect Canvas
The secret to any long-lasting manicure is thorough preparation. Without a clean, smooth canvas, even the most expertly applied gradient can look uneven or chip prematurely. Begin by removing any old nail polish and washing your hands thoroughly to remove natural oils.
Next, shape your nails using a fine-grit nail file. For a soft ombre look, rounded, oval, or almond shapes work exceptionally well as they complement the gentle curves of the gradient. Gently push back your cuticles using a wooden stick. Avoid cutting them at home, as cuticles serve as a natural barrier against debris. Finally, gently buff the surface of each nail to create a smooth base, then apply a thin layer of base coat and let it dry completely.
The Step-by-Step Ombre Technique
Creating a smooth gradient requires a delicate touch and a patience-oriented approach. Follow these simple steps to achieve a flawless transition:
Step 1: Apply the Base Colour
Start by applying one or two thin coats of your chosen nude polish. This will serve as the background of your gradient. Ensure each layer is completely dry before moving on. A solid base colour ensures that the pink polish blended on top will look vibrant and clean.
Step 2: Prepare the Sponge
Take your makeup sponge and lightly dampen it with water, squeezing out any excess. A slightly damp sponge prevents the foam from absorbing too much nail polish, allowing more product to transfer onto your nails. Paint a horizontal stripe of the nude polish on the sponge, followed immediately by a stripe of the powder pink polish, slightly overlapping them where they meet.
Step 3: Dab and Blend
Align the sponge with your nail, ensuring the nude section is towards your cuticle and the powder pink section is towards the tip. Gently dab the sponge onto your nail in a soft, bouncing motion. Move the sponge slightly up and down to blend the seam where the two colours meet. Do not press too hard, as this can create air bubbles or strip away the base polish.
Step 4: Repeat for Intensity
Allow the first sponged layer to dry for a minute or two. Repeat the process on the sponge and apply a second layer to your nails. Layering the polish gradually builds up the intensity of the powder pink tip while maintaining a soft, seamless transition into the nude base.
Step 5: Clean Up and Seal
Once you are happy with the gradient, use a small brush dipped in nail polish remover to clean up any polish that transferred onto the skin around your nails. Finish with a generous layer of high-shine top coat. The top coat is magic for ombre nails; it instantly smooths out the textured finish left by the sponge and blends the colours together seamlessly.
Pro-Tips for a Flawless Finish
To elevate your home manicure and ensure it looks as professional as possible, keep these handy tips in mind. Always work in thin layers; thick layers of sponged polish take a very long time to dry and are highly prone to bubbling. If you find the sponge is leaving too much texture, try dabbing the sponge on a piece of paper first to remove excess polish before touching your nail.
Lastly, always apply your top coat while the final gradient layer is still slightly wet. This helps the top coat pull the colours together, creating a perfectly smooth, glass-like surface that beautifully showcases your subtle powder pink ombre design.




